

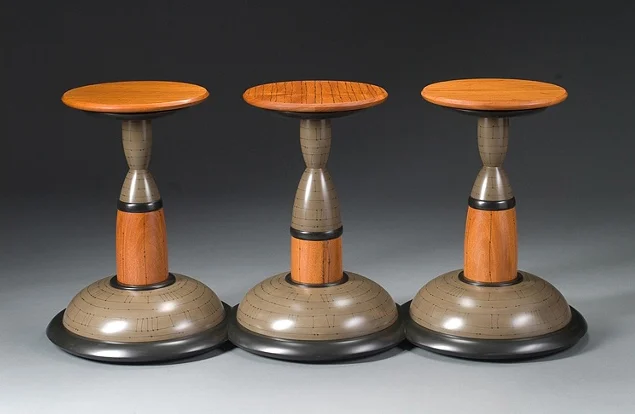
Kimberly Winkle gave a fantastic demonstration on the making and painting of her signature Oculus Mirror at our October Meeting. Introduced by Professor Mark Sfirri, she started the meeting with an overview of her furniture, sculpture and turning and gave us a wonderful sense of the depth and breadth of her work. Shown below are some of the images she shared, but if you are interested in more, please visit her website- kimberlywinkle.com.


Born from one of those mistakes we all make in turning- cutting through the bottom- Kimberly figured she could save the piece by inserting a mirror in what was to be a vessel.
She starts with a poplar blank. This wood has just the right grain for paint; it's stable, and inexpensive, too. She generally starts with two 6 1/2 inch long pieces of poplar that she joins and glues with Titebond II. After curing overnight and band sawing it round, she attaches the blank to a faceplate. She reminds us to use sturdy screws, not drywall screws as they are too brittle.


Using a bowl gouge, she begins forming the mirror by truing up the diameter of the blank. By starting the cut from the outside and stopping just shy of the opposite side and then starting the cut from the outside of that edge, she's prevents any tear-out.


Since mirrors are readily available from Jo-Ann Fabric and Craft Stores in specific sizes some planning is required. The first step is to plan a round mortise on the face so that you will be able to hold the mirror frame when it is reversed to make the rabbets for the mirror and backing. Additional pencil marks are good to have so you know where the tops of the beads will be.
As you scroll through the pictures above you will see Kimberly mark the important features, shape the face of the mirror, and then form the recess for the expanding 4 jaw chuck. As those chip start to fly, Kimberly dons her bubble-shaped face mask, tucks her chin in and does some impressive turning. She cautioned us to leave enough wood around the mortise to support the expanding chuck. Once she has the desired shape, she once again turns the edge from the outside-in to cleanup any tear-out.


Now for the backside of the mirror- Kim shows on the backboard the recesses needed for the mirror and backing. The mirrors and Masonite backing are both 1/8th inch thick --the depth of the rabbets. since the wood is going to move with the seasons, she makes the diameter about an 1/8th inch larger than the mirror's diameter. Kimberly likes to use a bedan to cut the rabbets. Notice that she hollows out the back of the mirror to reduce its overall weight.


Once the back of the mirror is prepared with the rabbets, Kimberly prepares a backing board from piece of MDF (some light-weight versions are available if your piece is large).the backing board allows her to true up the opening for the mirror and to refine the shape of the face. Kimberly forms a snug home for the mirror to be screwed to the backing board by routing a recess for the backside rim of the mirror. Select the length of your screws carefully.


Kimberly also gave a little "primer" on milk paint. She likes The Old Fashion Milk Paint Company's paint over other brands- it mixes well and doesn't bubble as much, according to her experience. She has found that foam brushes work best, especially those you find in the big box hardware stores. Here you see Kimberly applying four layers of milk paint, 2 of Salem Read and one each of Marigold Yellow and Pitch Black. When applied to a surface that has a little texture, like the tool marks from turning, a little sanding uncovers the underlying paint to great effect.


Kimberly is a big proponent of experimentation- but not on the piece you just spent a couple of hours turning! Use a sample board or mock-up of your turning to try things out. We know she practices what she preaches; the sample boards show the breadth of her experiments, and if you flip them over they contain a written record of the colors and how they were applied. Well done, Kimberly!