

Co-named for a fellow artist and Hans Weissflog, this little vessel looks deceptively simple, but the methods and craftsmanship involved are truly in the realm of the masters. Being a master, Hans turned it for our workshop with an air of ease.
In the following photos, you will see how Hans made a two part sphere- cap and base, and, with a cup chuck, turned two sides of that sphere to create a lens-shaped vessel.


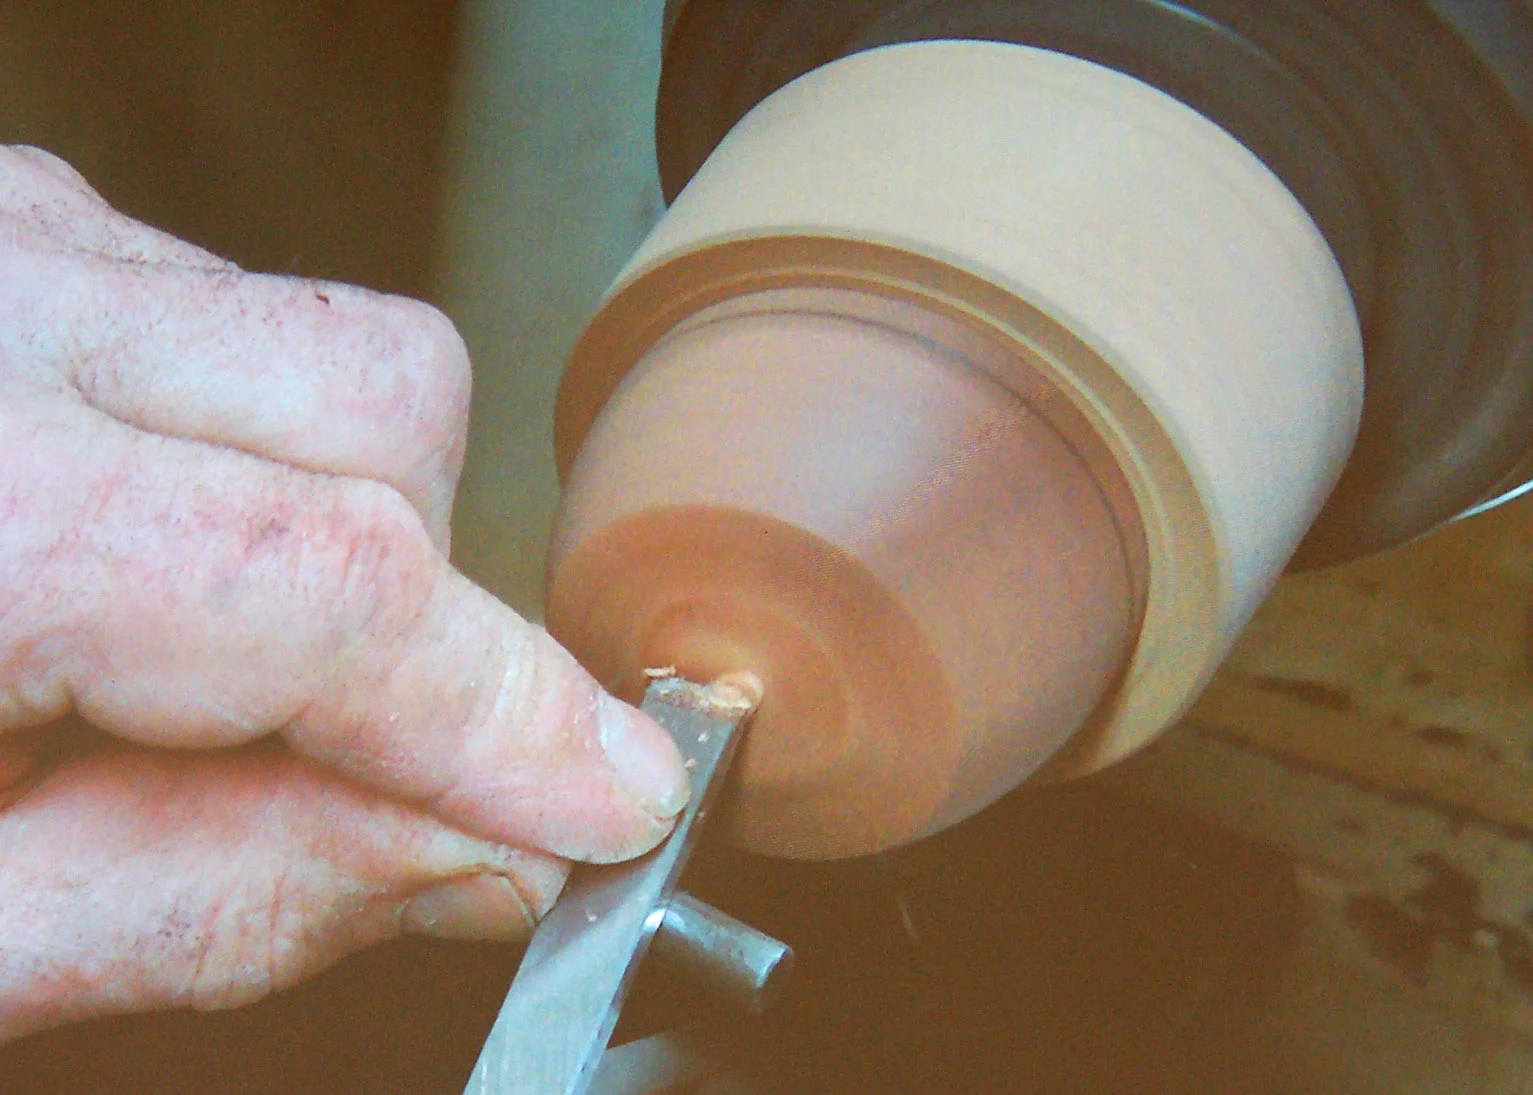
Starting with a 60 mm blank with a tenon, Hans used the four jaw chuck and bowl gouge to turn a hemisphere. Using a half circle template, he checked his work. After a couple of corrections, it was perfect; he made this look effortless. He then started taking material off the blank to start the other side of the sphere.


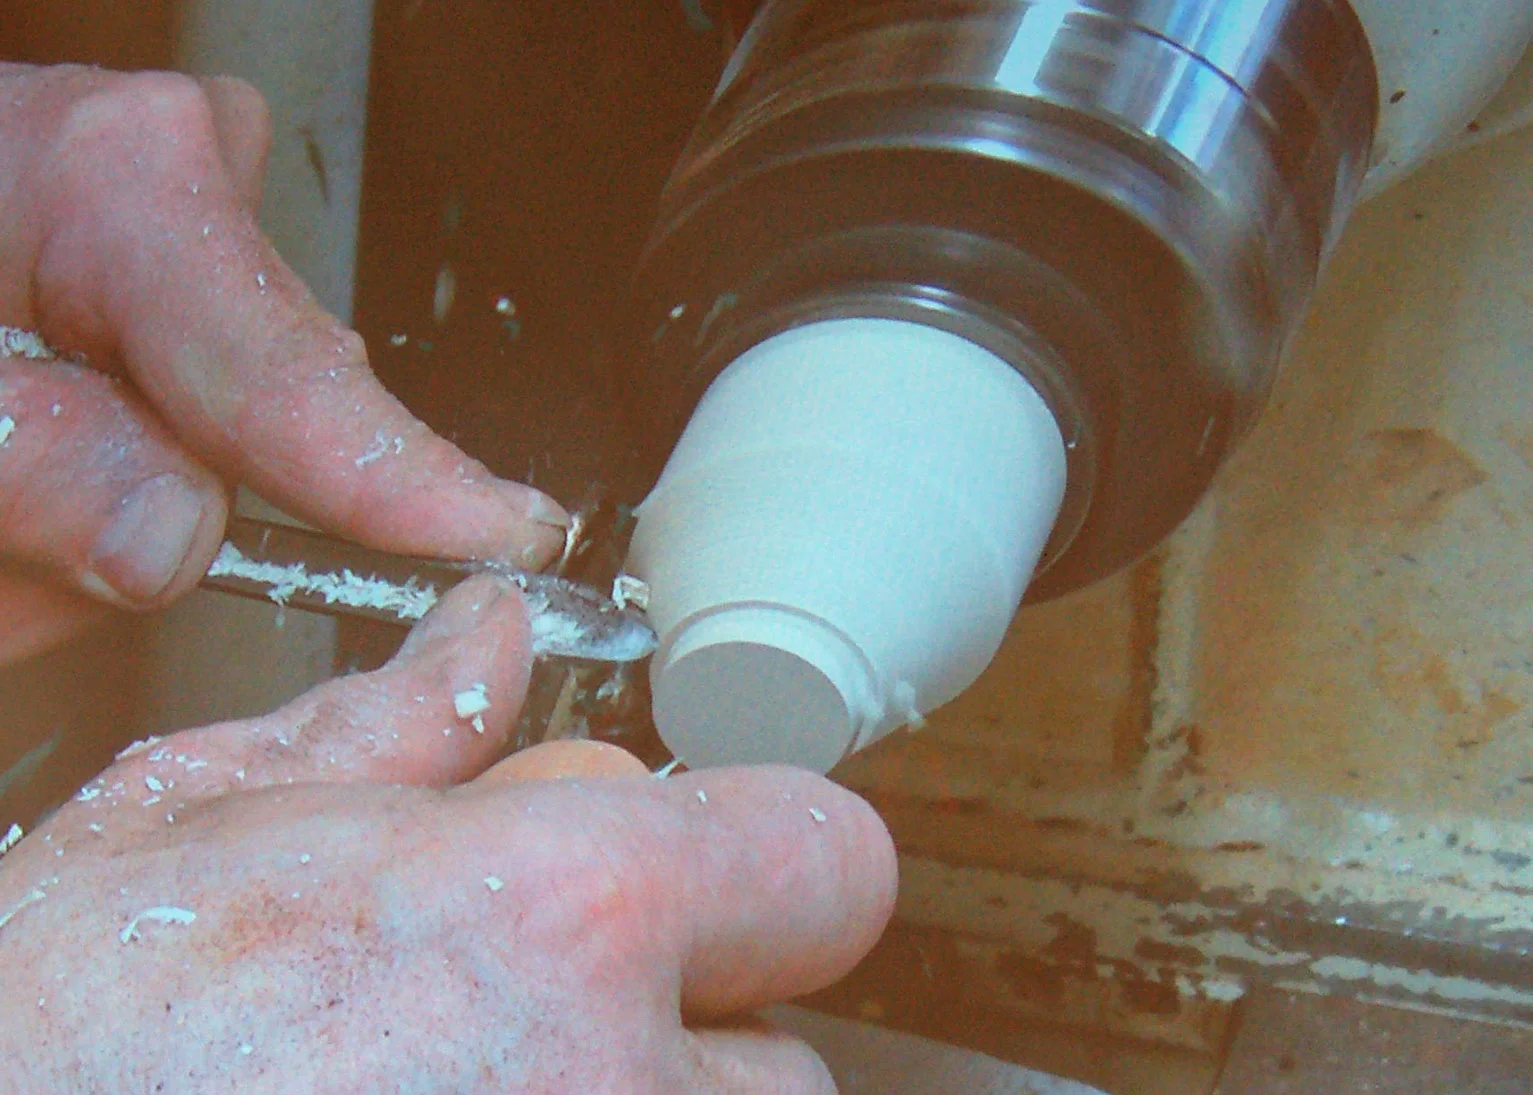
To complete what became the top of the base, Hans first hollowed out a cup chuck to hold his sphere. Like a magician, he used a European style of back hollowing that within a minute or two was perfect for holding the sphere. The Chicago turners have posted a 2007 video of Hans demonstrating this method of turning- it is amazing to watch. Hans instructed us to start in the middle with the flute at 90 degrees and then "like peeling ice cream" move up and come out of the wood at 12:05. If you are a little off, he warned, you will know it immediately. He assured us that with a little practice it would come easily. After making a perfect cup with his bowl gouge, he finished off the interior with round nosed scraper.


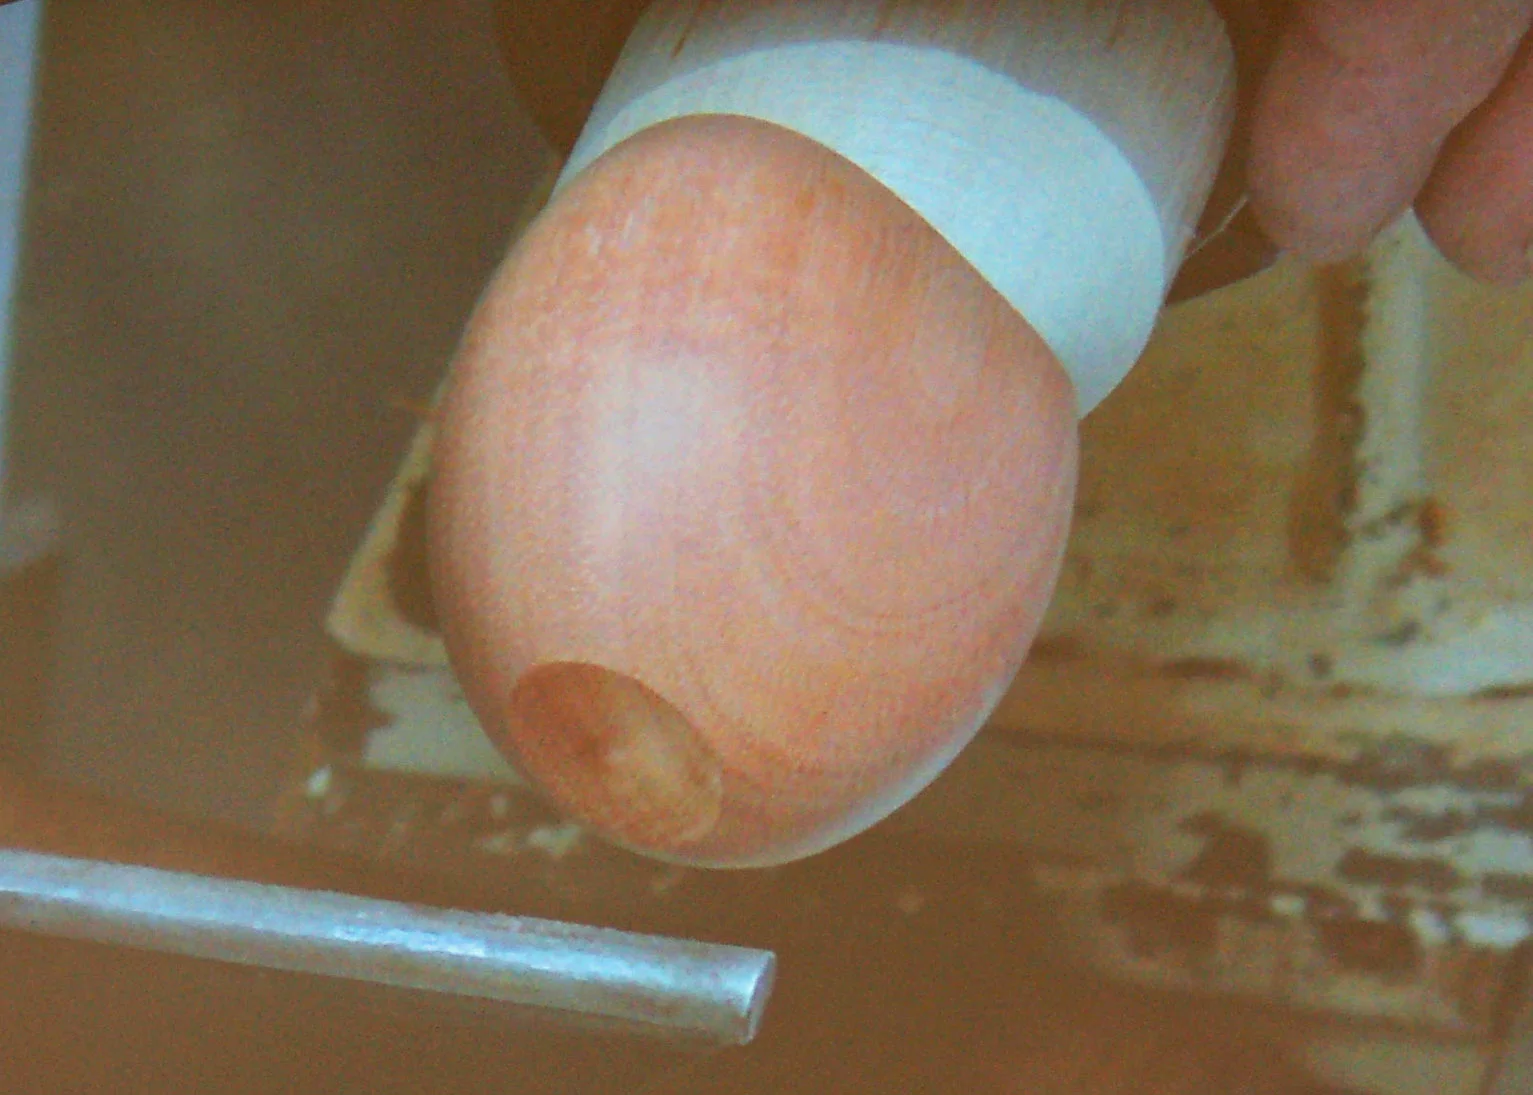
The cup fits his sphere perfectly, and allowed him to take off the tenon and ready the base for the next steps.


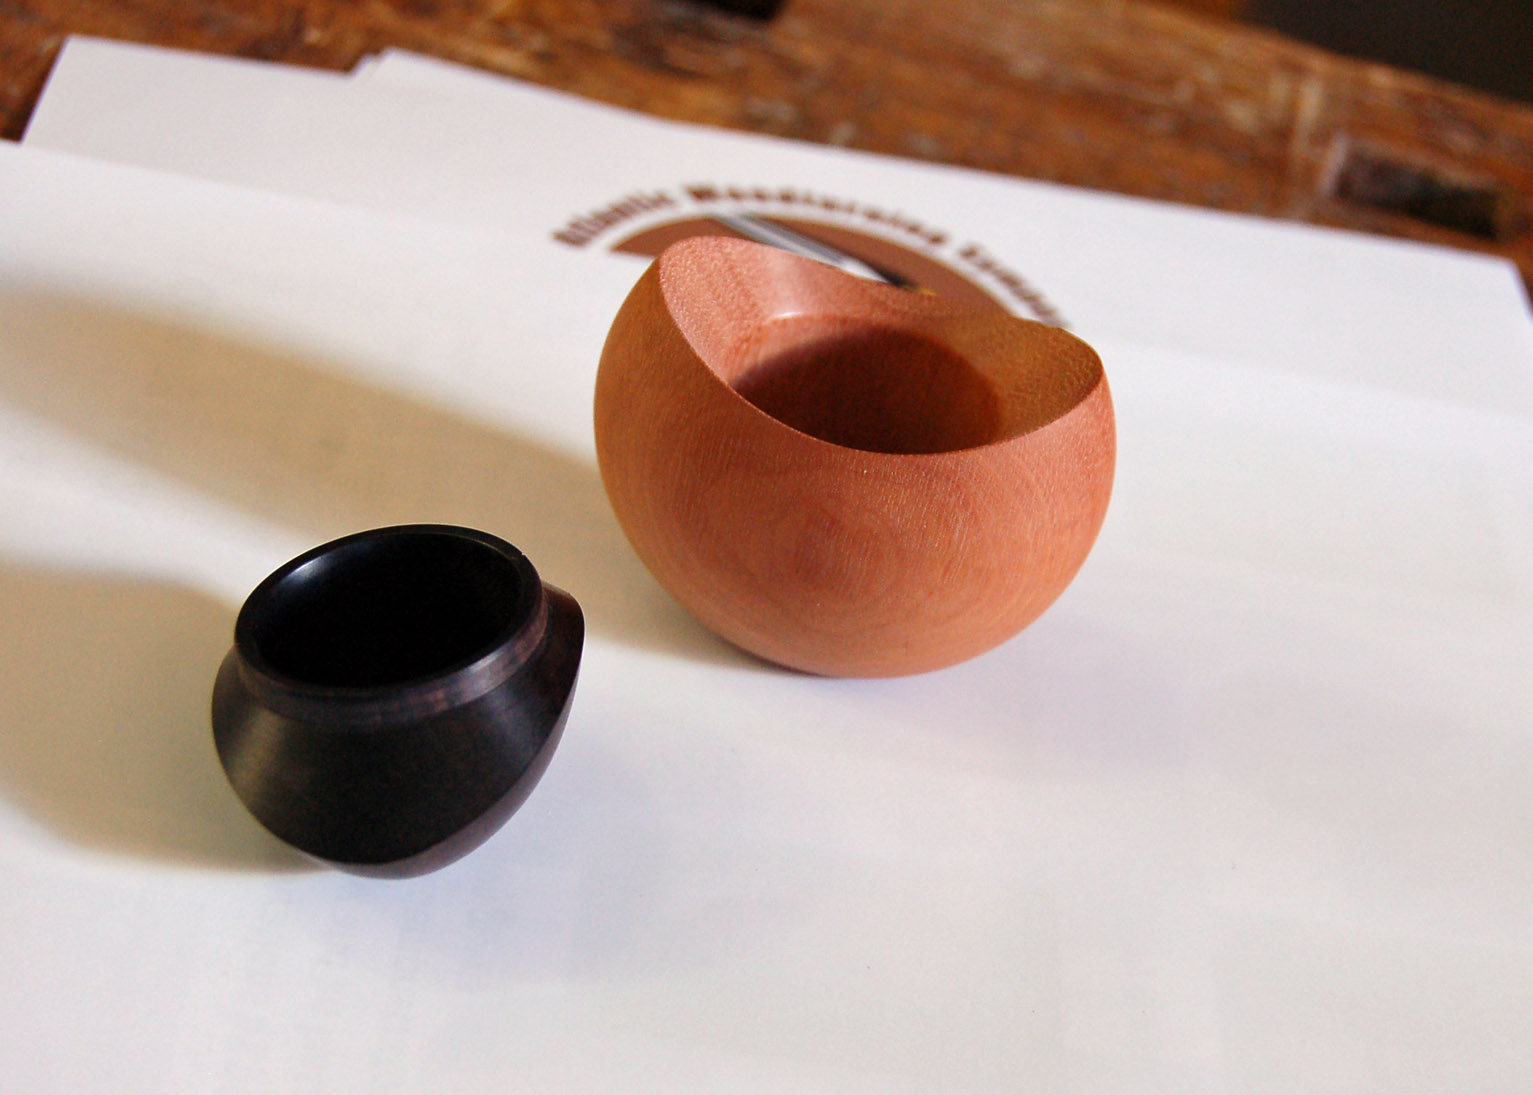
Here is a cross section of the base. Note the rather thick walls and conical entry. Once again he used his efficient back hollowing method to approximate the interior. He then trued up the conical entry using an index card to insure he had a flat 90 degrees across the opening. He then sanded the opening with 180, 220, 340, 400, and 1500 grit papers.


Here is what the cap looks like in cross section. To make it he started with a cylinder of contrasting wood (African Black Wood) and began forming the lip and mating 90 degree flat.


Hans used a skew to define the diameter of the lip and refine the 90 degree mating surface. This had to mate perfectly with the base. Any under cut would show up when the elliptical cuts are made in subsequent steps. Now was the time to mark the center of the base- the mark was used to align the sphere later in the process.


Once the mating surfaces and interior of the cap had been completed, the top was formed using a jamb chuck. A hemisphere was turned on the top with the aid of a template so that it matched the curvature of the base- a perfect 60 mm sphere. It is important to mark the center of the cap - this was needed later to mark an equator. Once that was done, Hans checked the that to two pieces formed a sphere.


Bring out the cup chuck again! It was time to turn the sphere into a lens. Using the two pole marks, he aligned the sphere so that these marks were equidistant from the cap chuck. He then drew a line marking the new equator. The lens' thickness was determined by subtraction from the 60 mm sphere. Hans turned back the new pole to form a measuring post- the length of the post is 1/2 the amount to be subtracted from the sphere's diameter. Once the desired depth was achieved, the post was cut off and a smooth concave curve was turned from the pencil line to the lens pole.


The vessel is rotated (insuring the equator is equidistant from the cup chuck) and the same operation is completed on the other side resulting in a convex lens shape. Each convex curve was then finished with sandpapers and Mirka Mirlon scuff pads.


With the lens shape completed on both sides (Hans was so good the orientation of the cap made no difference in the fit.) the base of the vessel was ready to be formed. The jamb chuck was turned to fit the base's interior, and a small straight cut was made. This element can't be concave or the vessel will sit on two points- it's easy to miss these things. The result of all this work is shown below. From this view it is easier to see where the surface of the vessel cuts into the base/cap mating surface and why it is so important to have that 90 degree angle perfect from top to bottom.
If you think this was an engineering feat, take a look at some of Hans's other work he shared during the workshop and think about how he achieved them. It is a little mind boggling, but they are sure great to admire.


