

After our original demonstrator couldn't make it, Bill Grumbine stepped up and stopped by the Hicks wood shop to show us how he uses the skew chisel to turn furniture legs. One thing is for sure, Bill has a good sense of humor, right in line with Matt's!


The style of leg he turned, and replicated, is called a pad foot leg. If you've taken Mark Sfirri's Turning class you've turned one with a spindle or detail gouge. If you haven't, here is a link to an article in Fine Woodworking and a way to design one in SketchUp (the drawing on the right) that can help you get up to speed.
Bill lives in Kutztown, PA and is a professional turner, teacher and furniture maker. This is the third time he has been to Bucks-in 22 years, so you'd have to say Bill has been around.
Bill informed us that there are two types of pad foot legs- one meant for oval or round tables and the other for chairs and rectangular tables. What's the difference? It's where the foot ends up- either in line with one of the leg's pommel faces or diagonal to them. As you can see from this drawing, there are two turning axes, one on the true centers and the other off-set on the bottom and top. If the off-set is along a diagonal, the leg is meant for a rectangular table or chair.


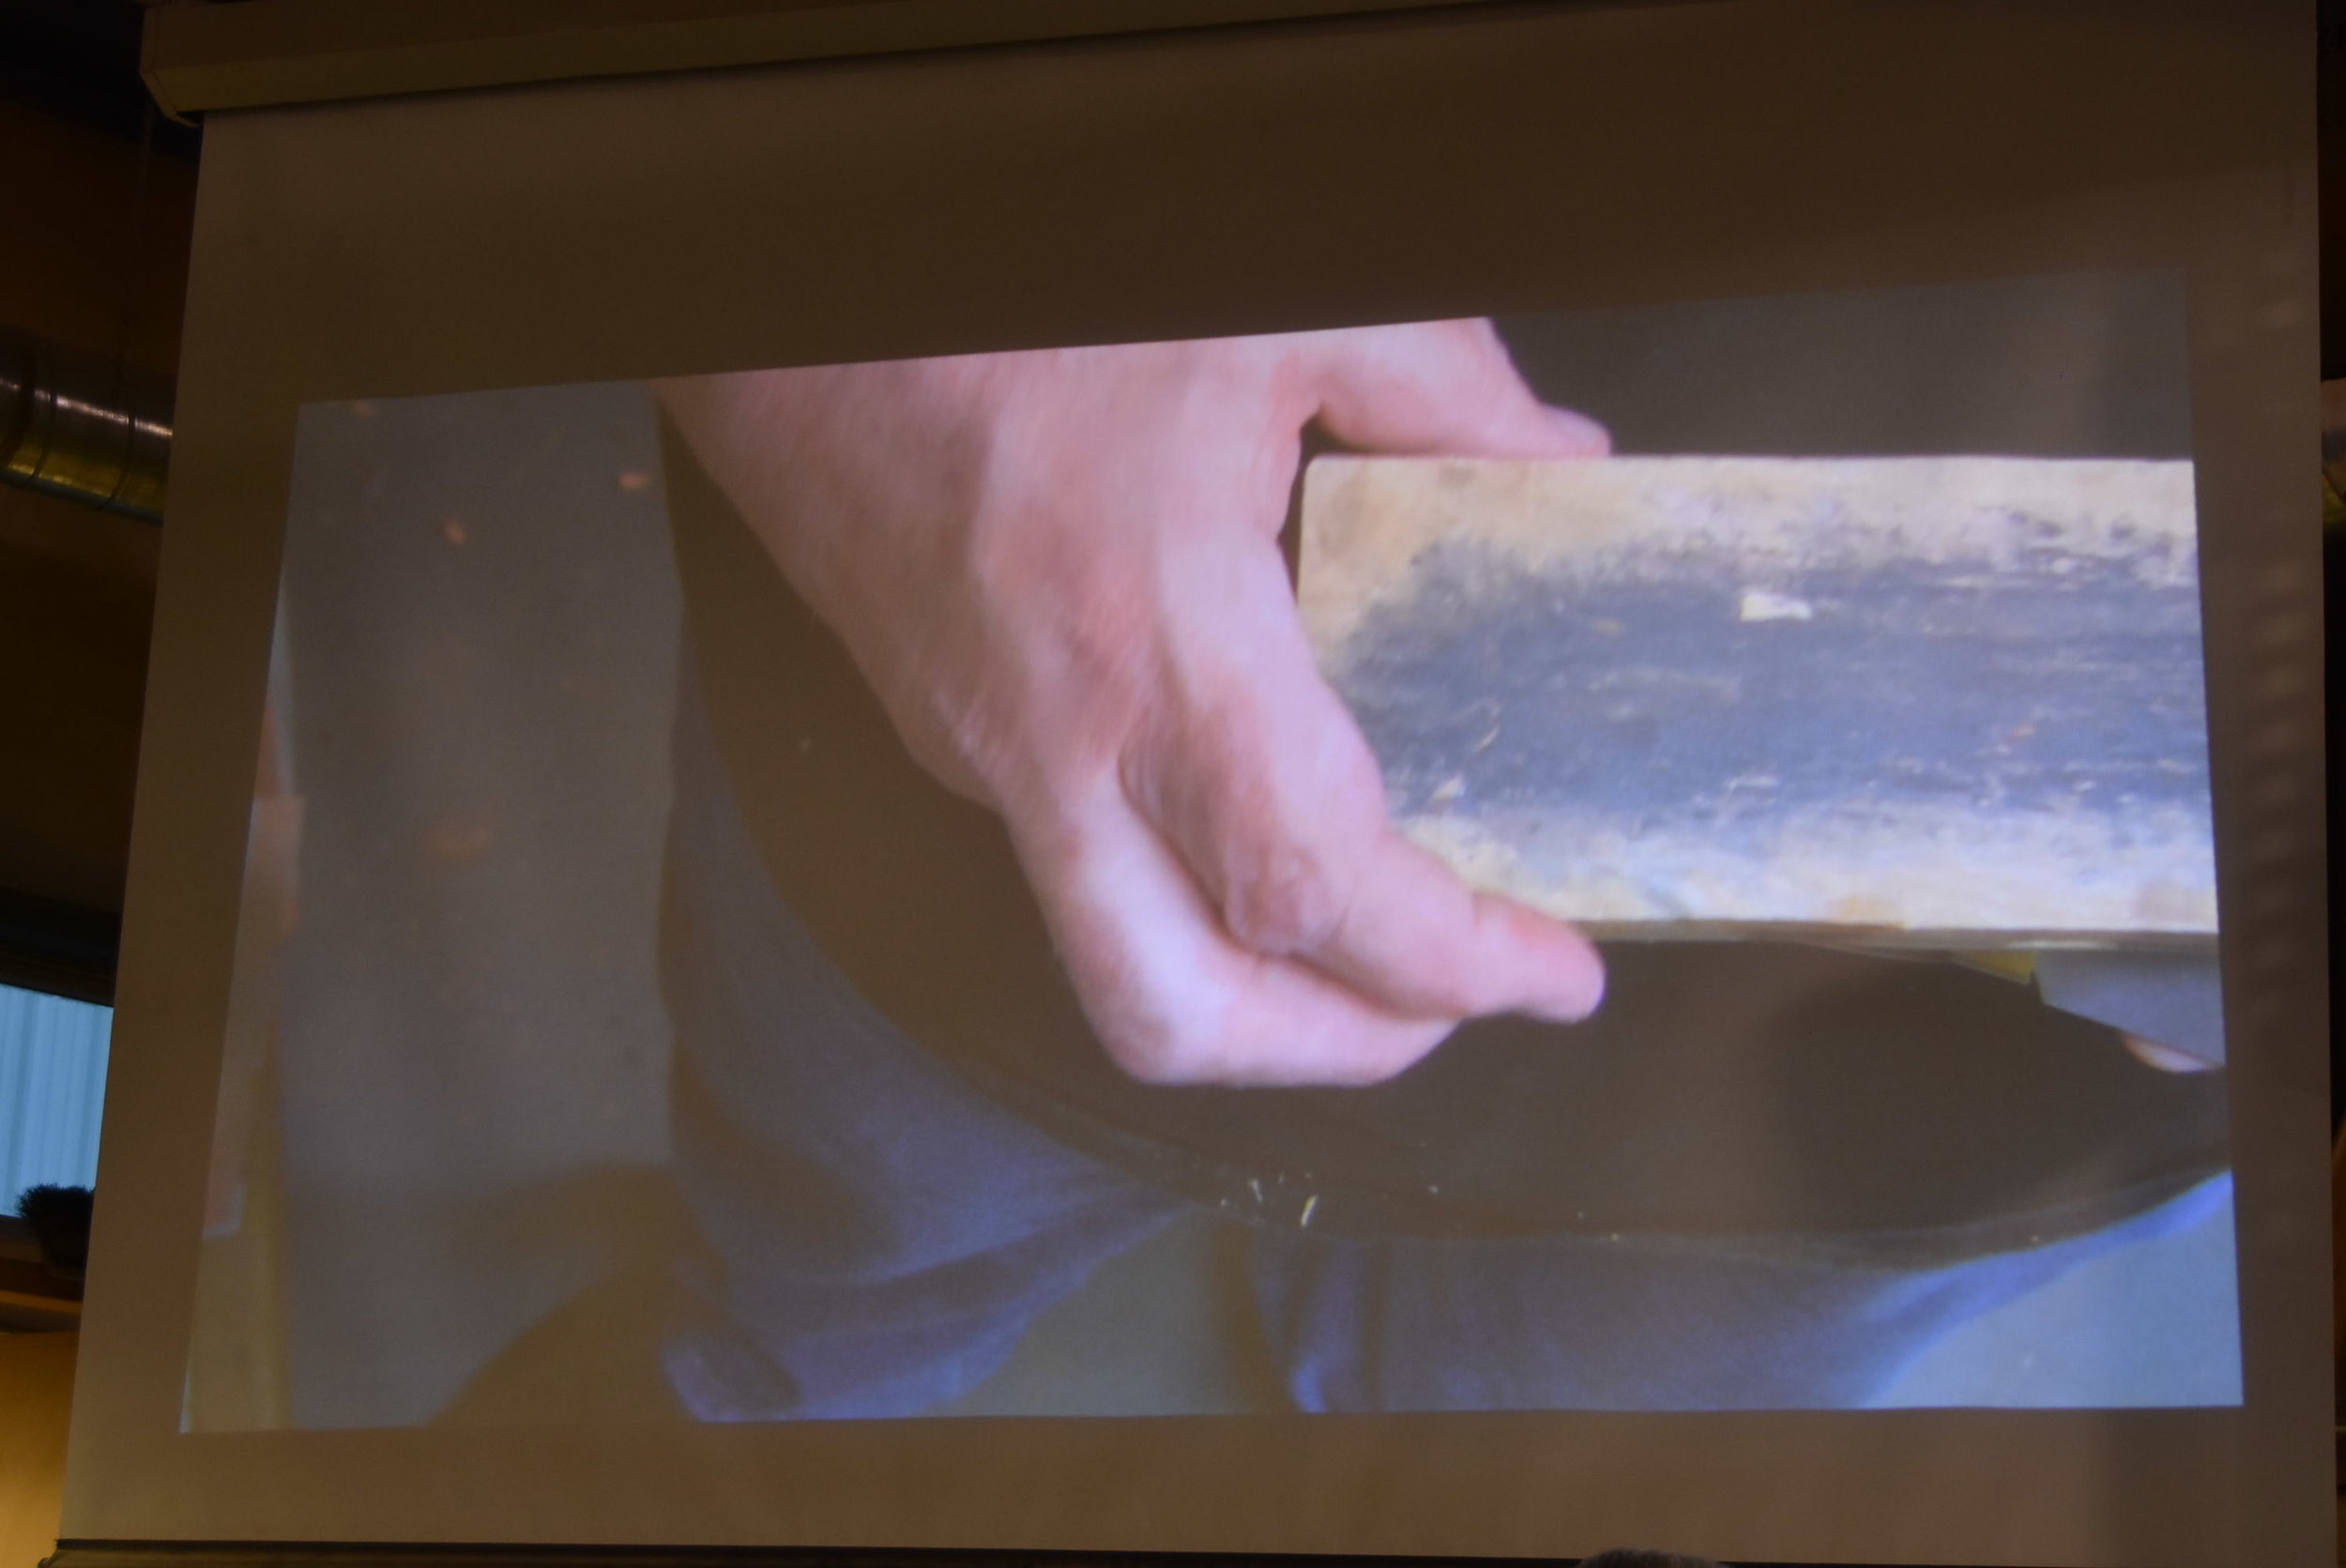
Bill started with a jointed and planed blank with a square cross-section. He then carefully marked the centers first with a spring loaded center punch (he likes the one he got from Harbor Freight) and then drove his spur center in with a couple of quick blows. Since he is a production turner, Bill likes the spur drive center so he can turn faster. He recommended the safety center if you are new to turning or using a skew chisel. His first step was to mount it on the true centers to create the pommel on top and round the rest of the leg.


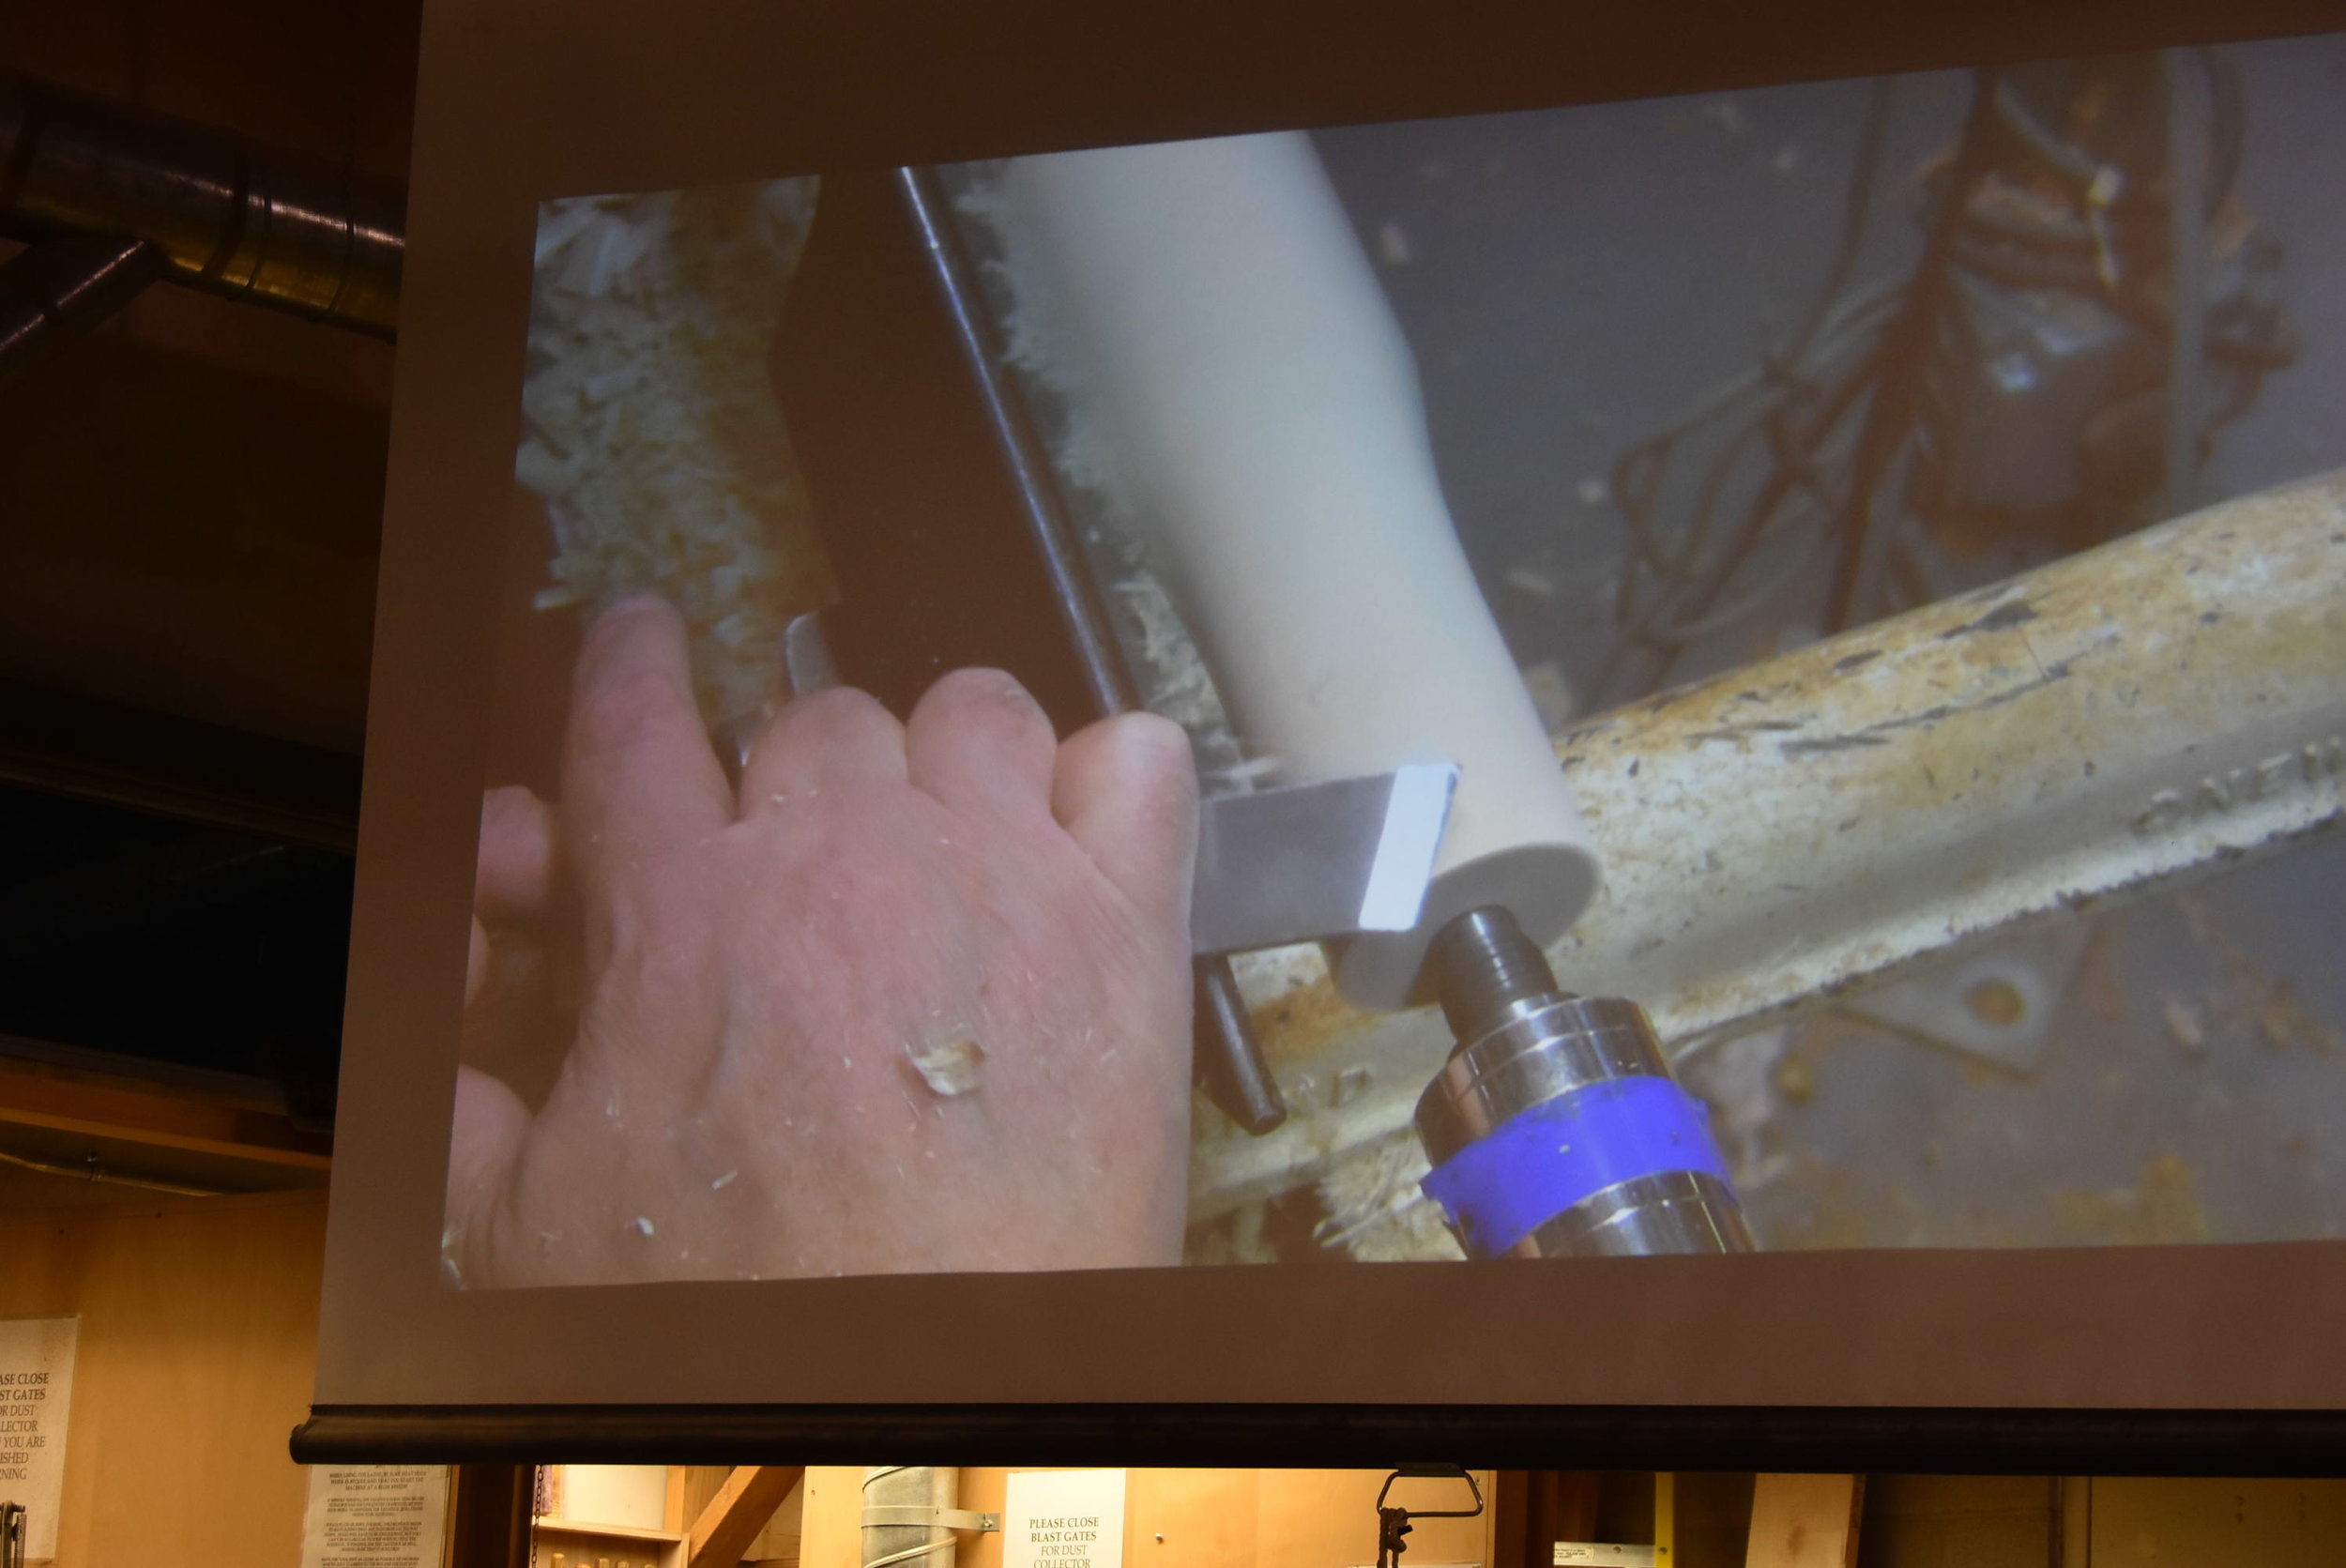
But before you start turning, you need a sharp tool. Bill hollow grinds the chisel at an angle, then polishes it on a diamond plate, and then hones it with a birch veneer and some white diamond polish. It was so sharp, he could shave with it!


After marking the length of his pommel, Bill uses the skew to make a small "V" below this mark to leave room for the pommel cut and a small collar he'll have below it. He then used the skew to round the bottom of the leg with two different cutting styles. With the tool rest slightly above the center line of the piece, he presented the tools cutting edge square to the leg and lifted up the handle. This method quickly removed stock as he progress toward the pommel. To even out the leg, he used the mid section of the skew to sweep along the length of the leg.


Whenever Bill made a defining cut, as he did to shape the collar, he would align the tool so that the bevel would be perpendicular to the wood. If he were then to make a relieving cut he would align the other bevel to perpendicular. The sequence of making the collar is shown above.


Here, Bill positions the "long point" of the skew down to make the pommel cut. With a couple of passes he gets a very clean cut. He takes care not to engage the short end or he will have a catch.


Bill then went through the process he used to duplicate legs- he talked about using a story stick, how legs can be a little different from each other (they are usually far enough apart that minor variations aren't noticed), and using calipers to transfer dimensions. He finished up the demonstration by going over what causes catches and when they usually happen. He also made the point that one (Matt looked over at Bryan) might be tempted to skip sanding given the near perfect surfaces achieved with skew. If you do, they won't take the finish like the rest of the project.
If you are interested in more demonstrations on using a skew, can check out Allan Batty's or Alan Lacer's demonstration on YouTube.