Photos by Al McCarty and Ward Stevens
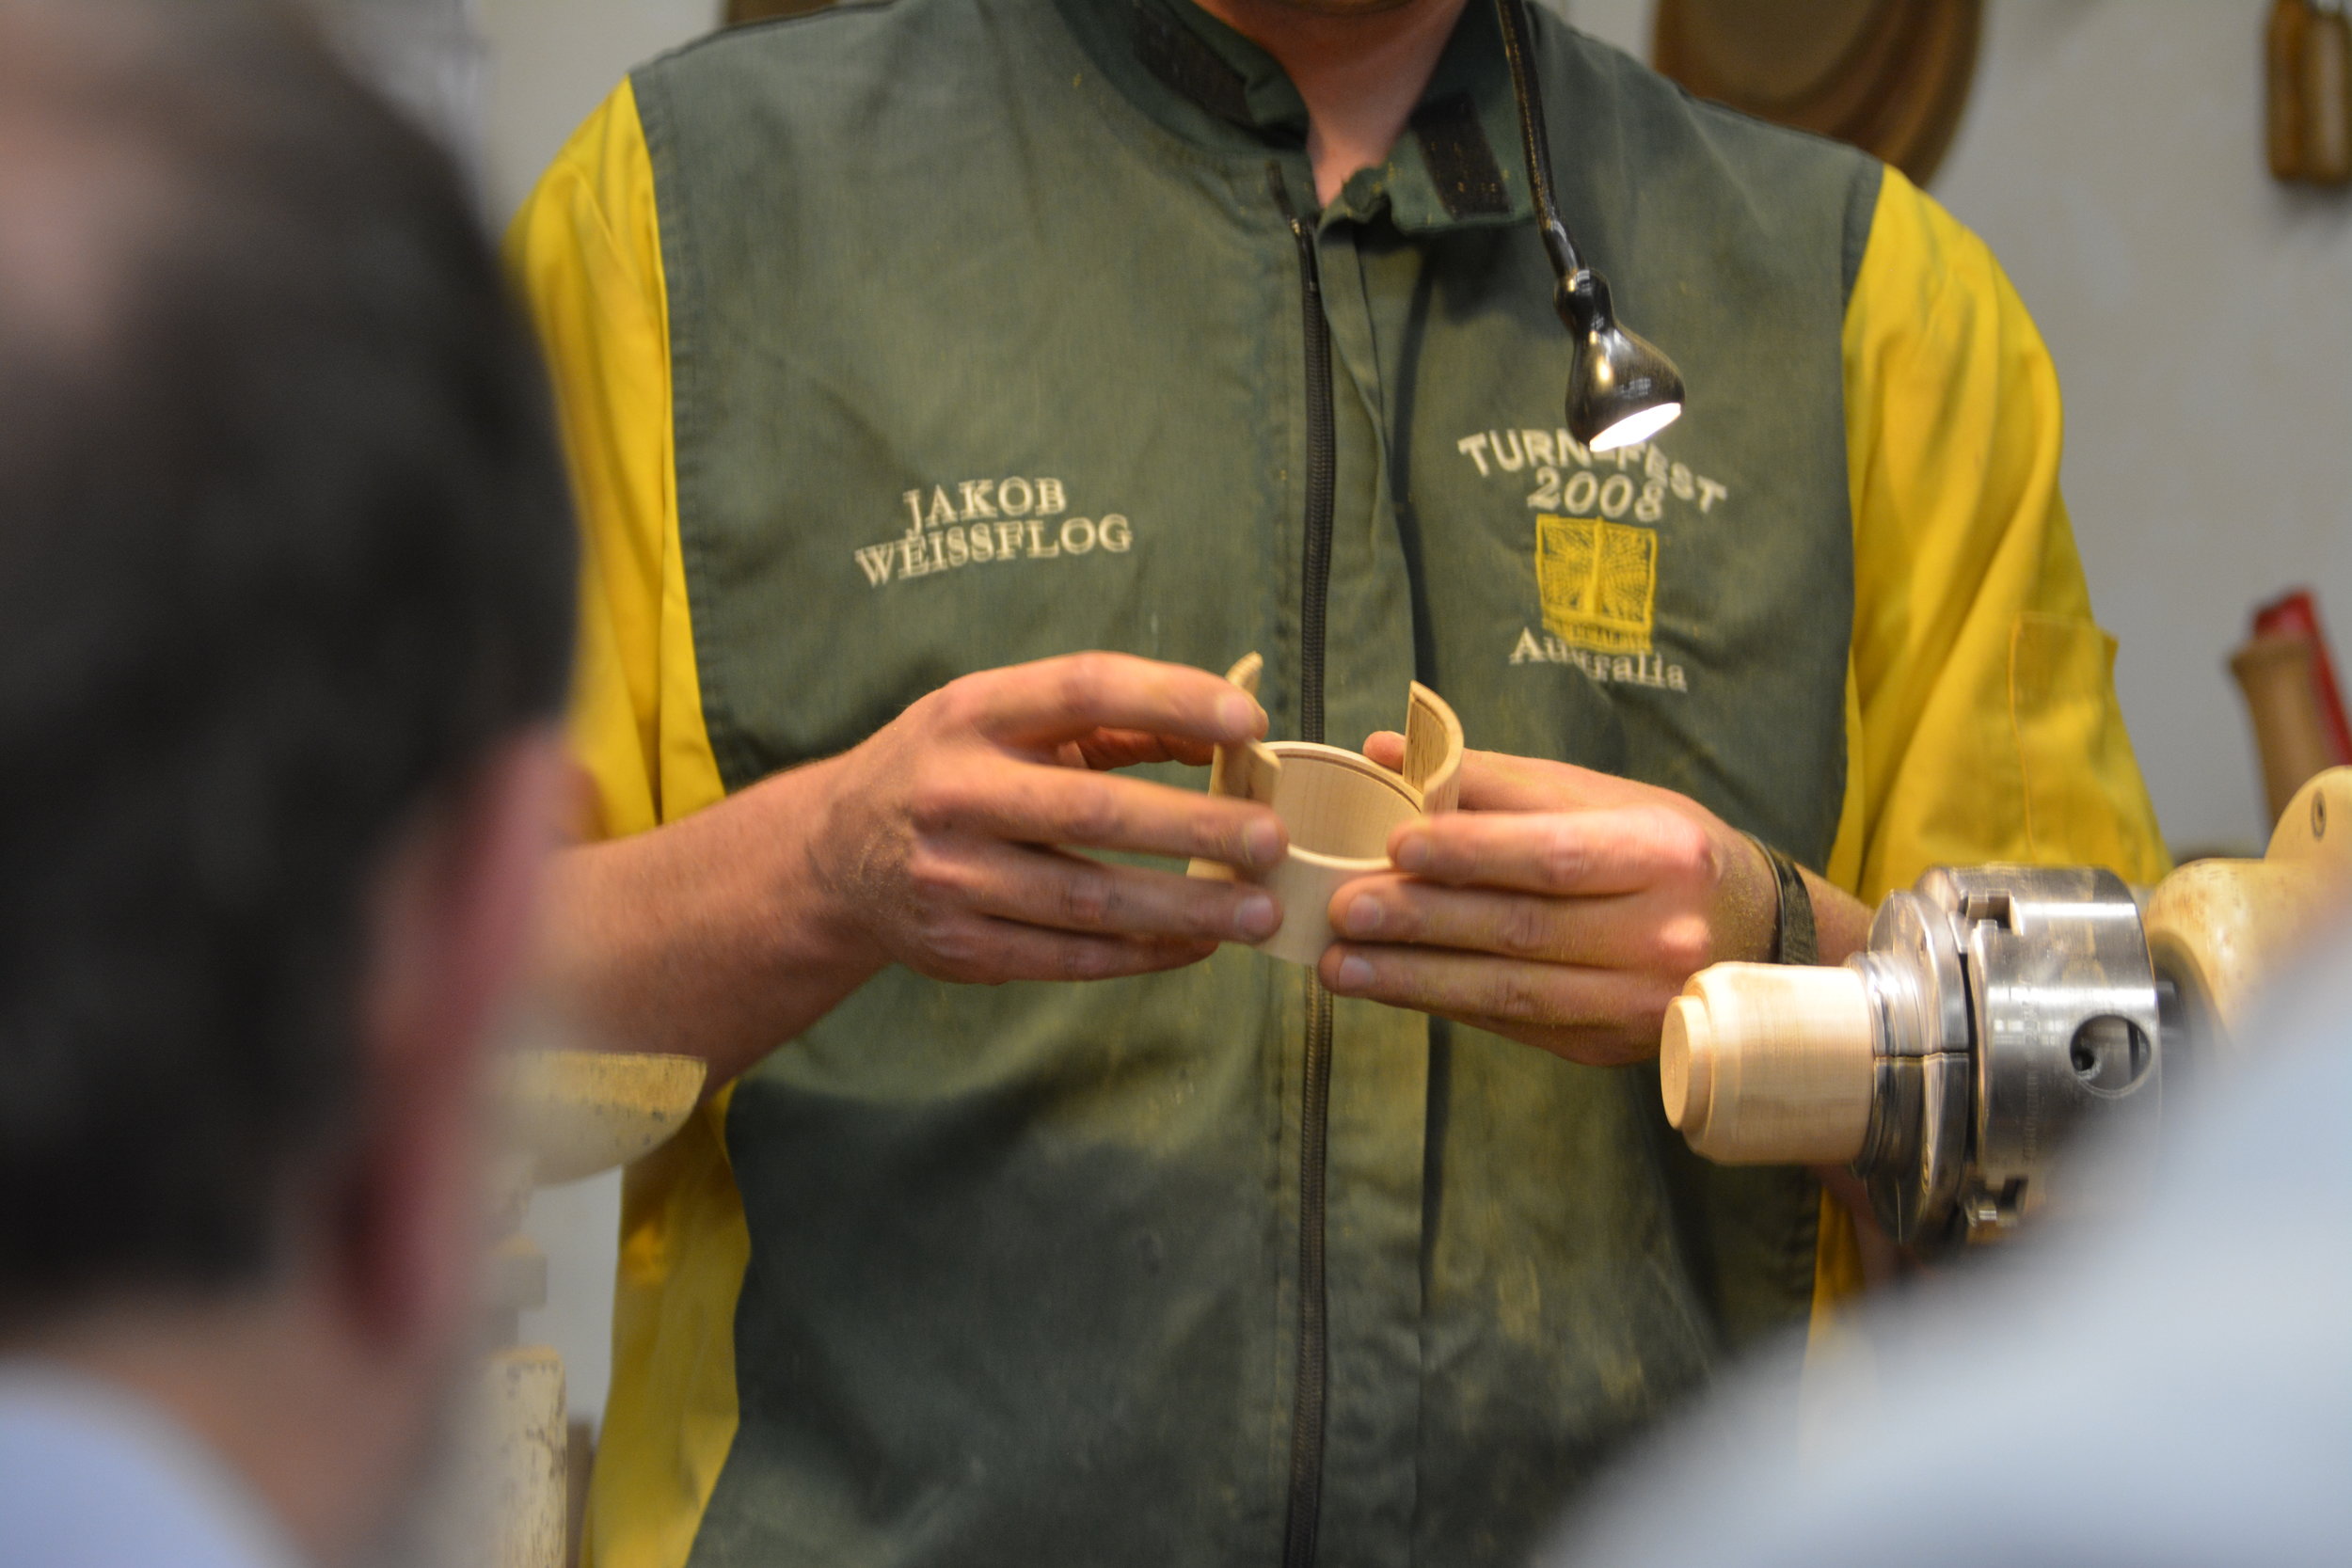
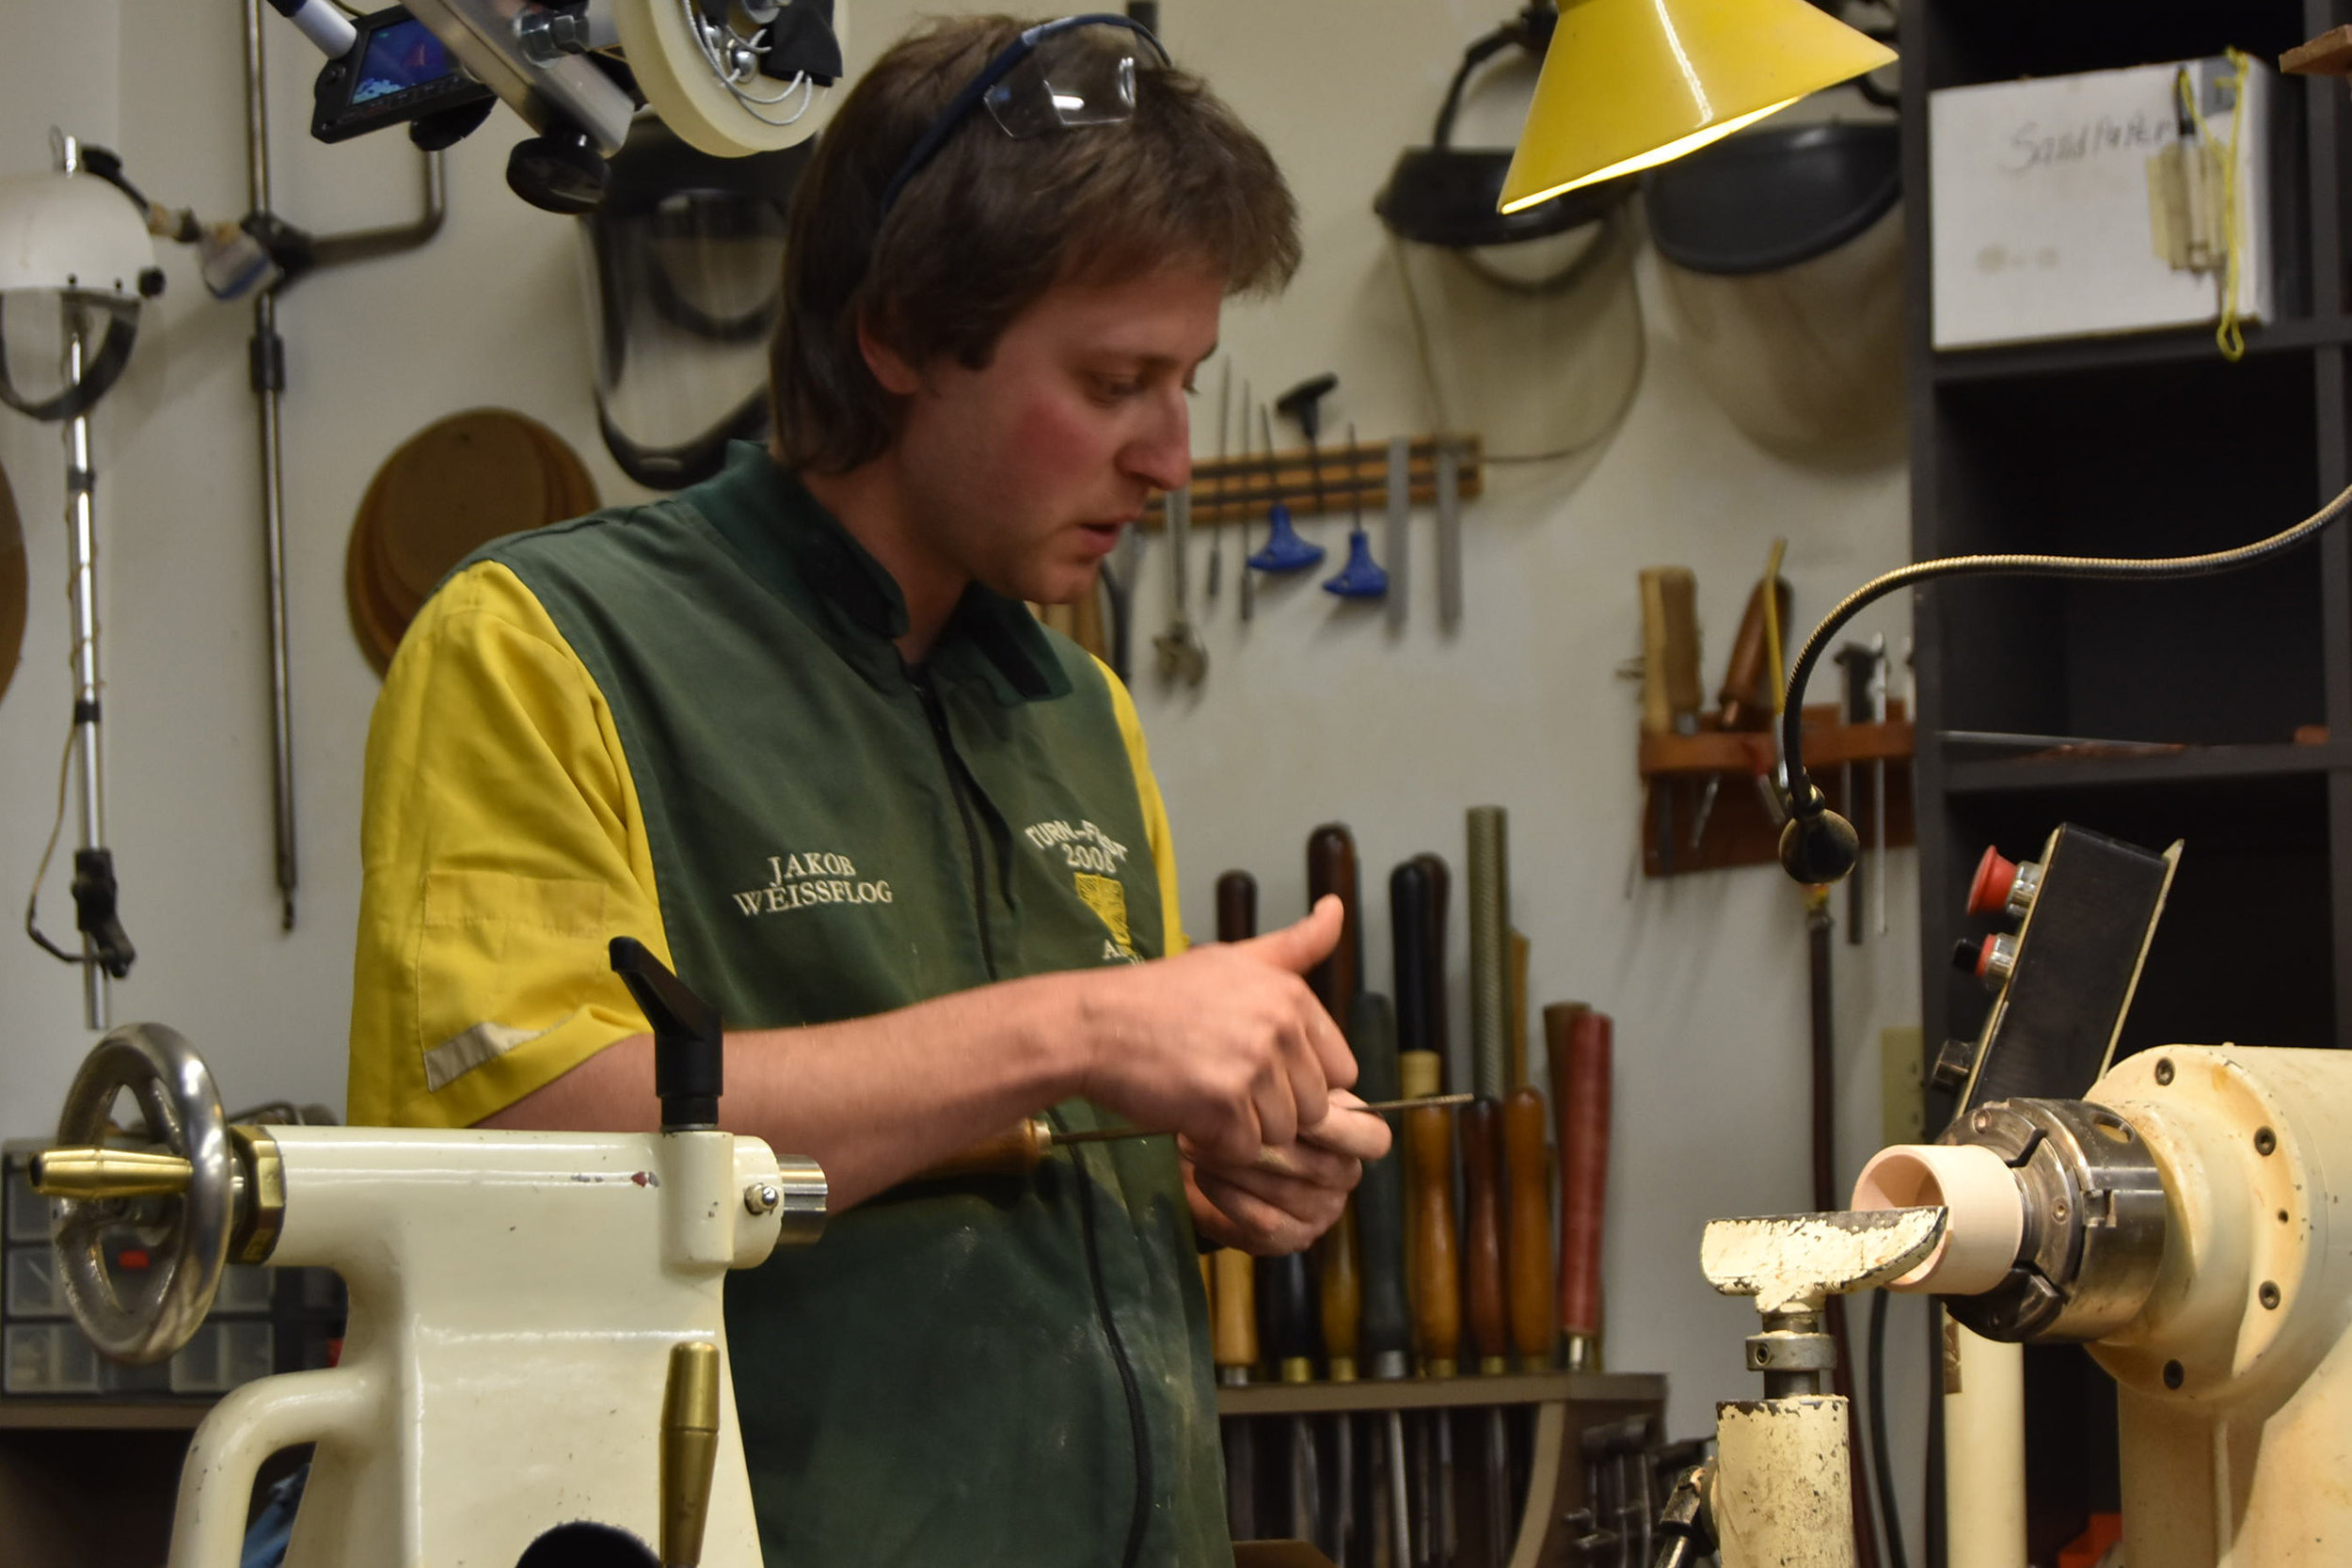
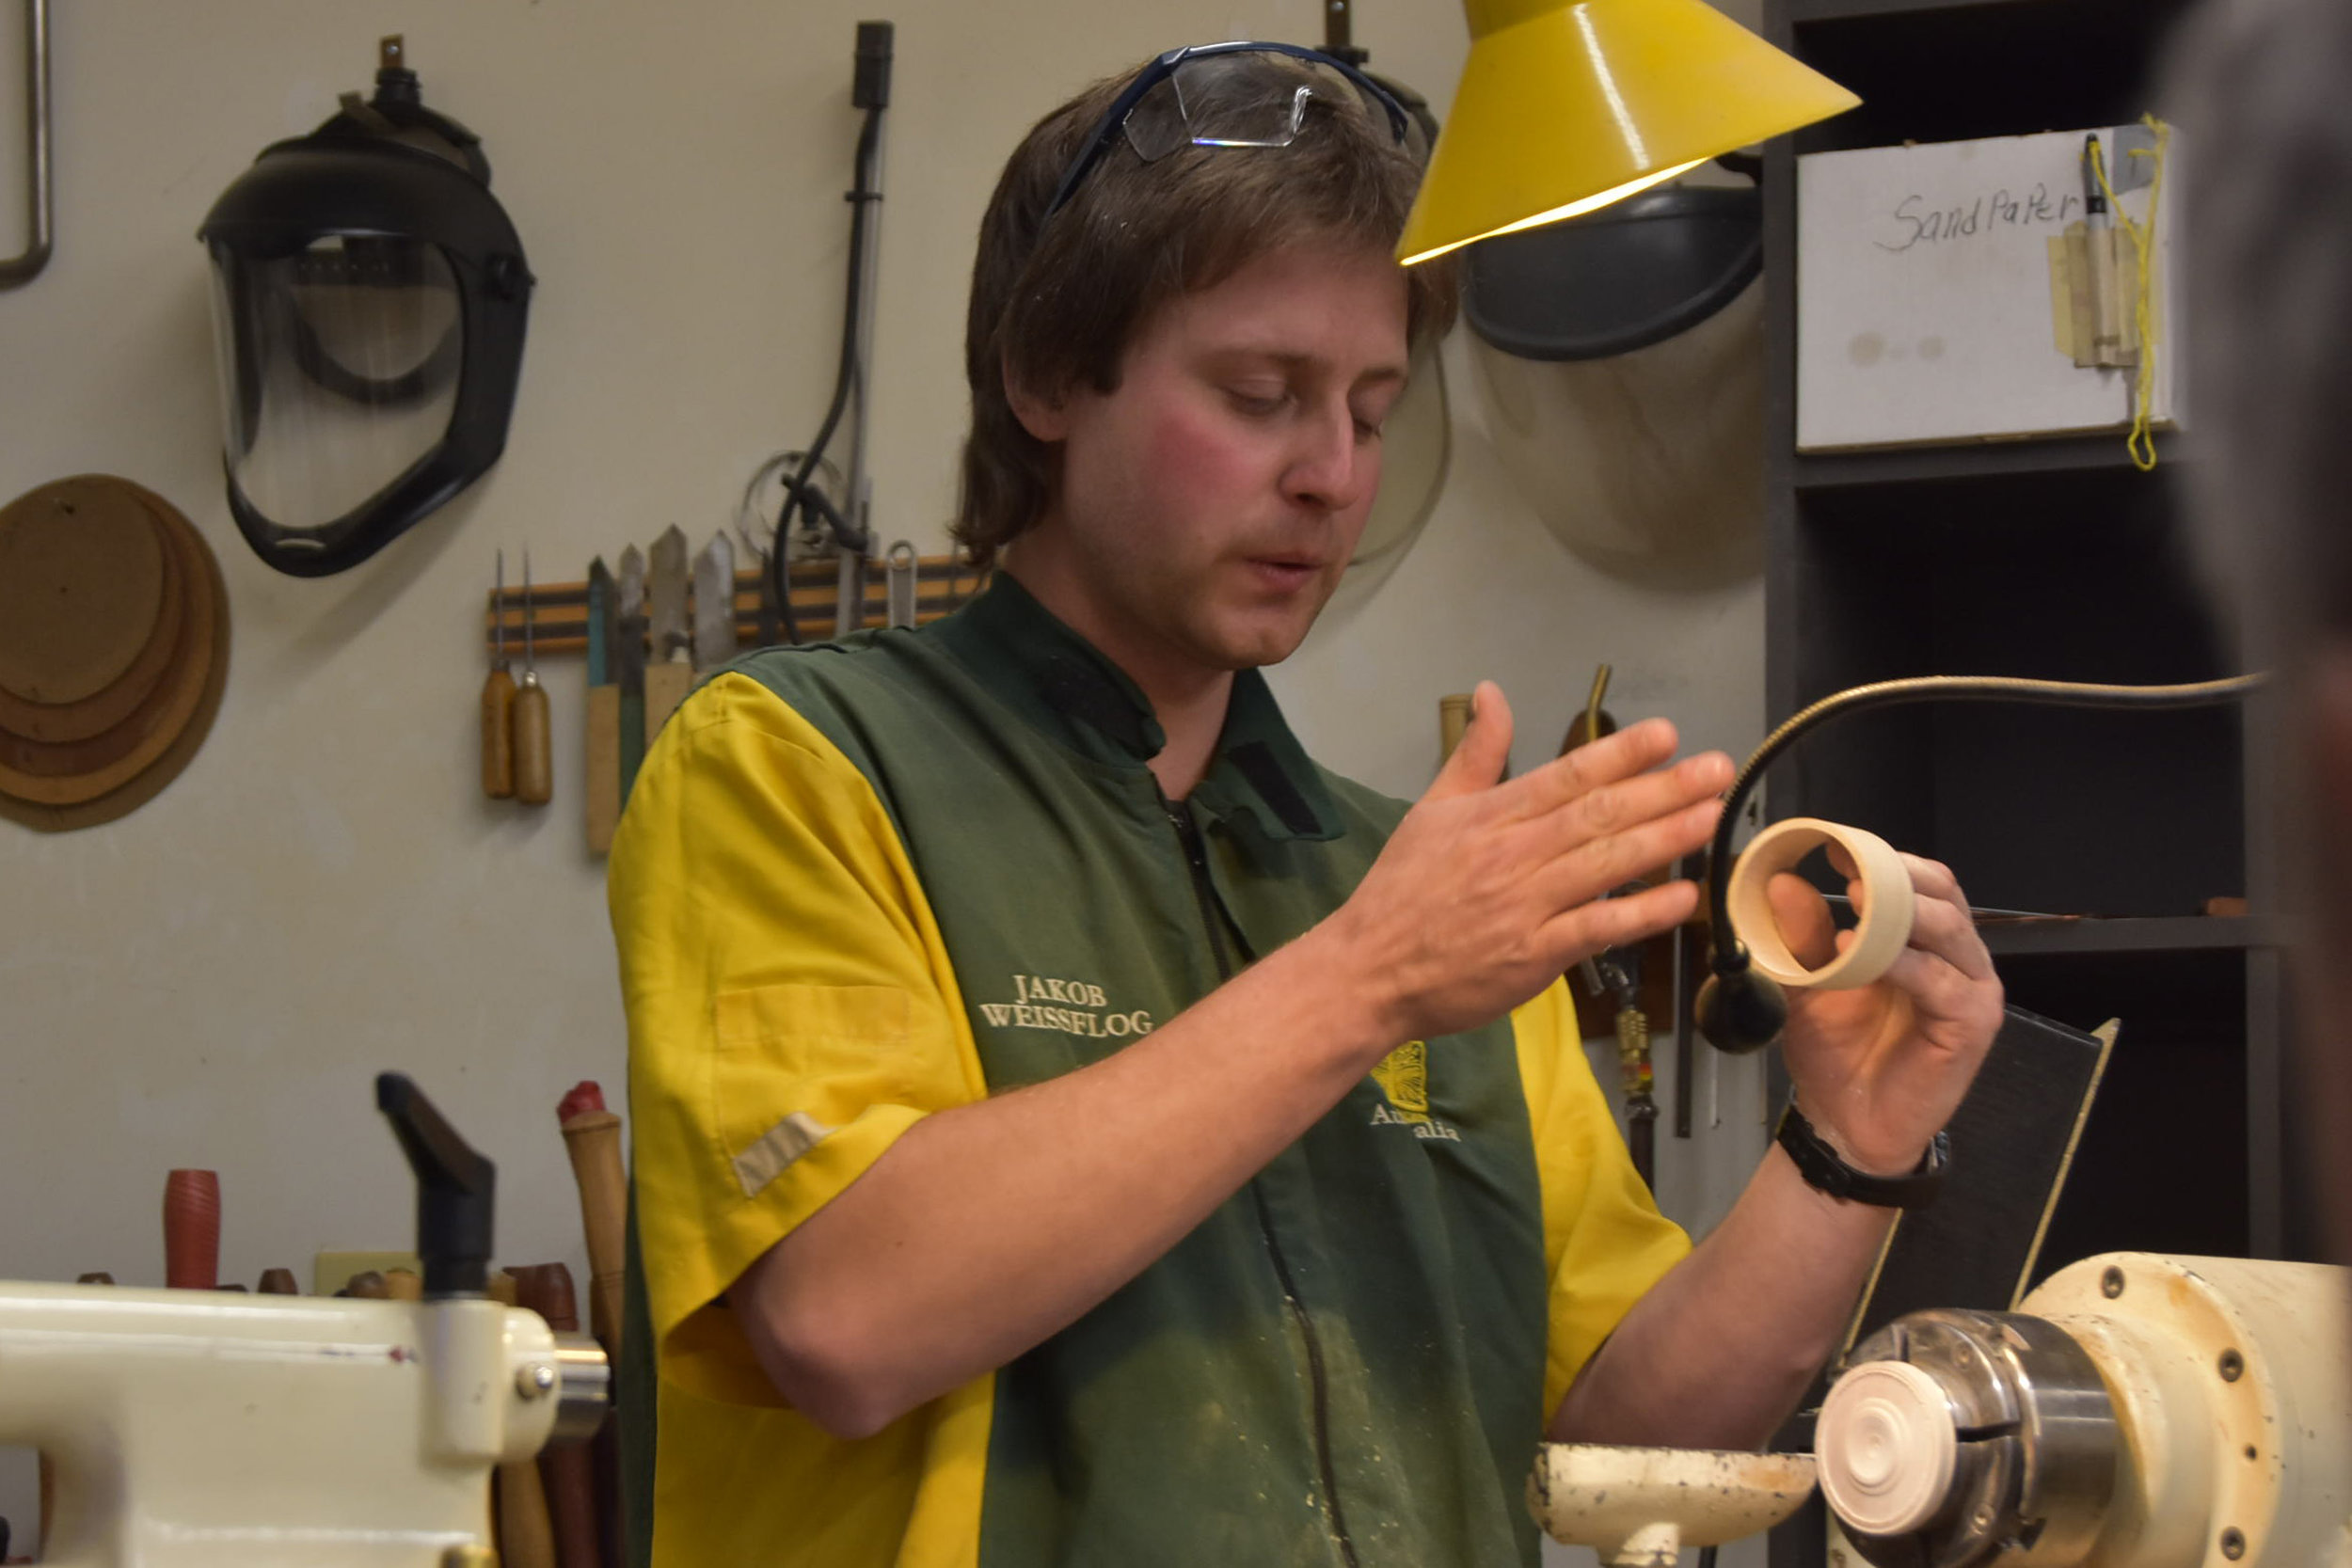
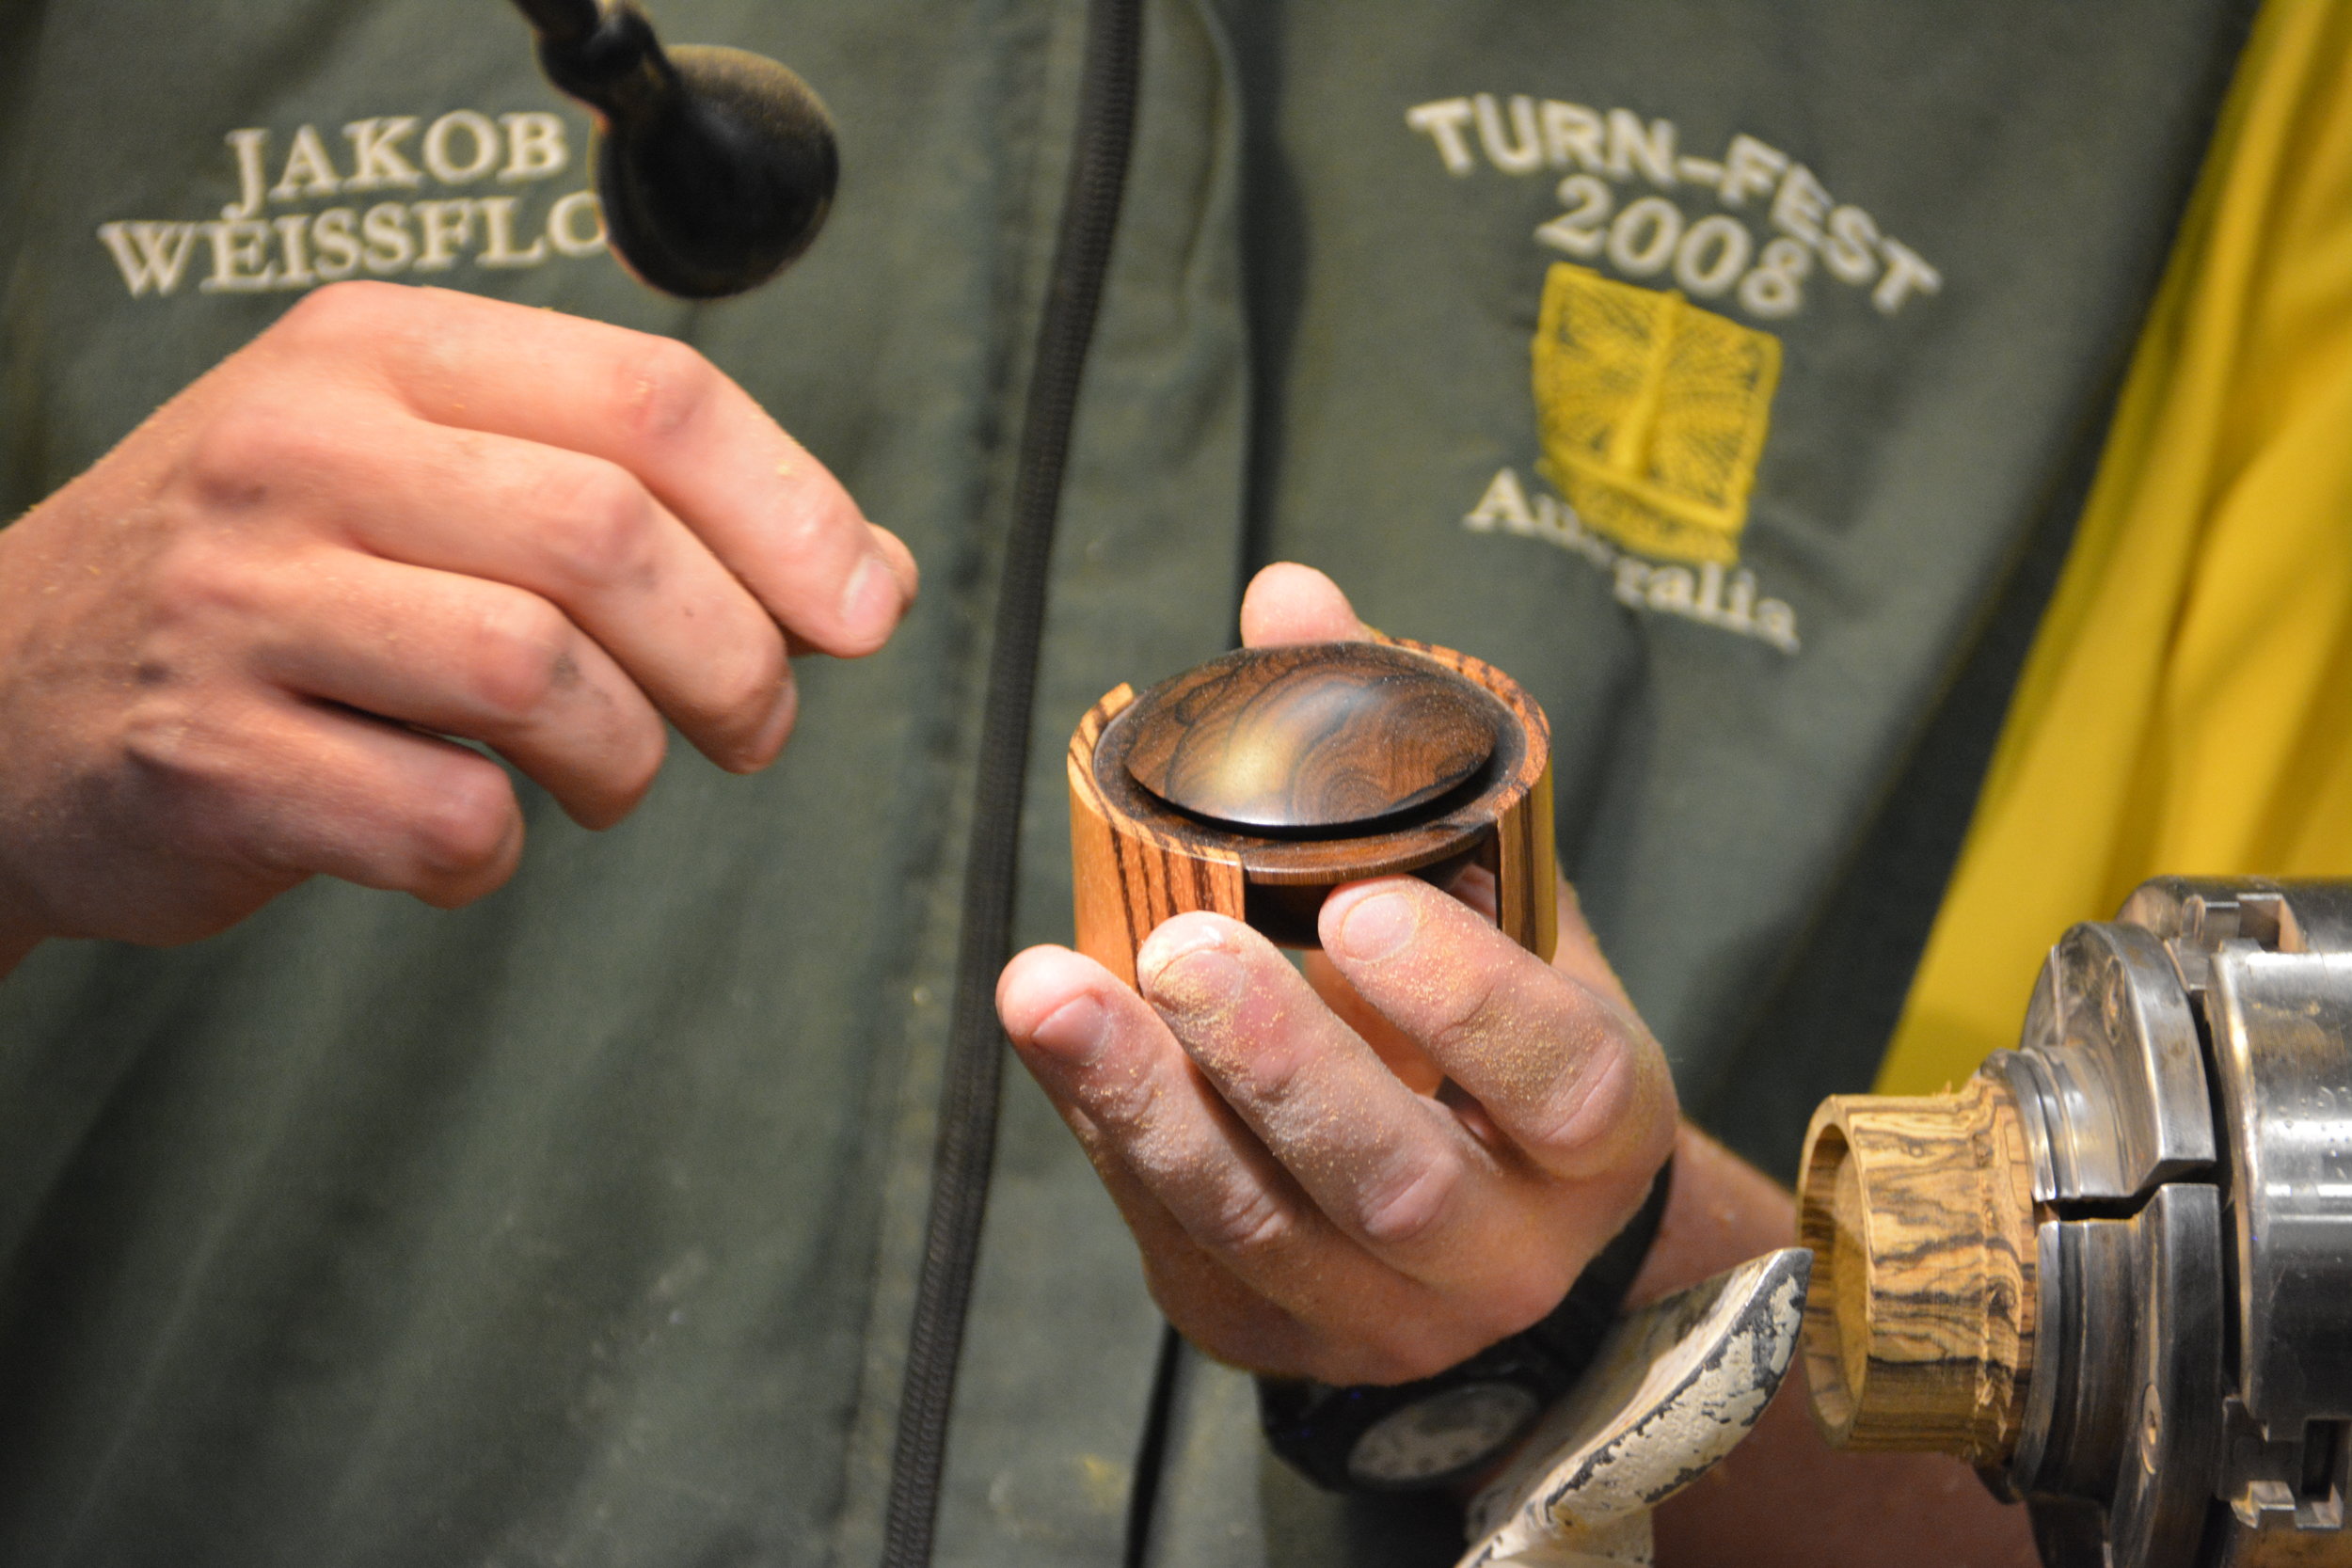
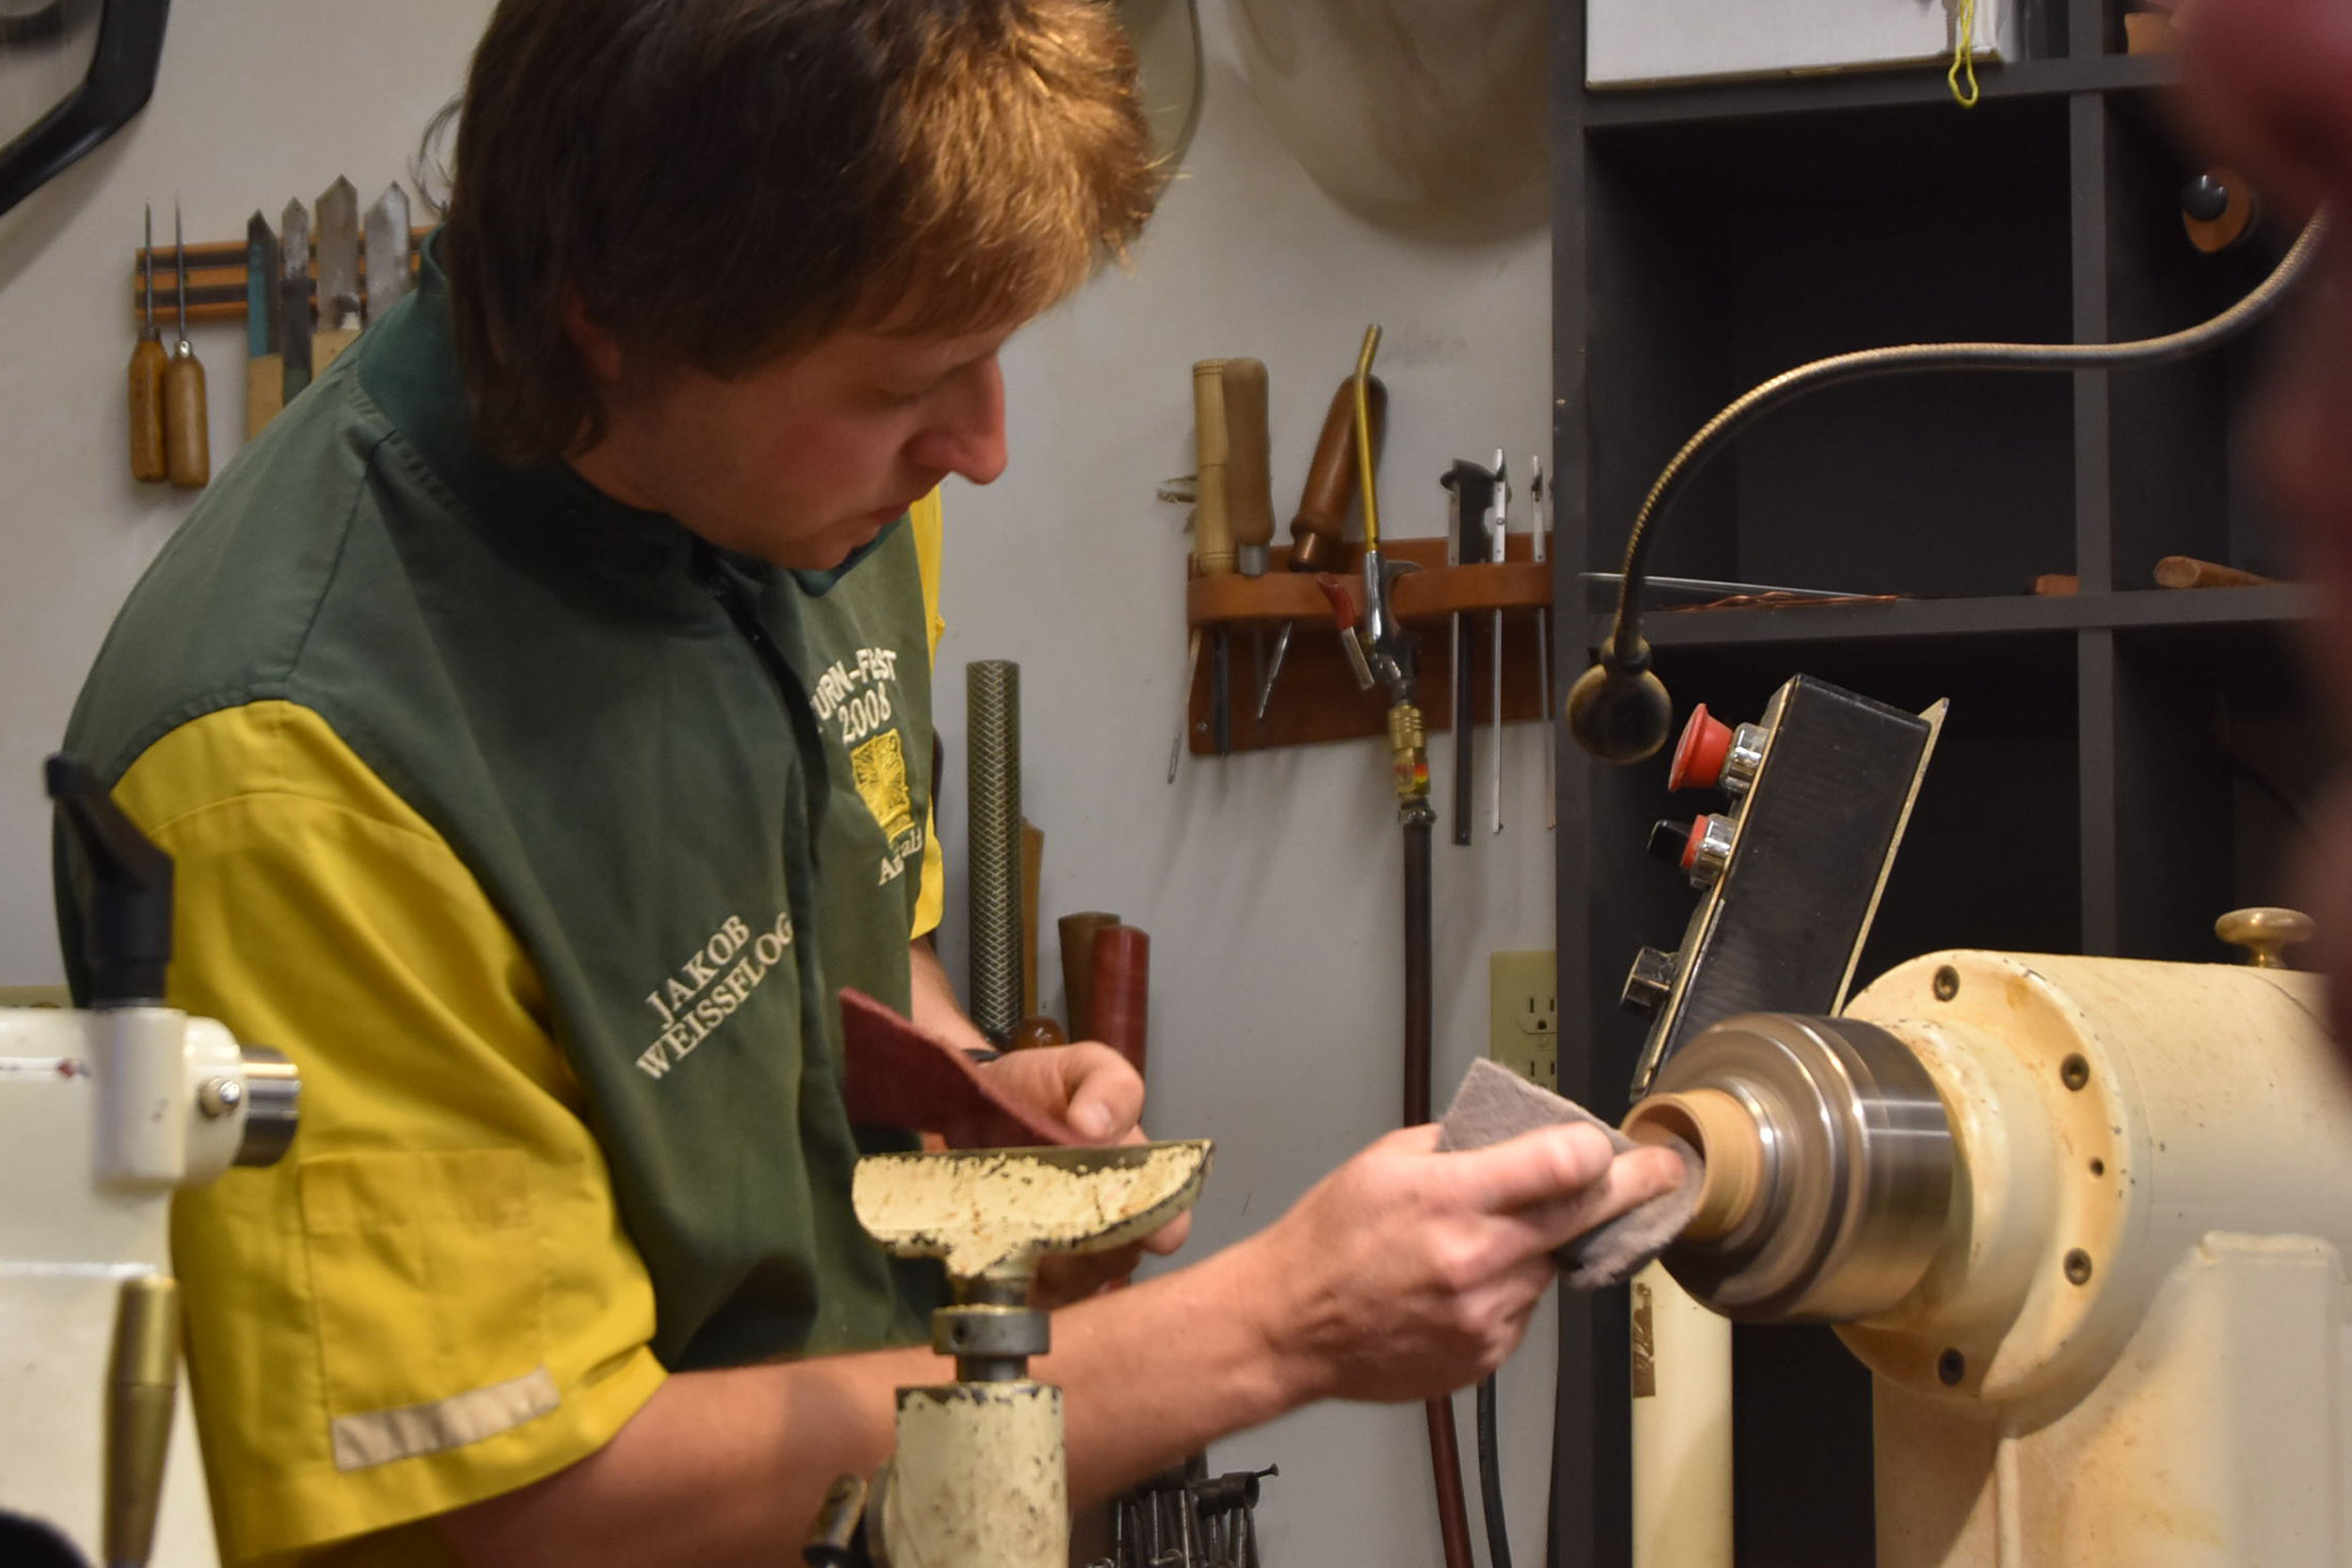
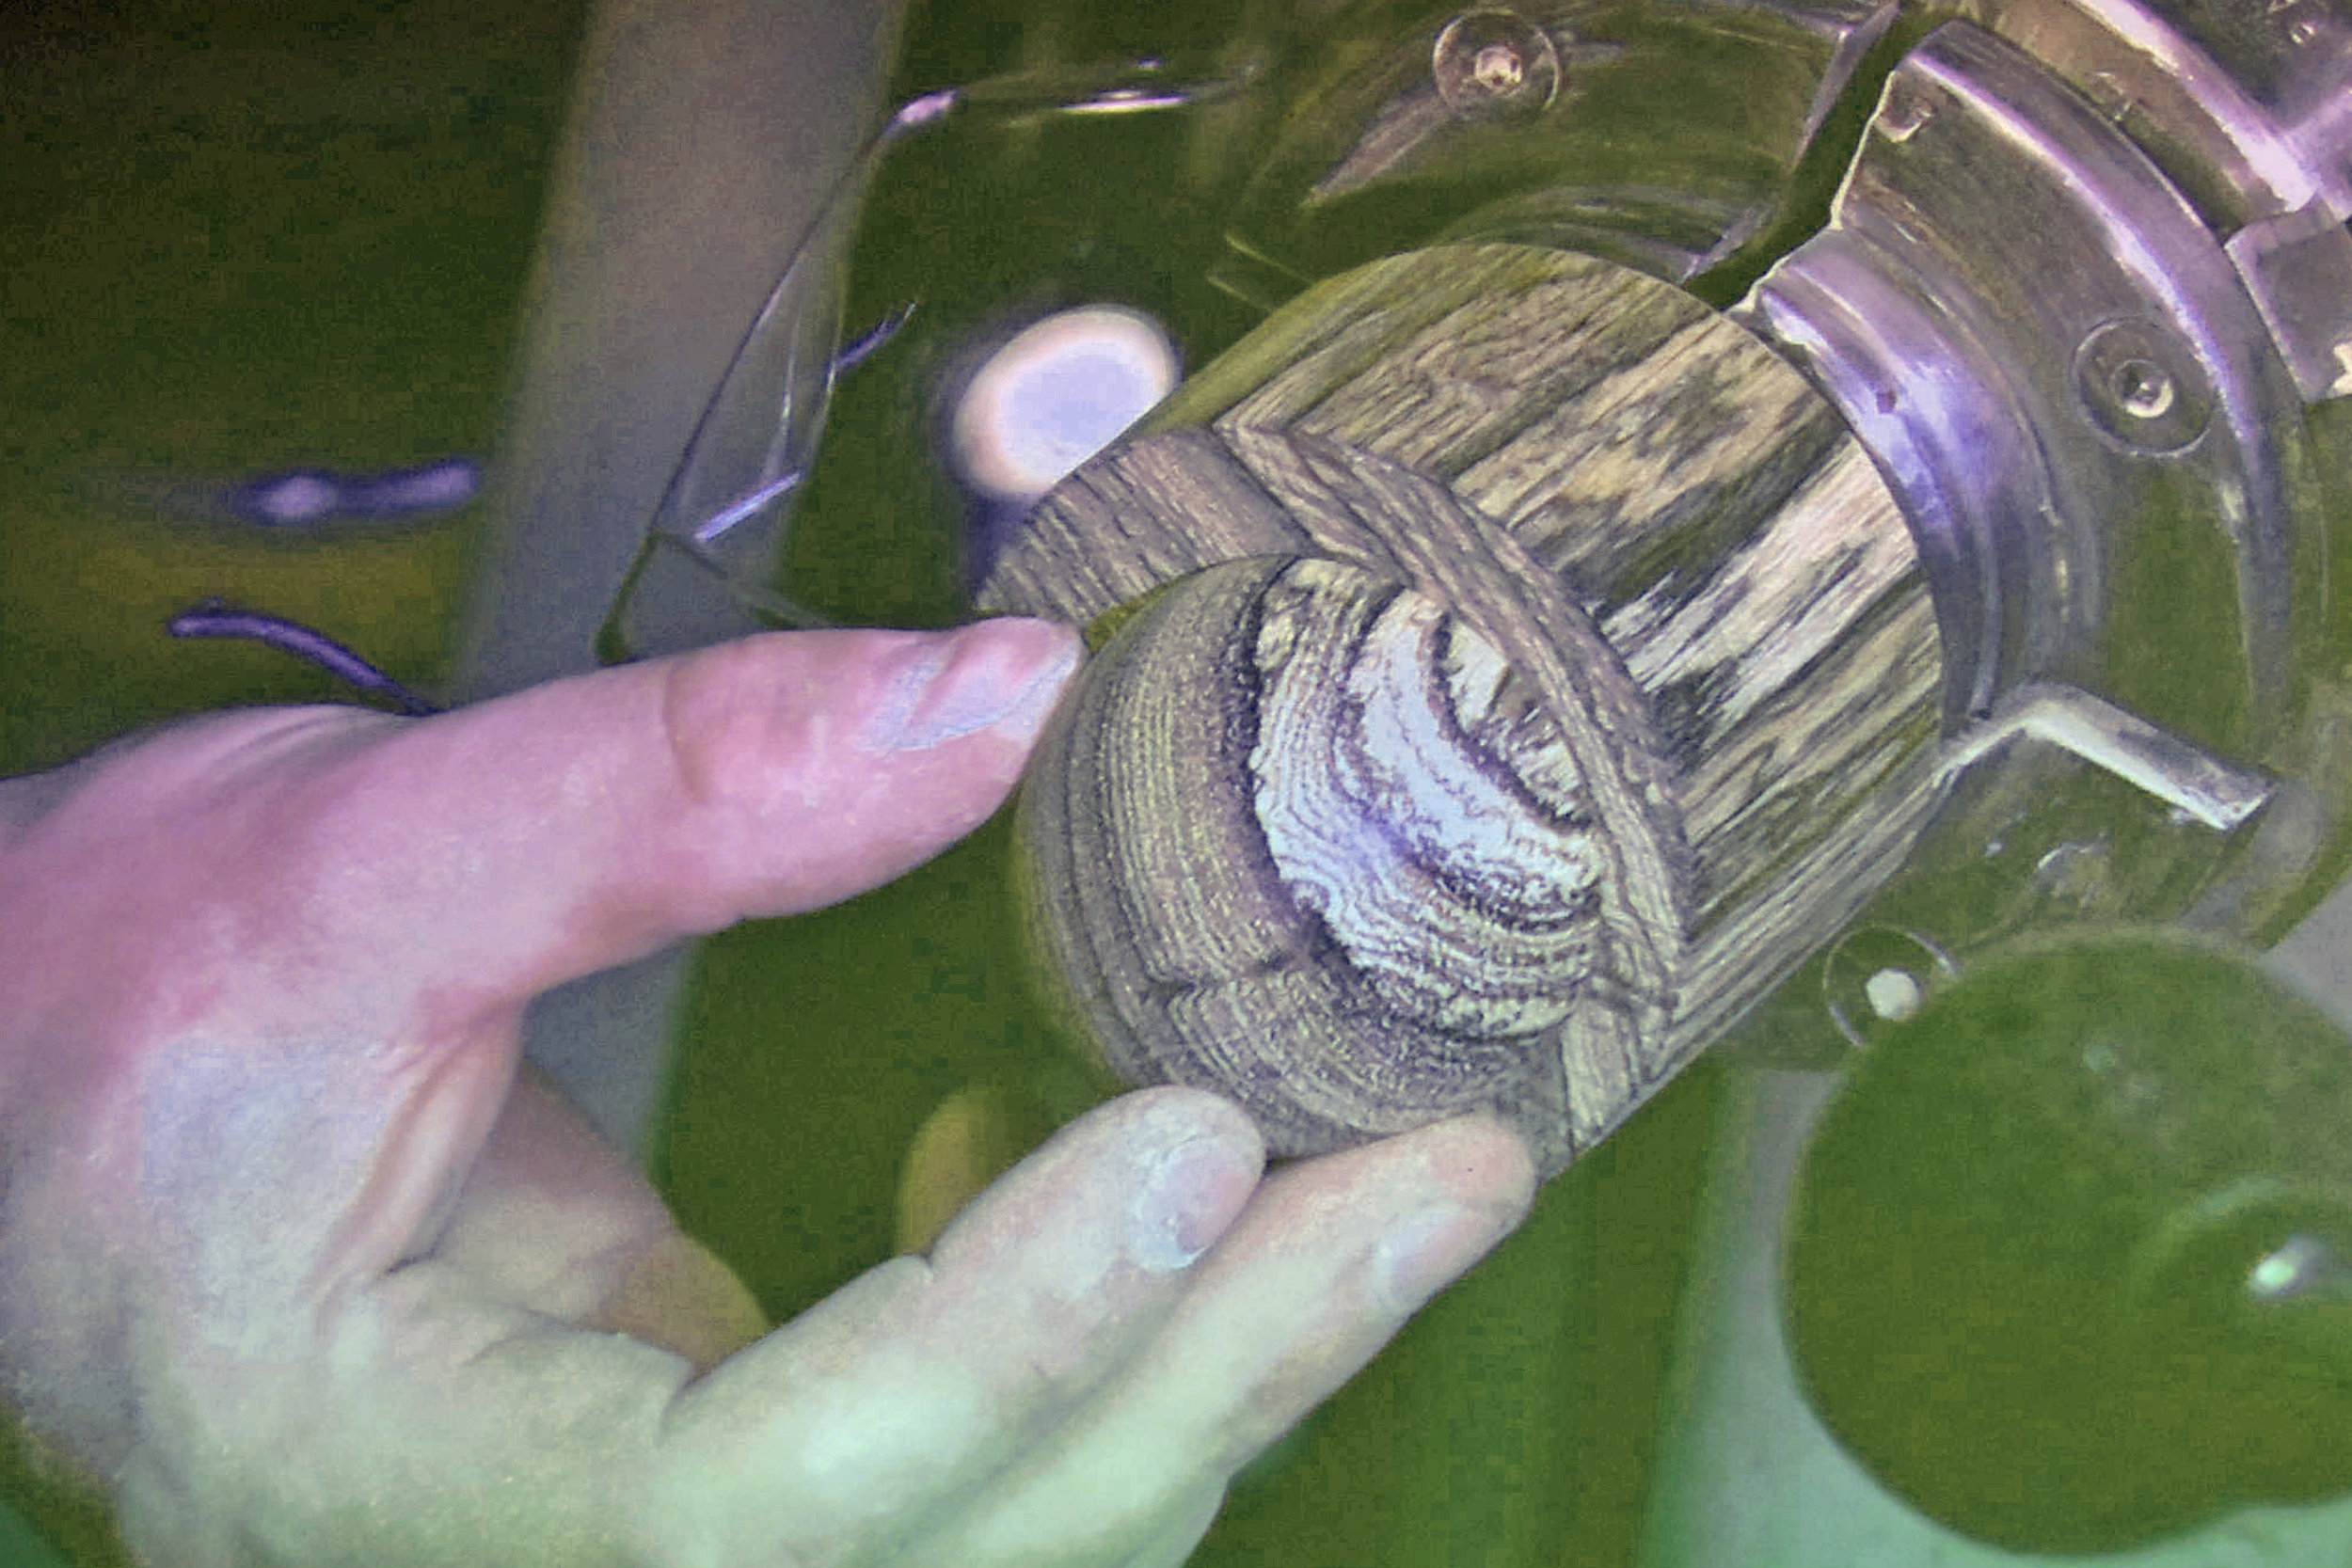
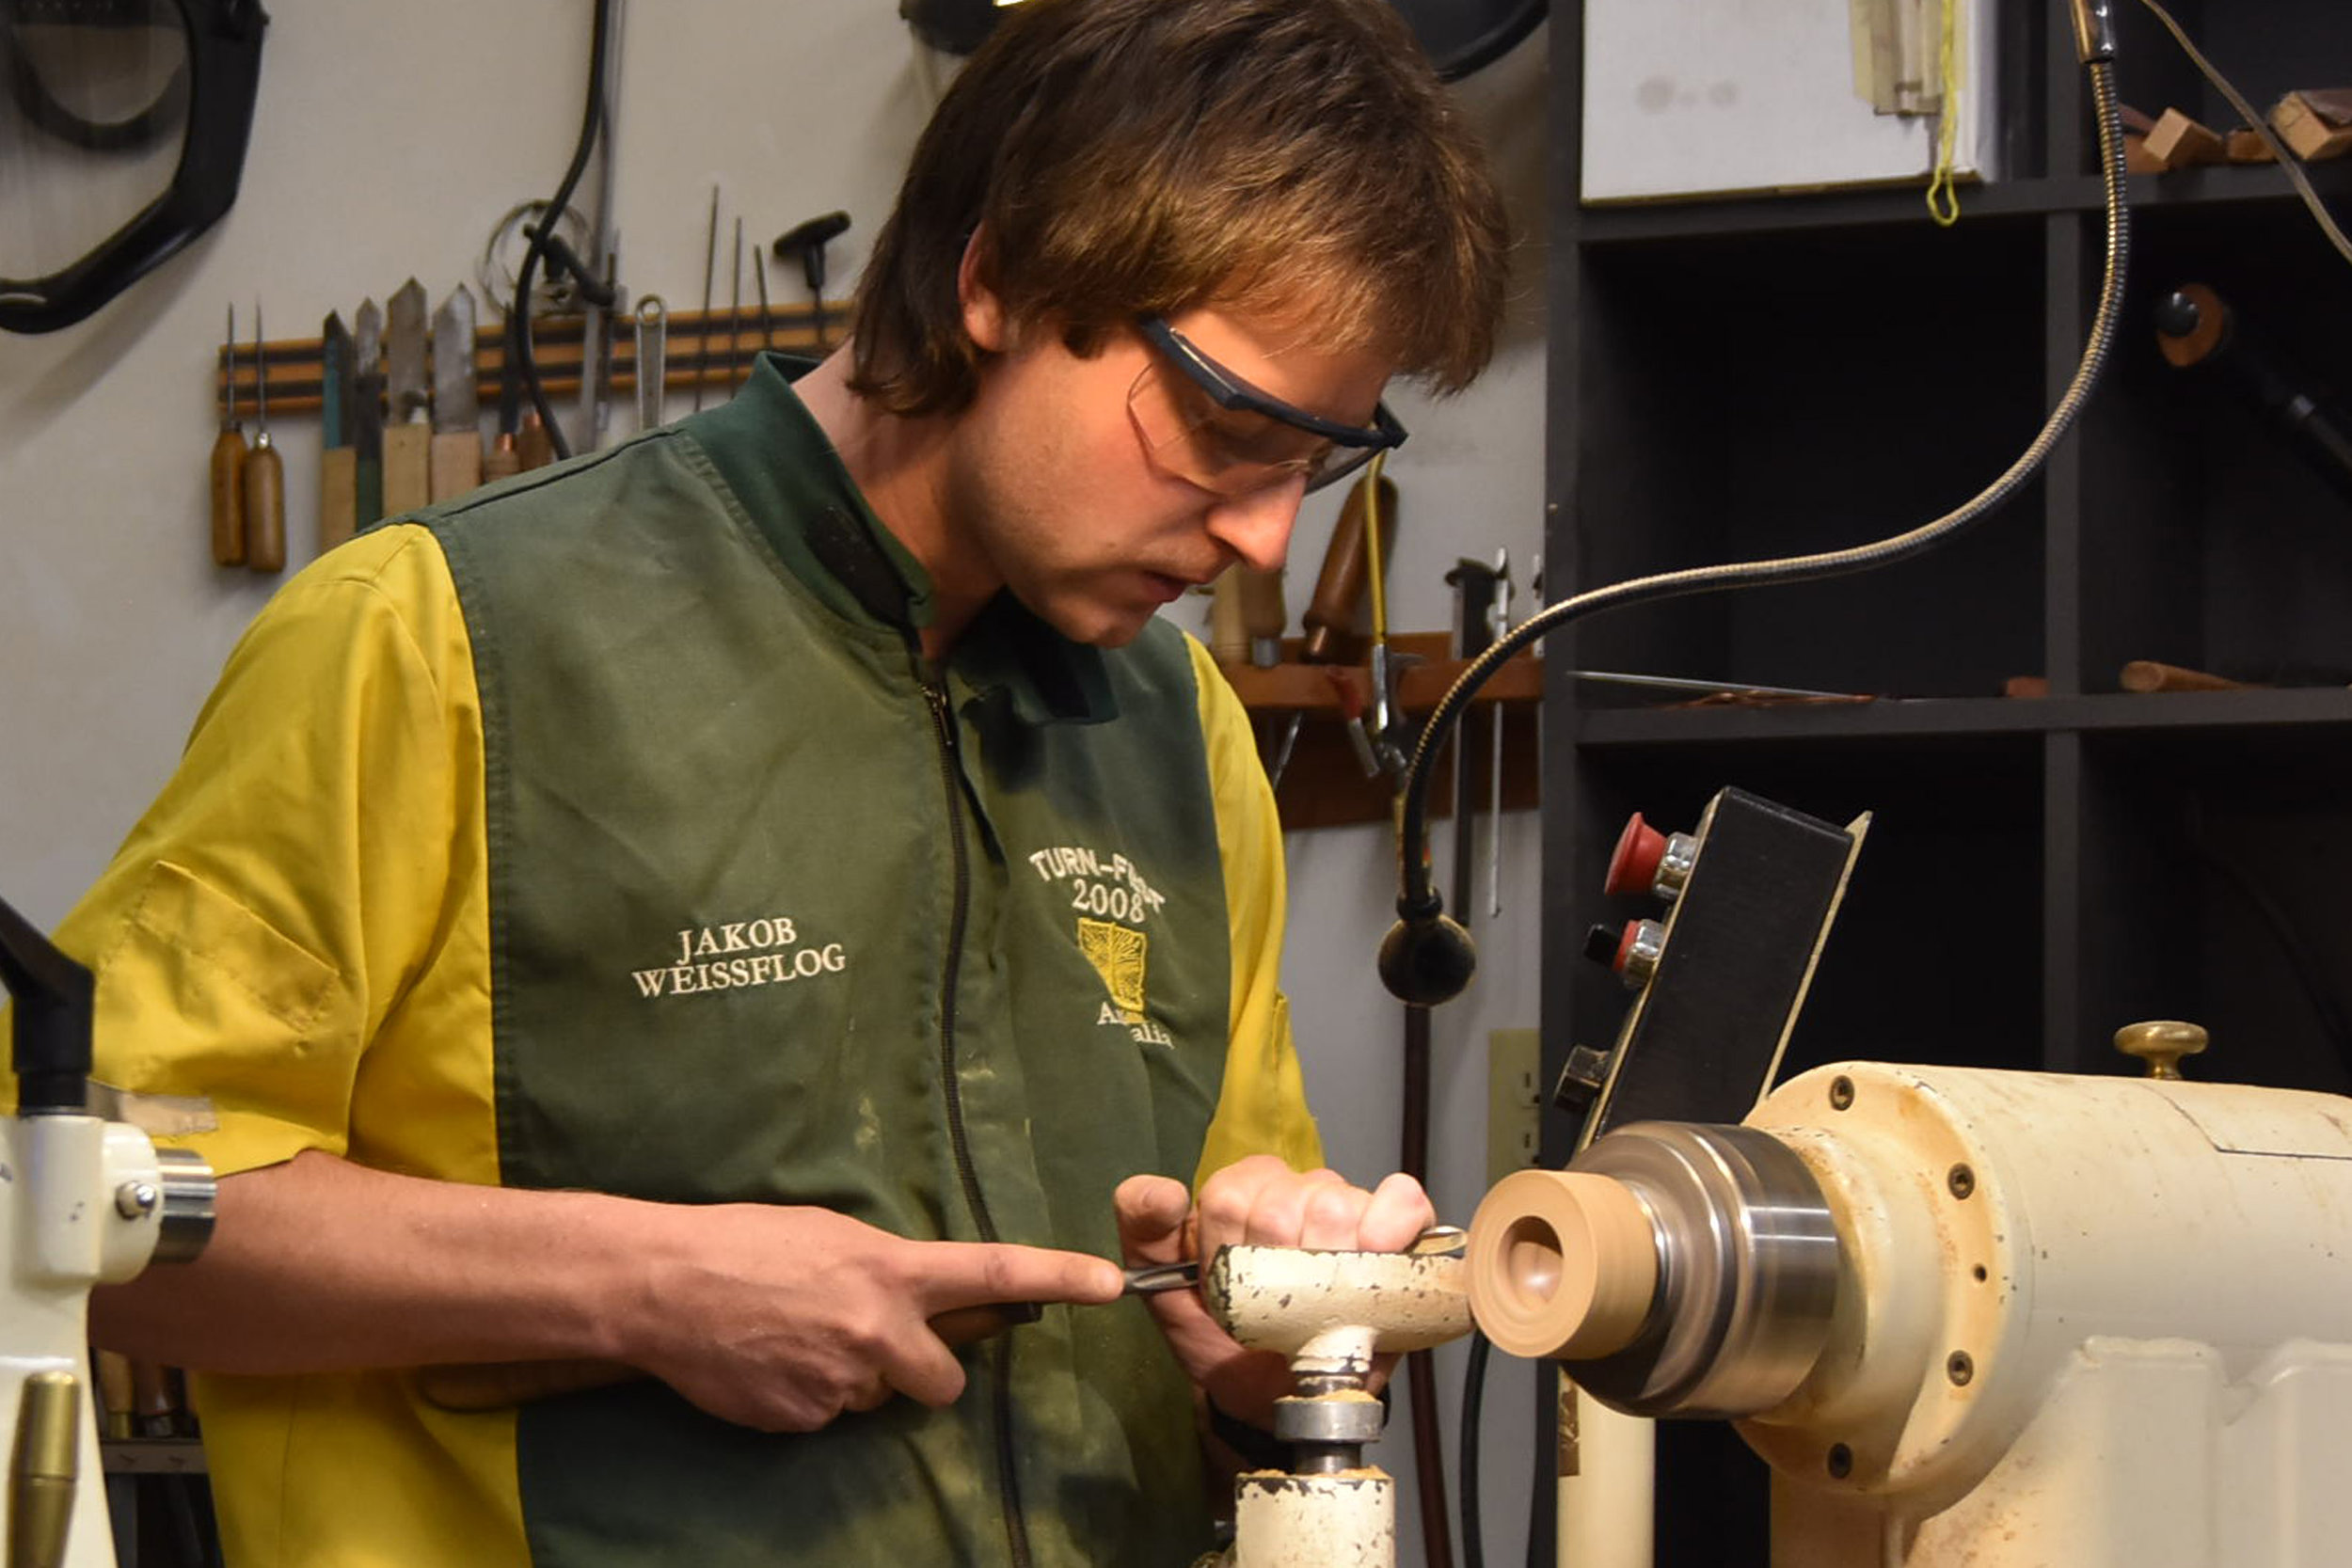
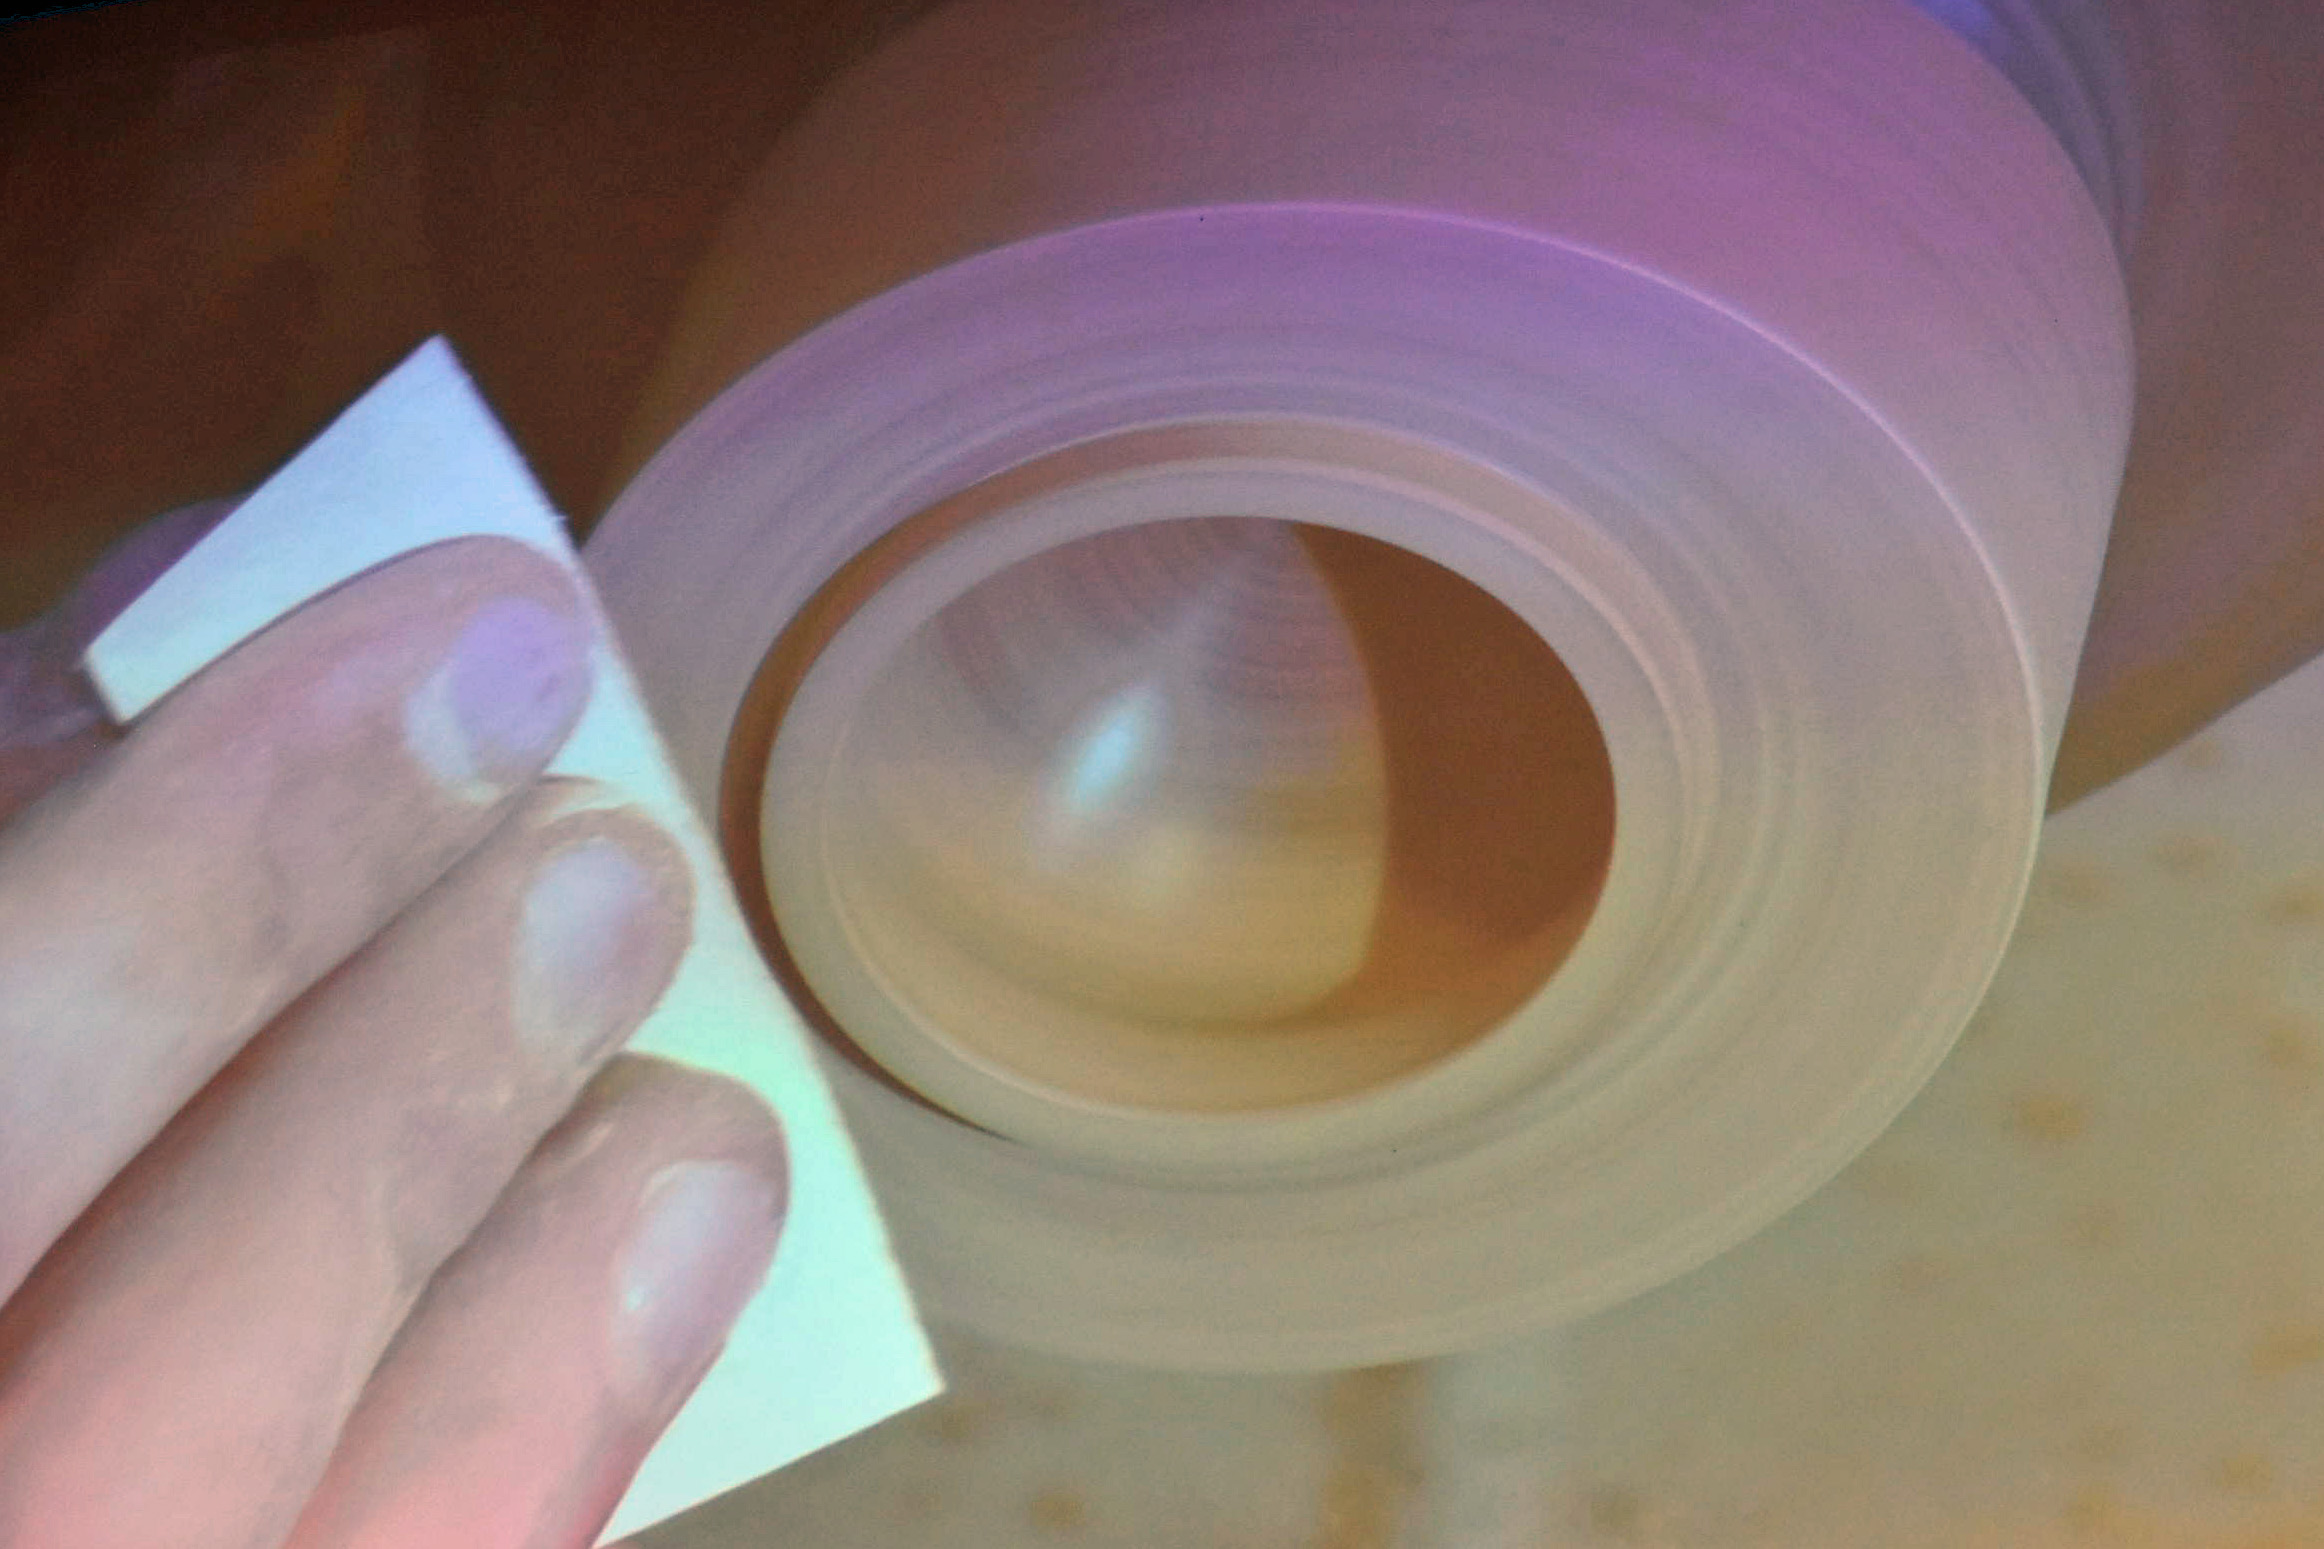
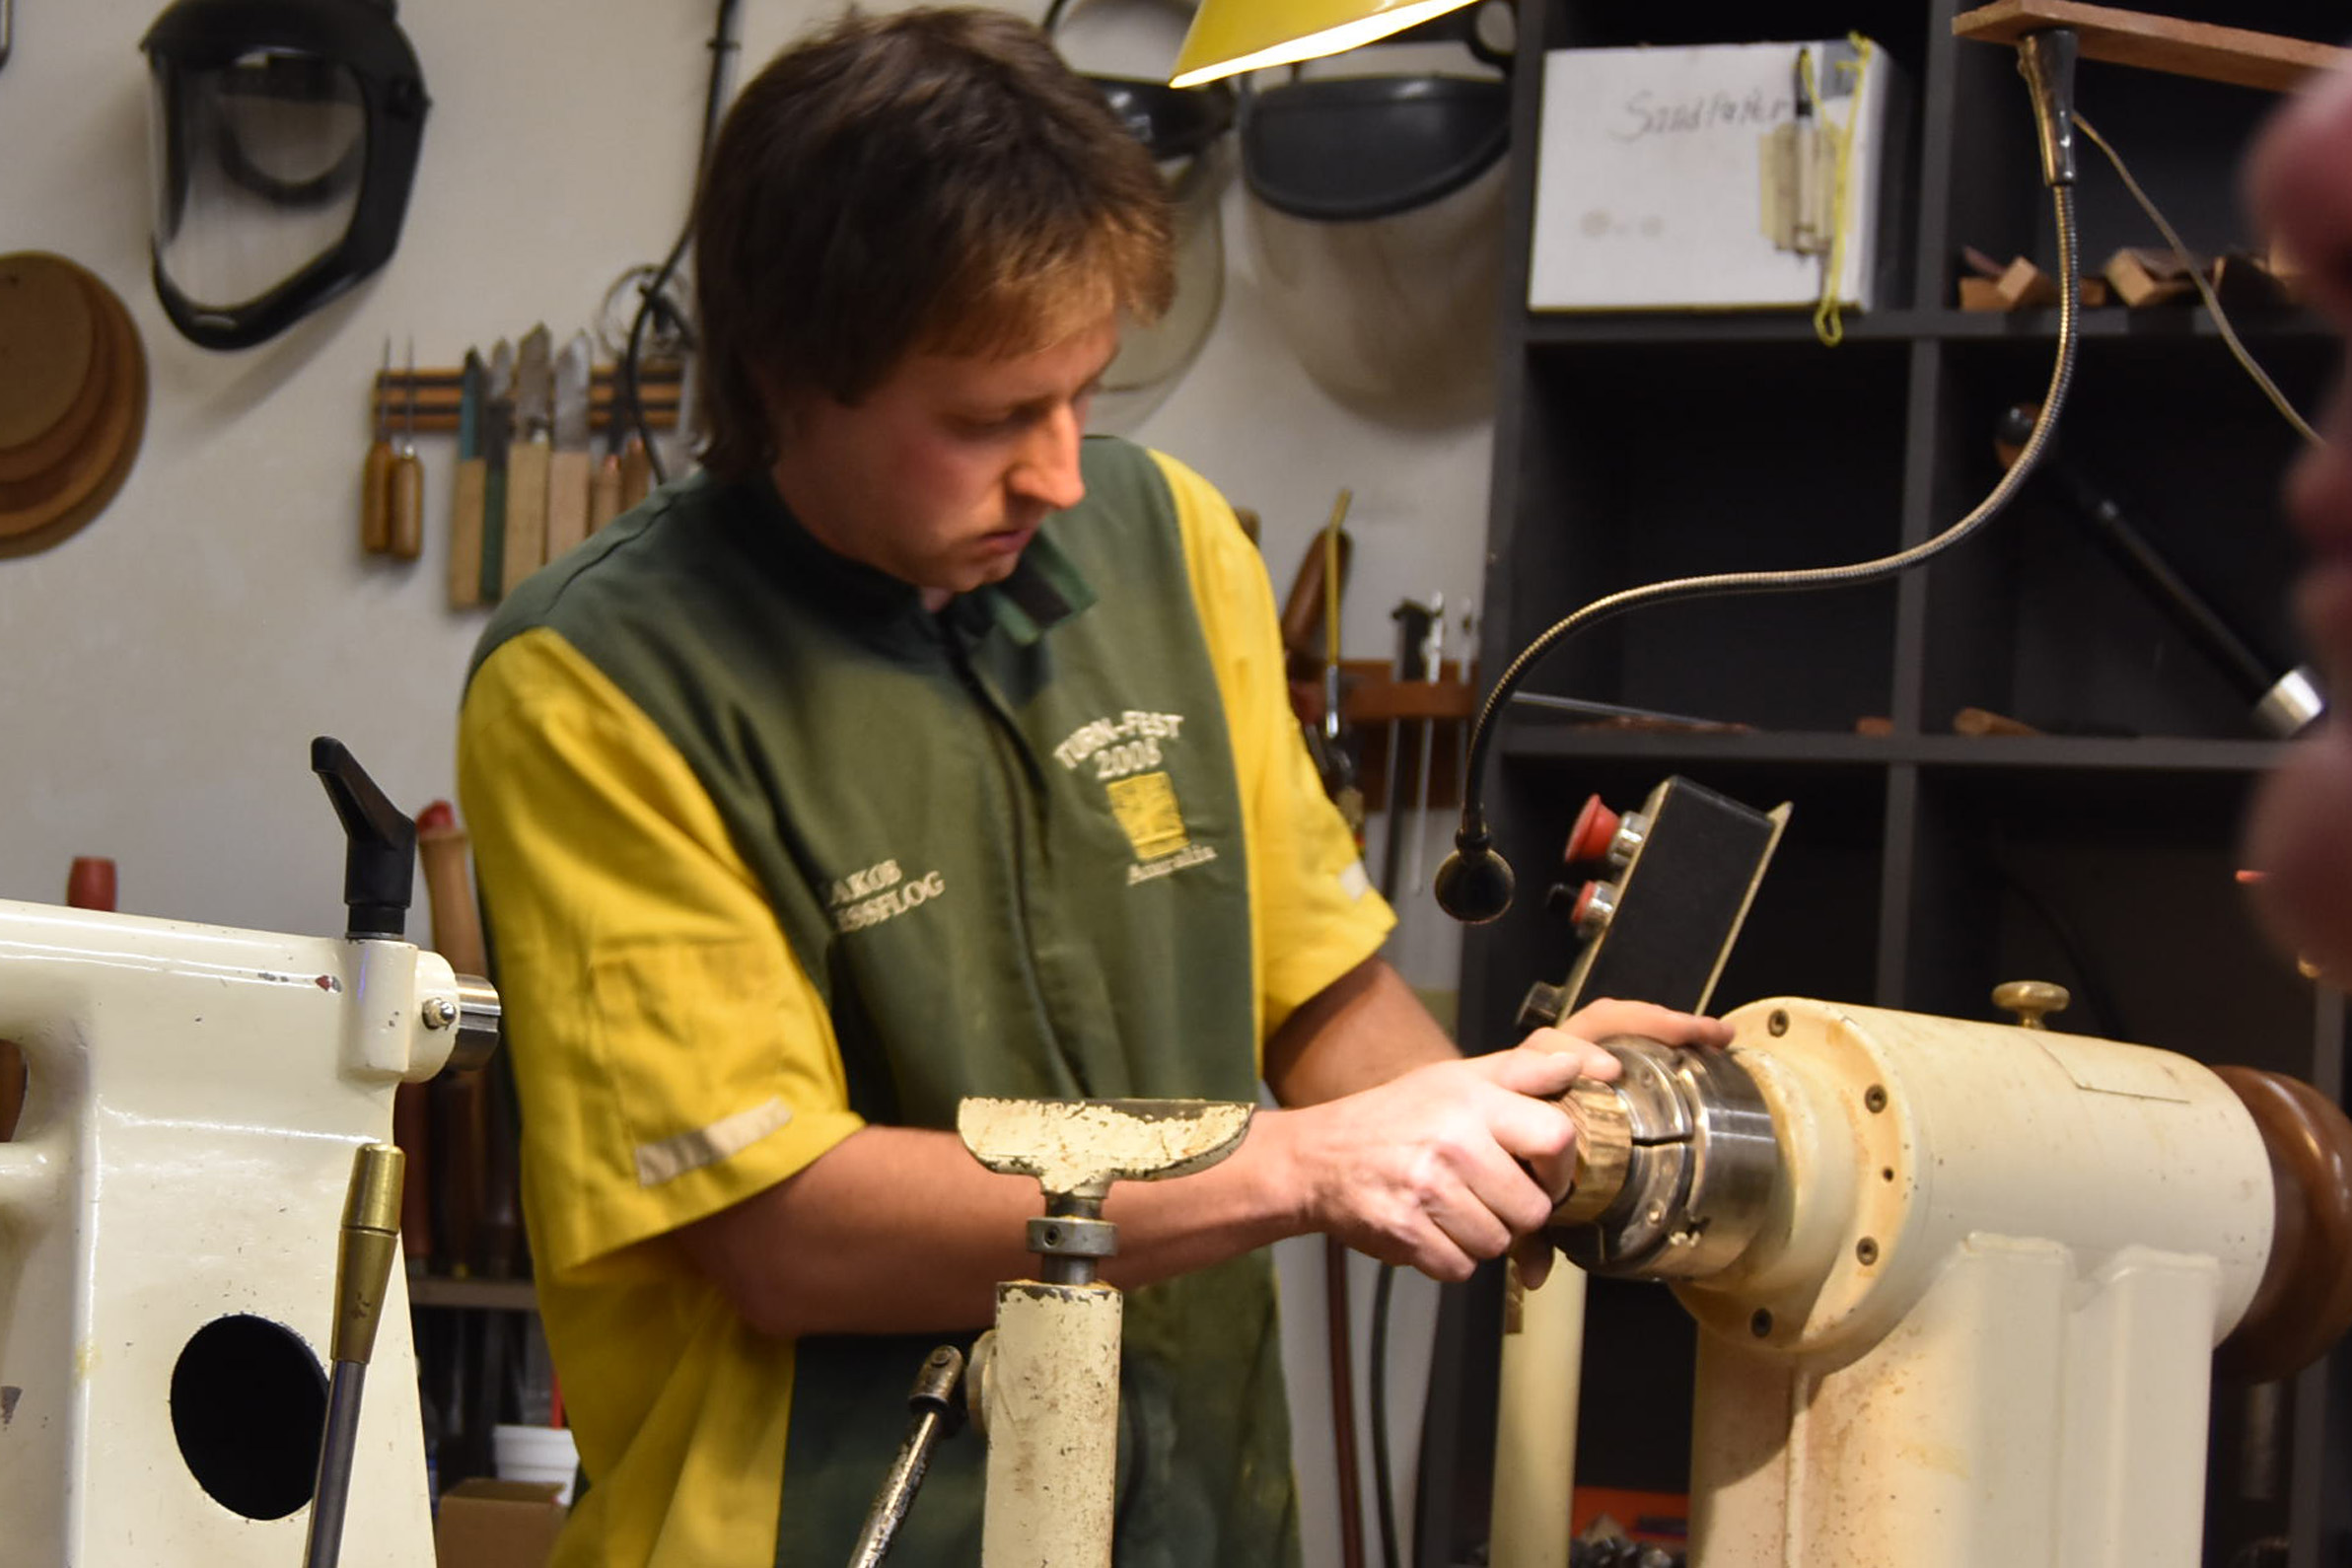
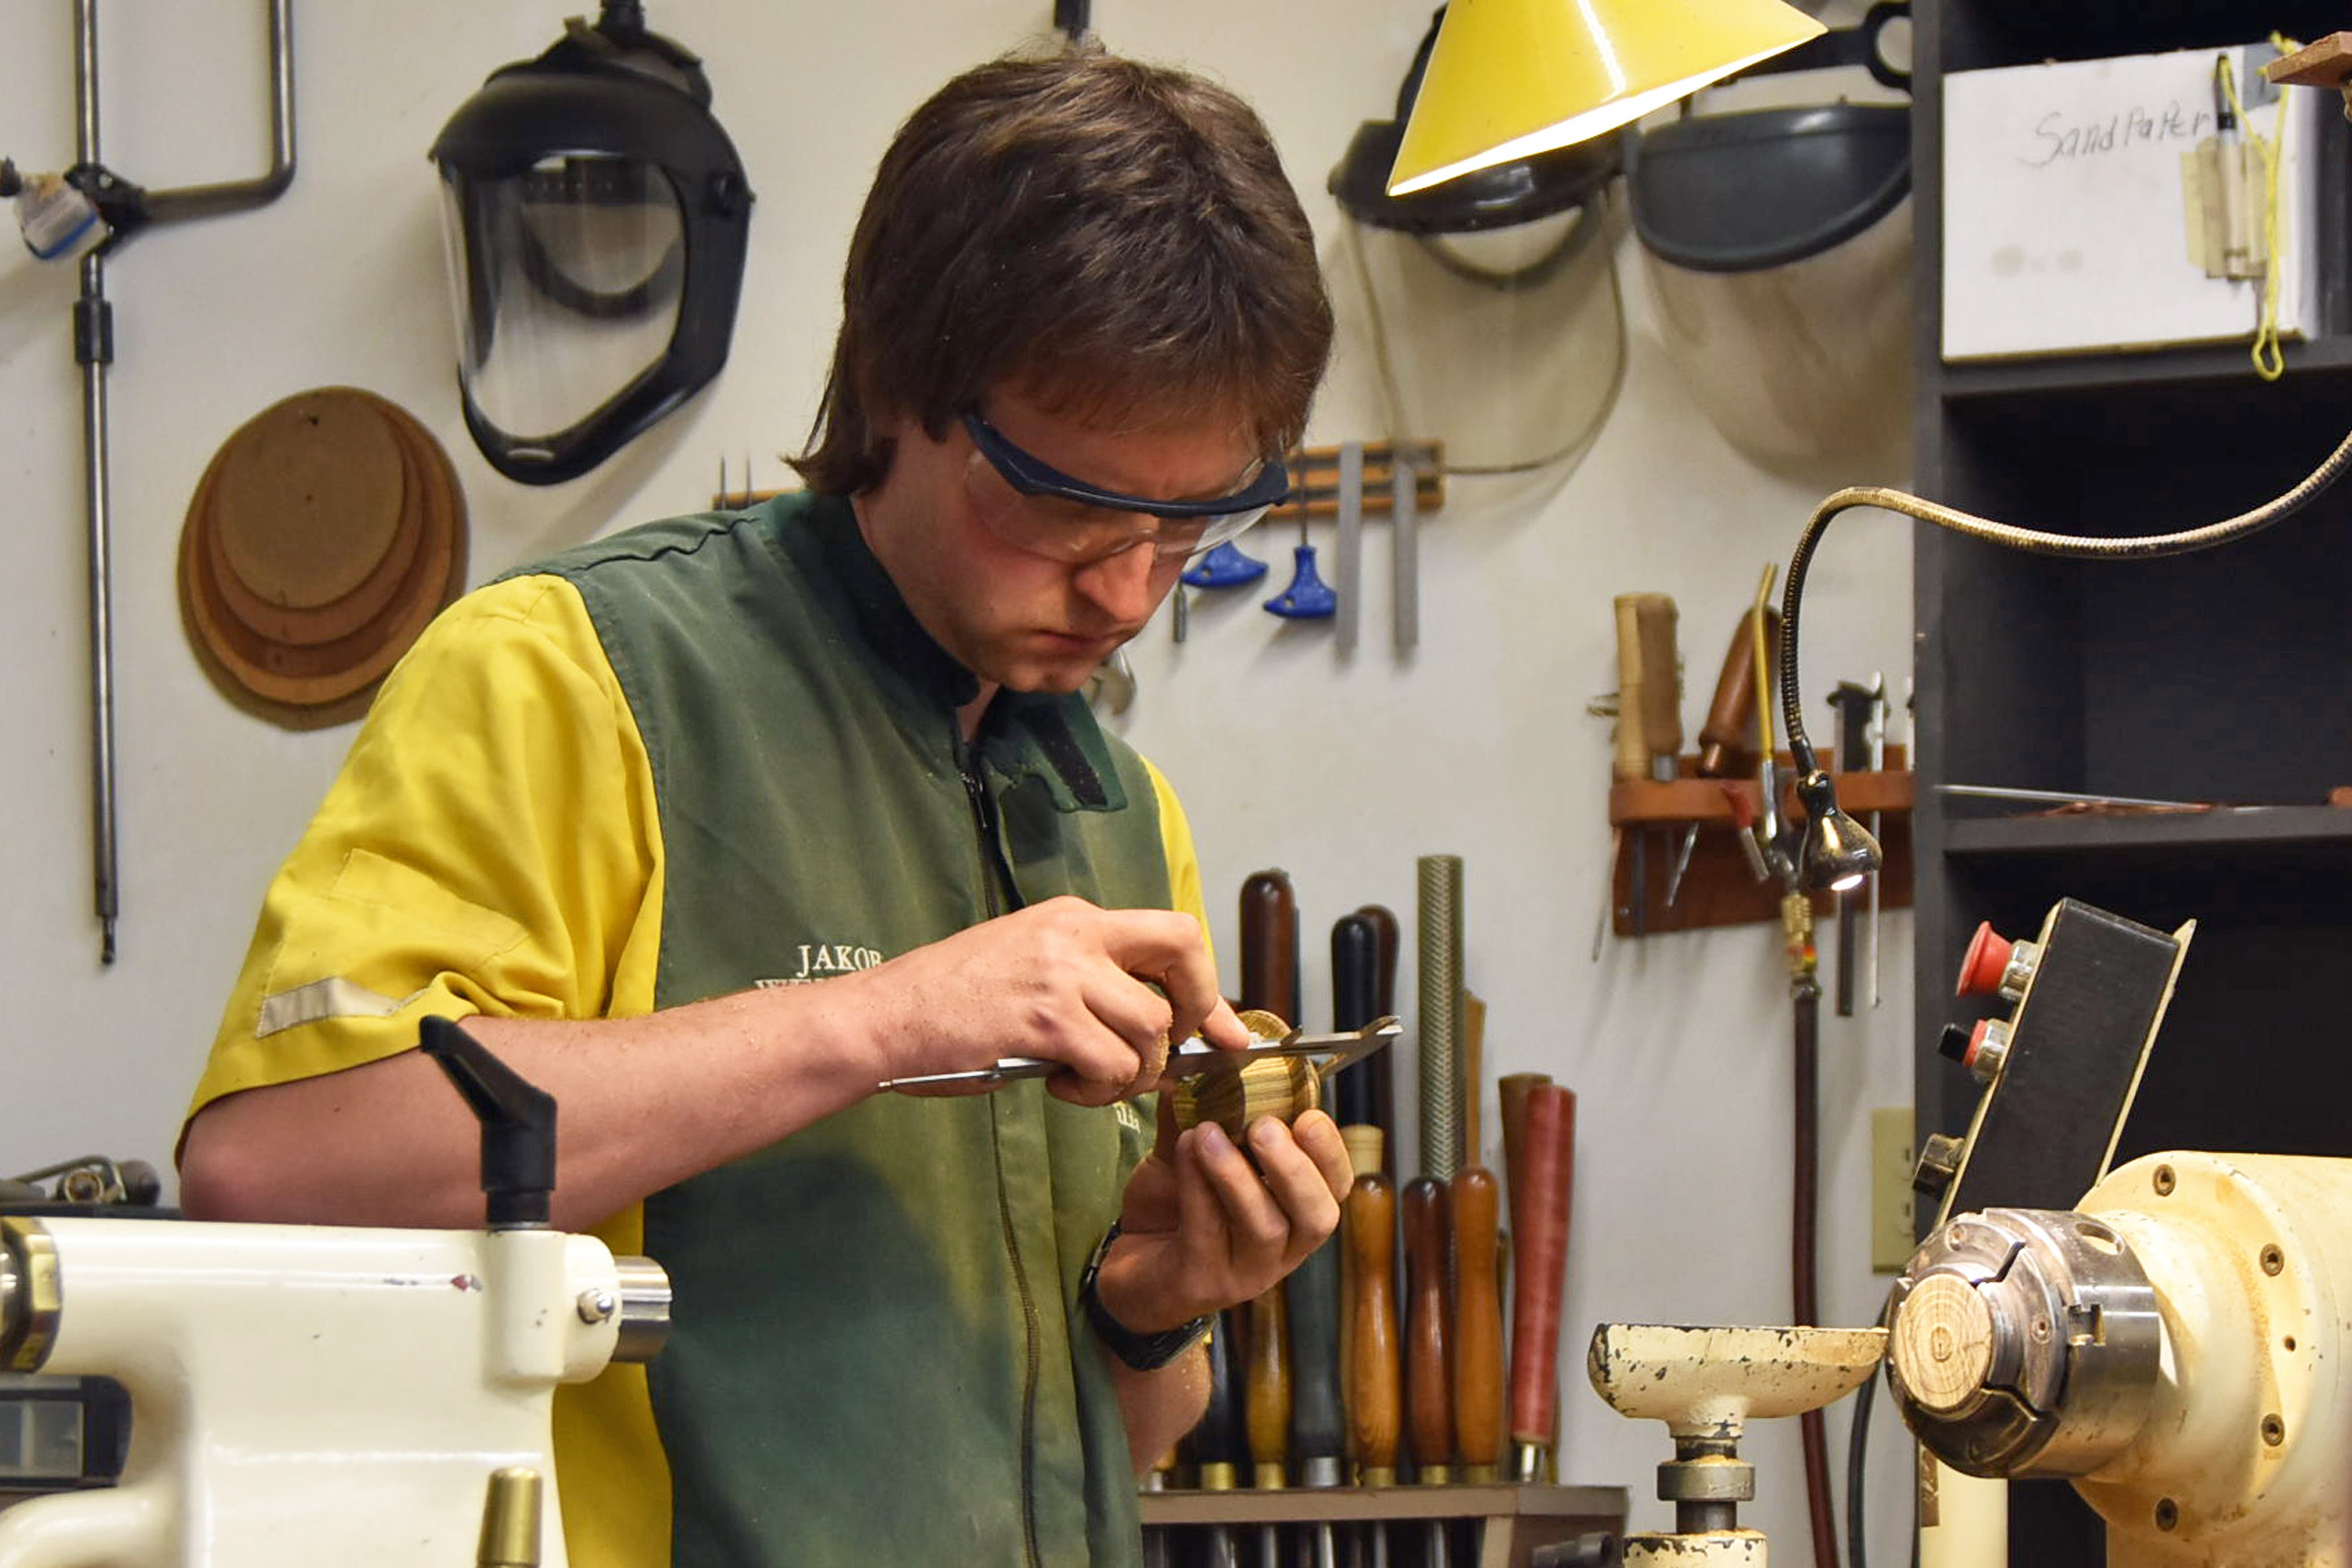
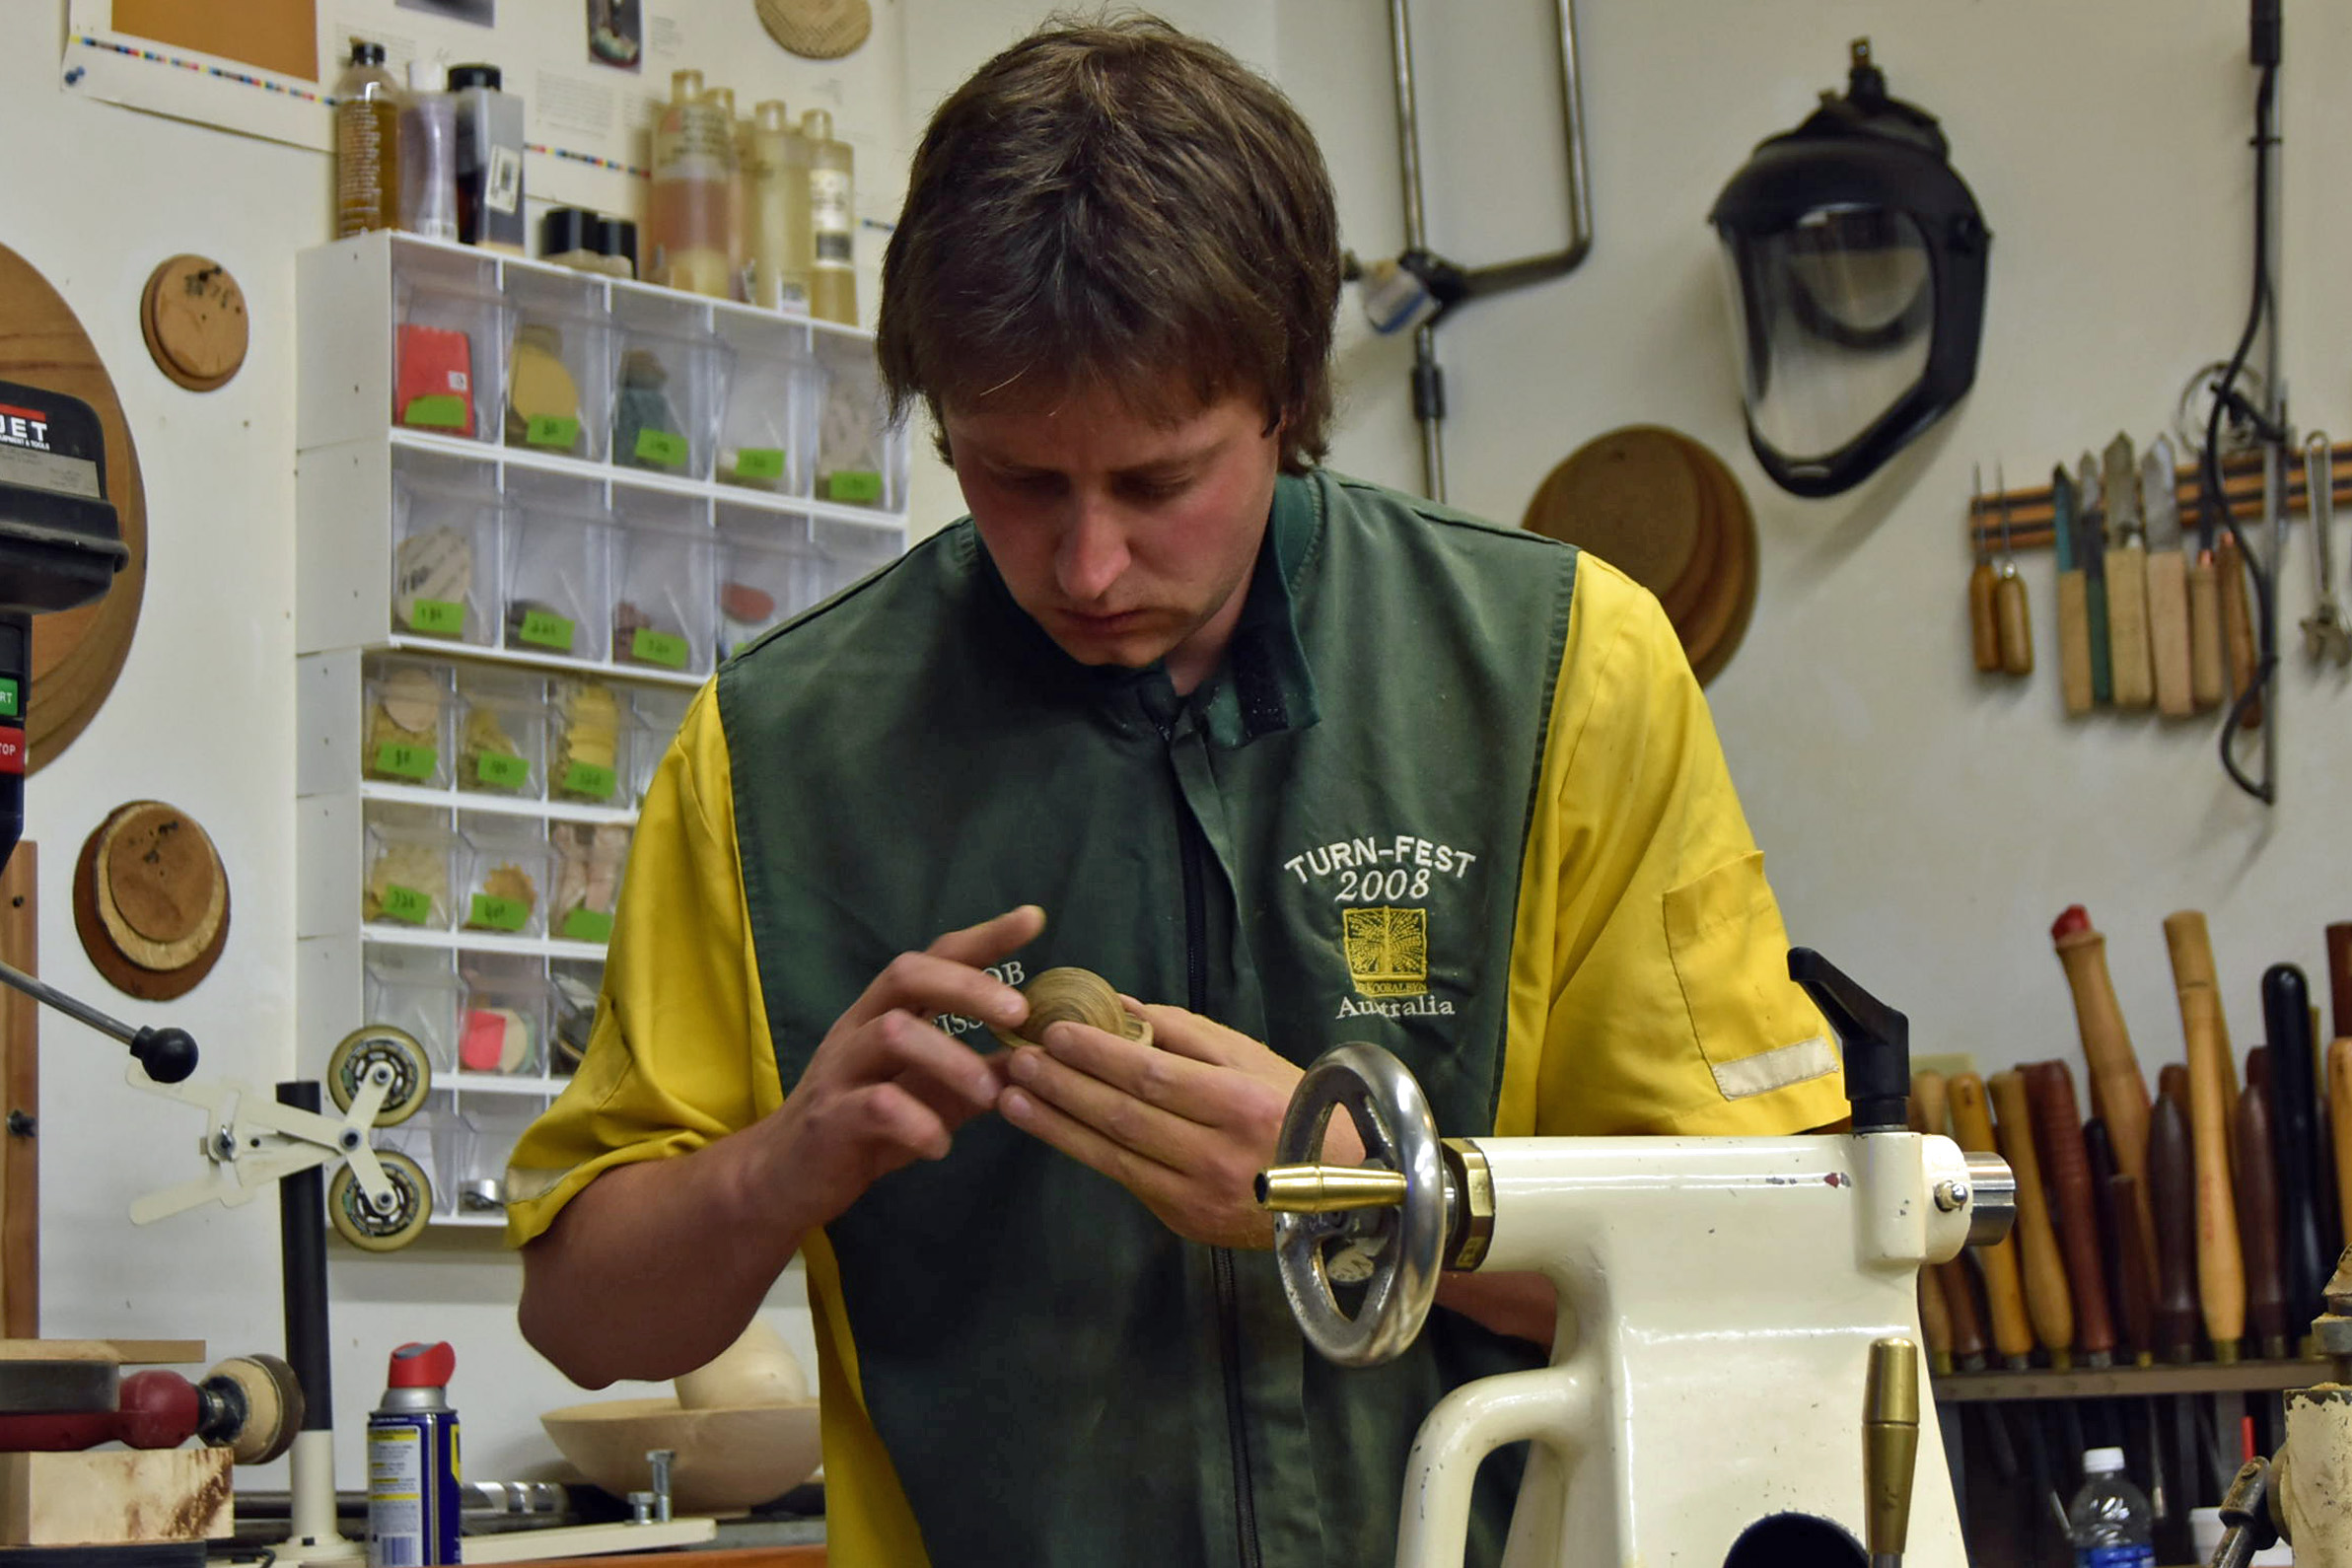
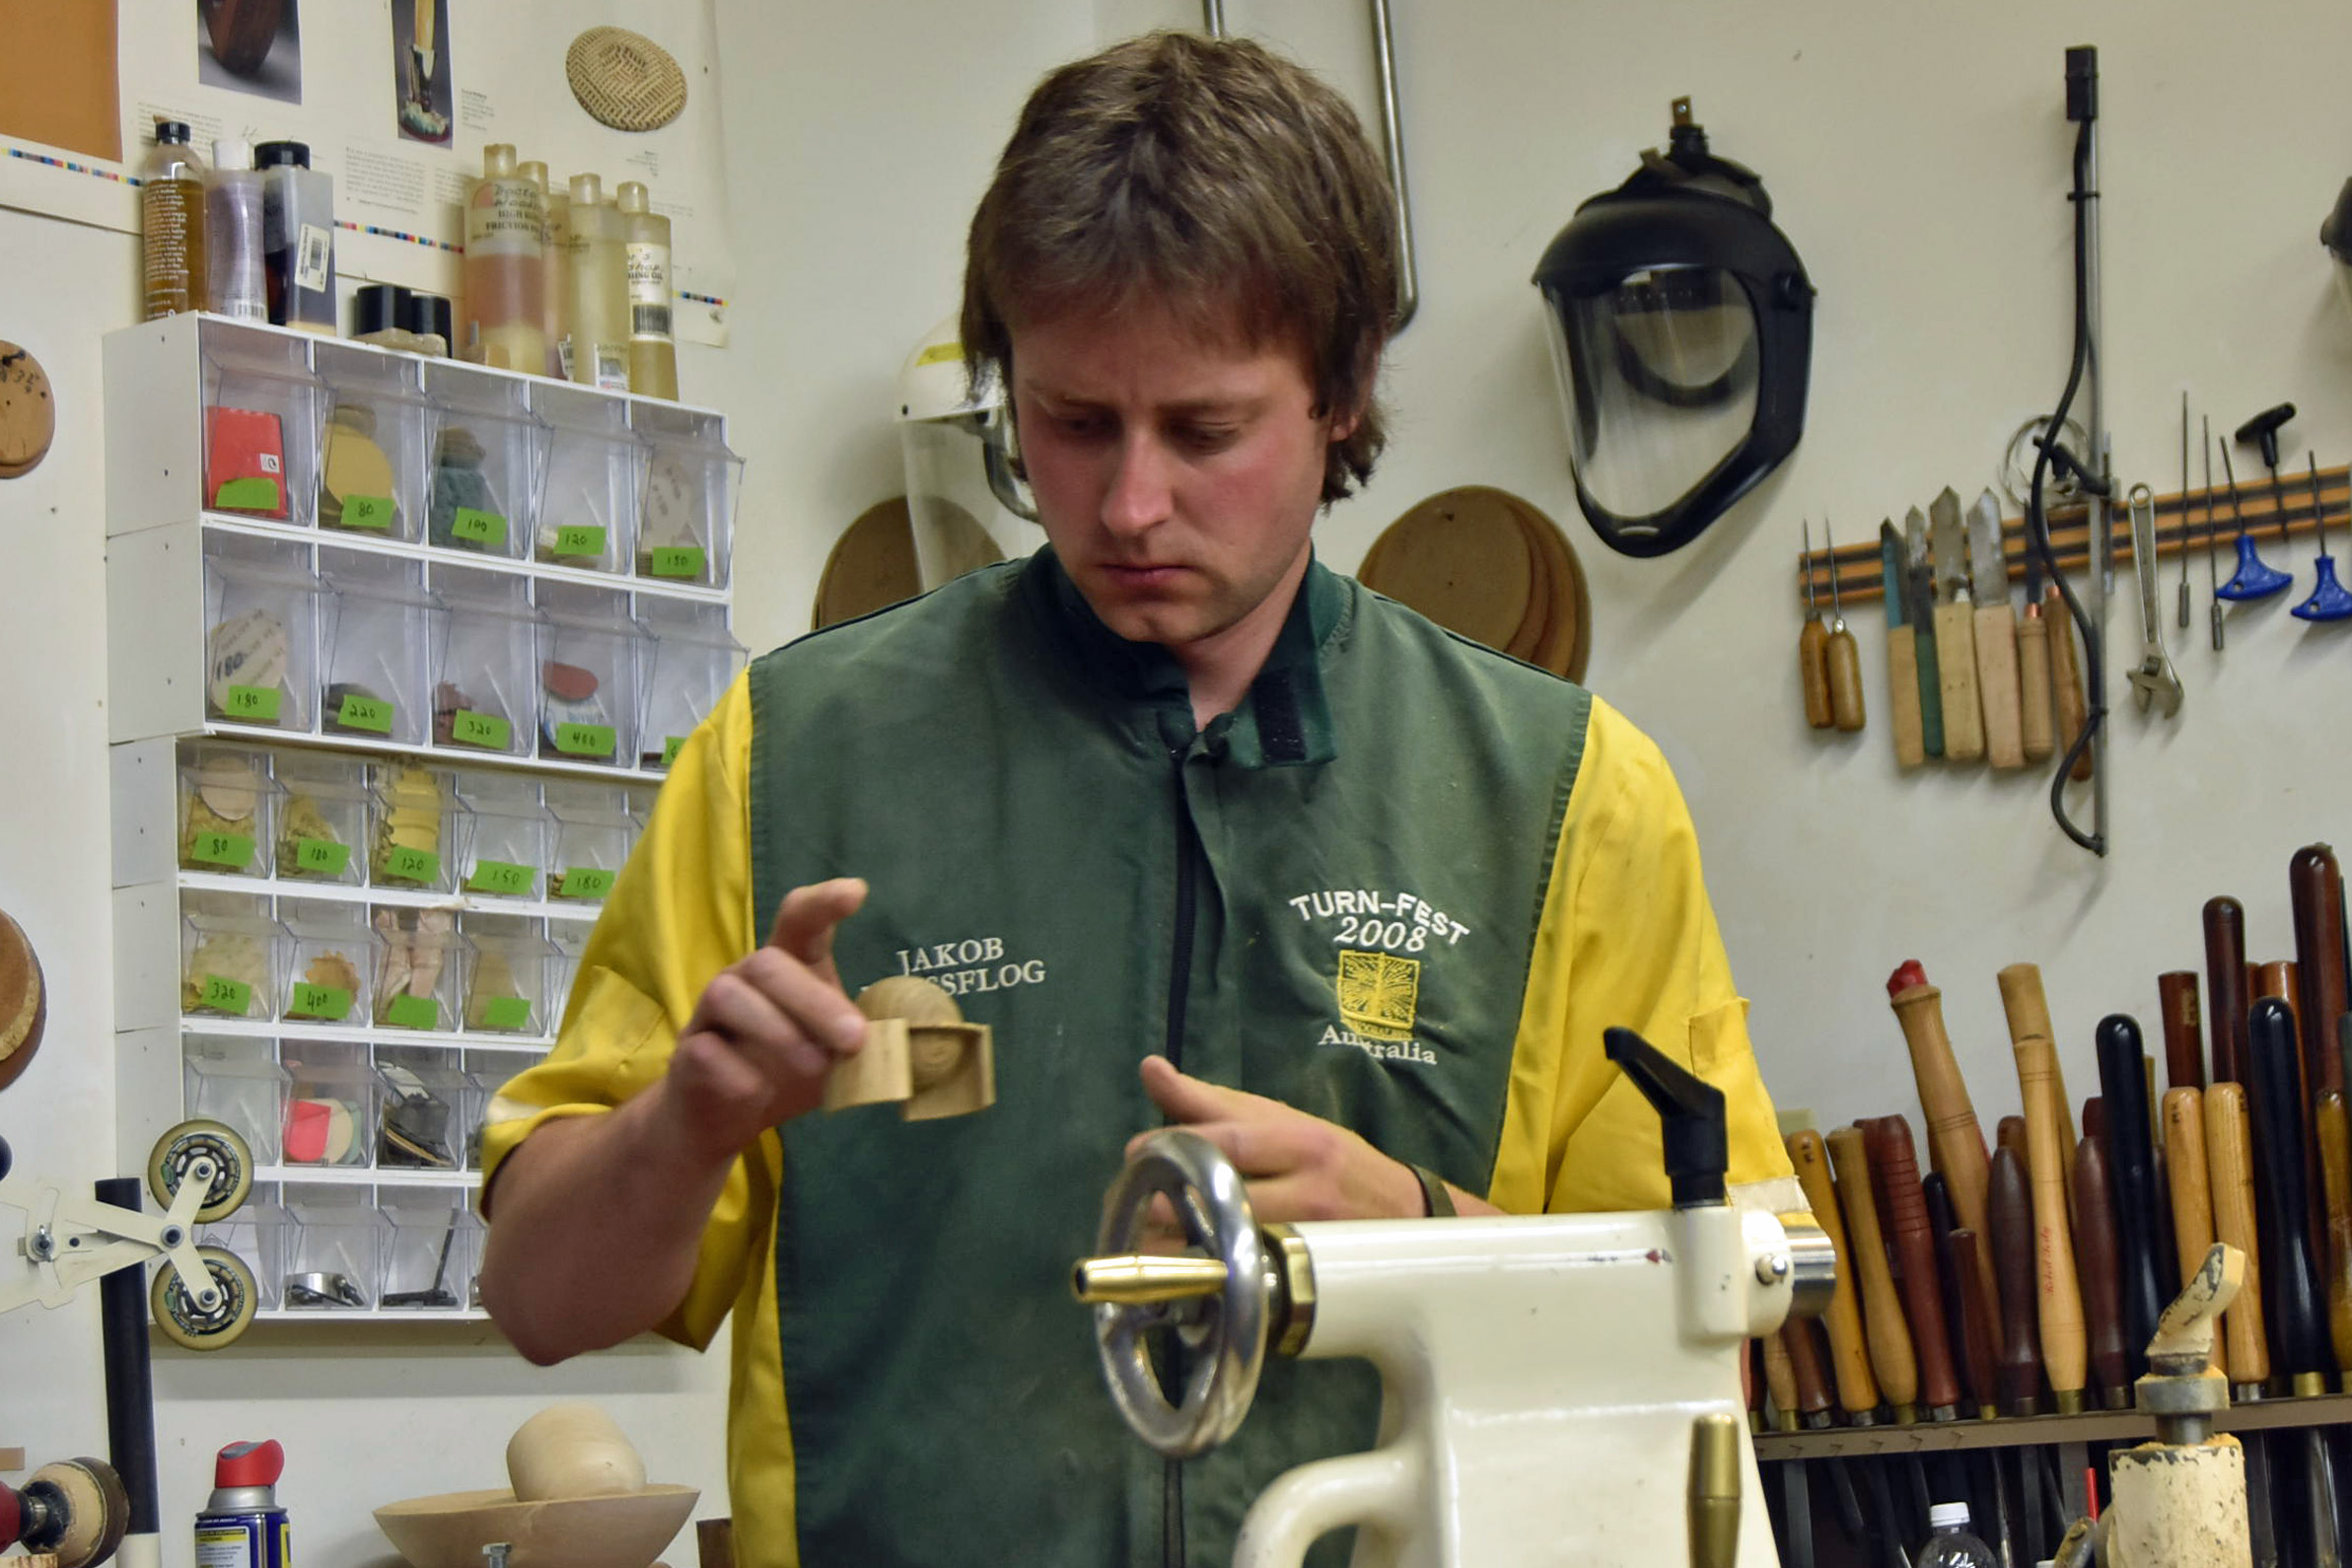
Recent recipient of the Bob Stocksdale International Excellence in Wood Award, Jakob Weissflog paid a visit to Michael Kehs' workshop in Quakertown, PA on Tuesday November 8th. He demonstrated how he makes the box he is holding in the photograph, above. Following his father, Hans Weissflog, would be a tough act to match, but without a doubt, Jakob has equal mastery and a voice of his own, as evidenced by the display of his work shown below.

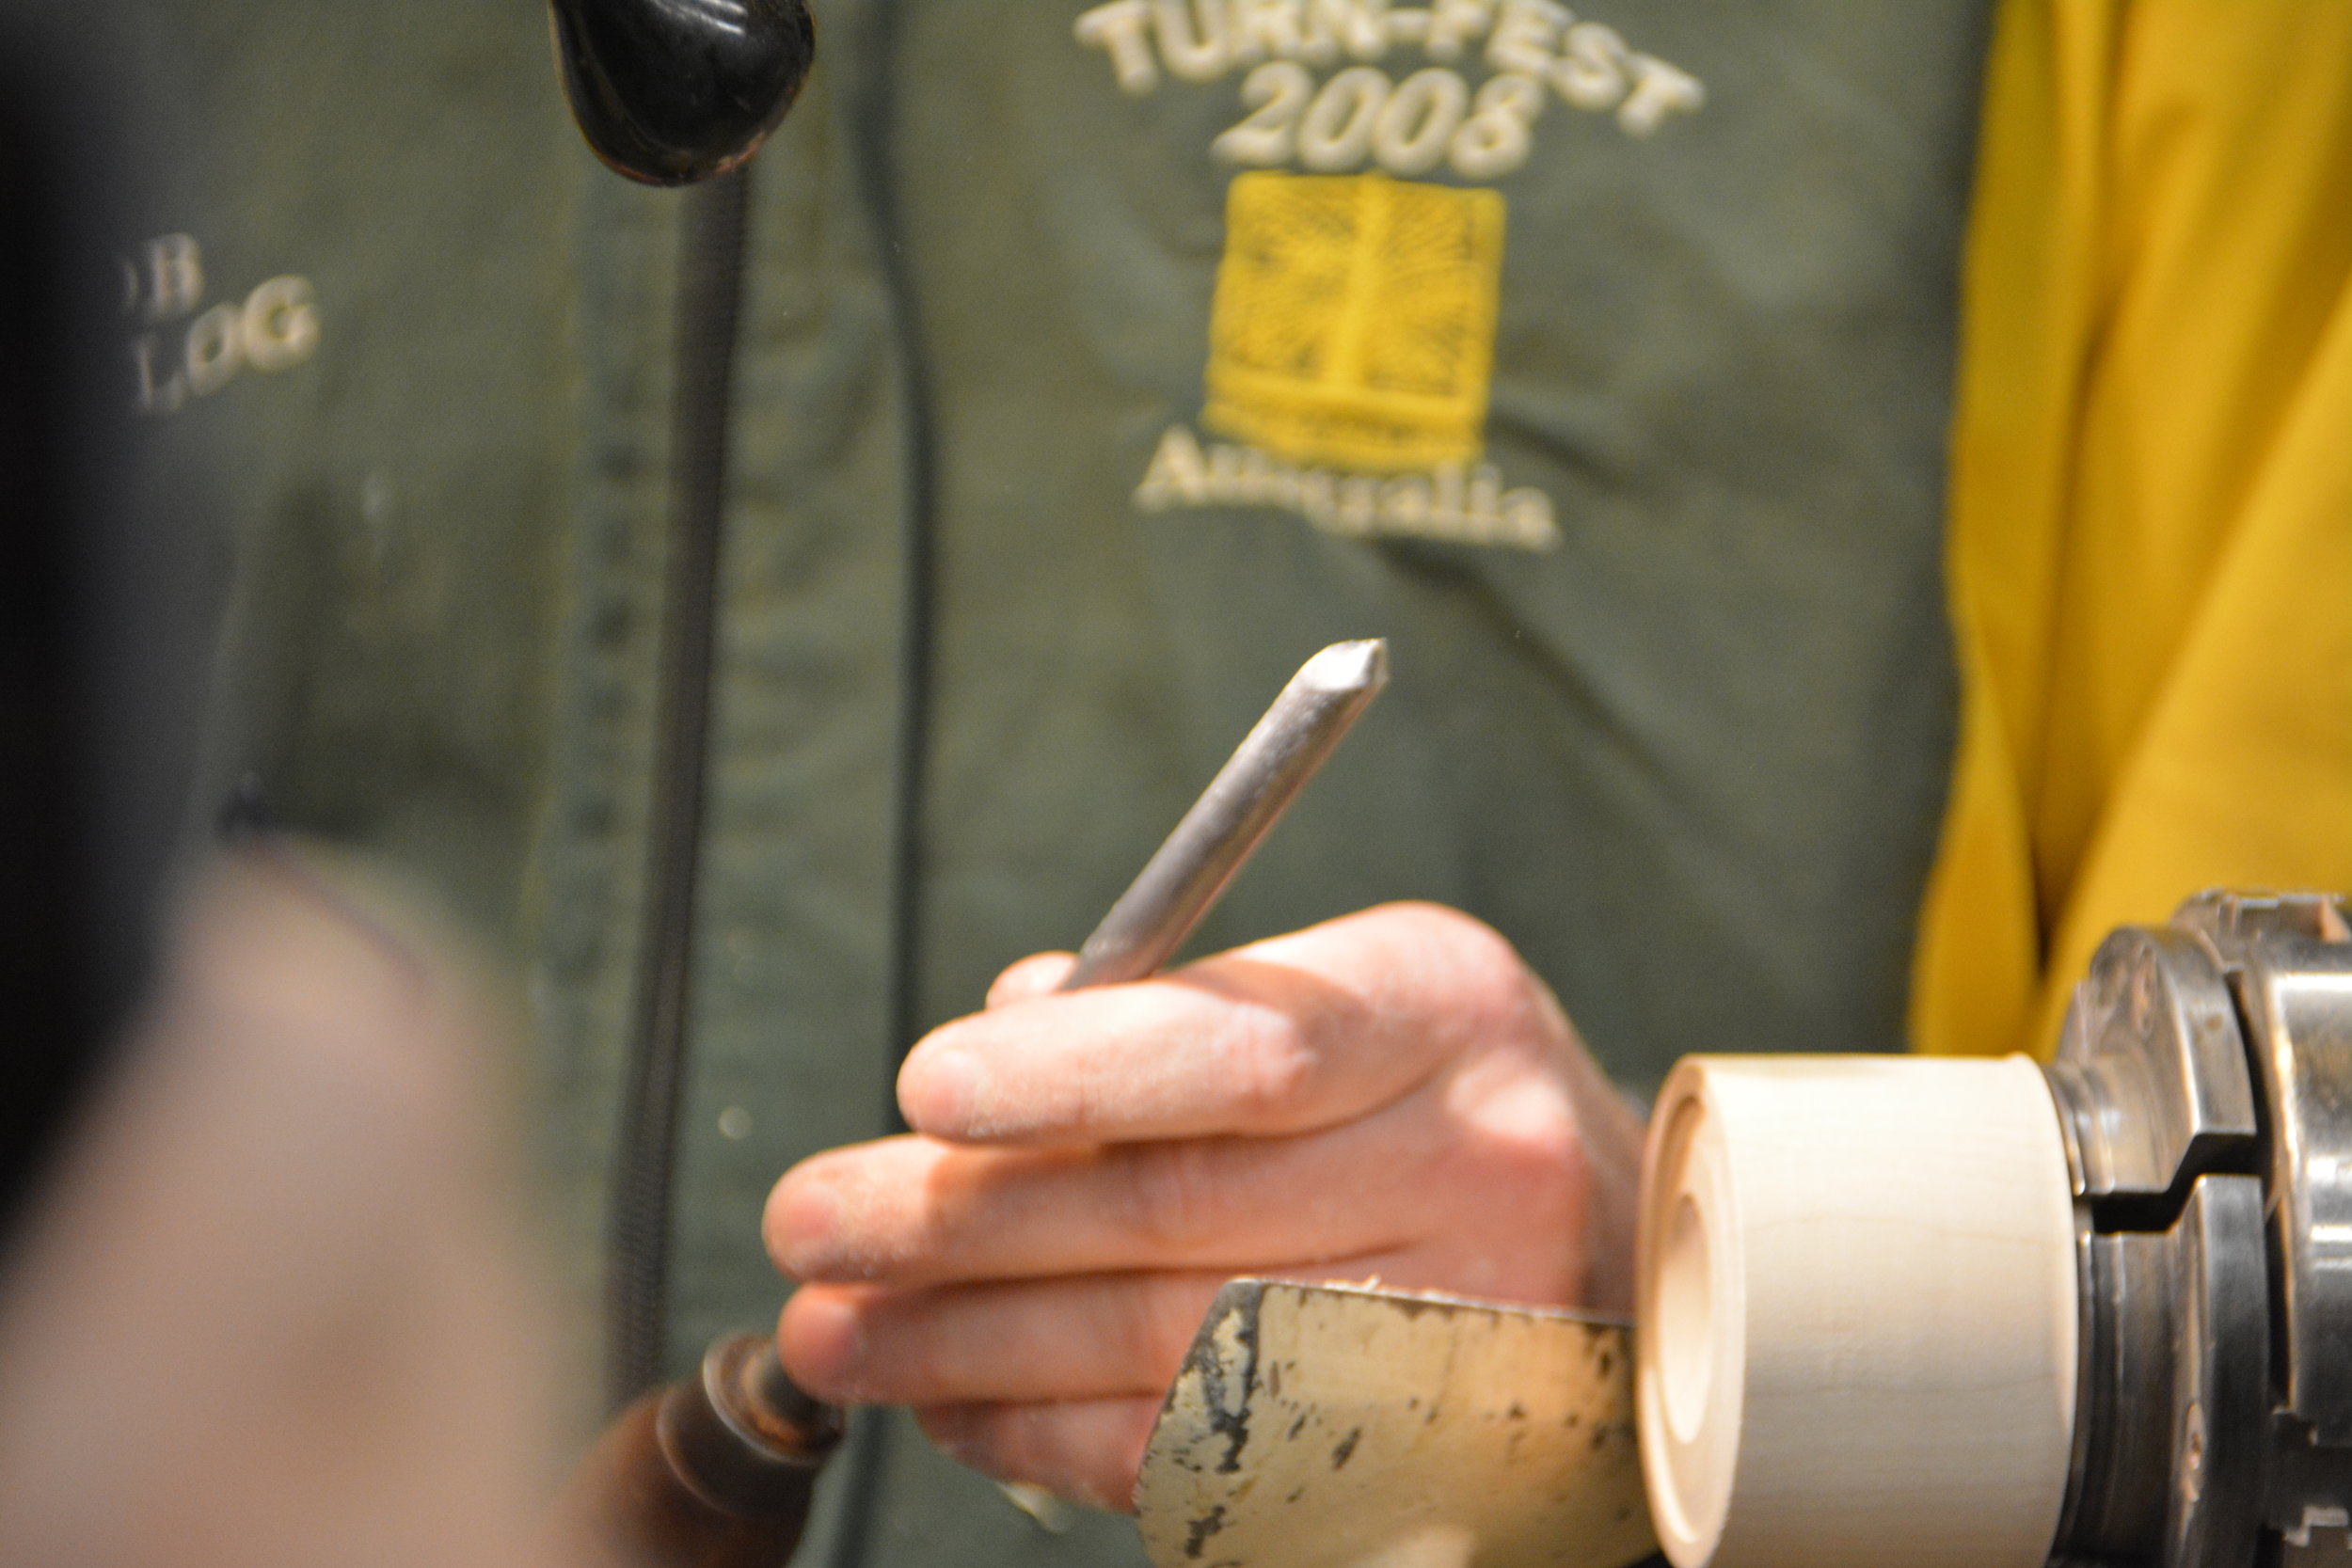
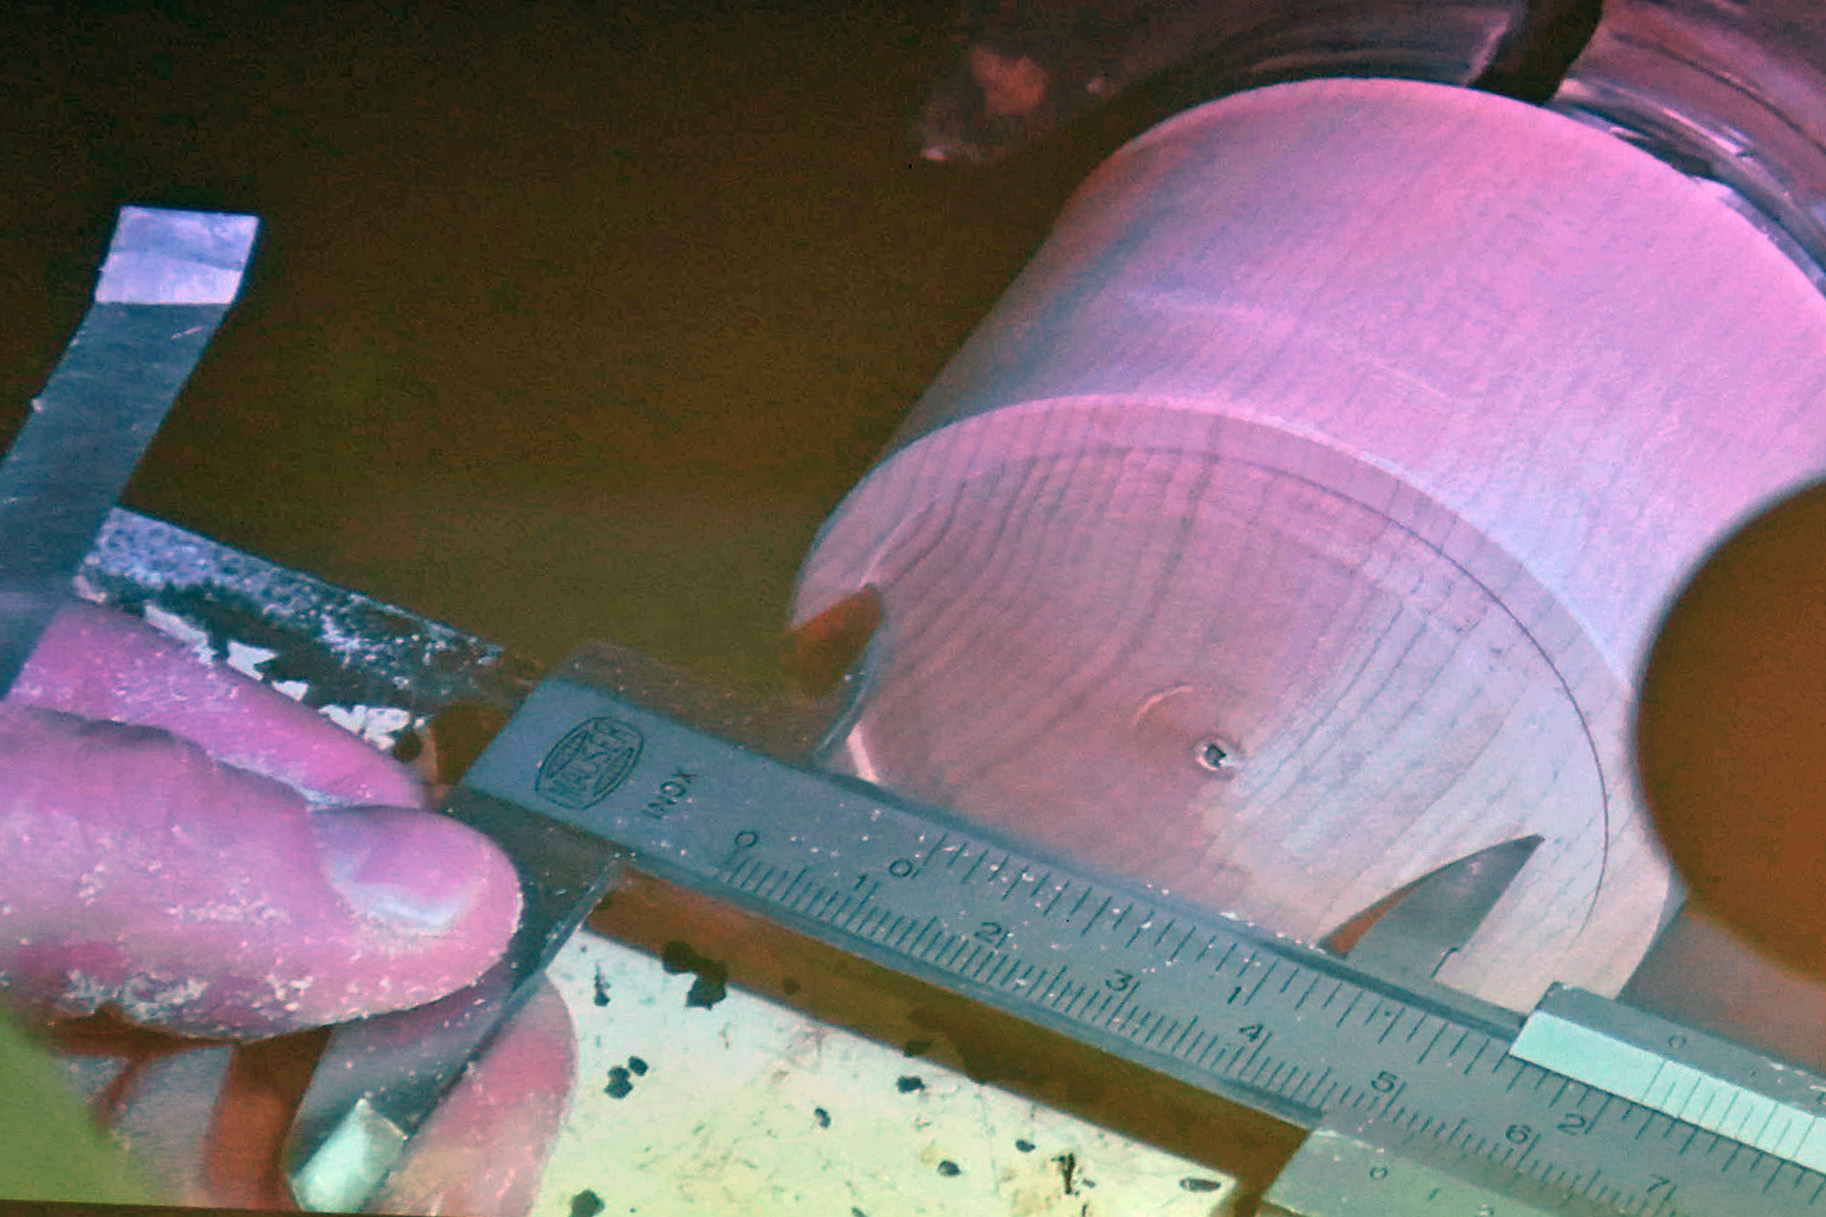
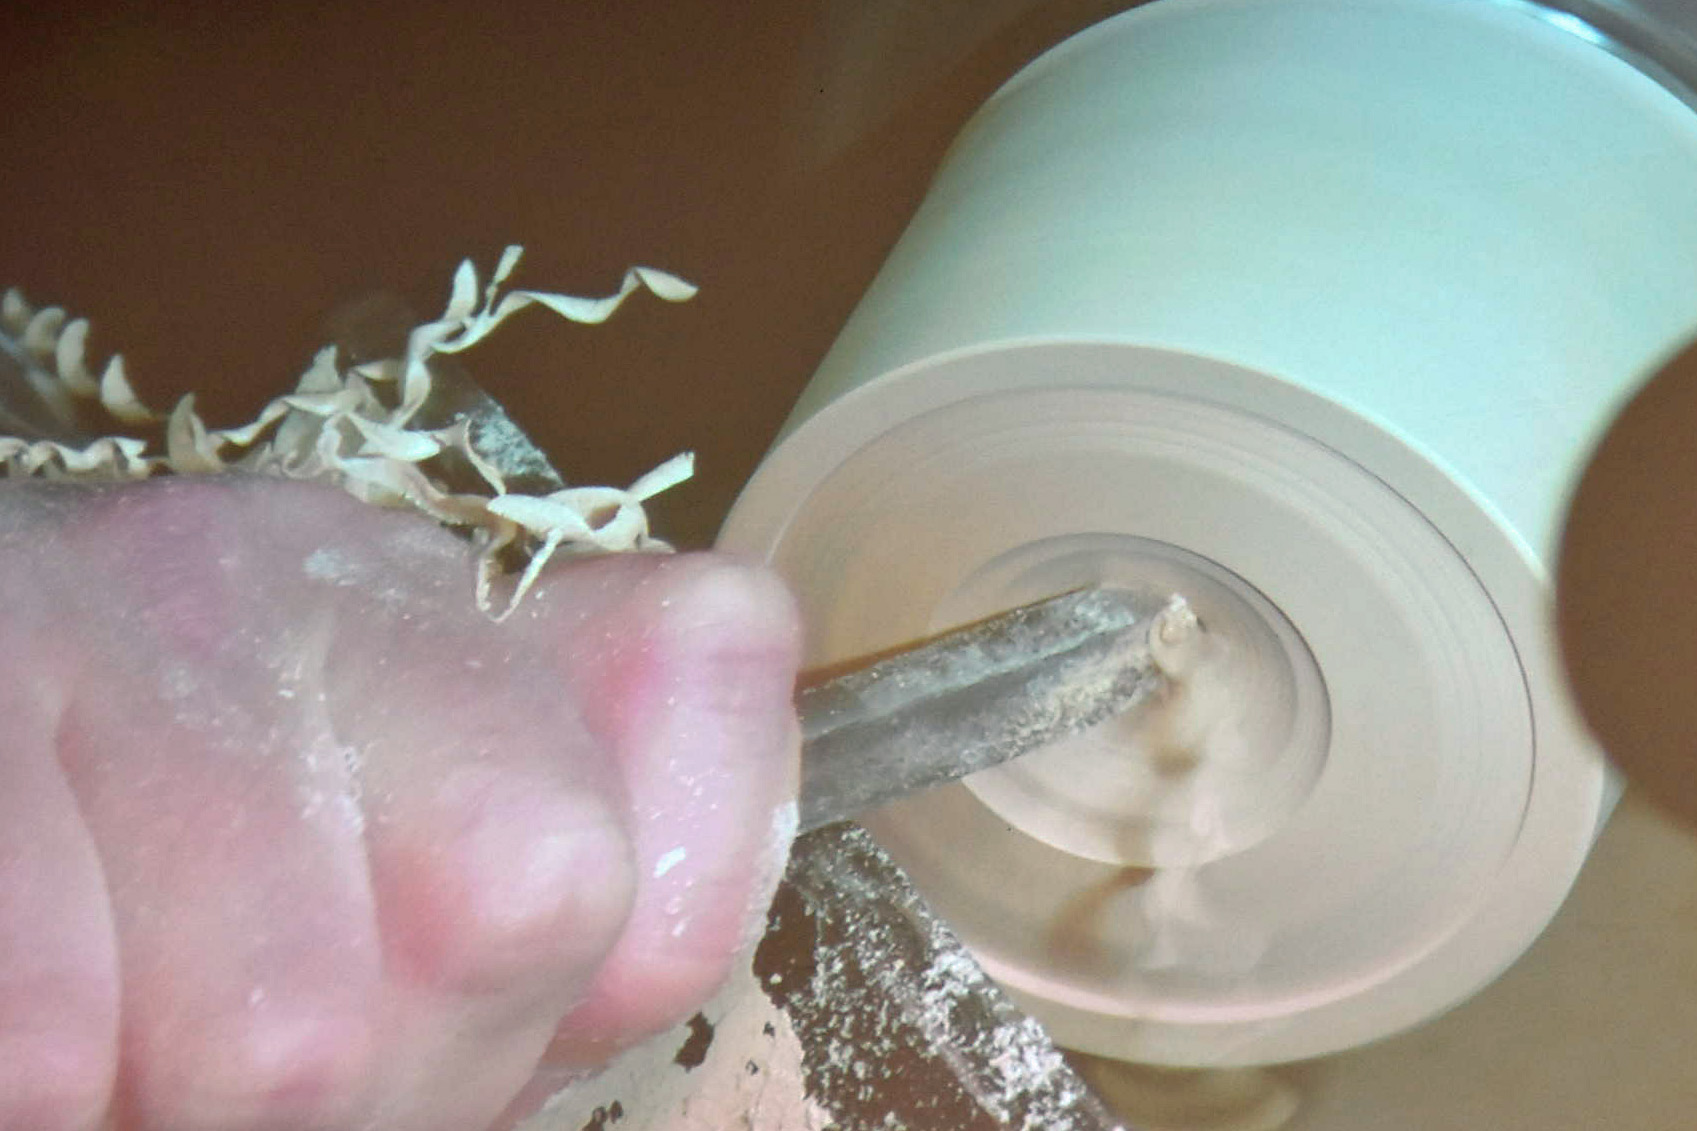
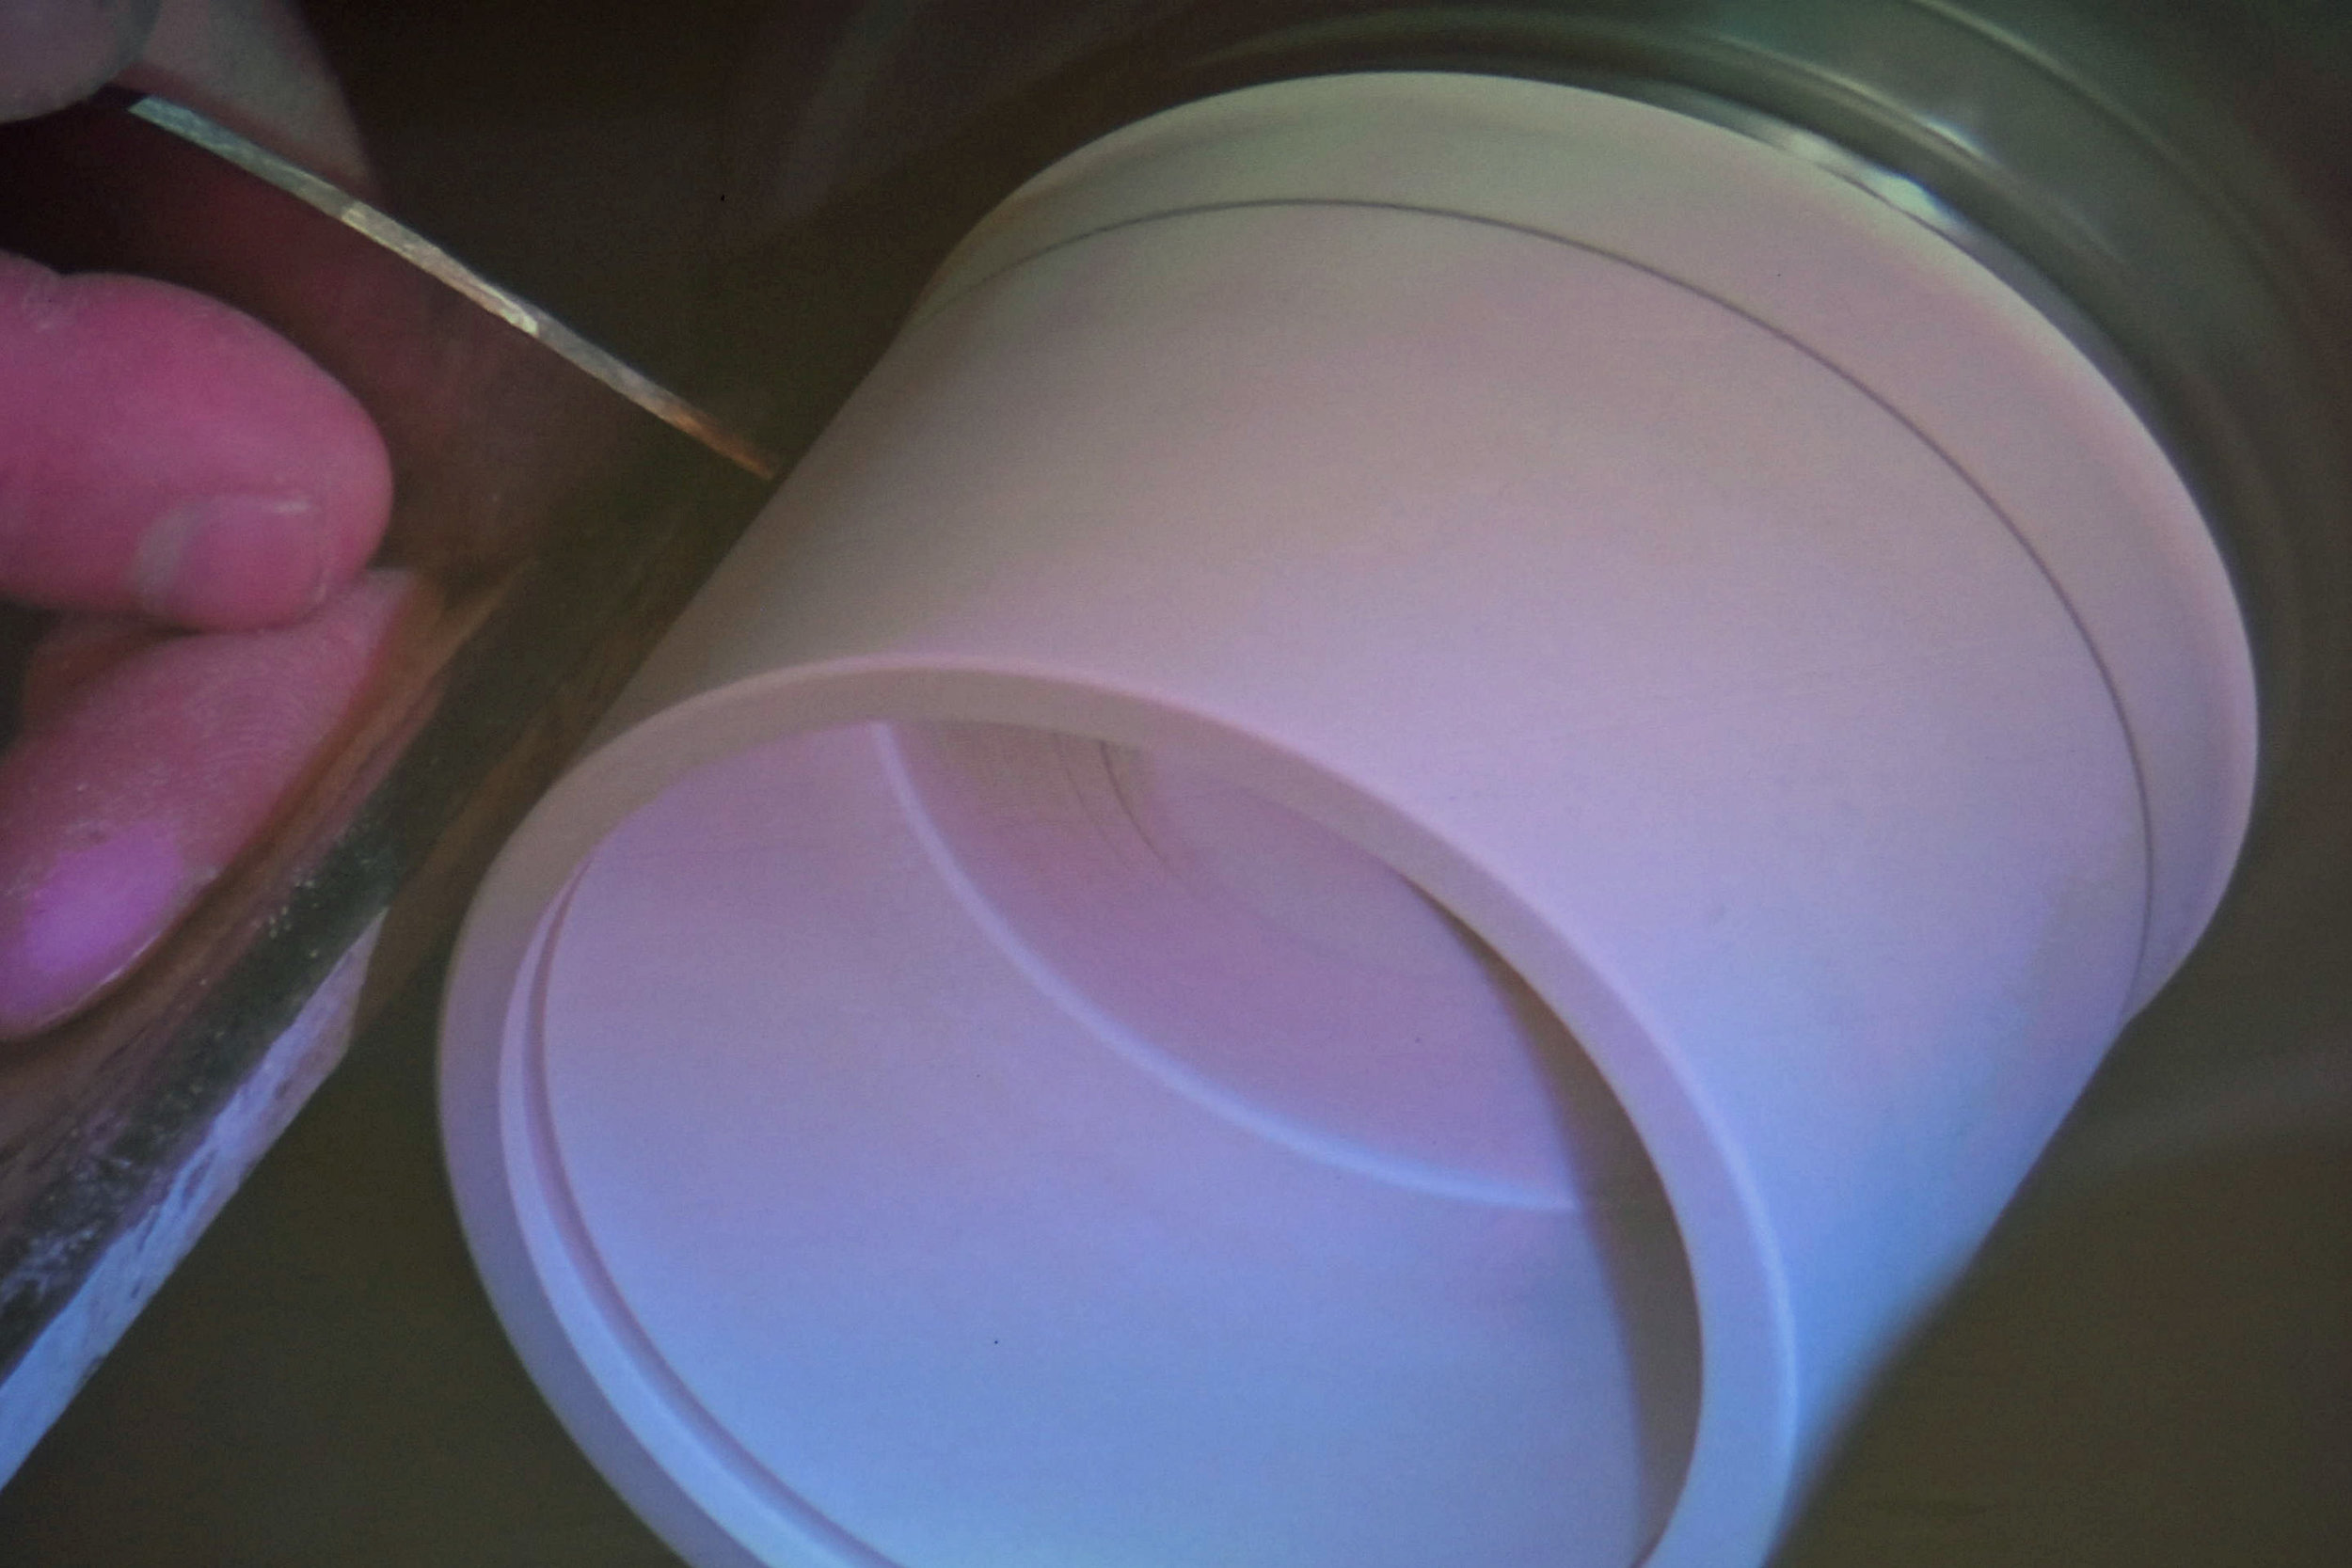
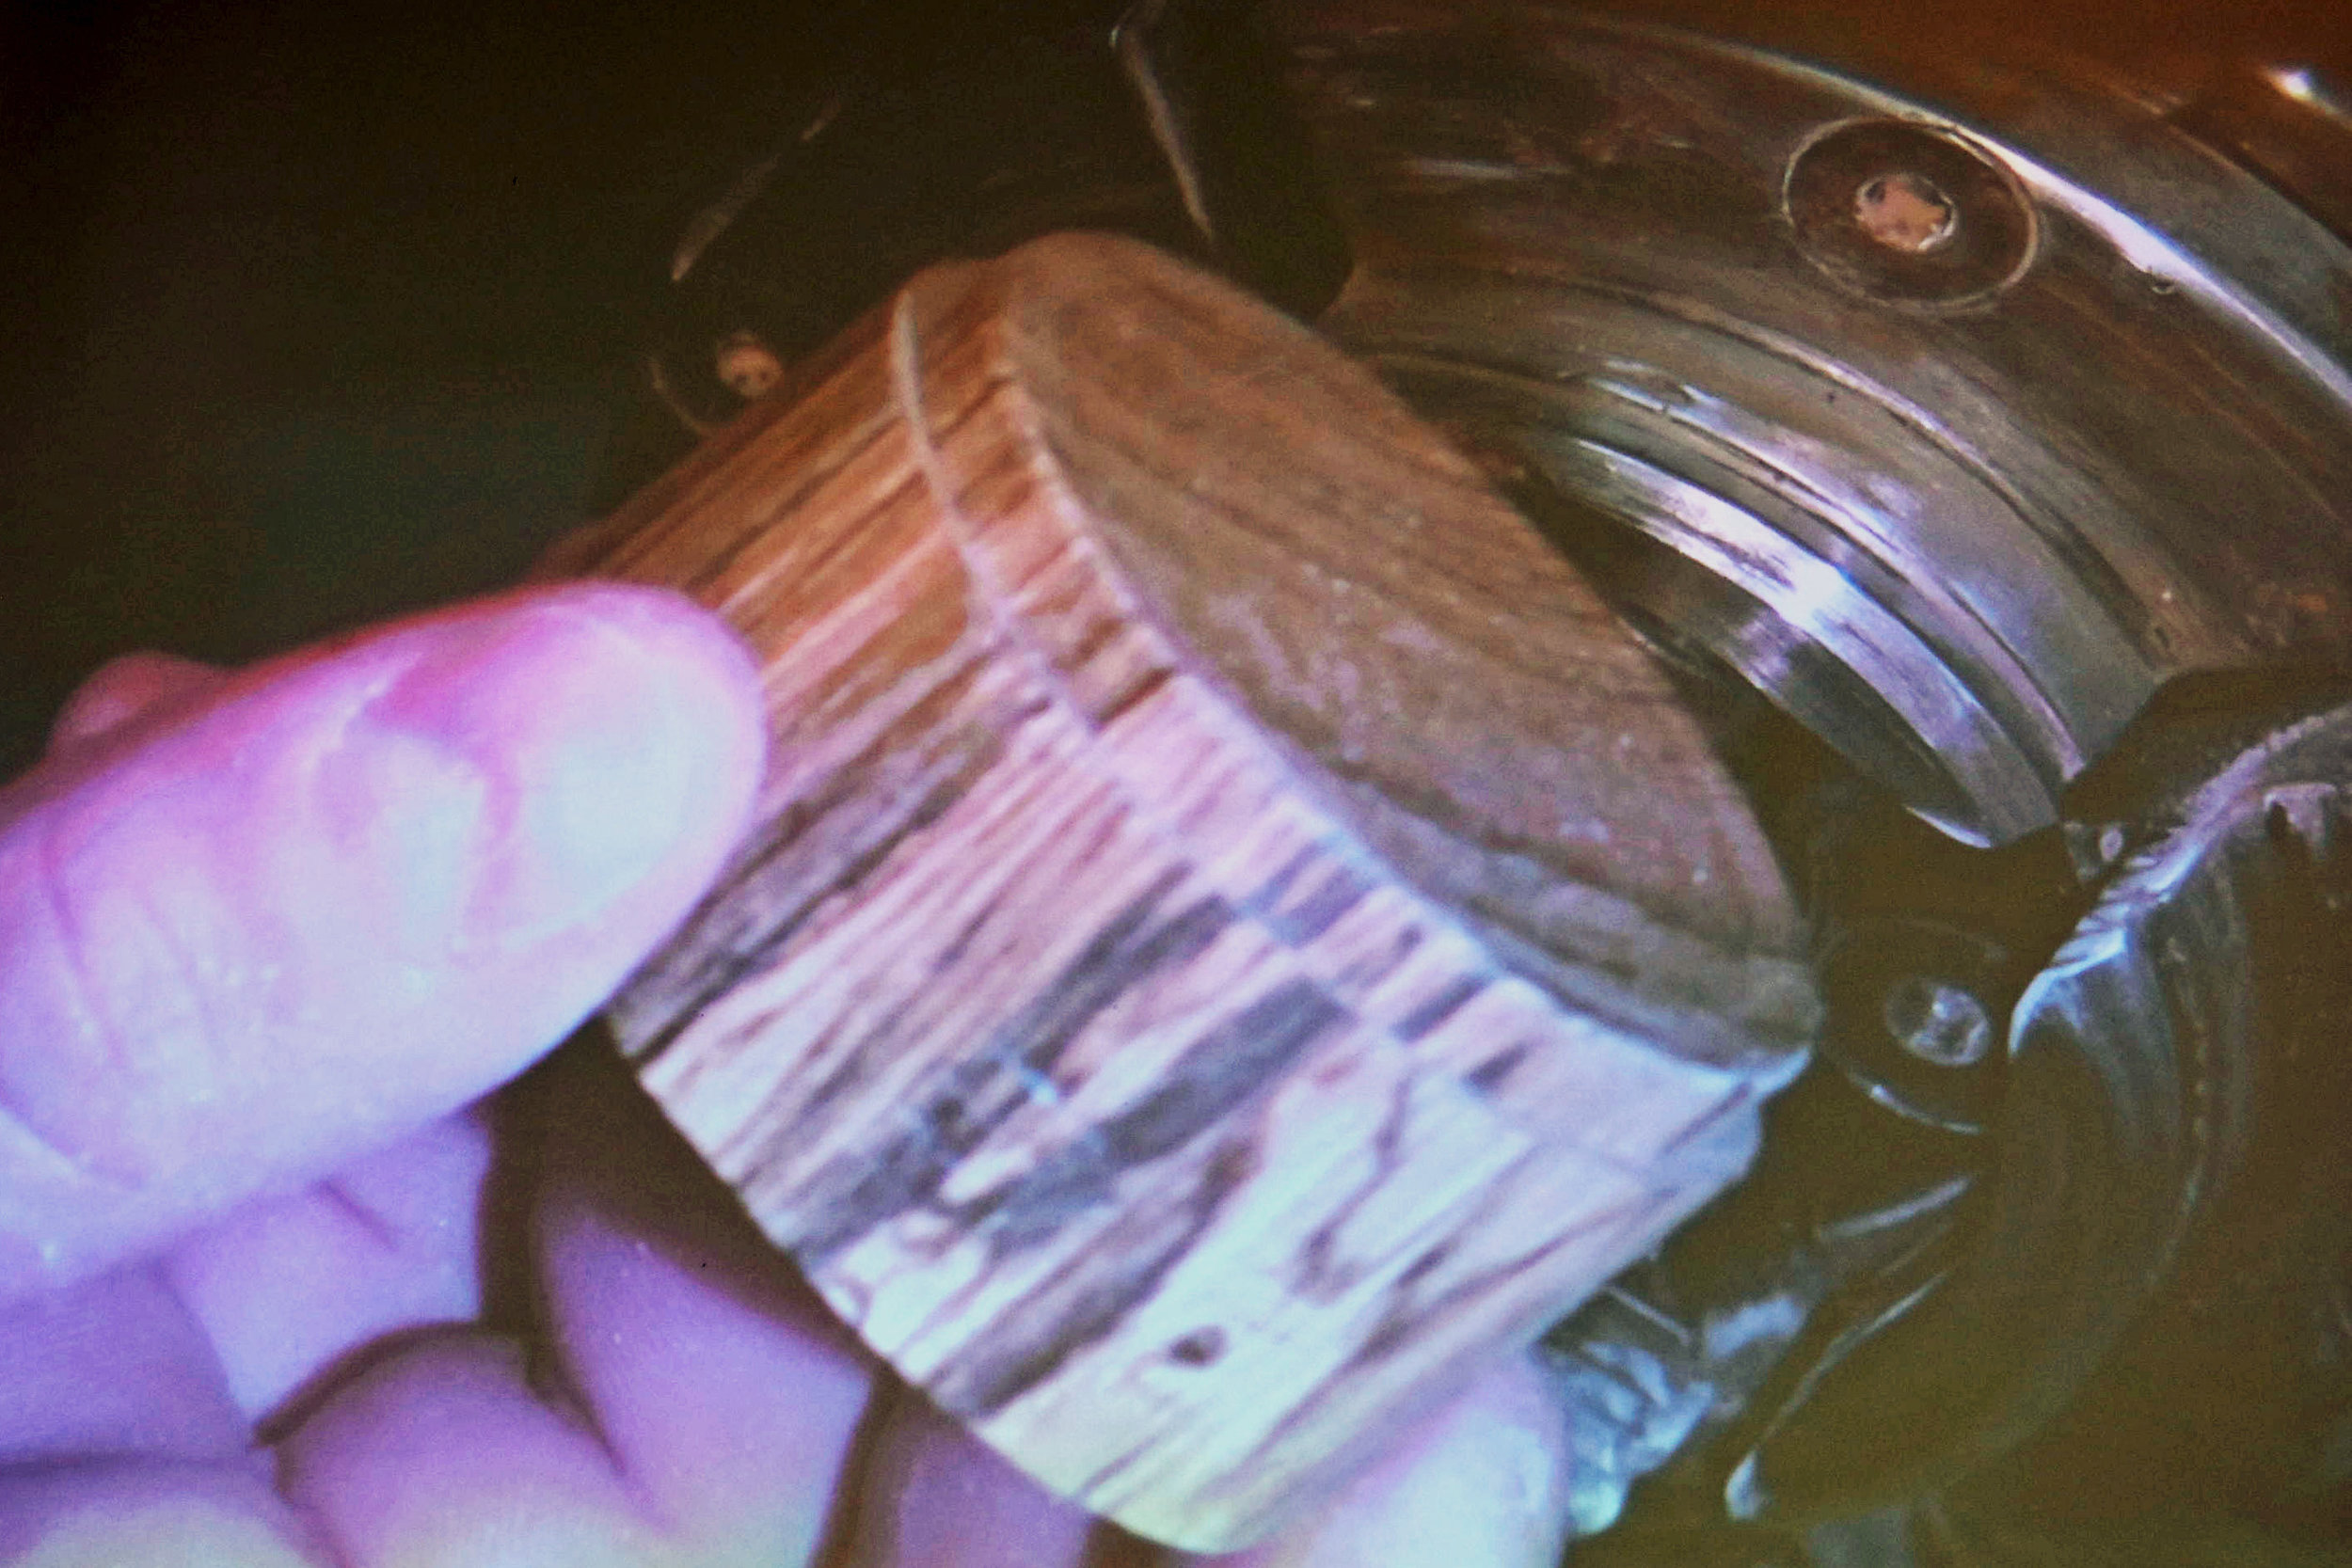
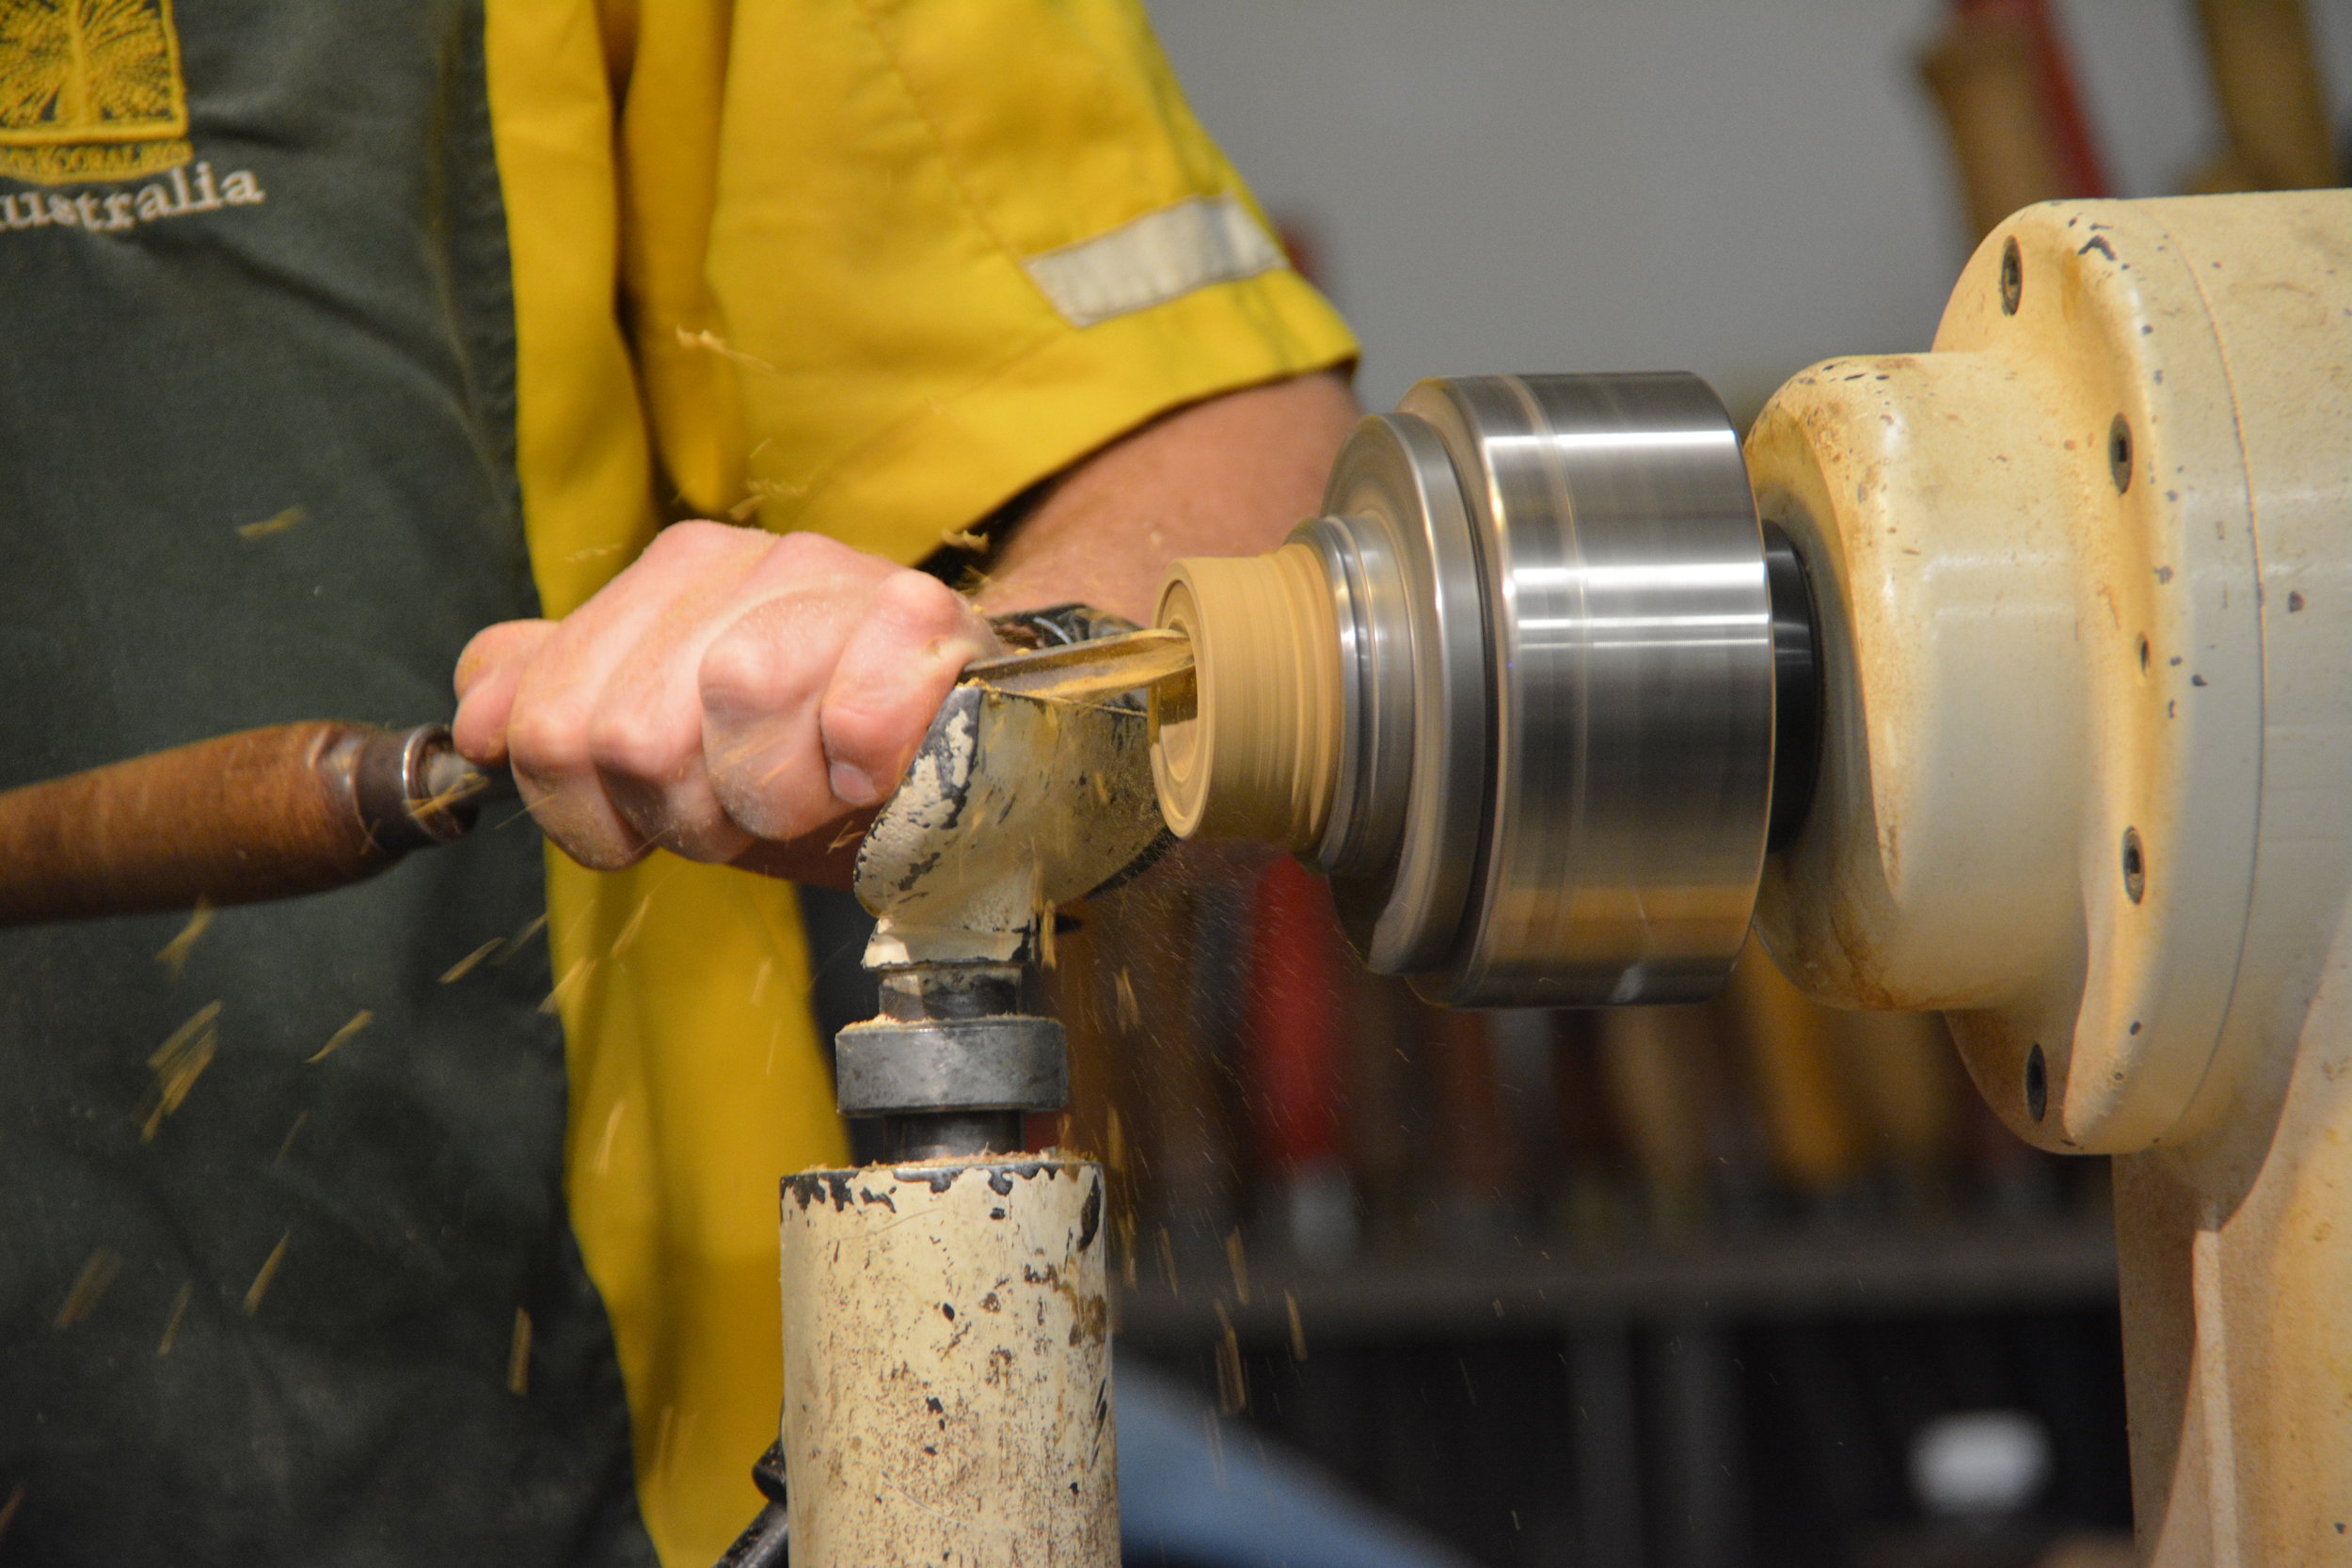
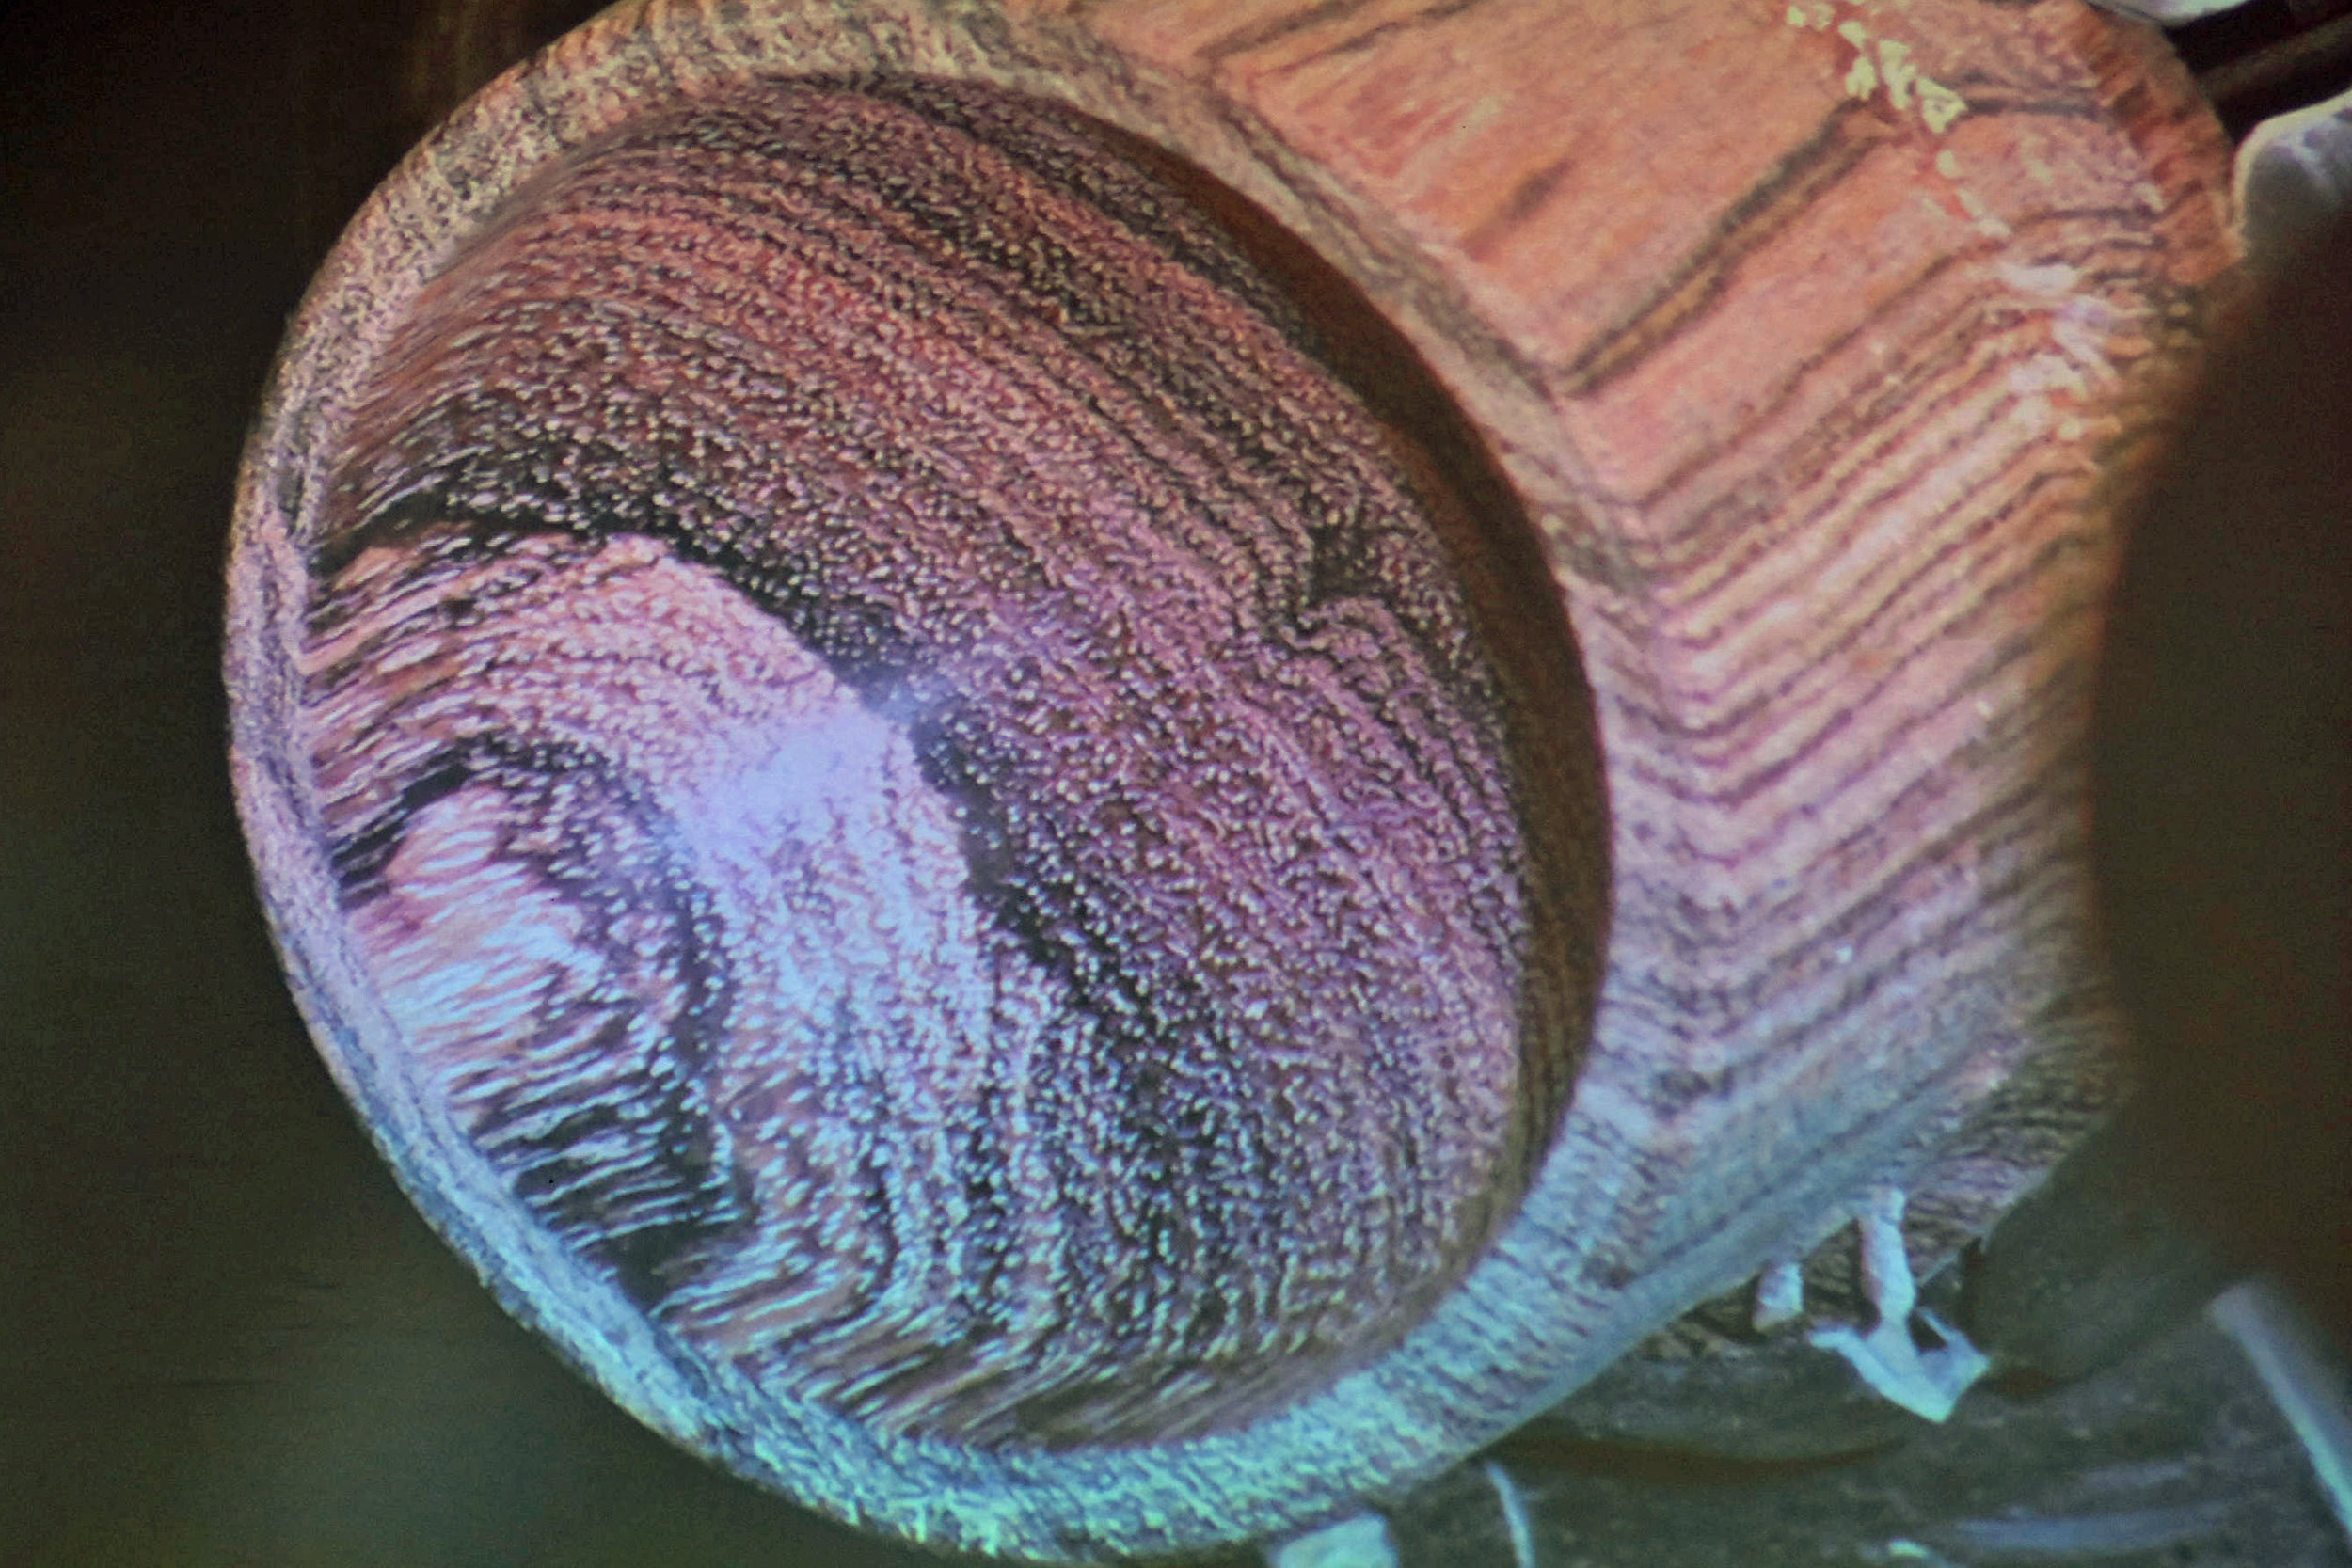
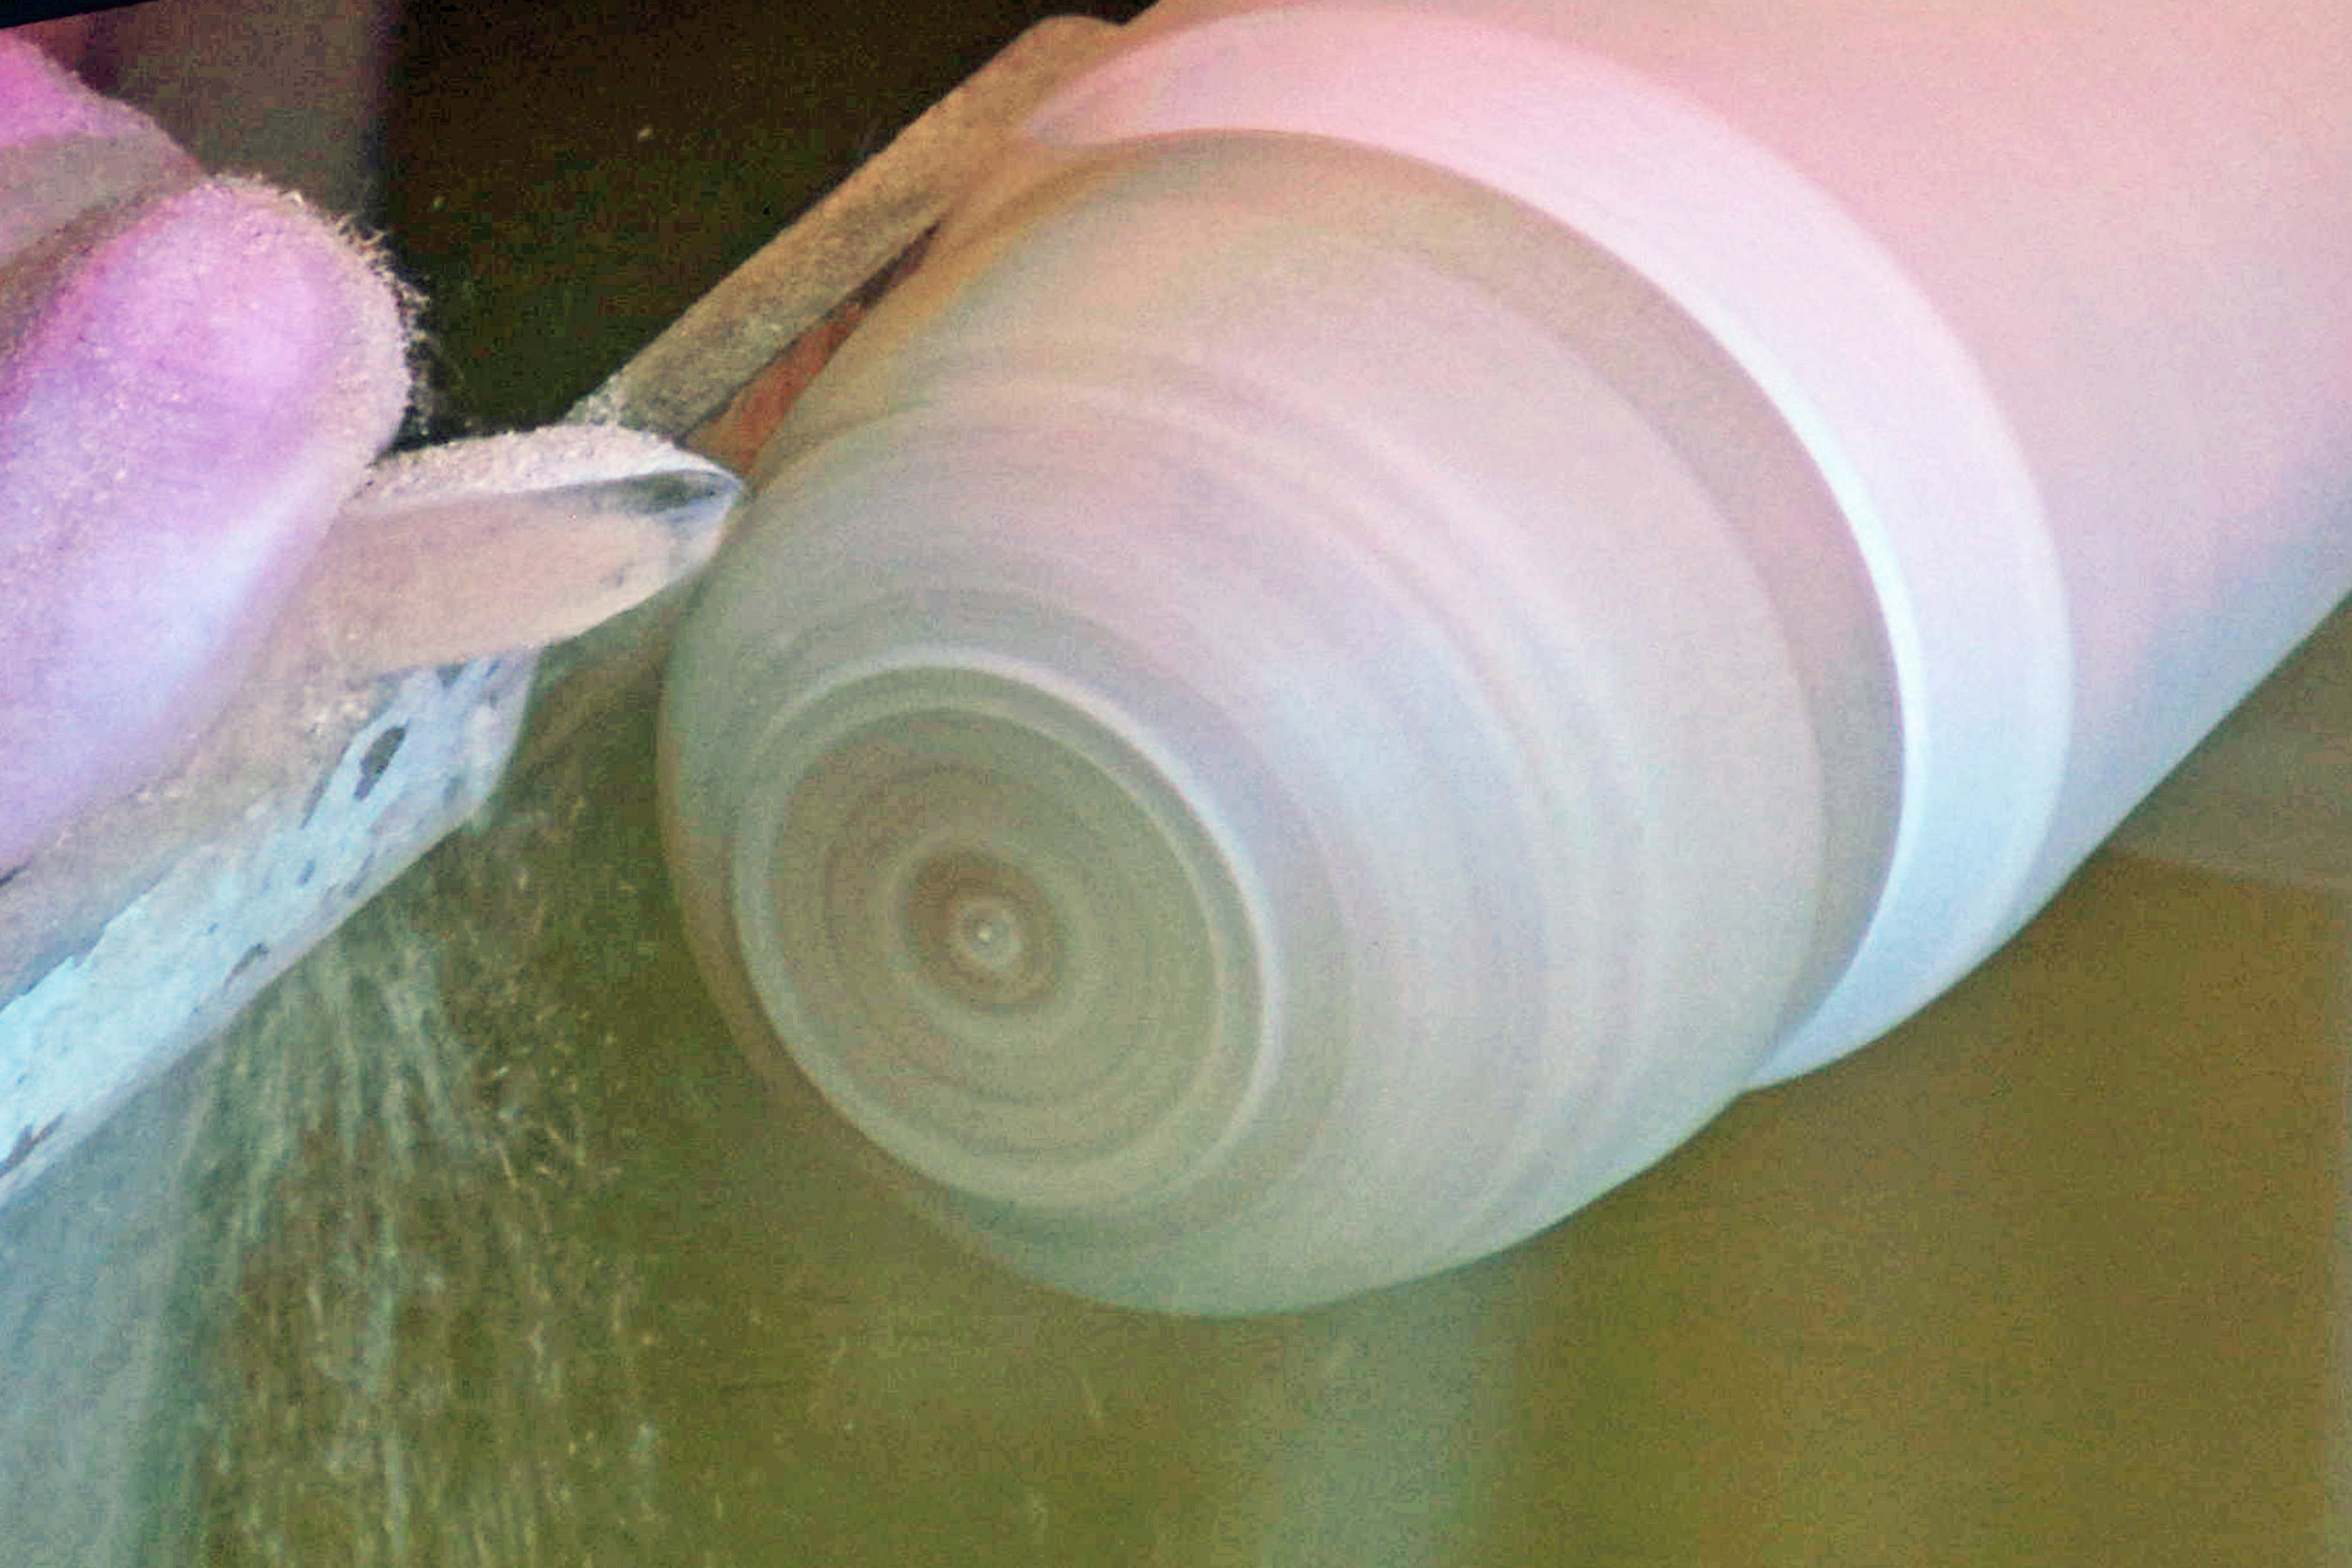
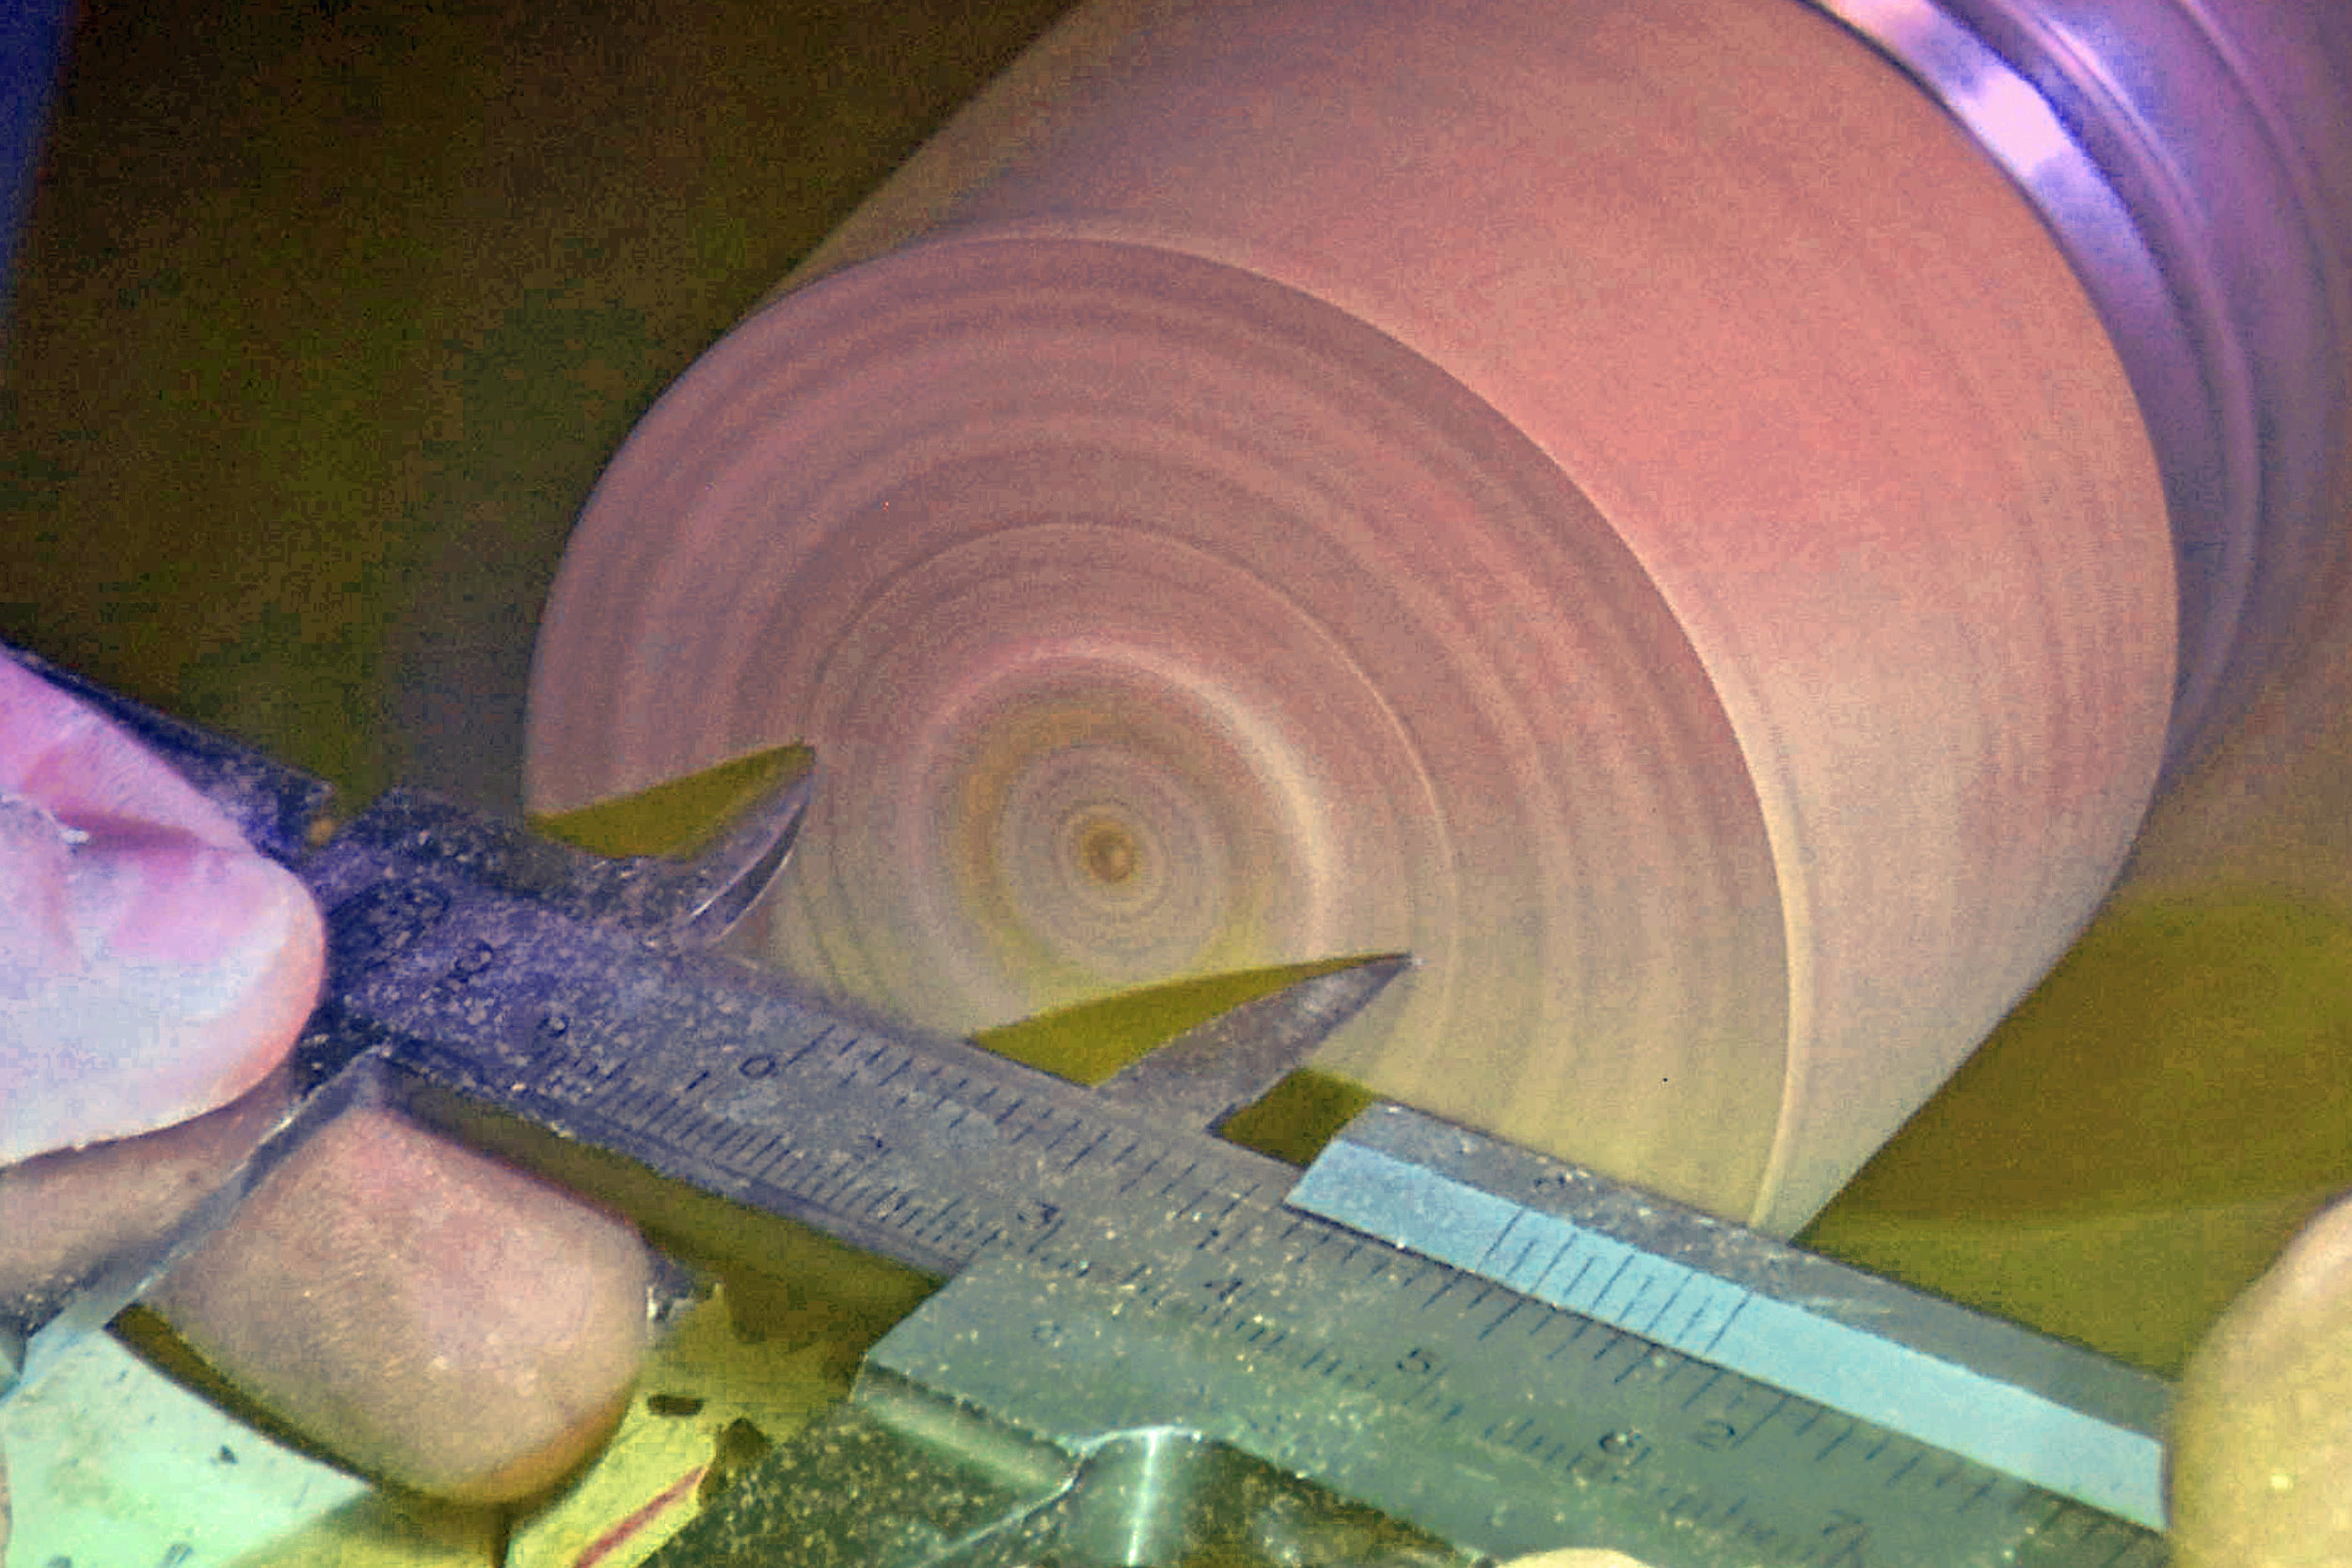
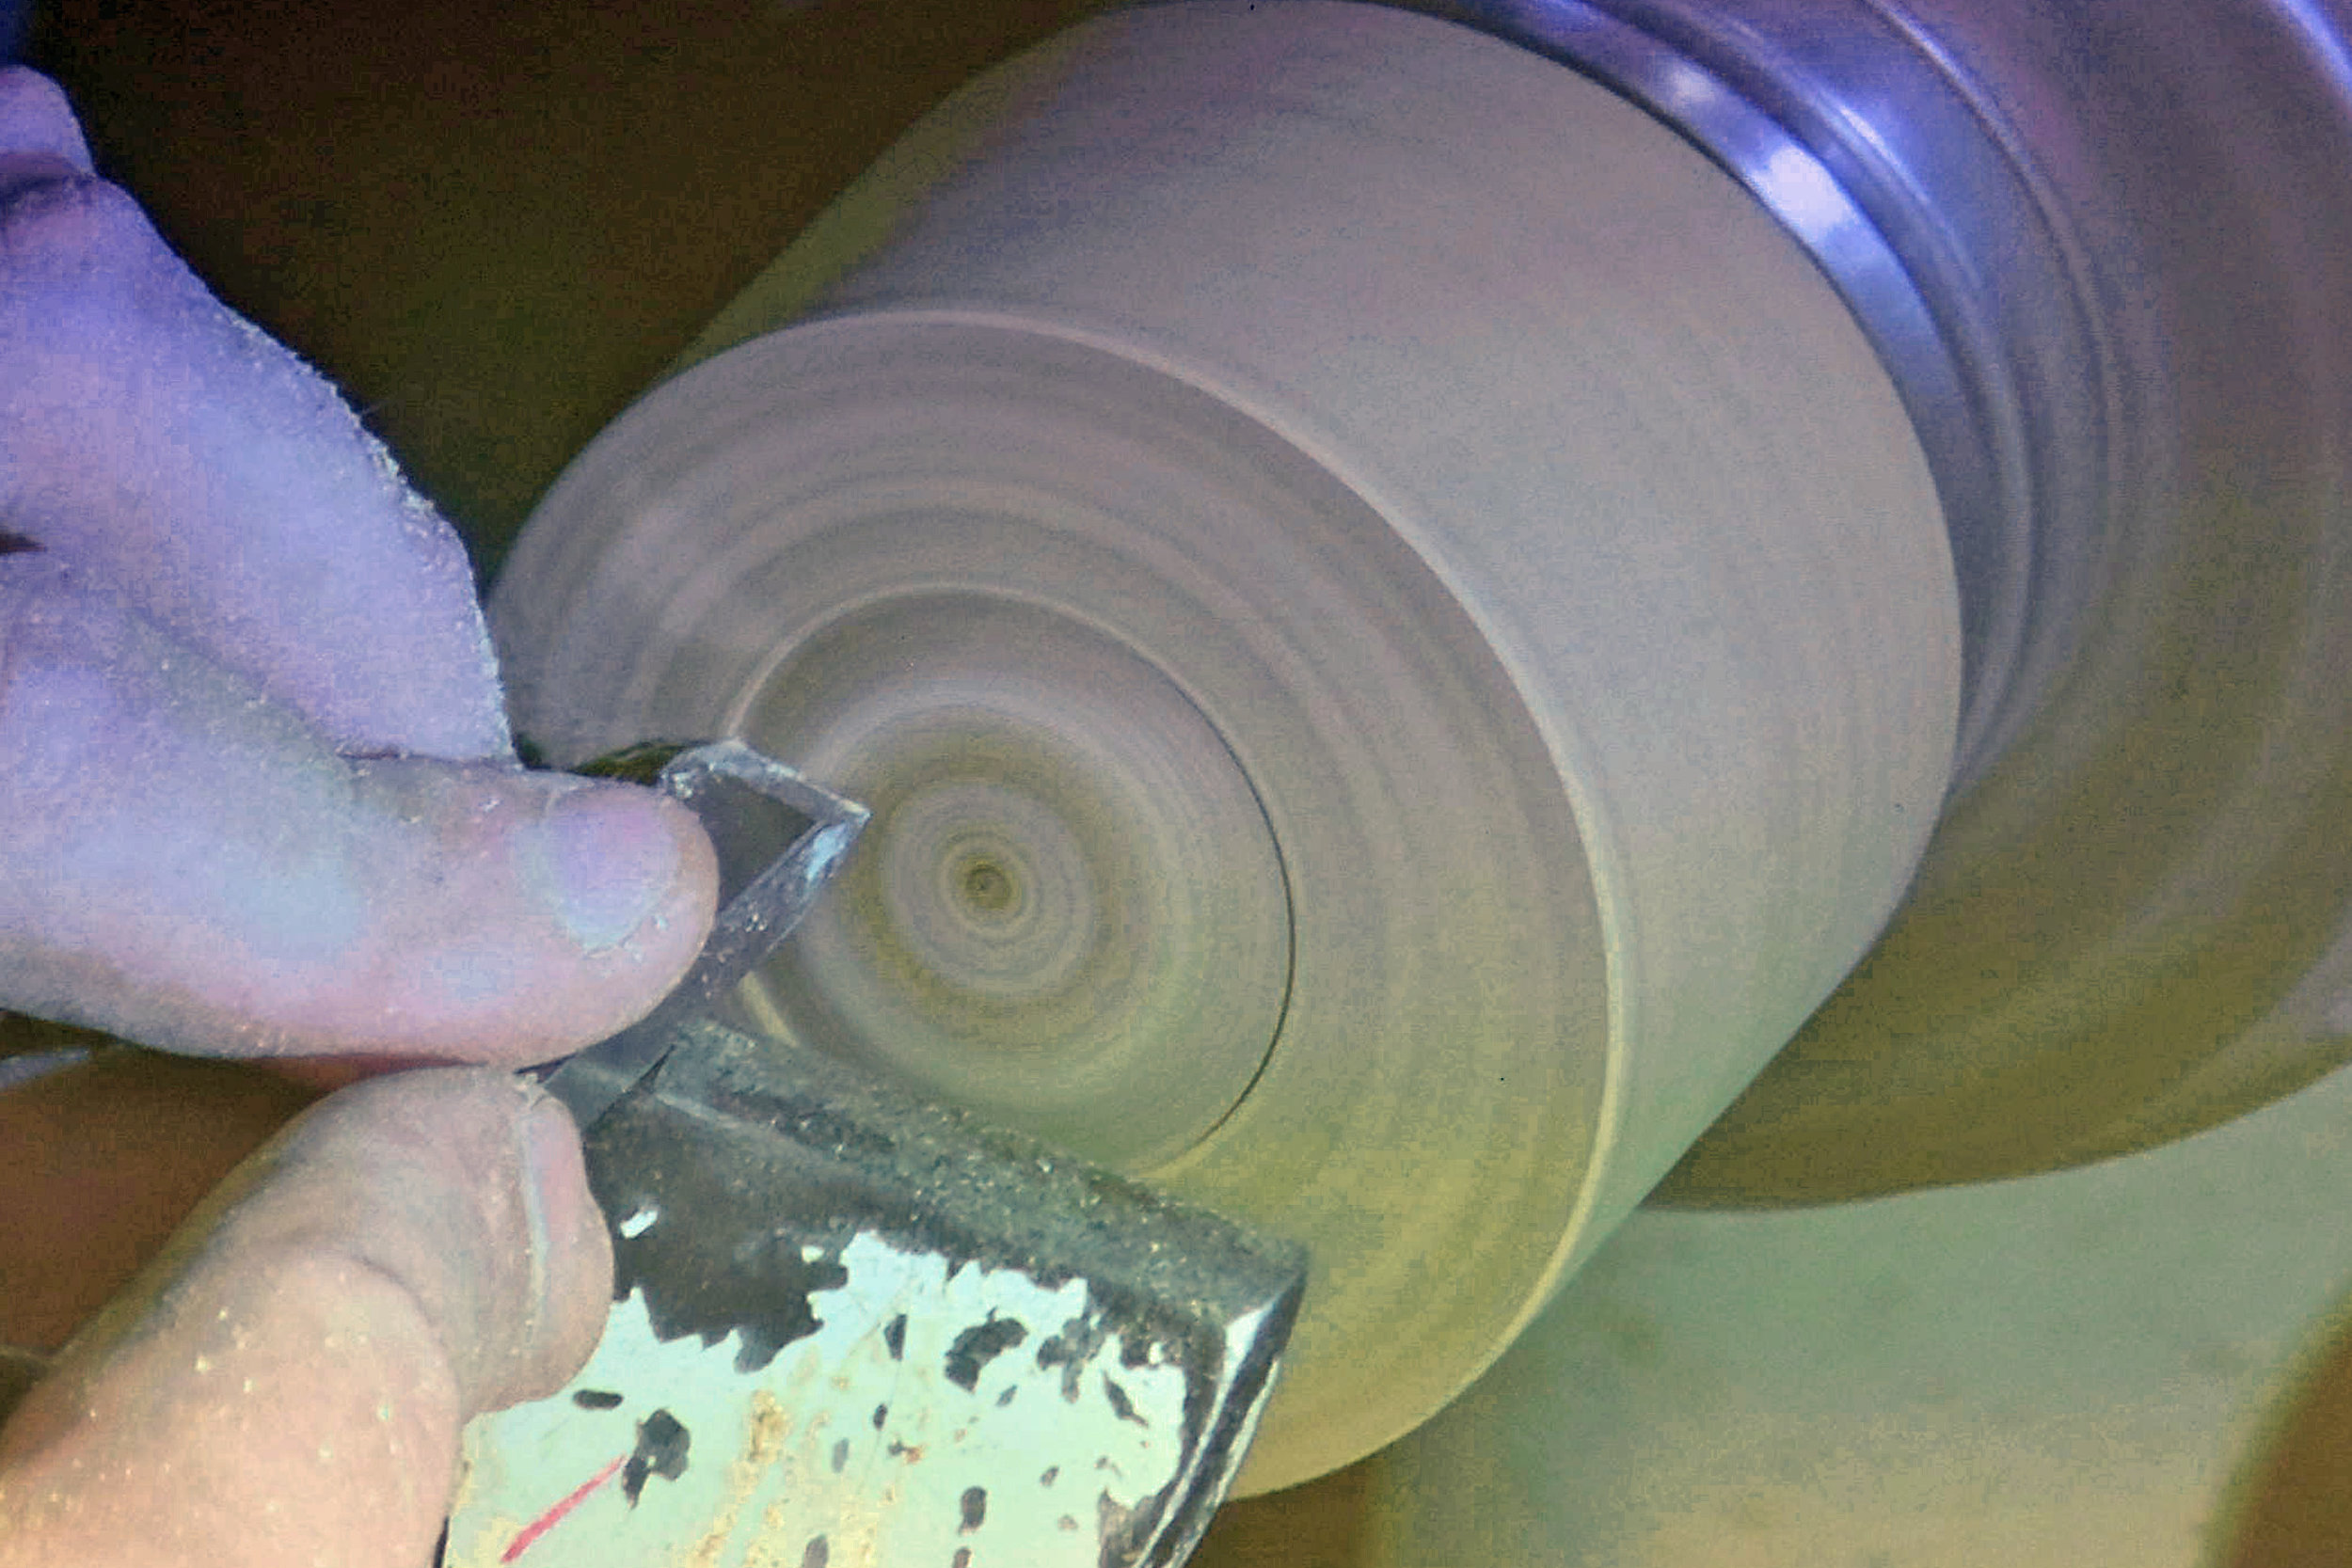
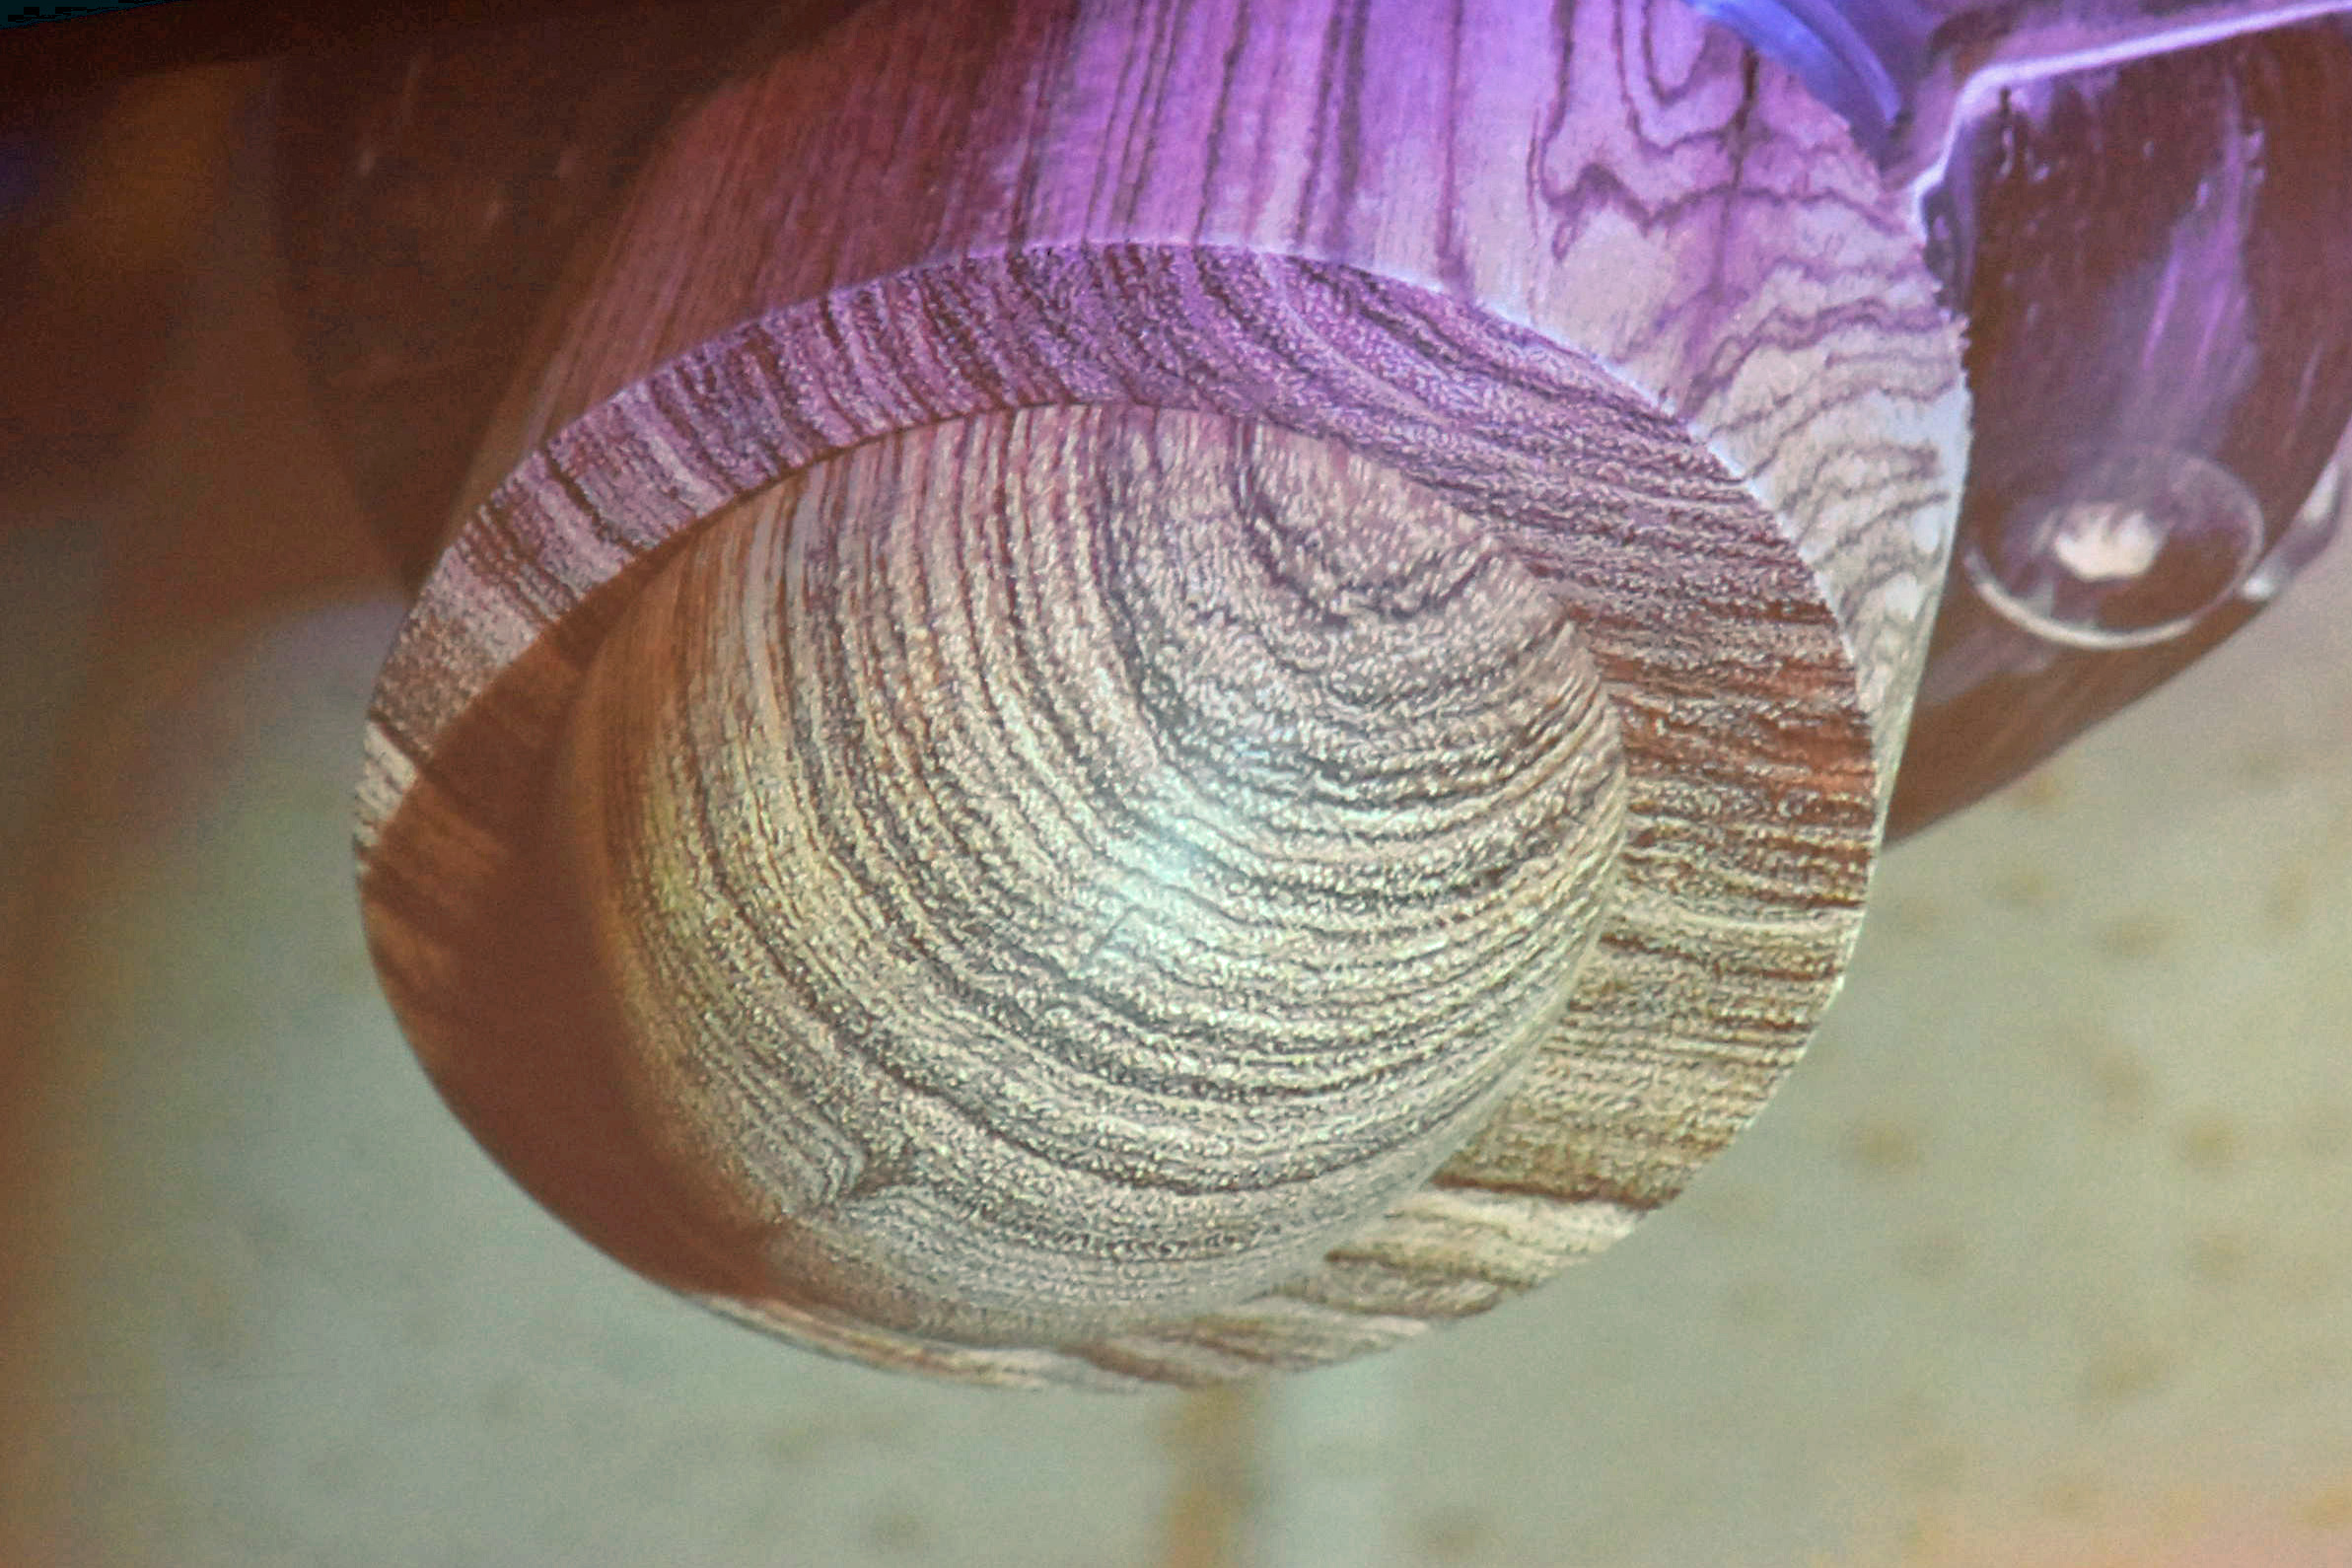
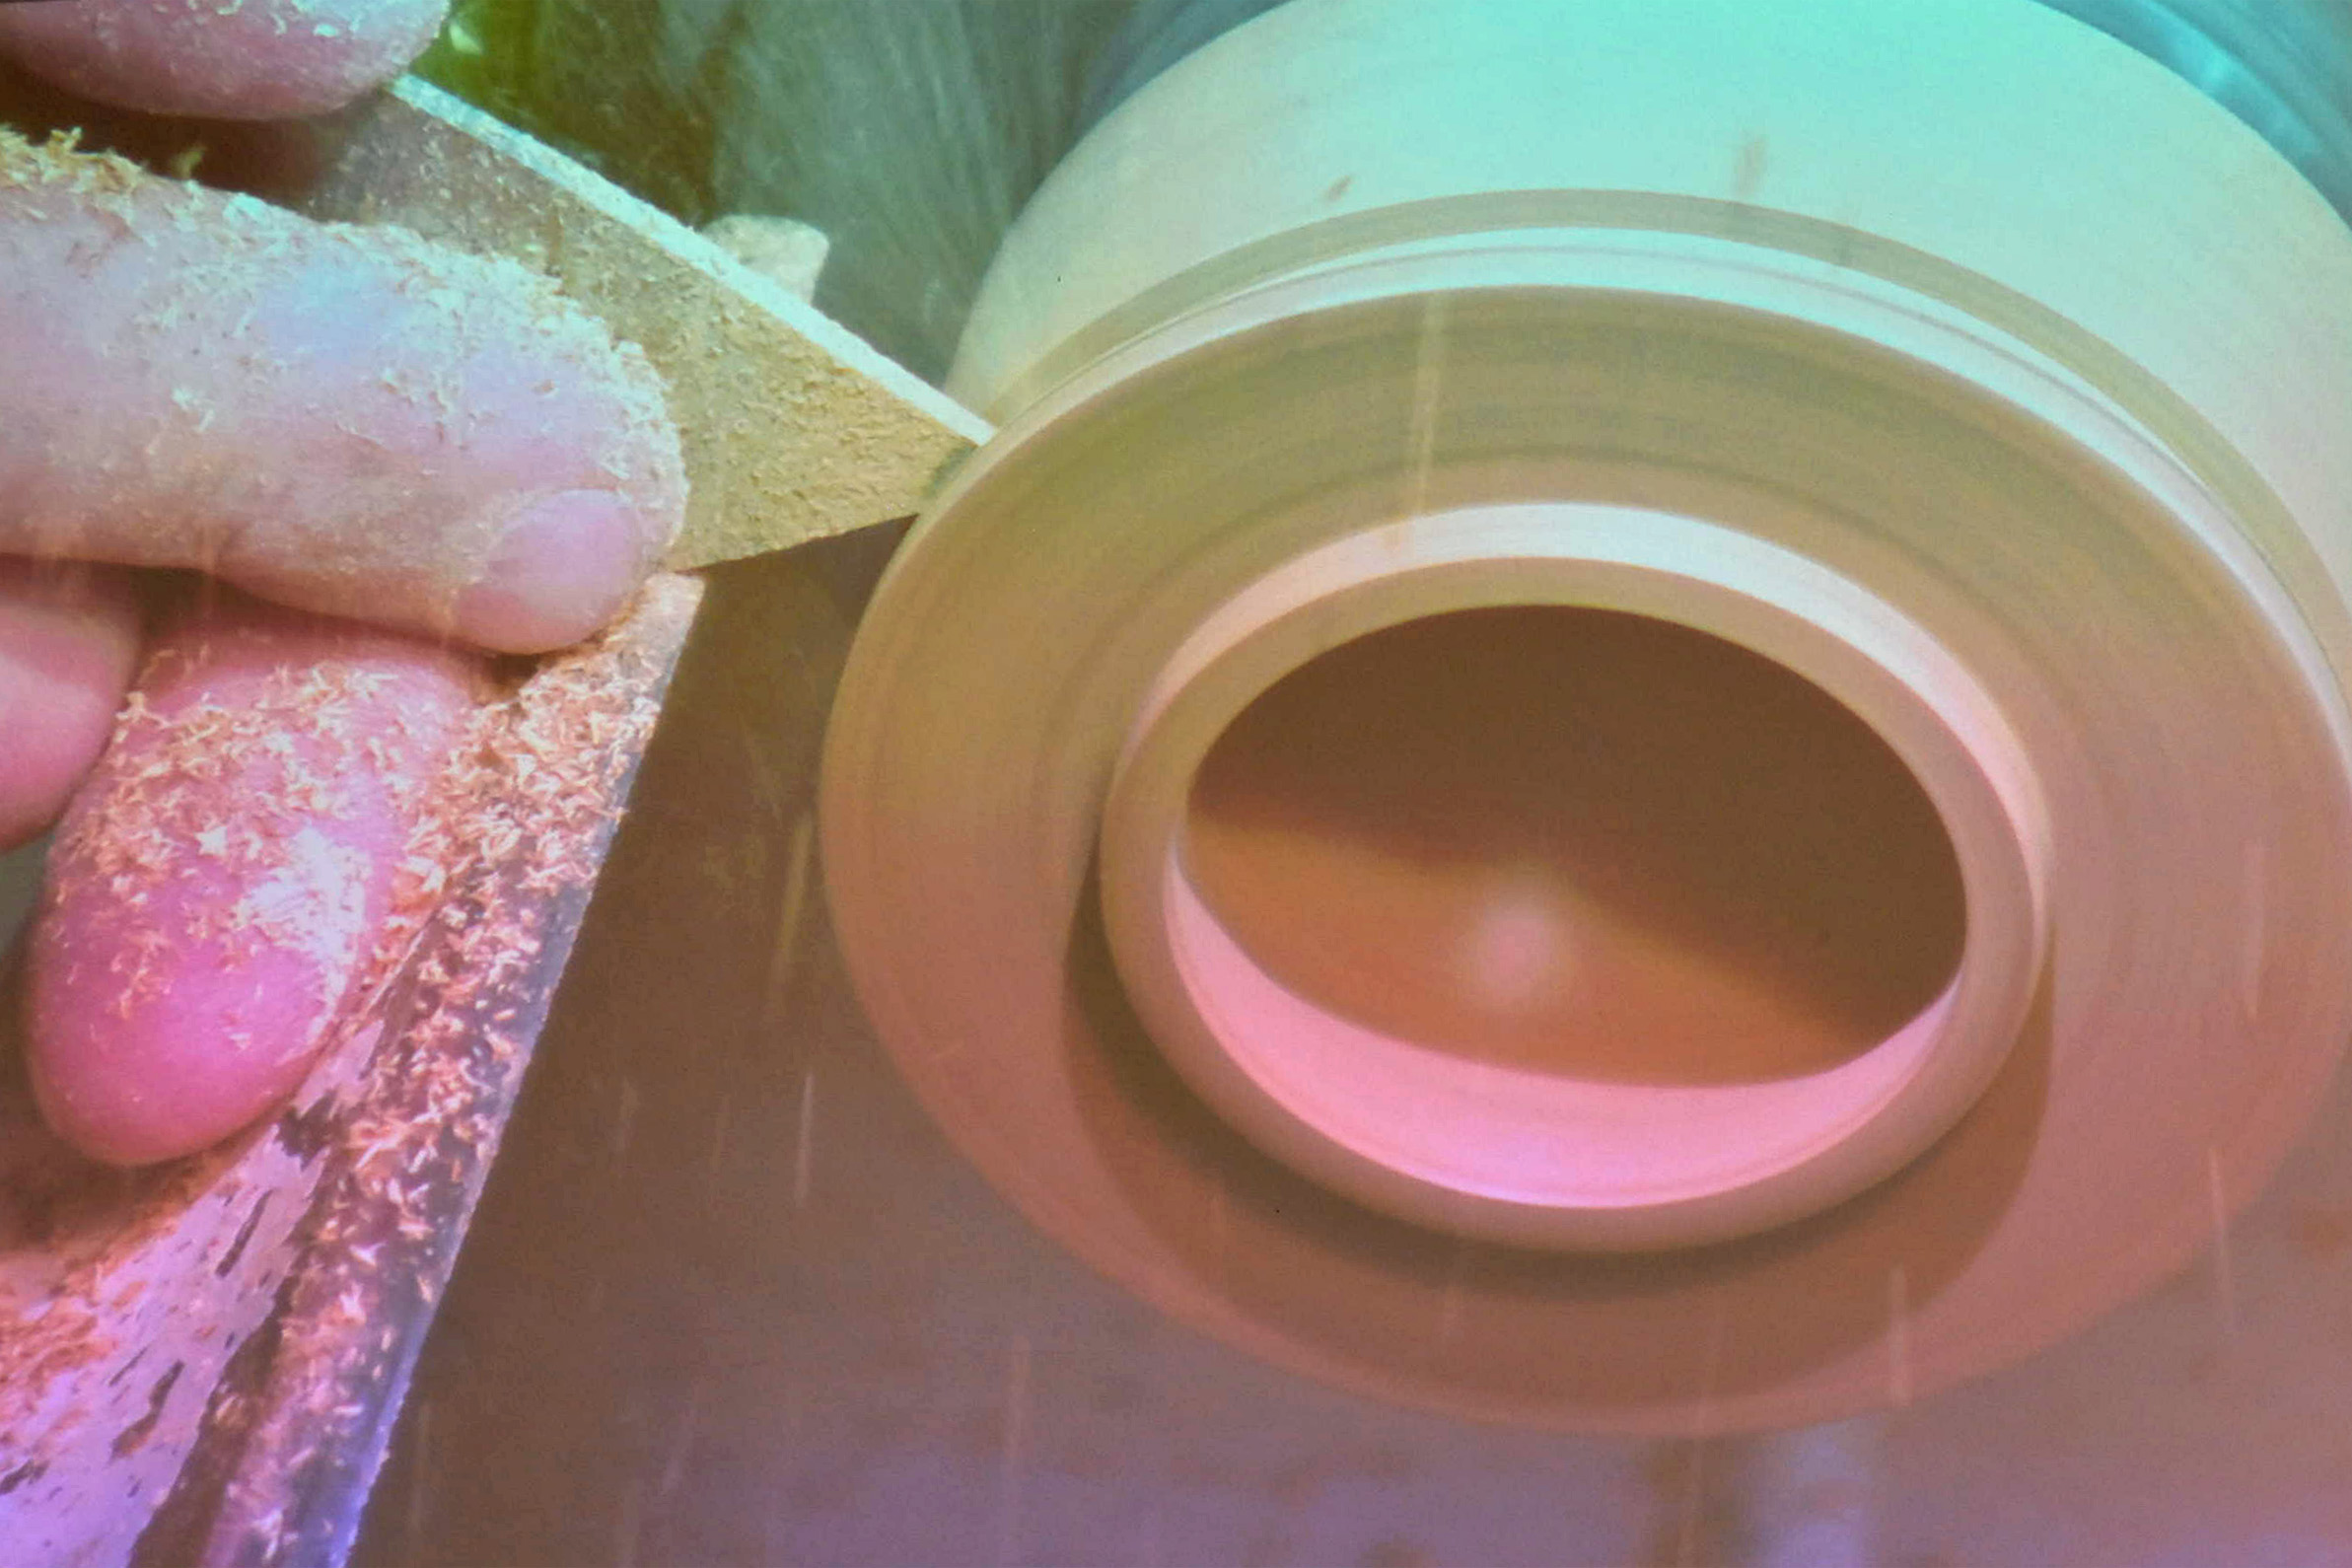
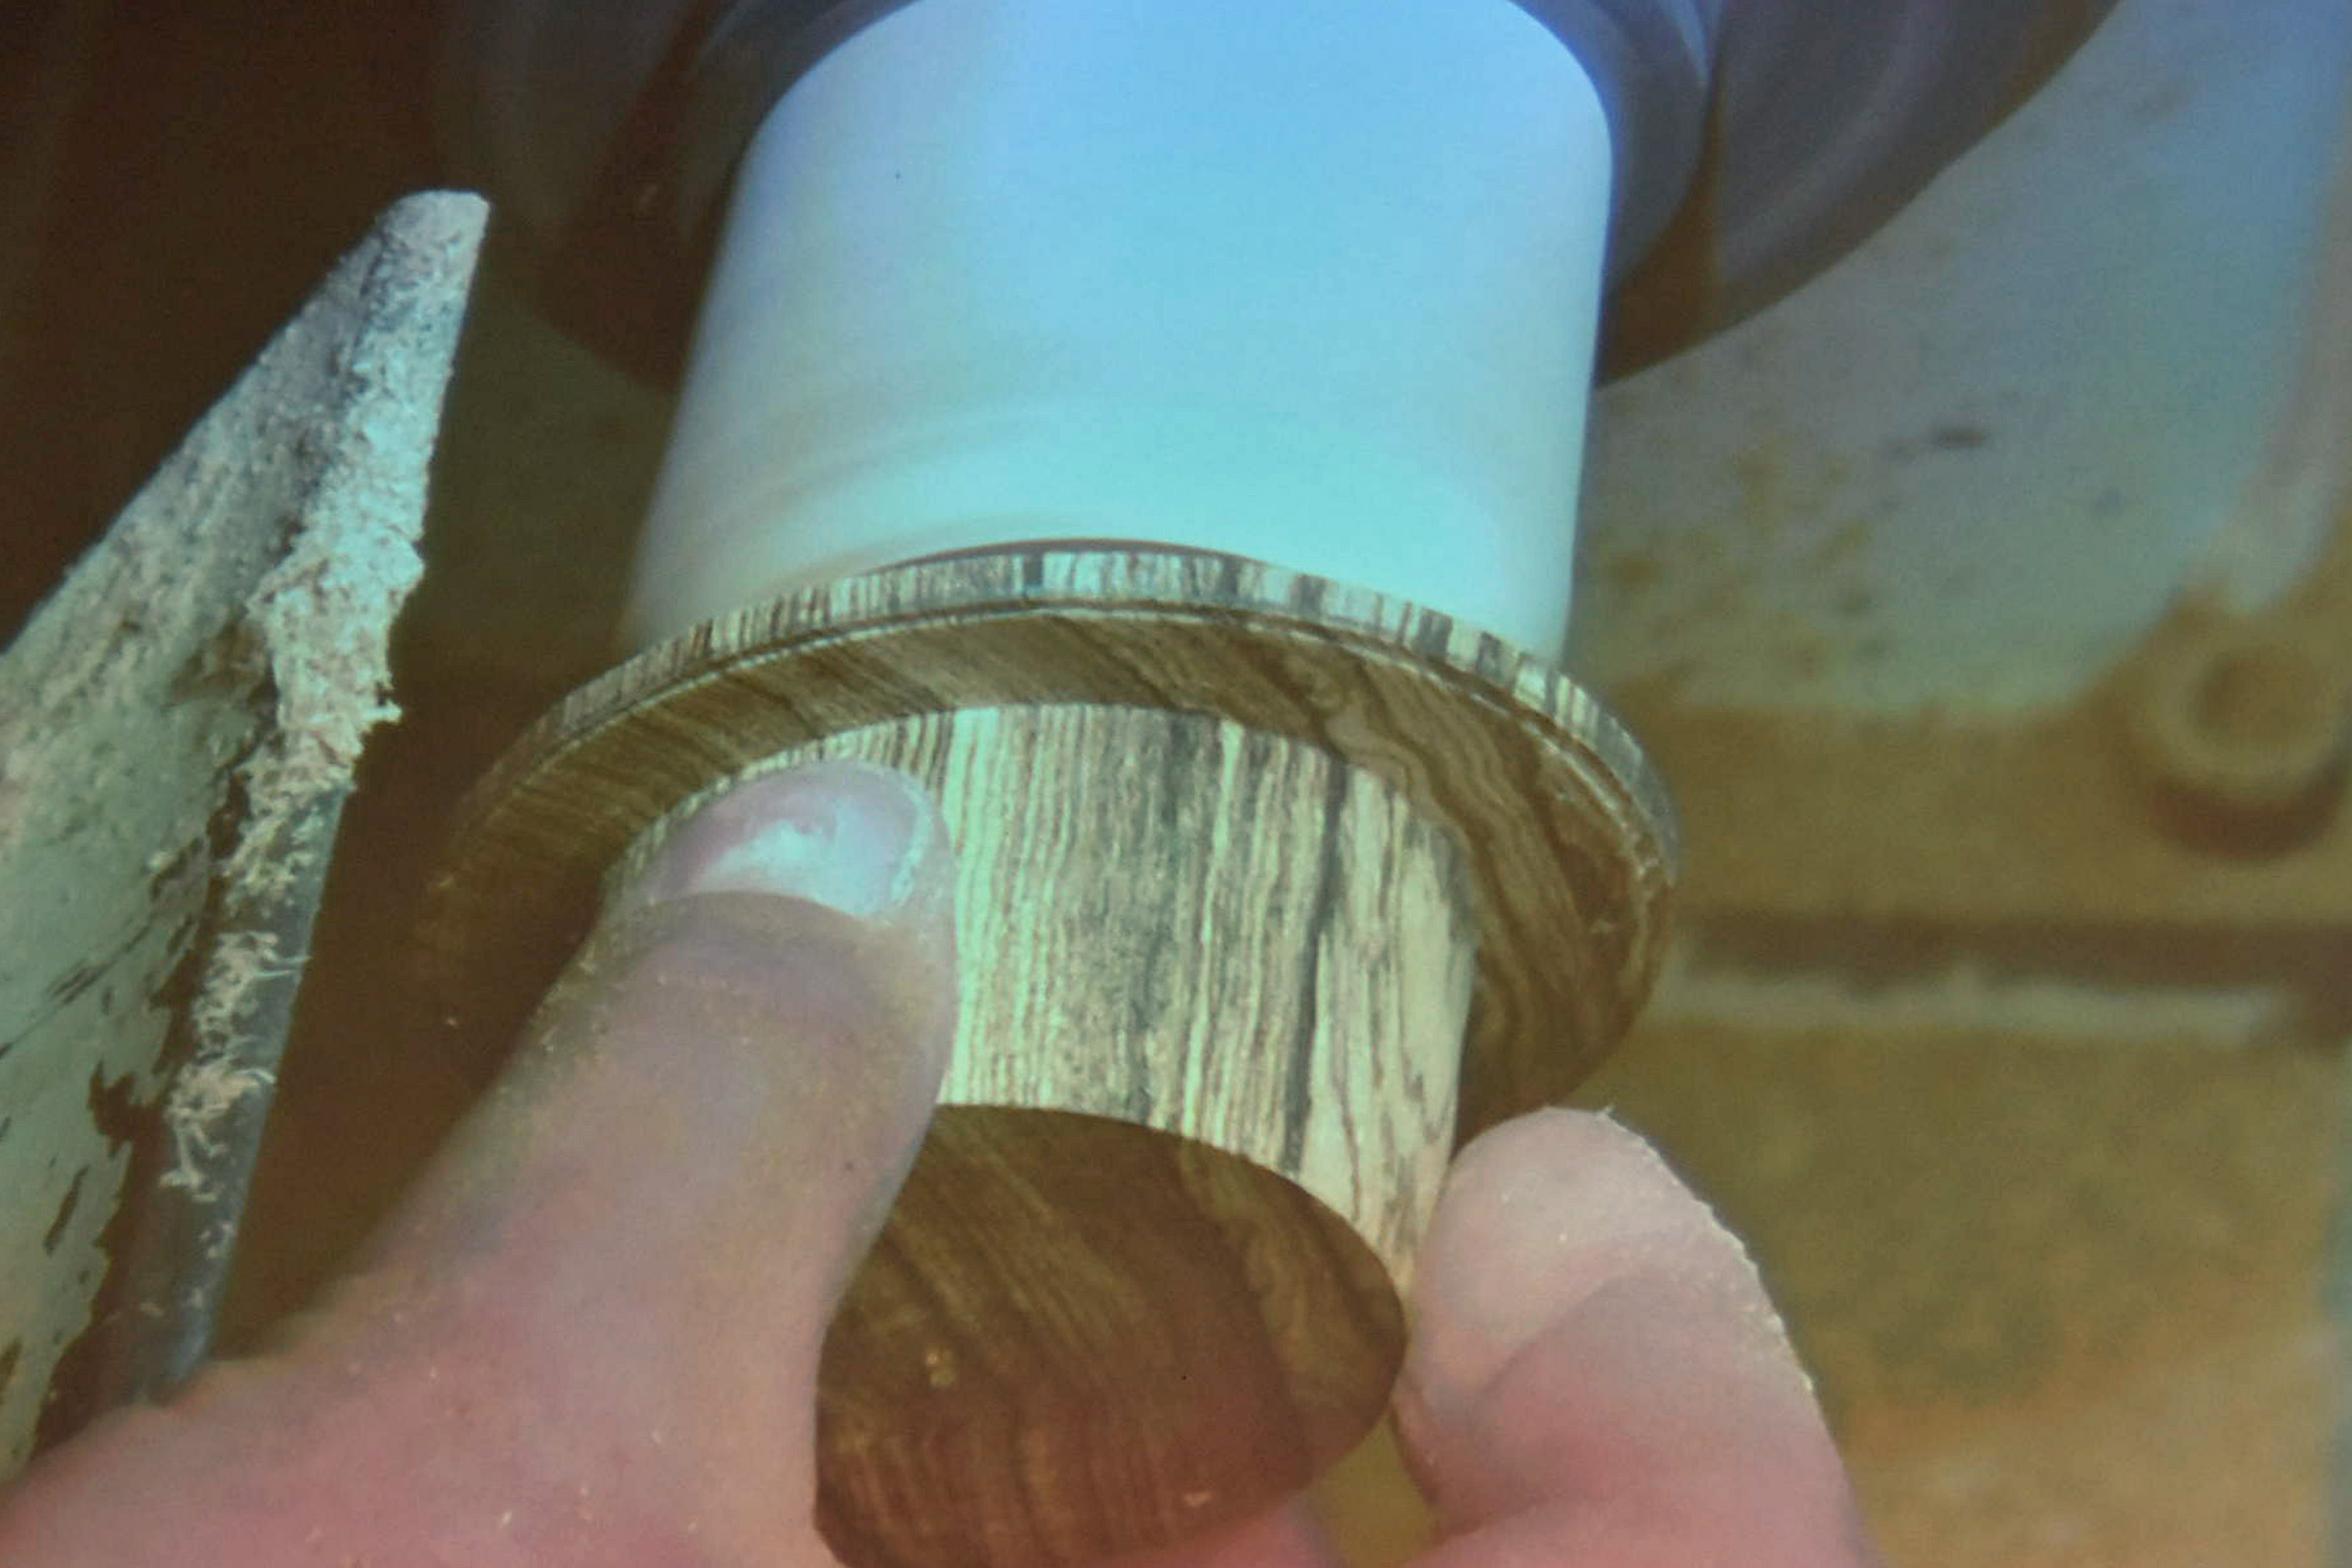
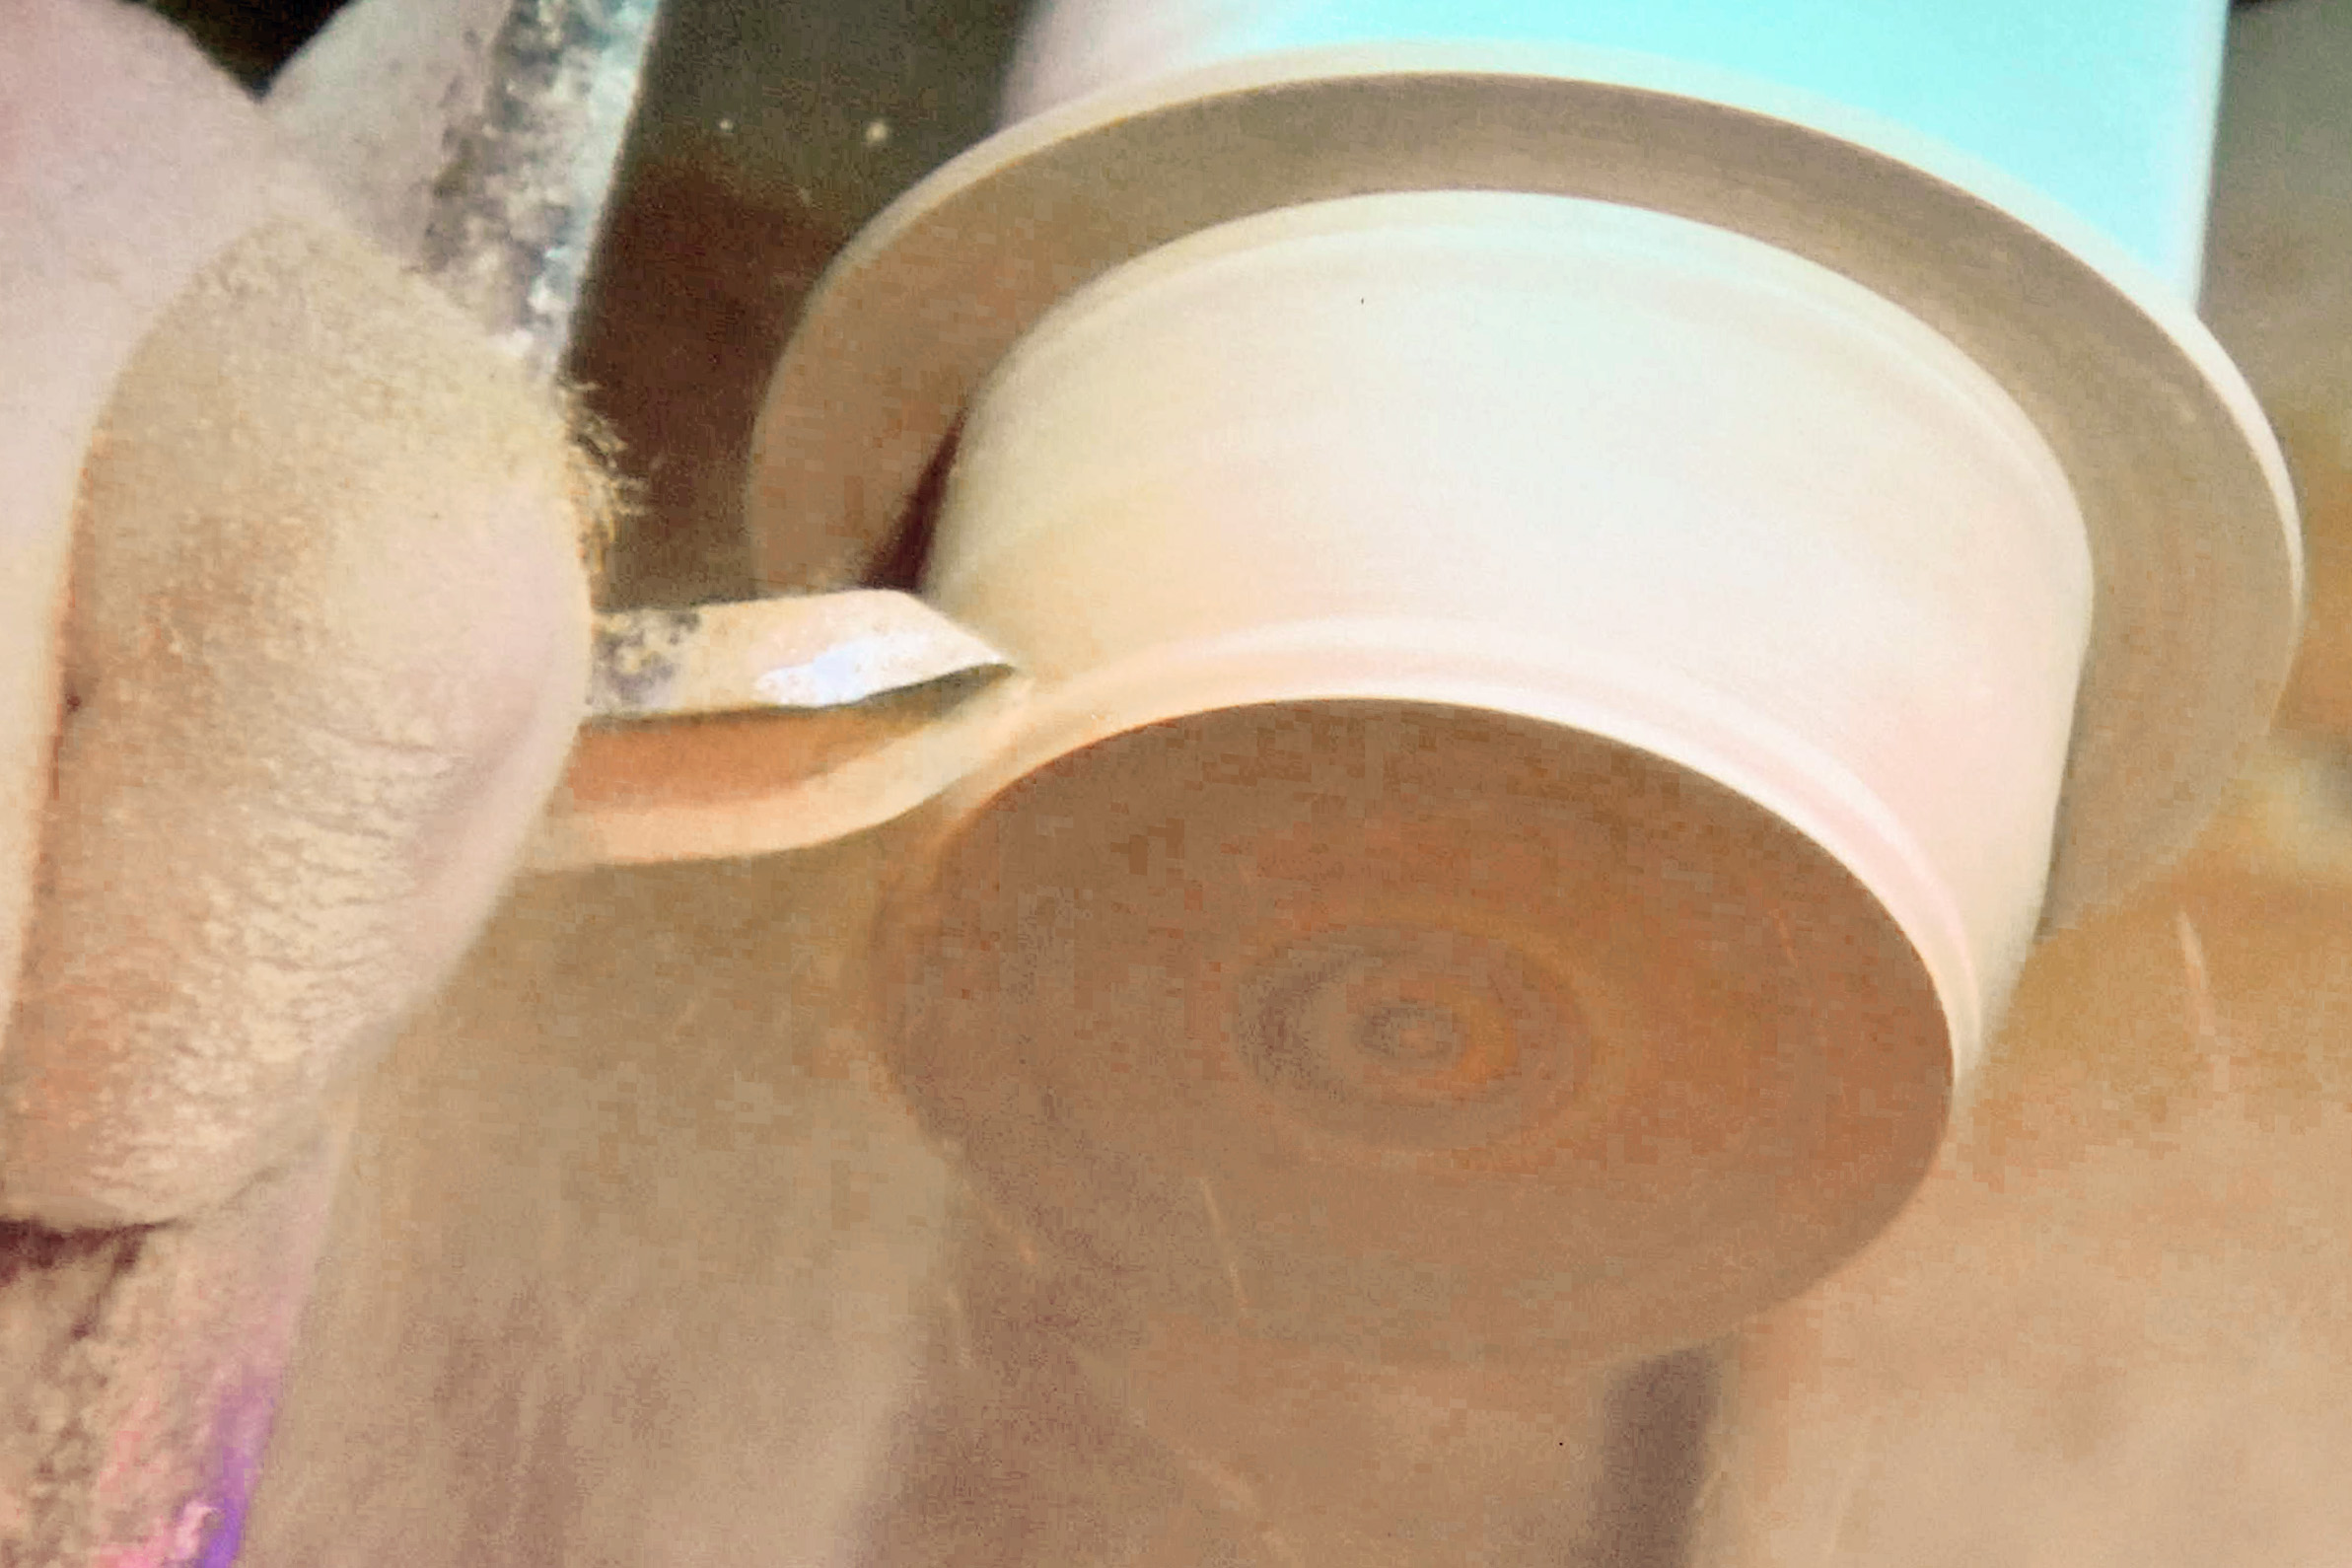
Jakob started with a cylinder of wood in a four jaw chuck, in this case Maple (although he later pulled out some the exotic Masur Birch legs that were made ahead of time), from which he would make the semi-cylindrical legs. Jakob, working from an engineered drawing he created, made a hollow cylinder with 4 mm walls. He constantly measured his work with a vernier caliper so that little was left to chance. Work began by truing up the cylinder's face and diameter. To hollow the cylinder, he used a 3/8 deep fluted bowl gouge with a finger nail grind to remove a lot of the stock using an upward sweep of a bowl gouge, sometimes called "back hollowing." (You may remember we saw his father demonstrating the same technique, and we posted a link to a video showing him doing it. Jakob was equally impressive.) He followed this operation with the use of a square skew to define straight inside walls to a bit beyond his desired cylinder height.
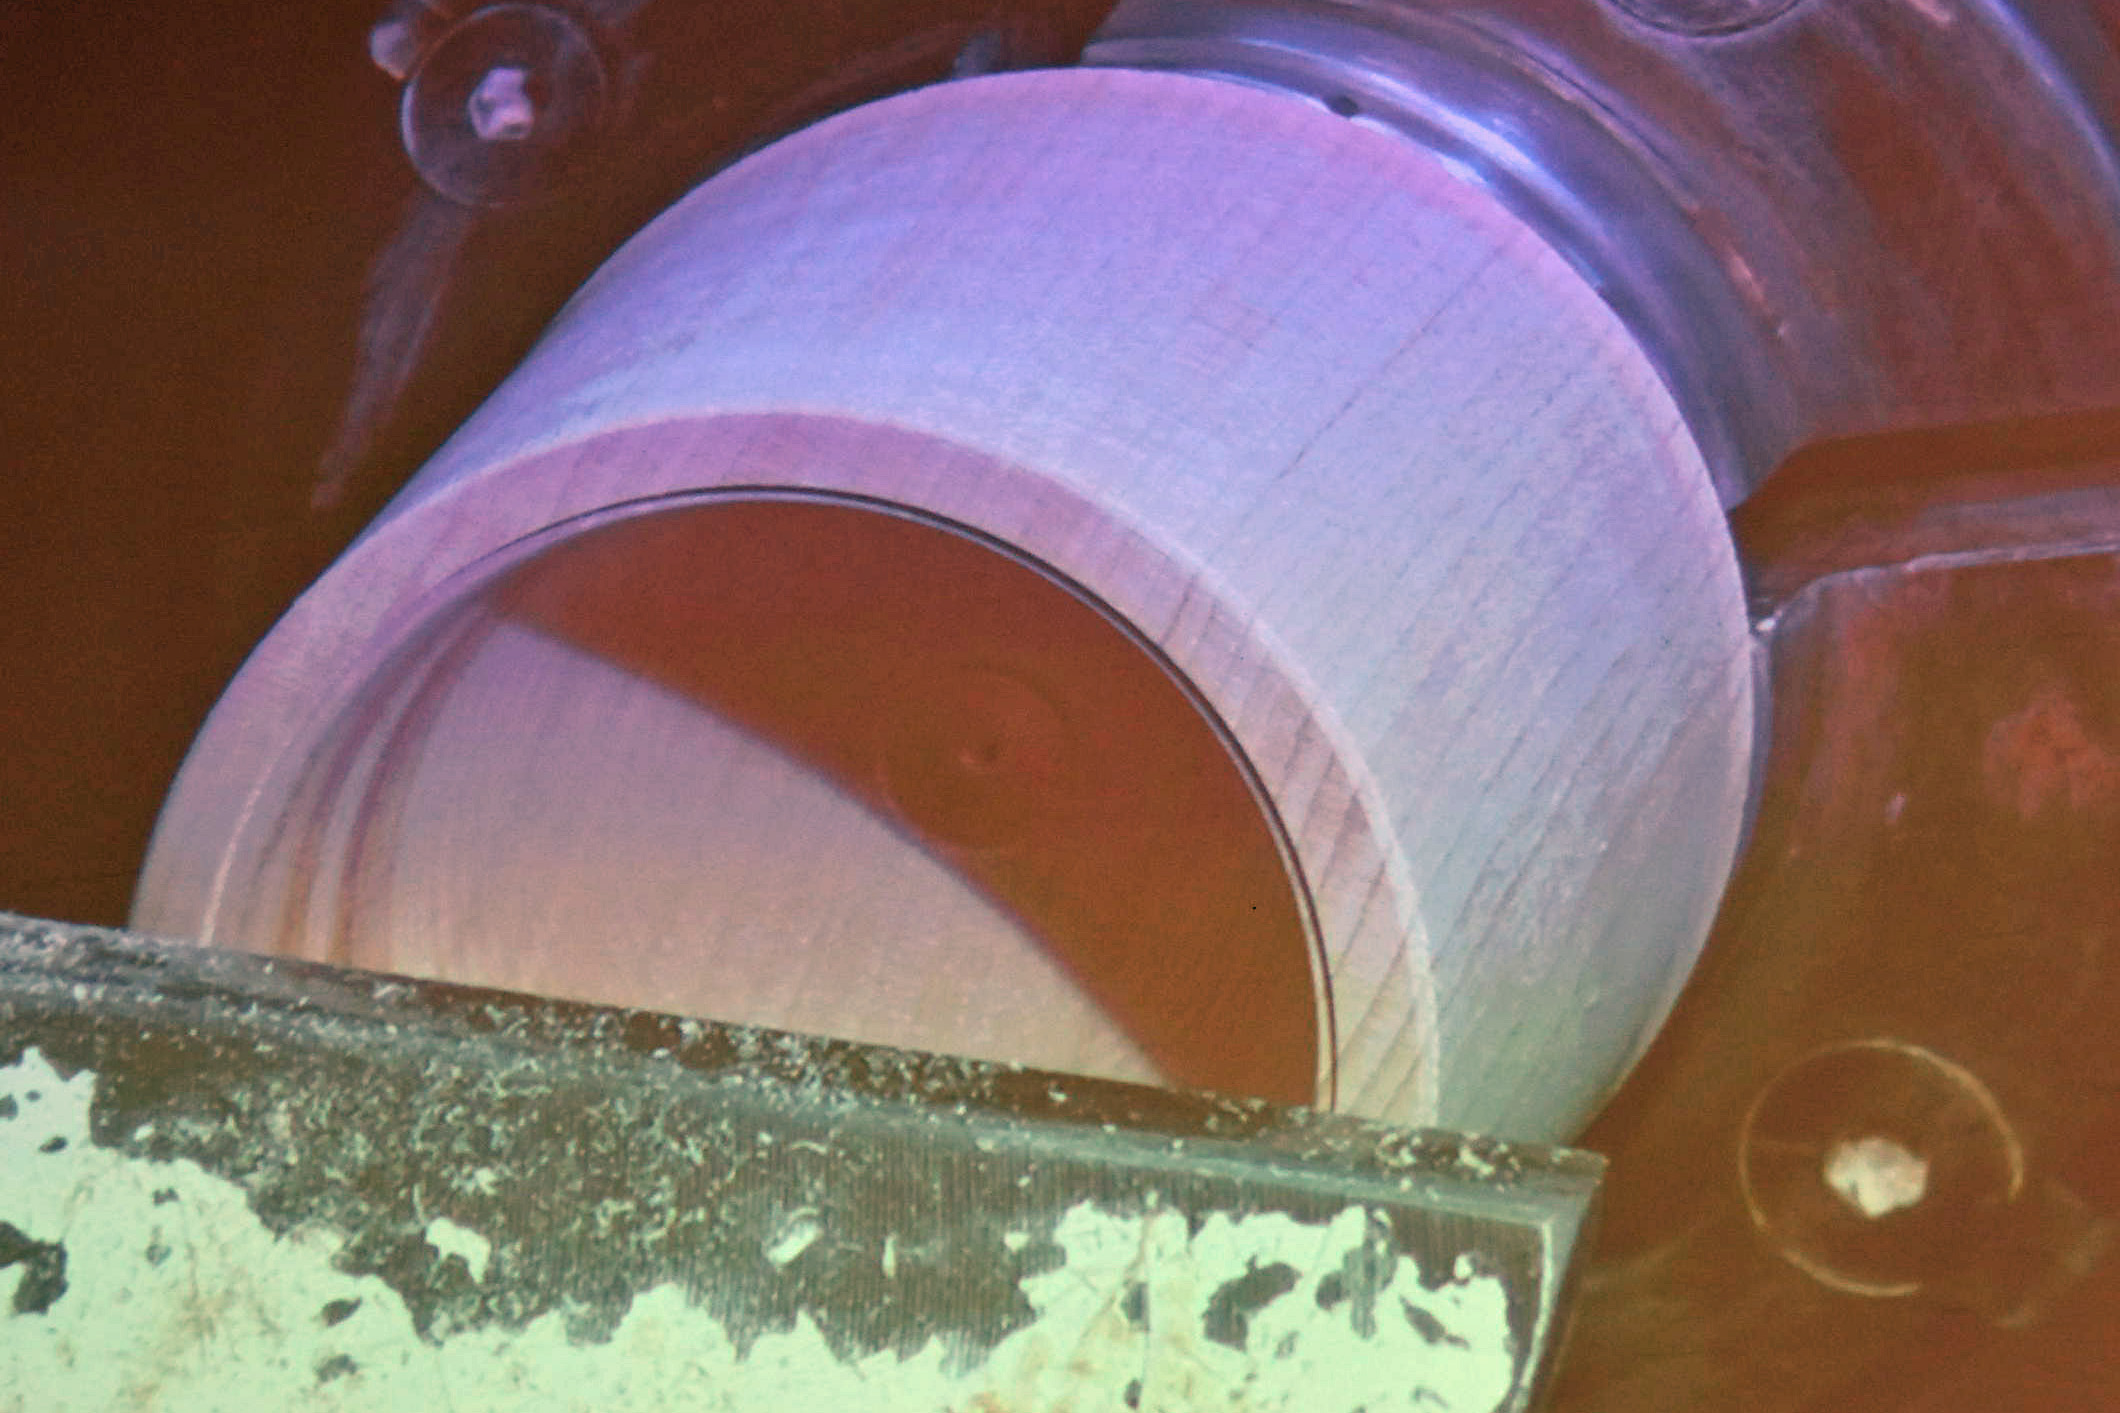
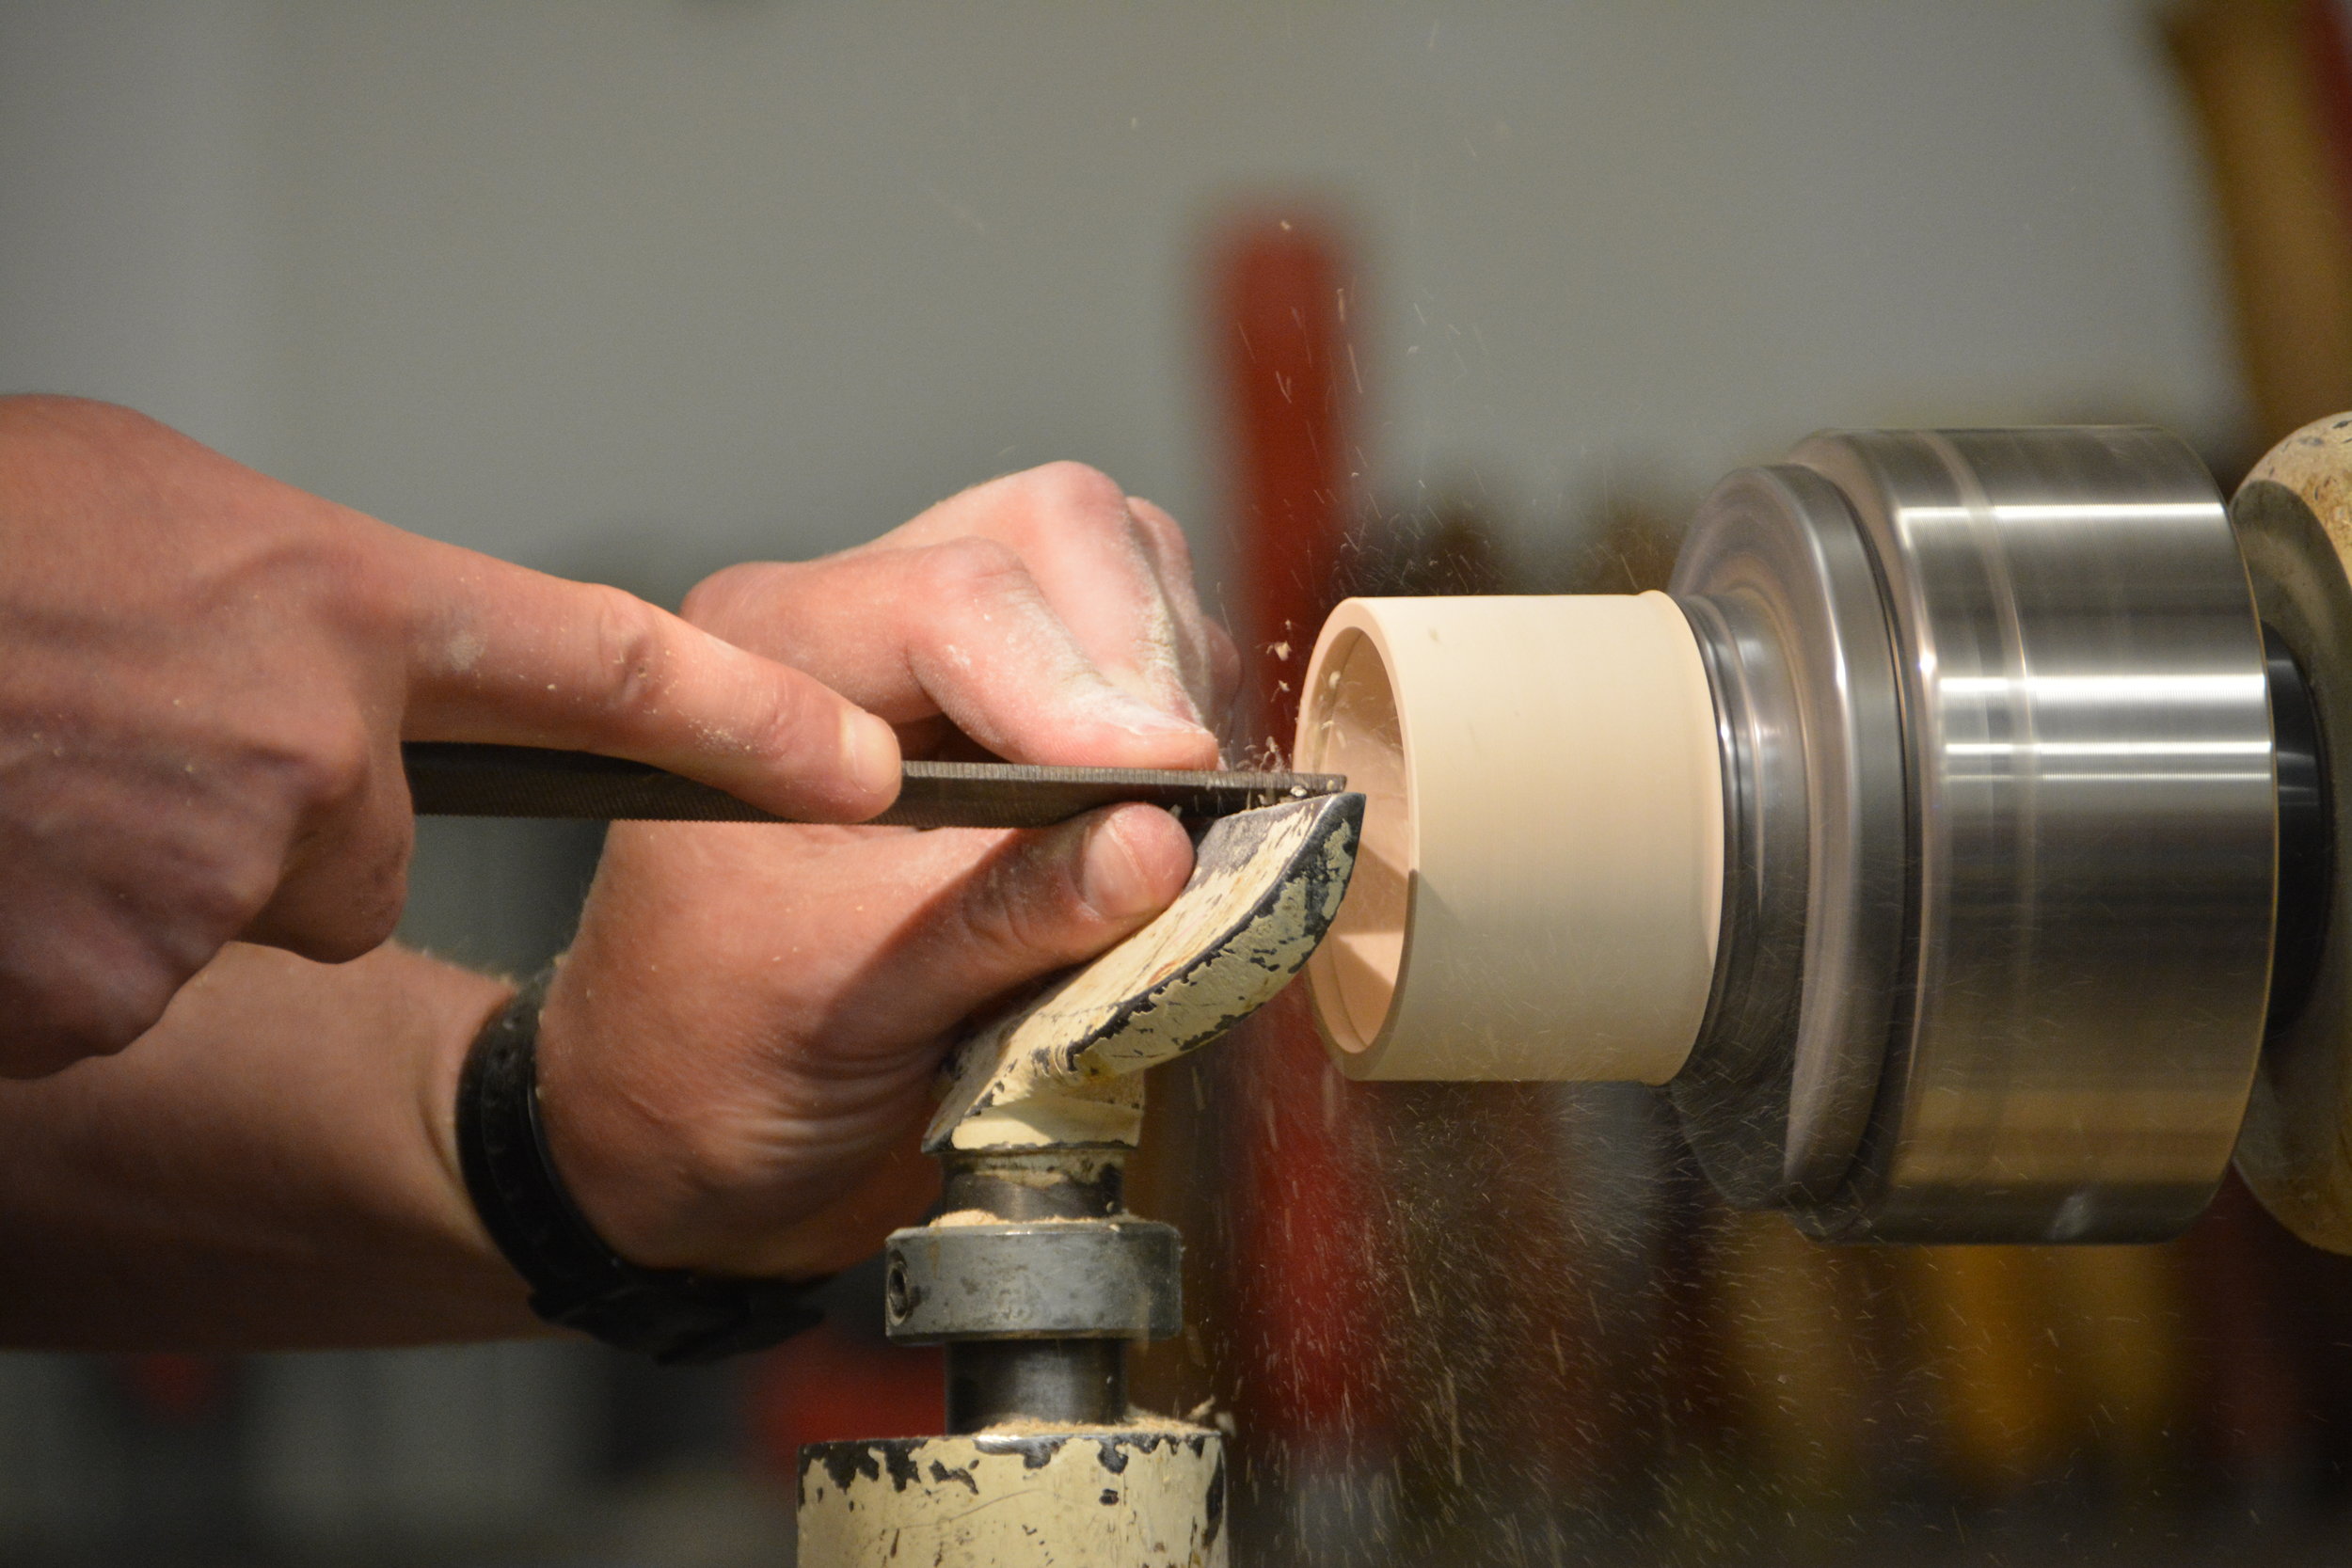
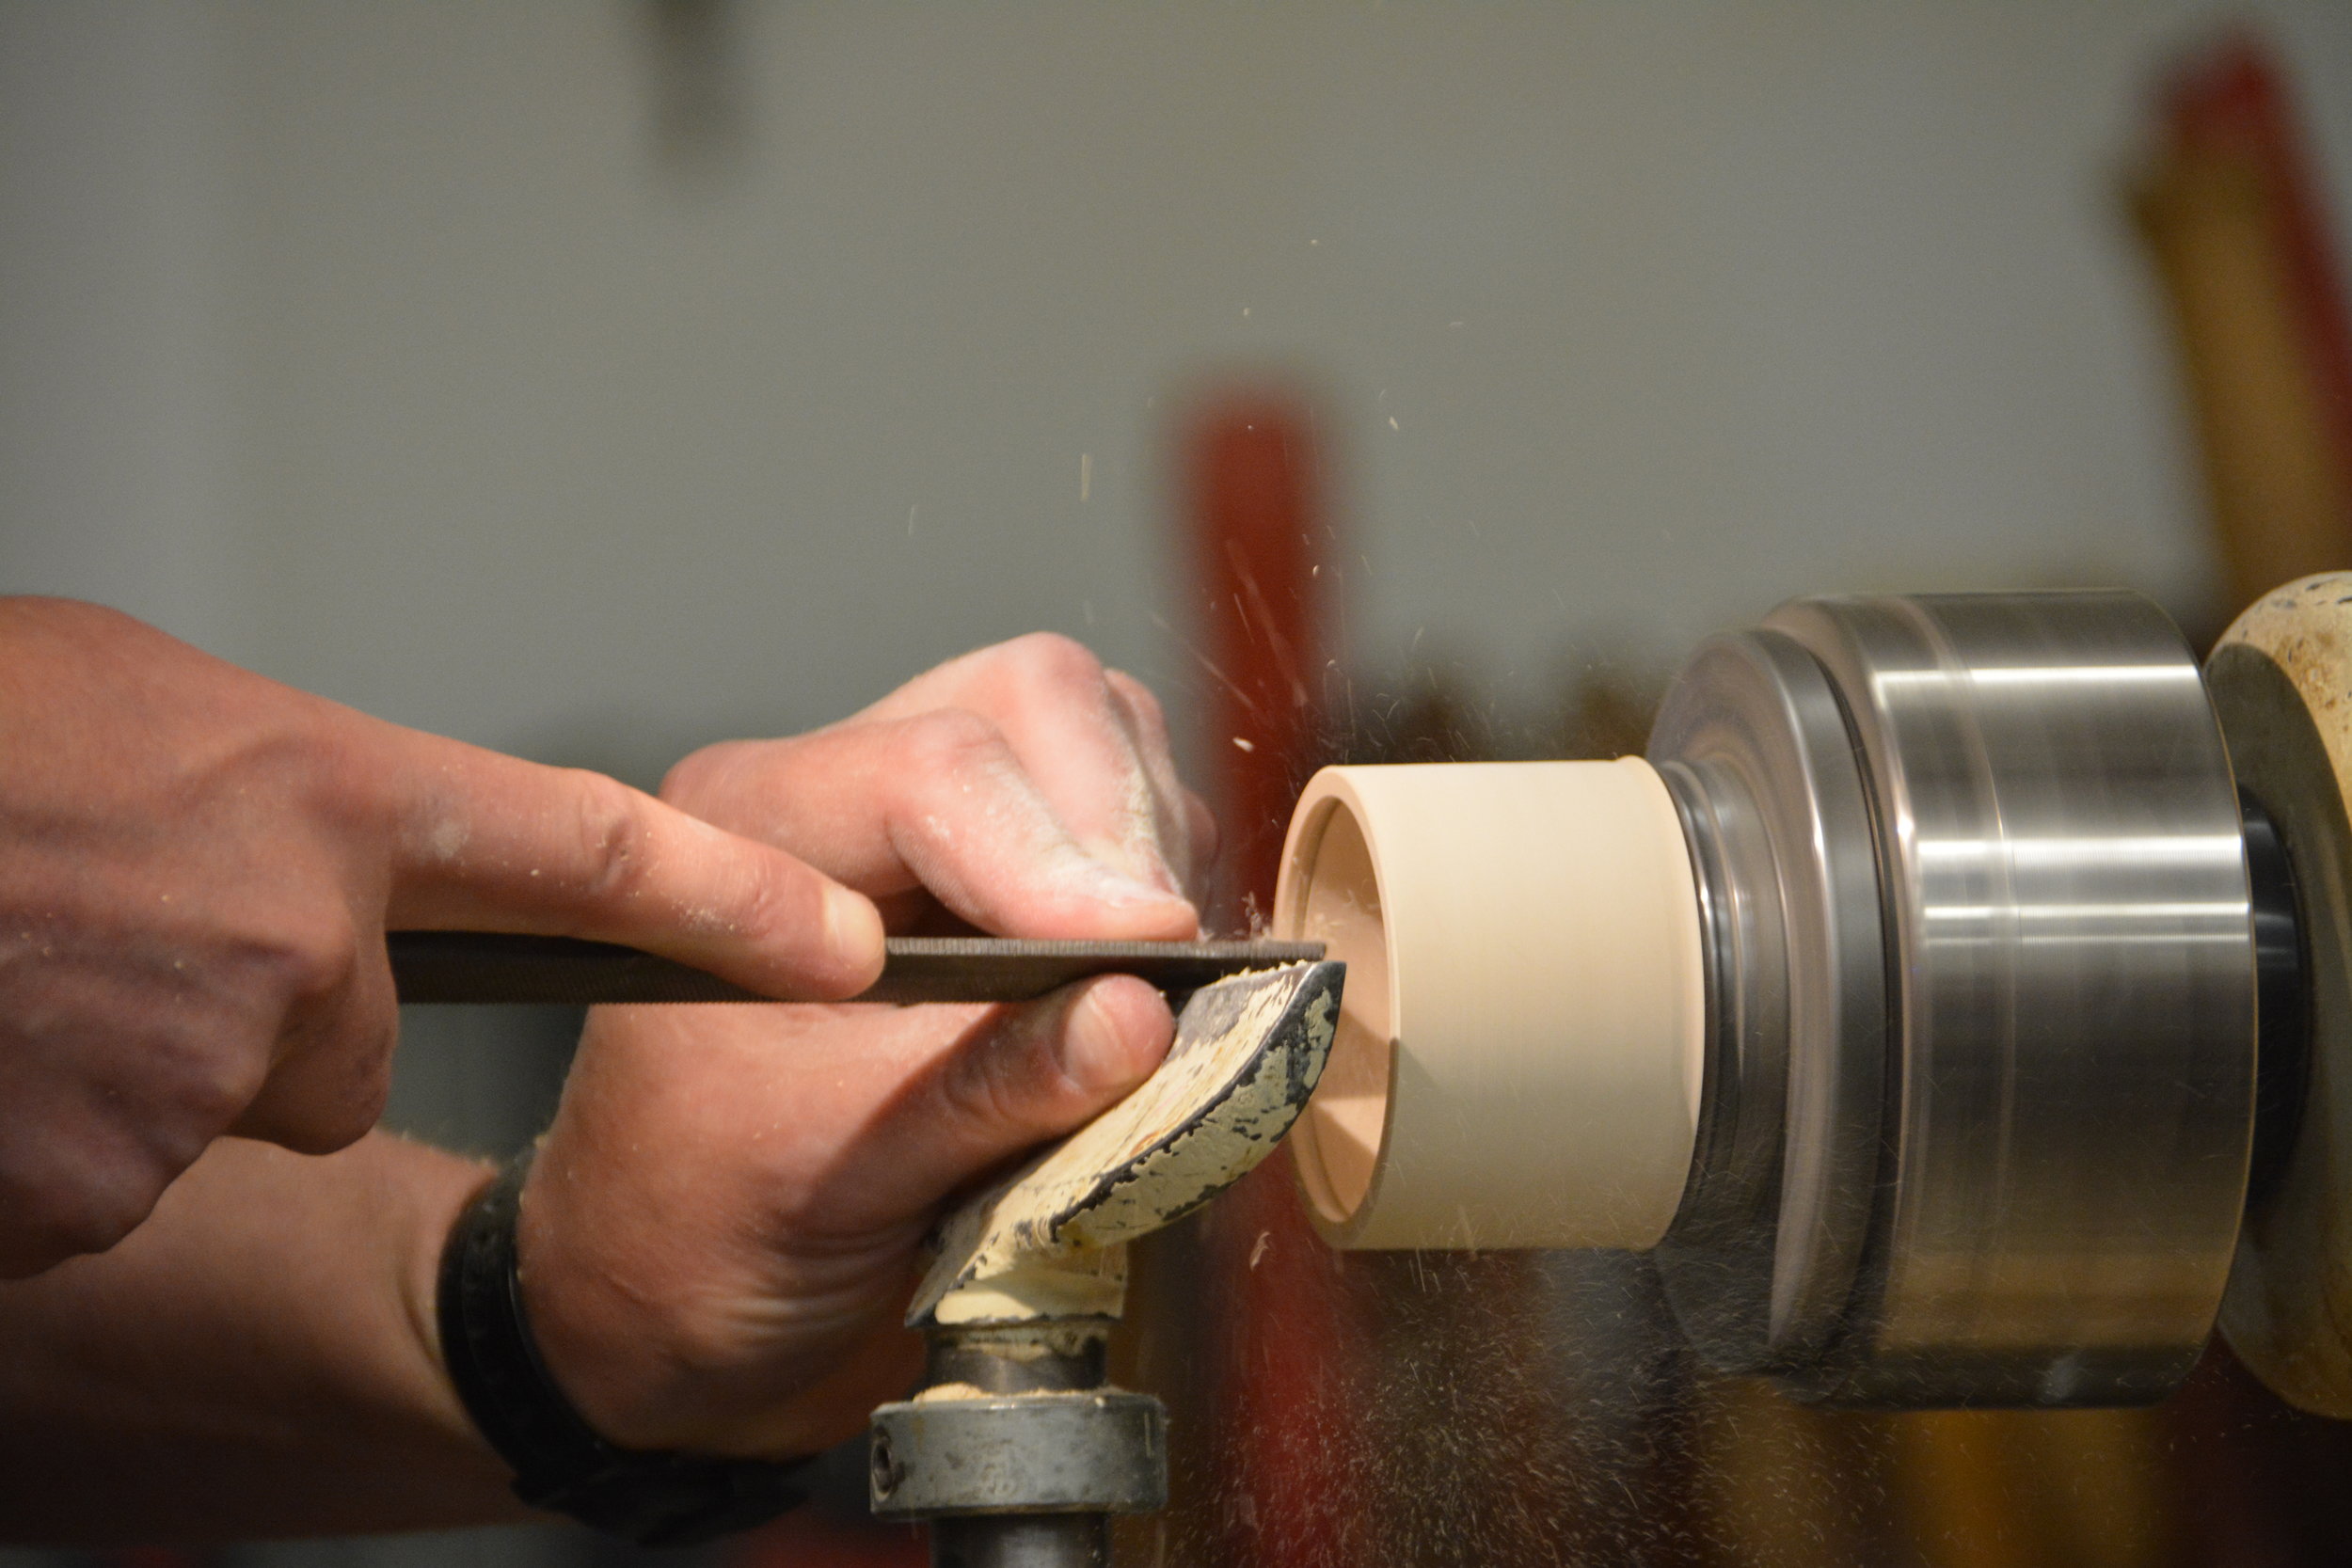
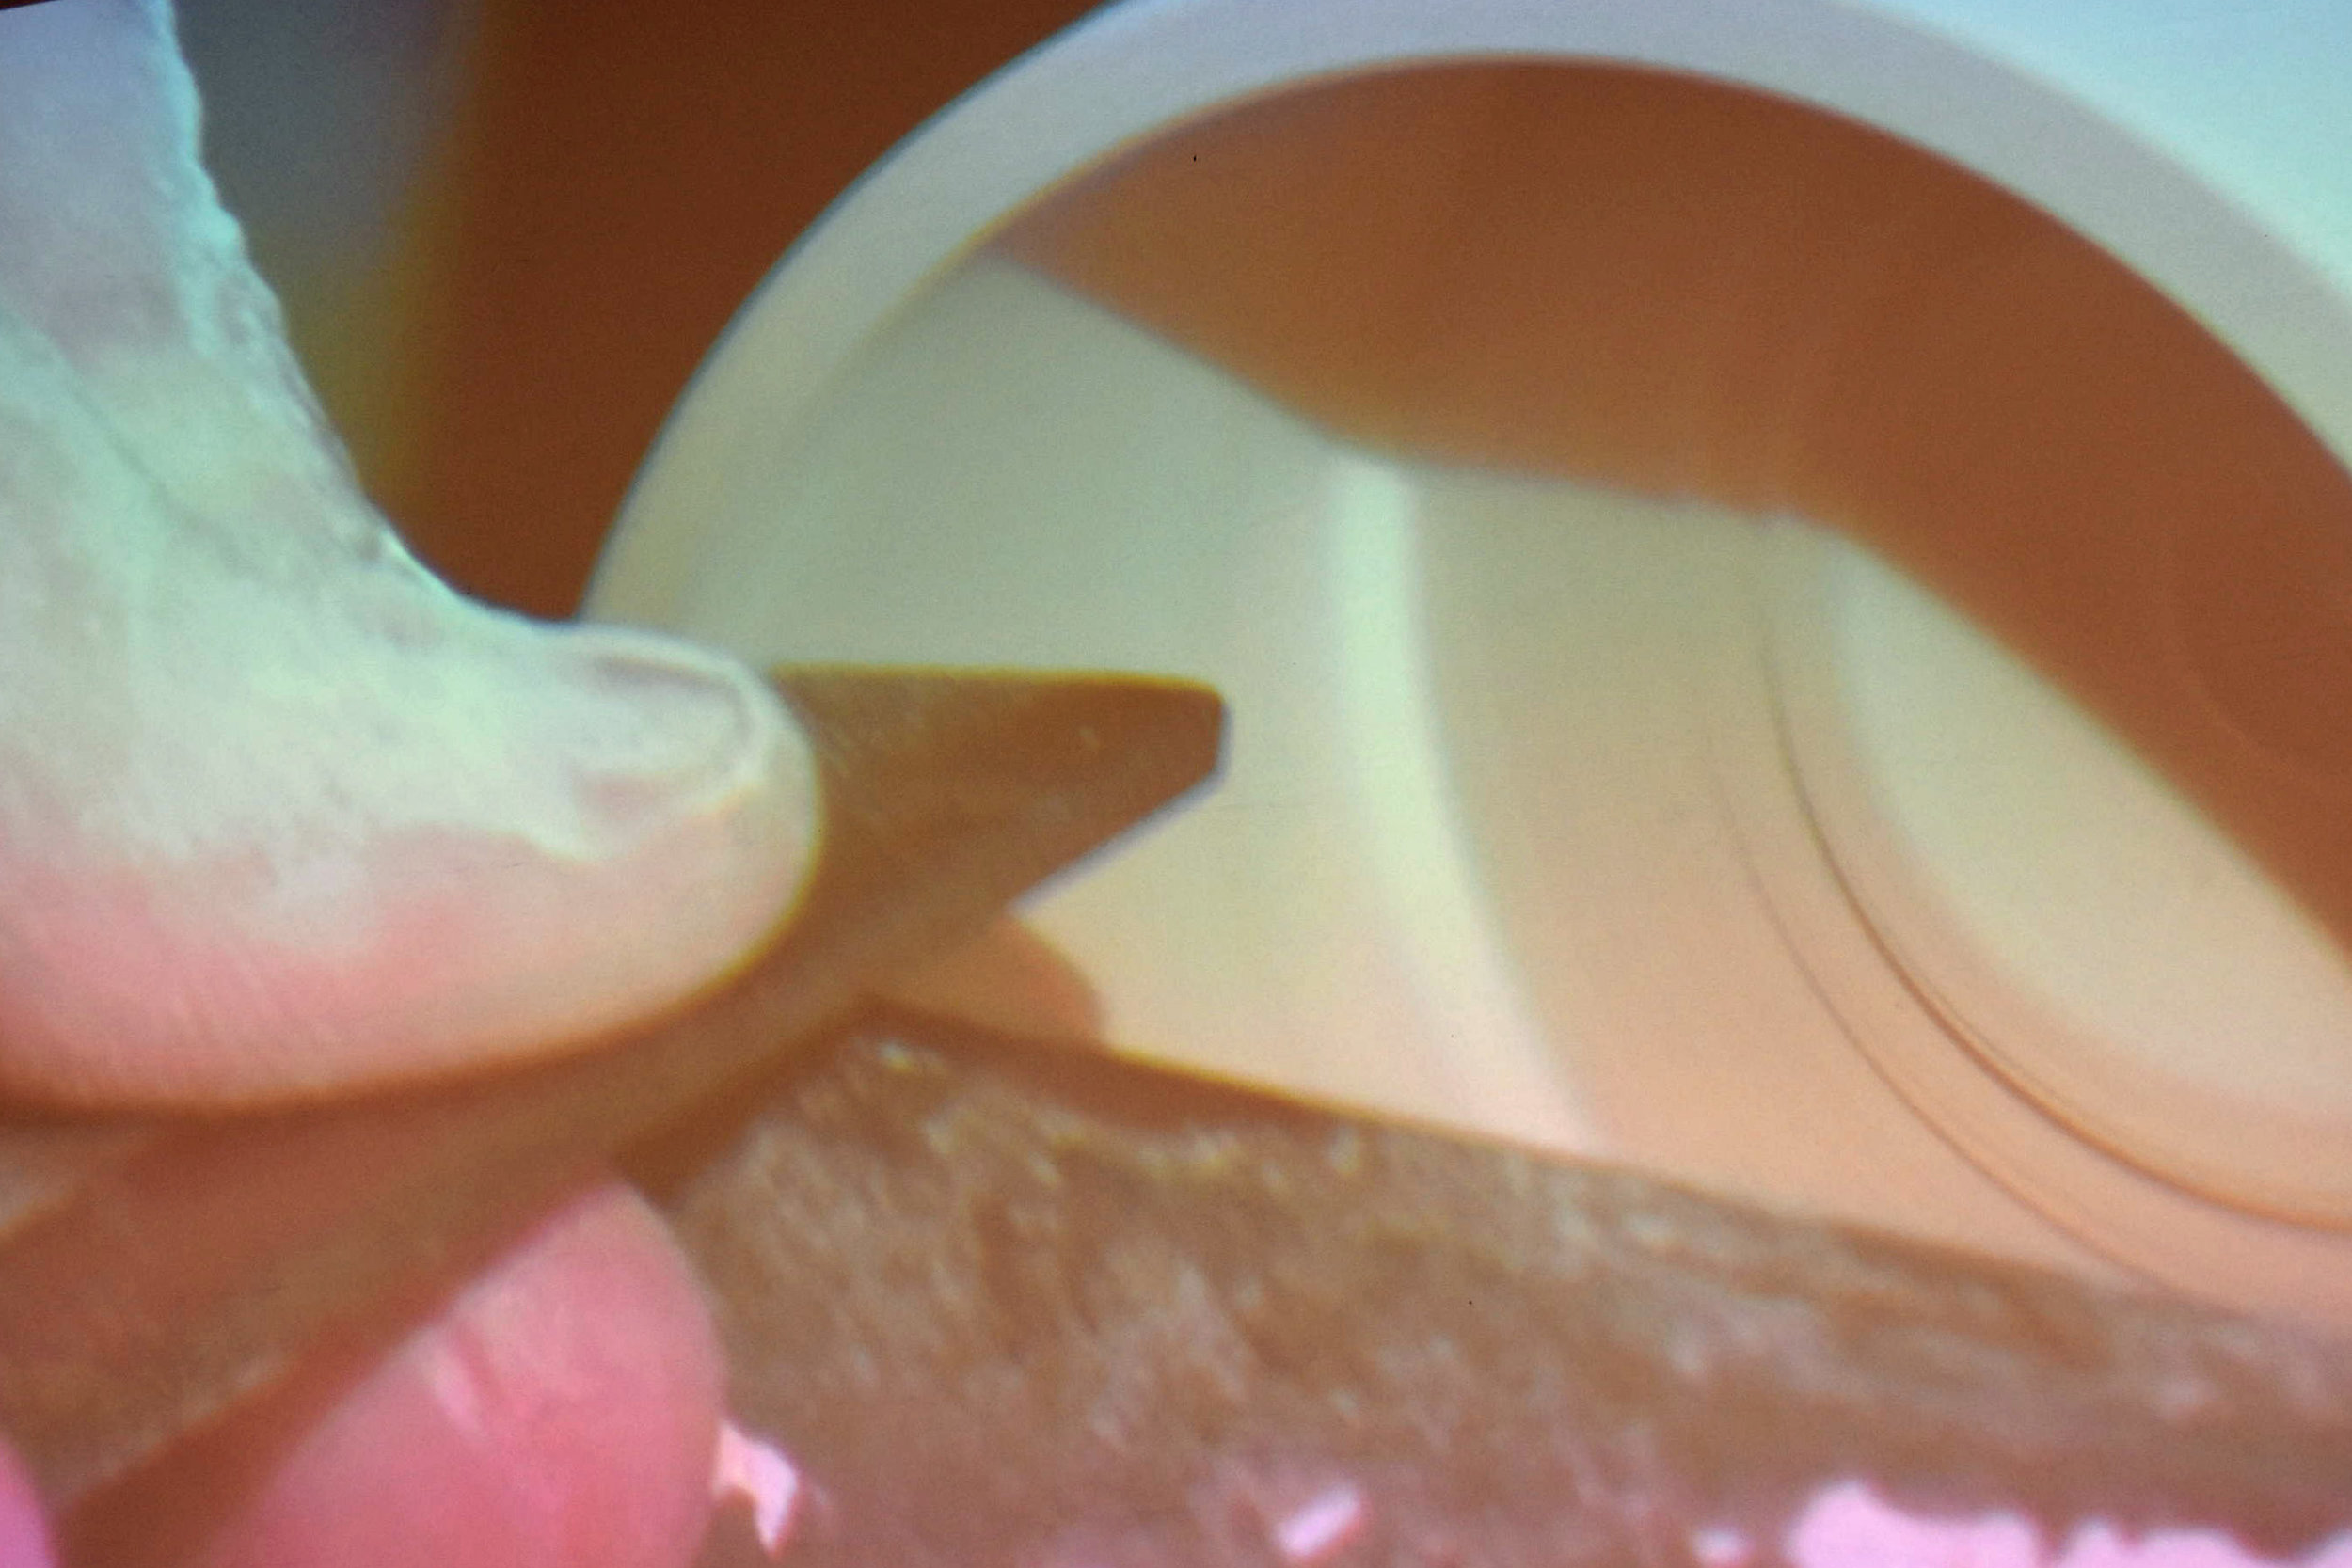
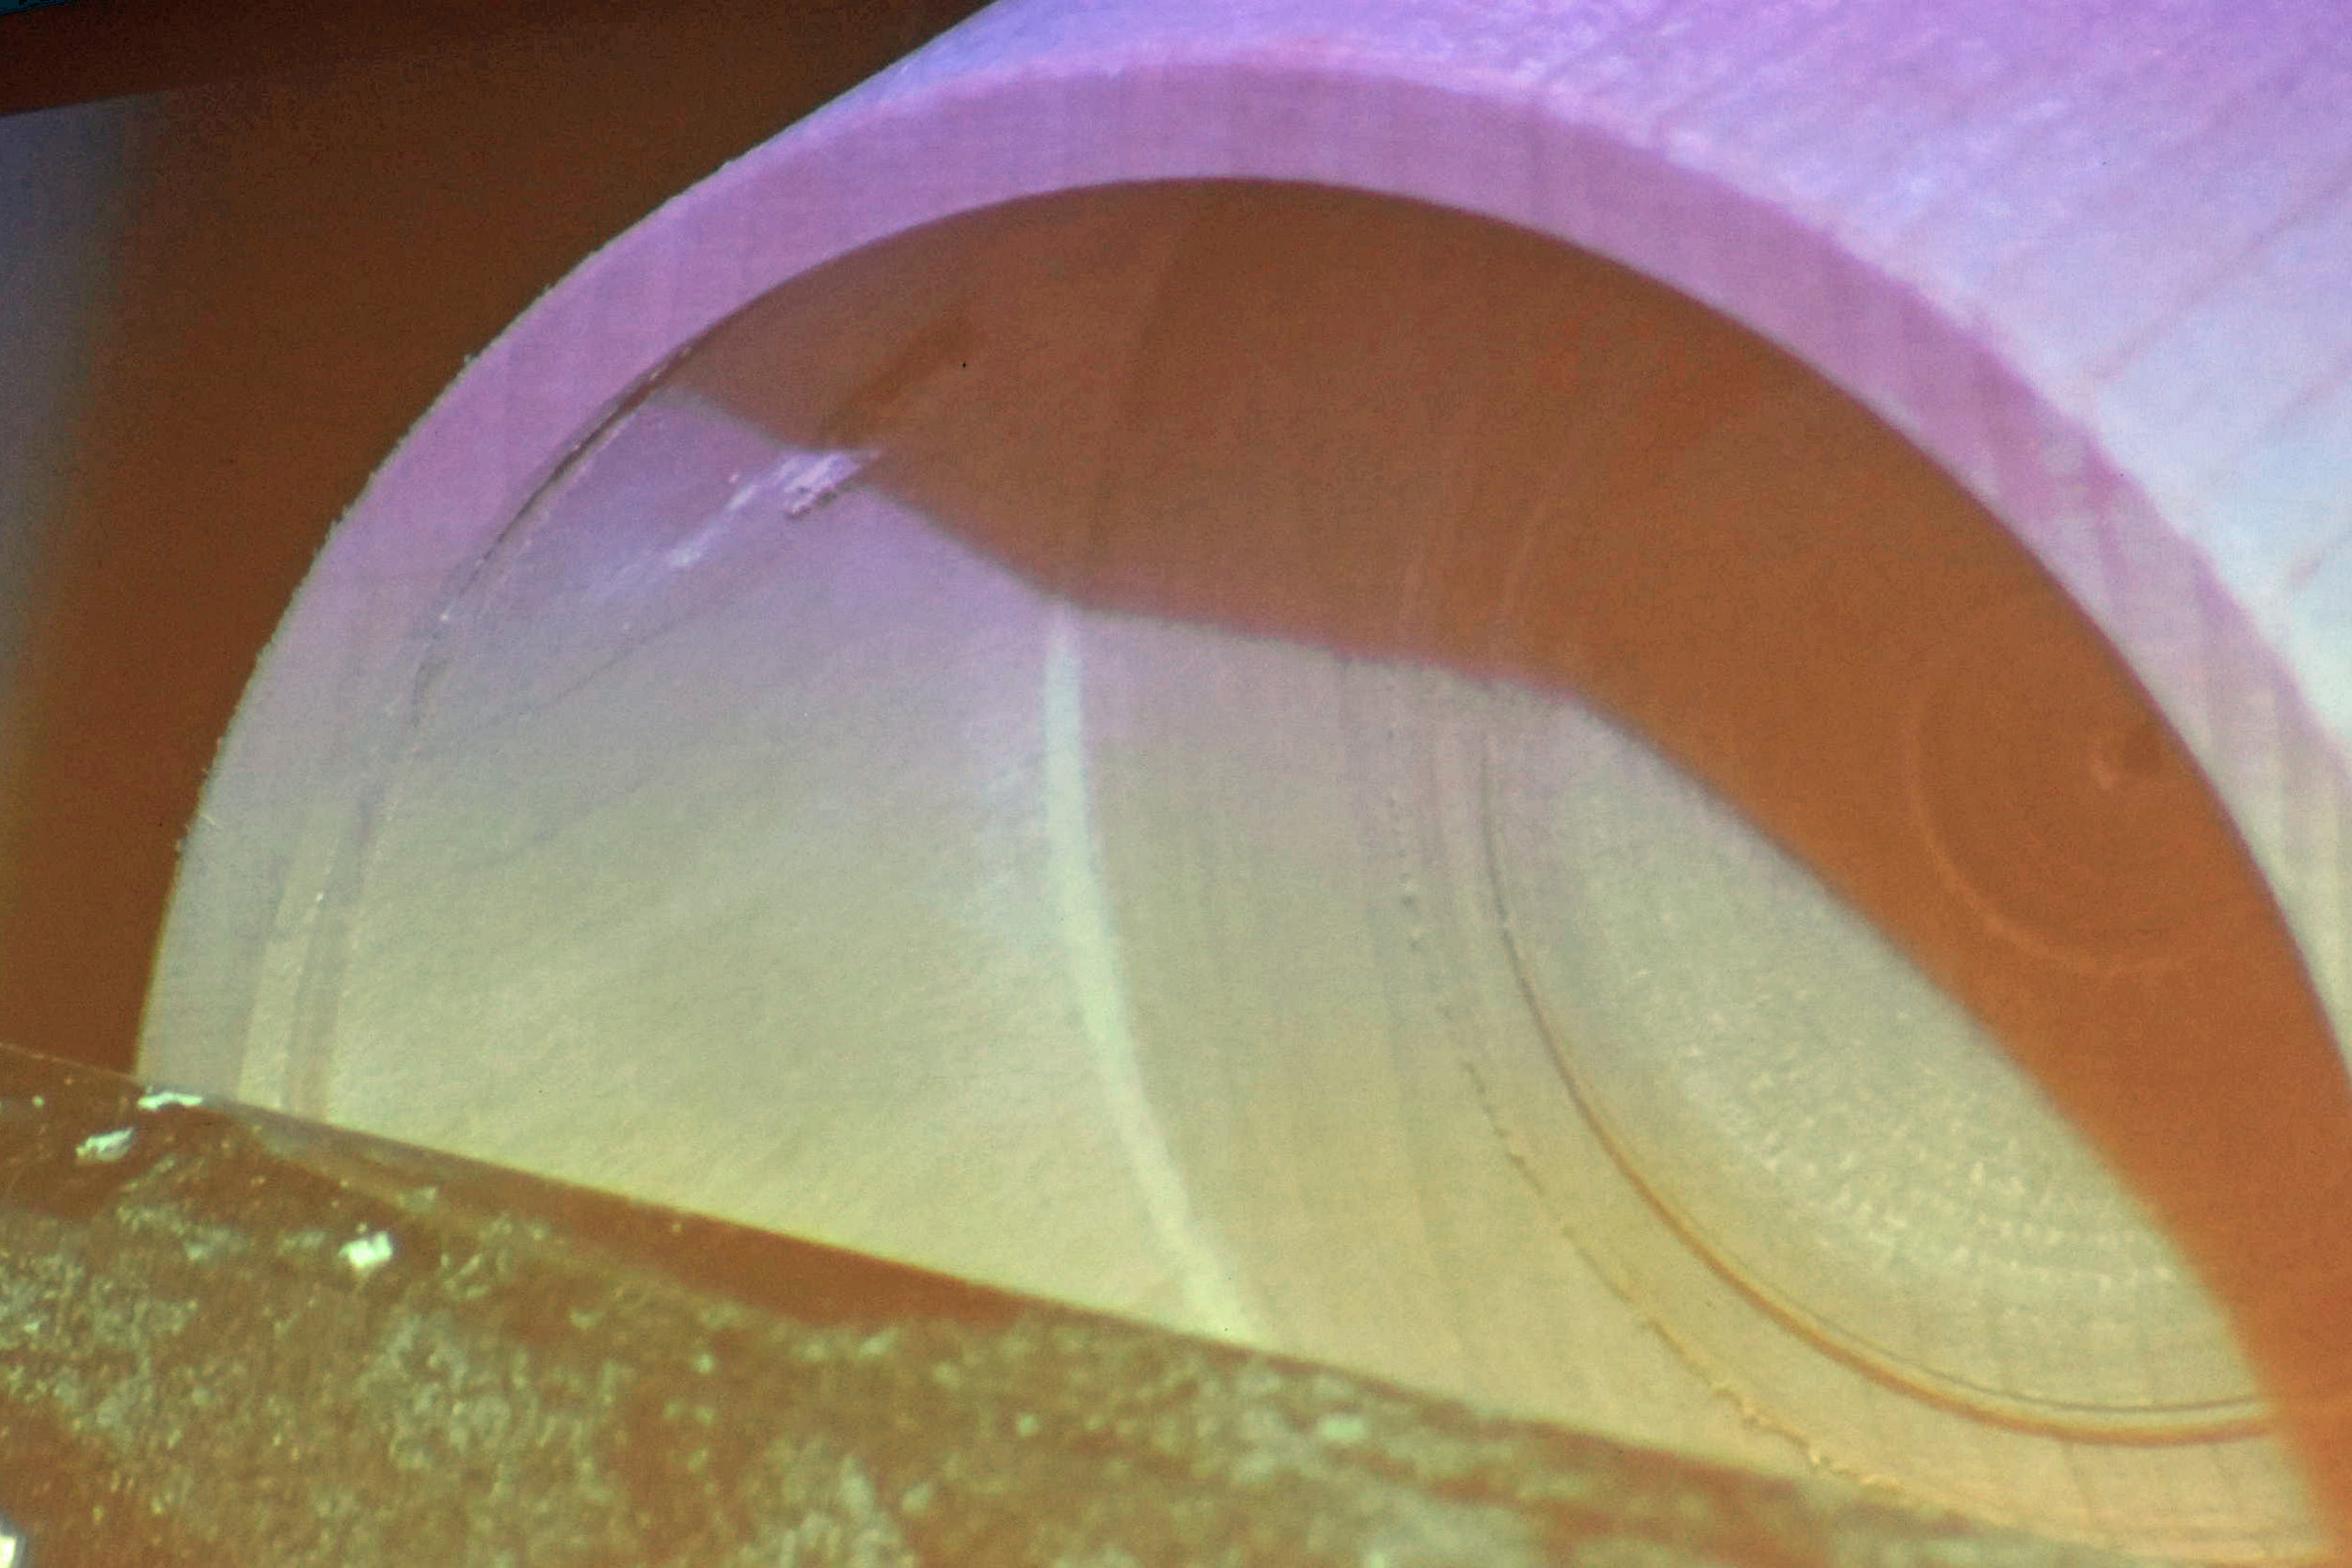
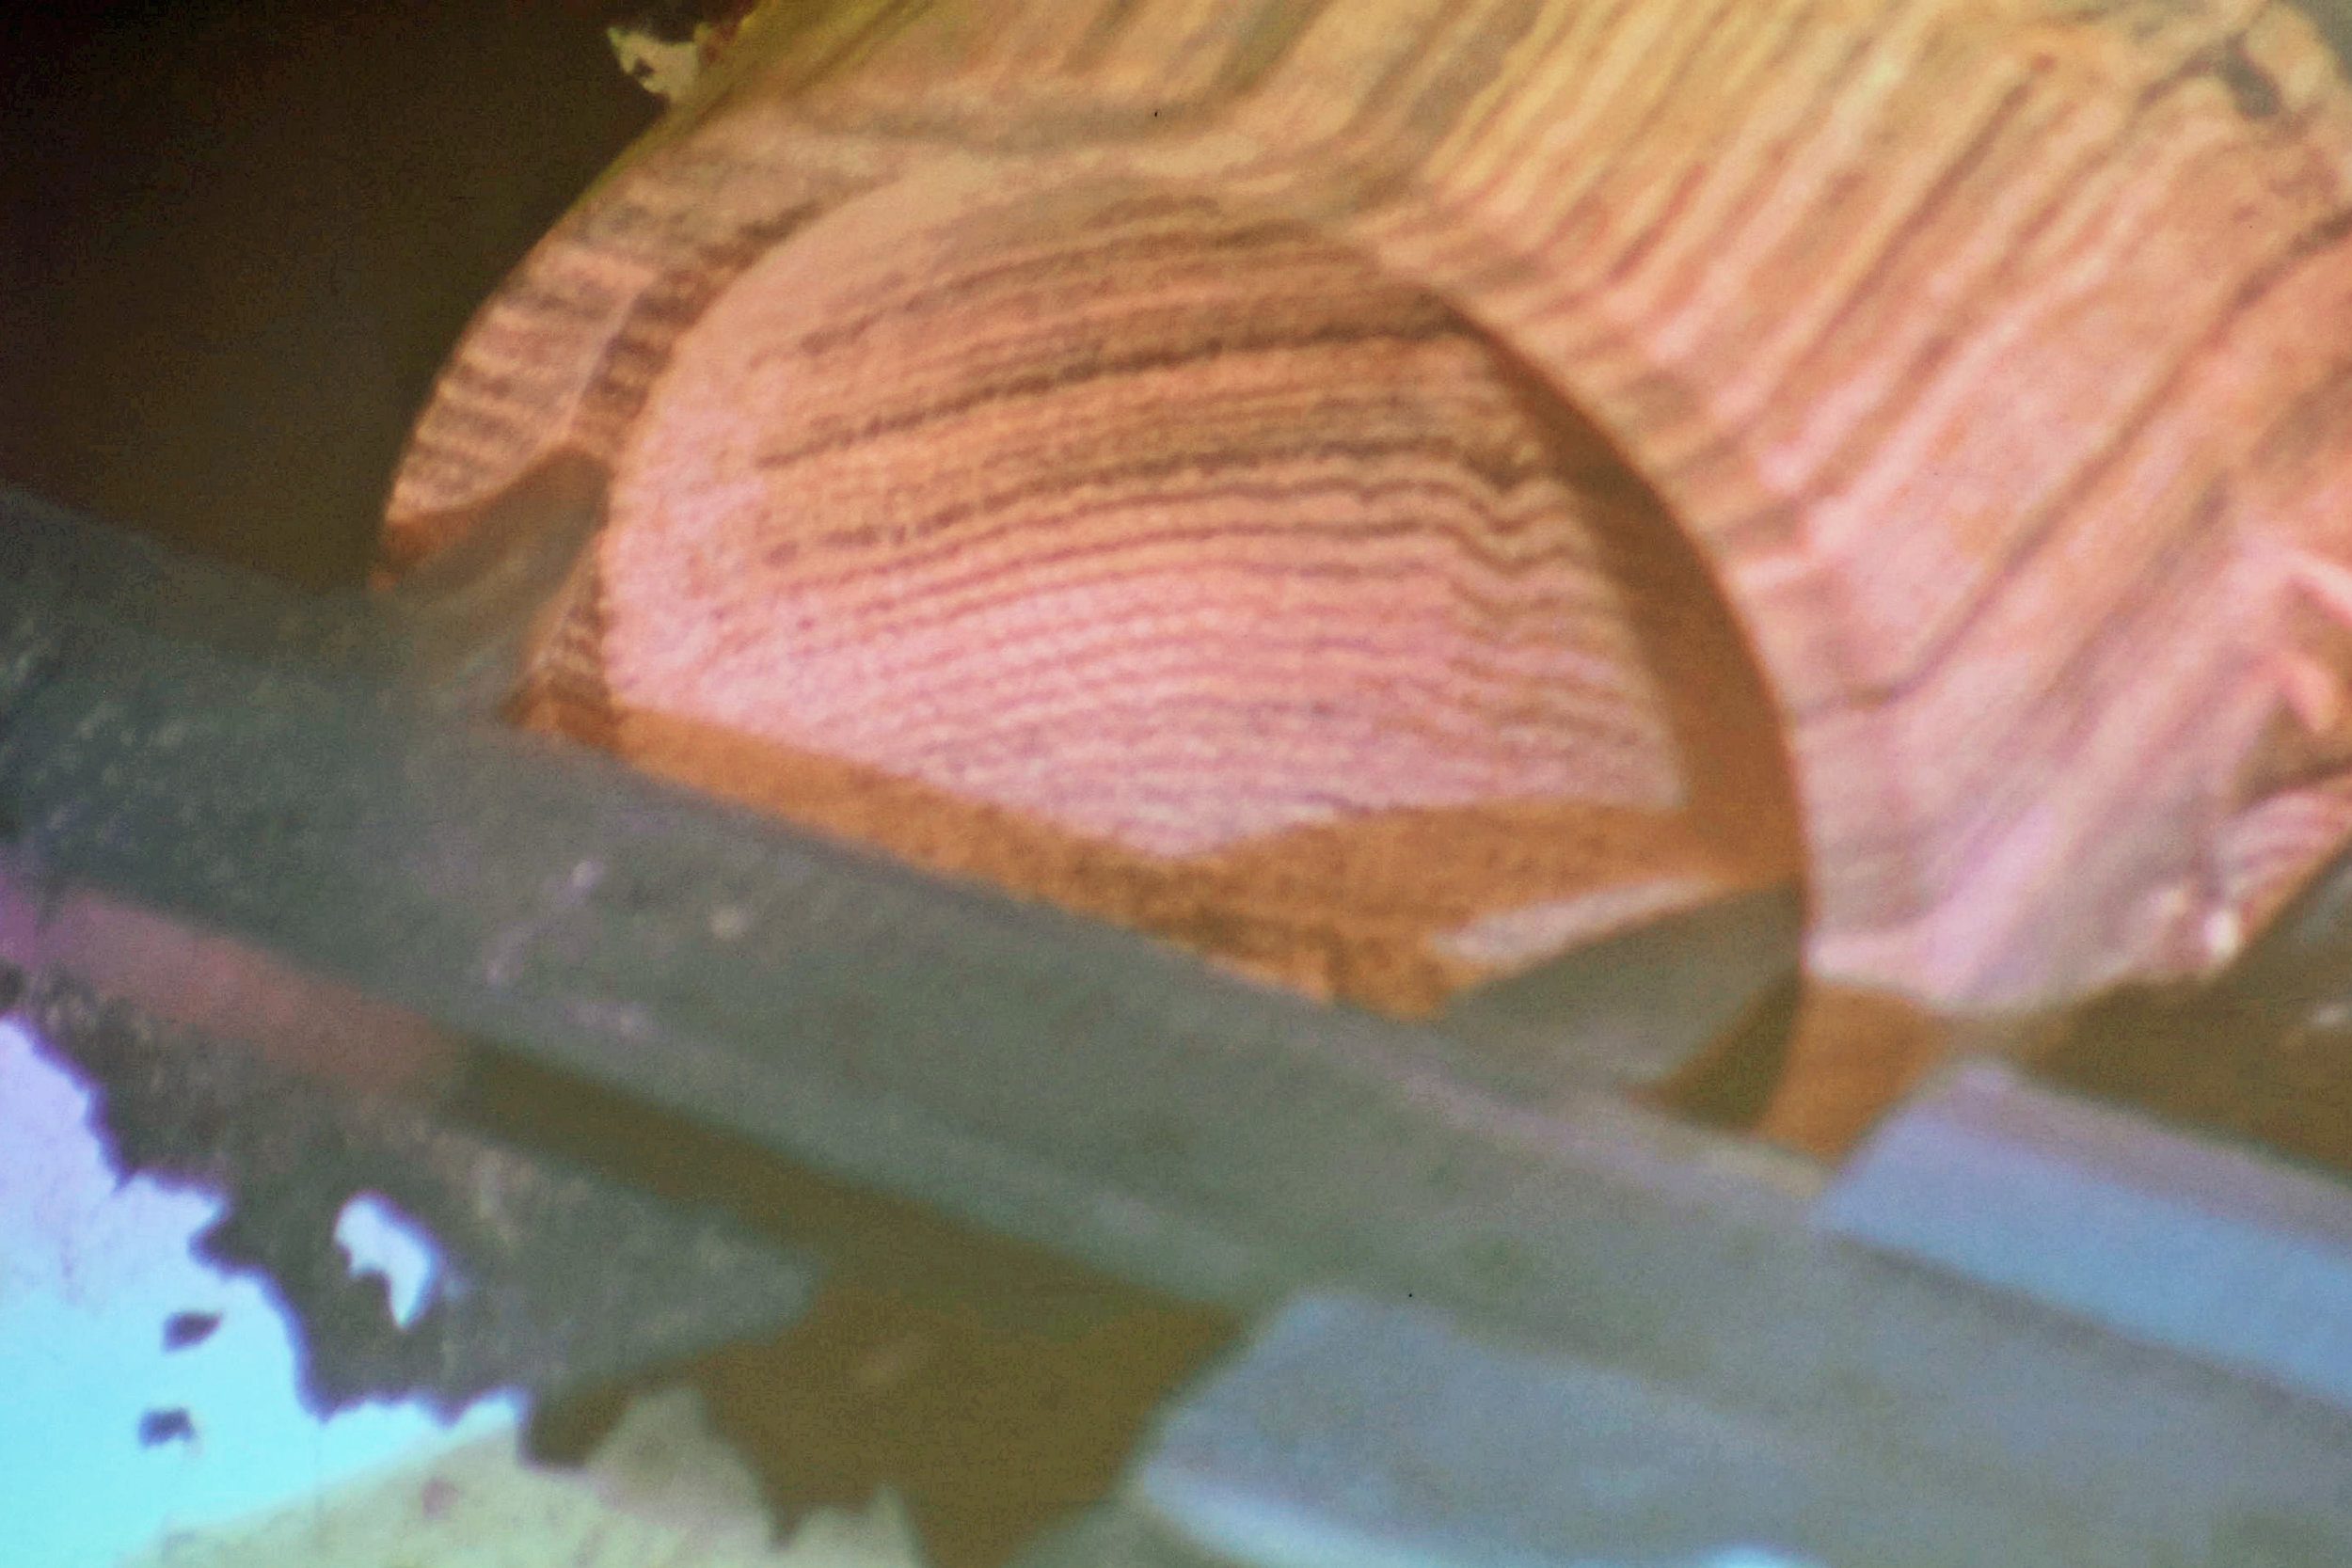
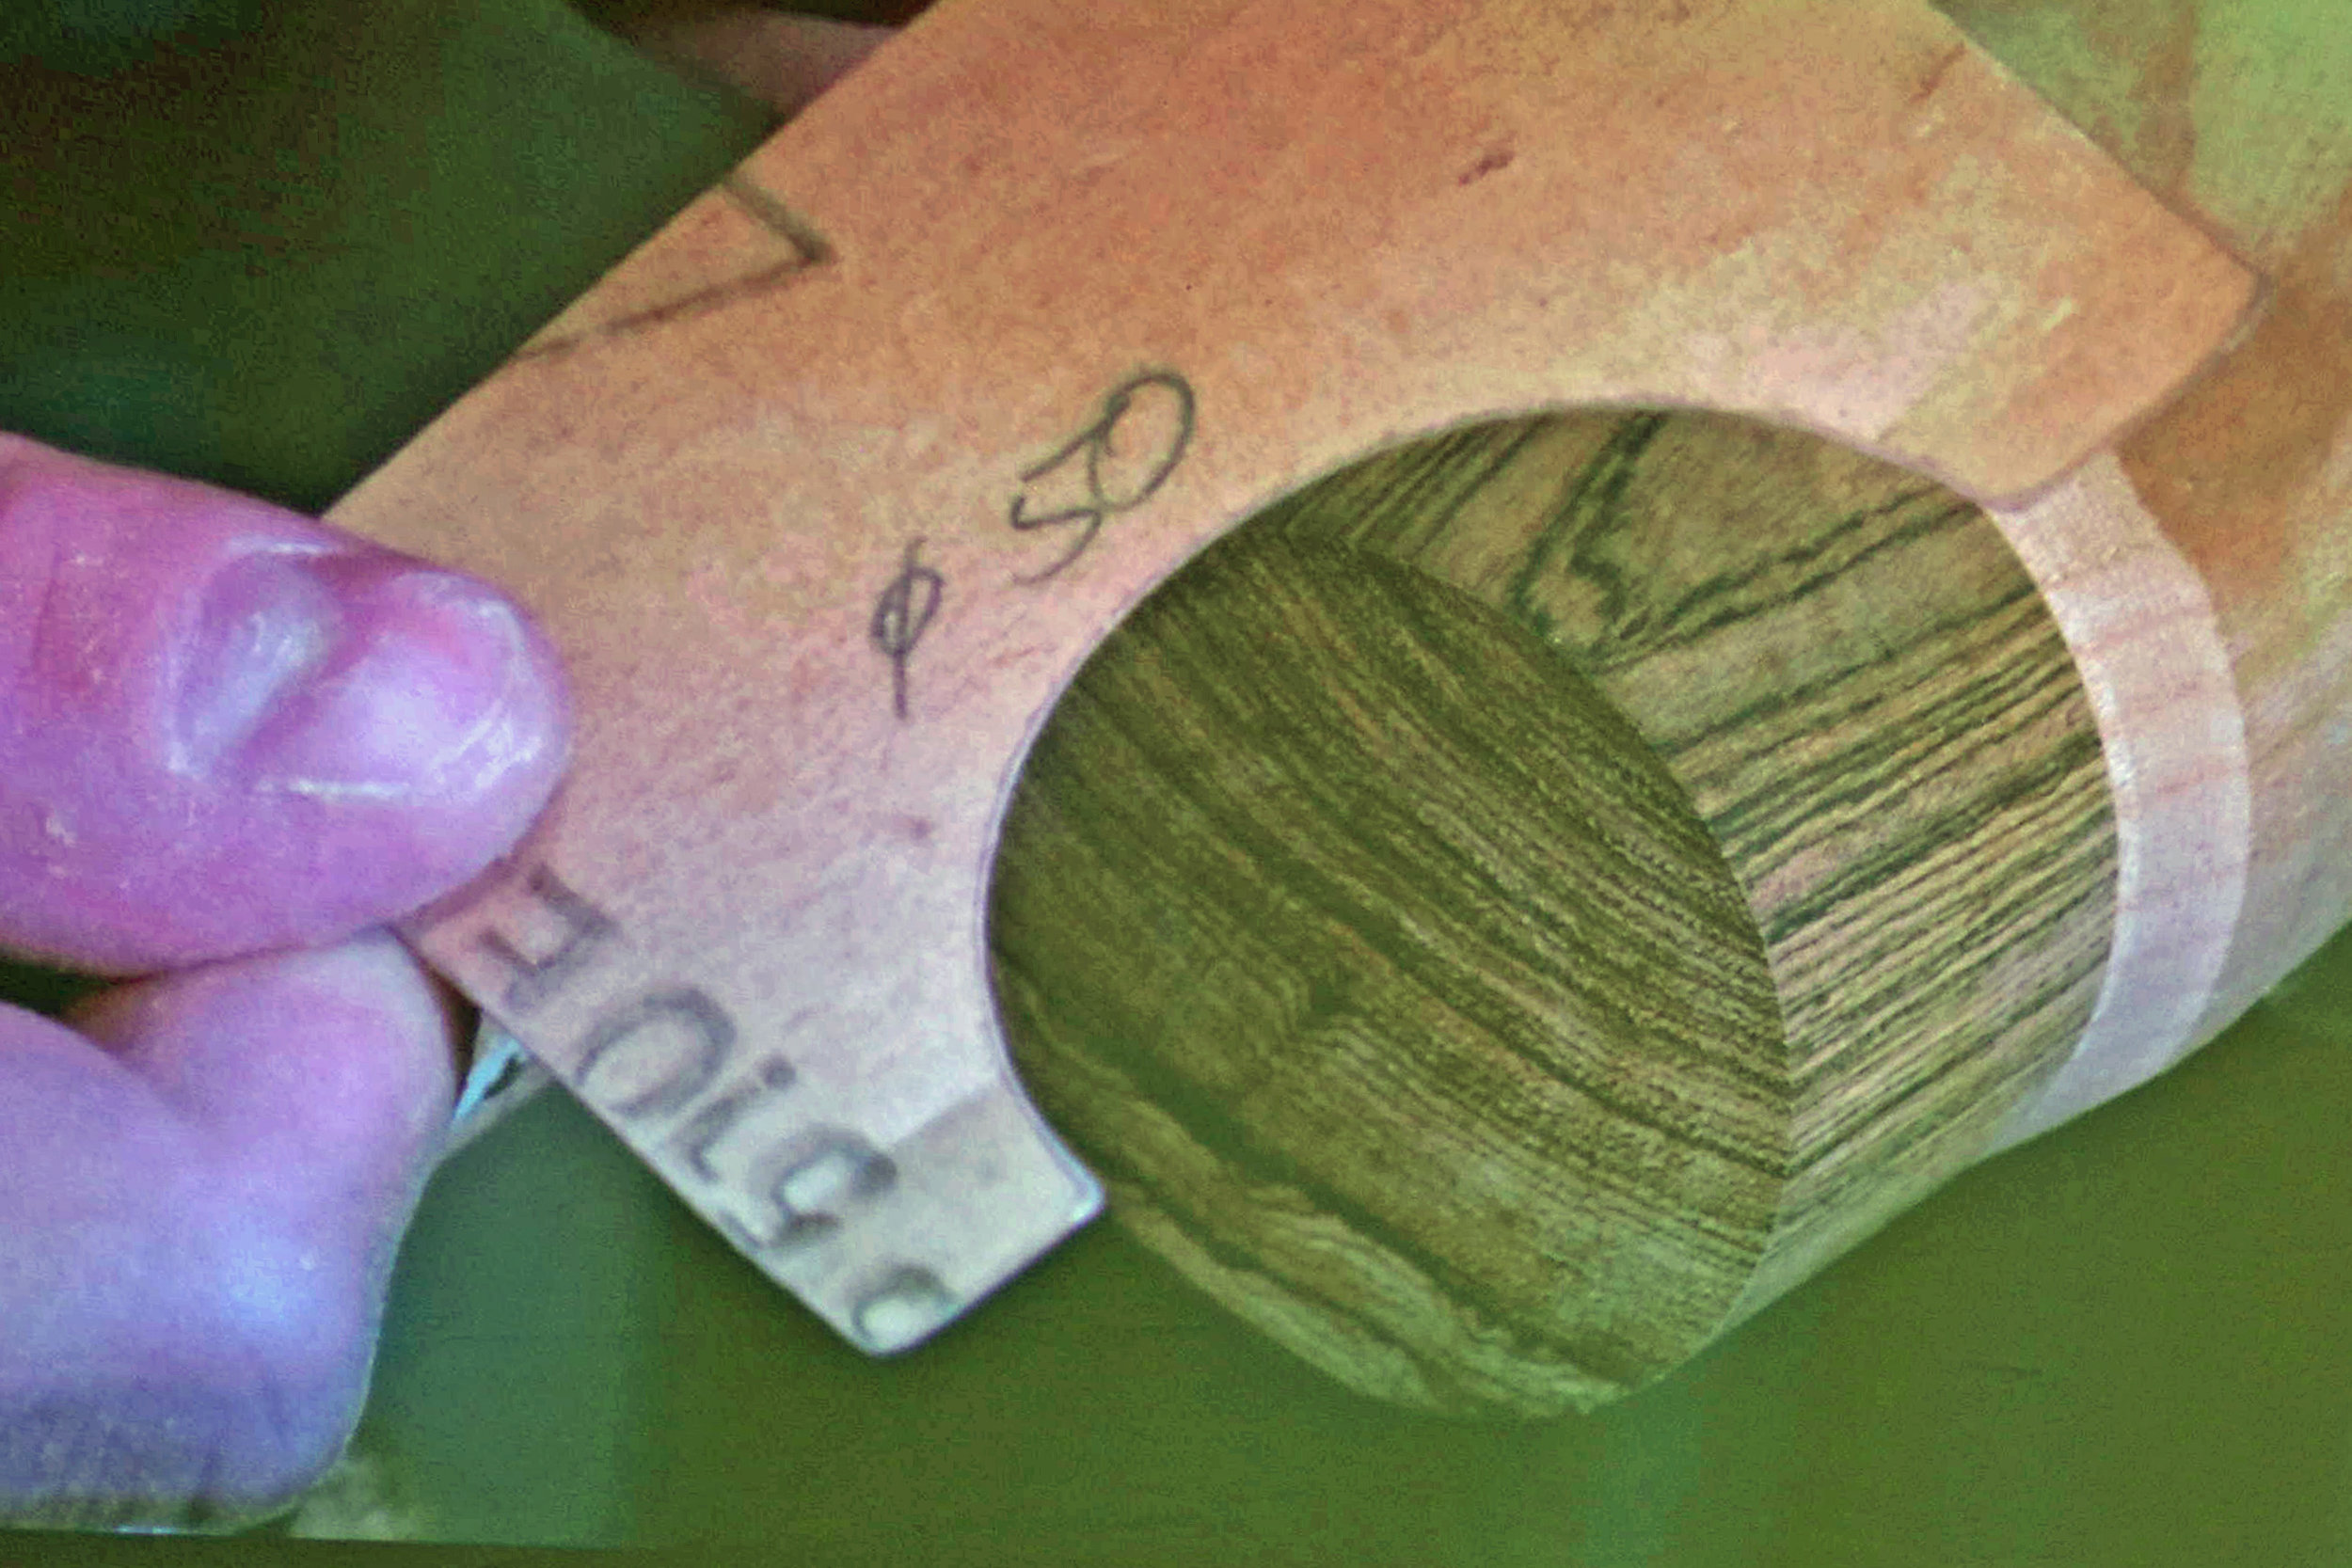
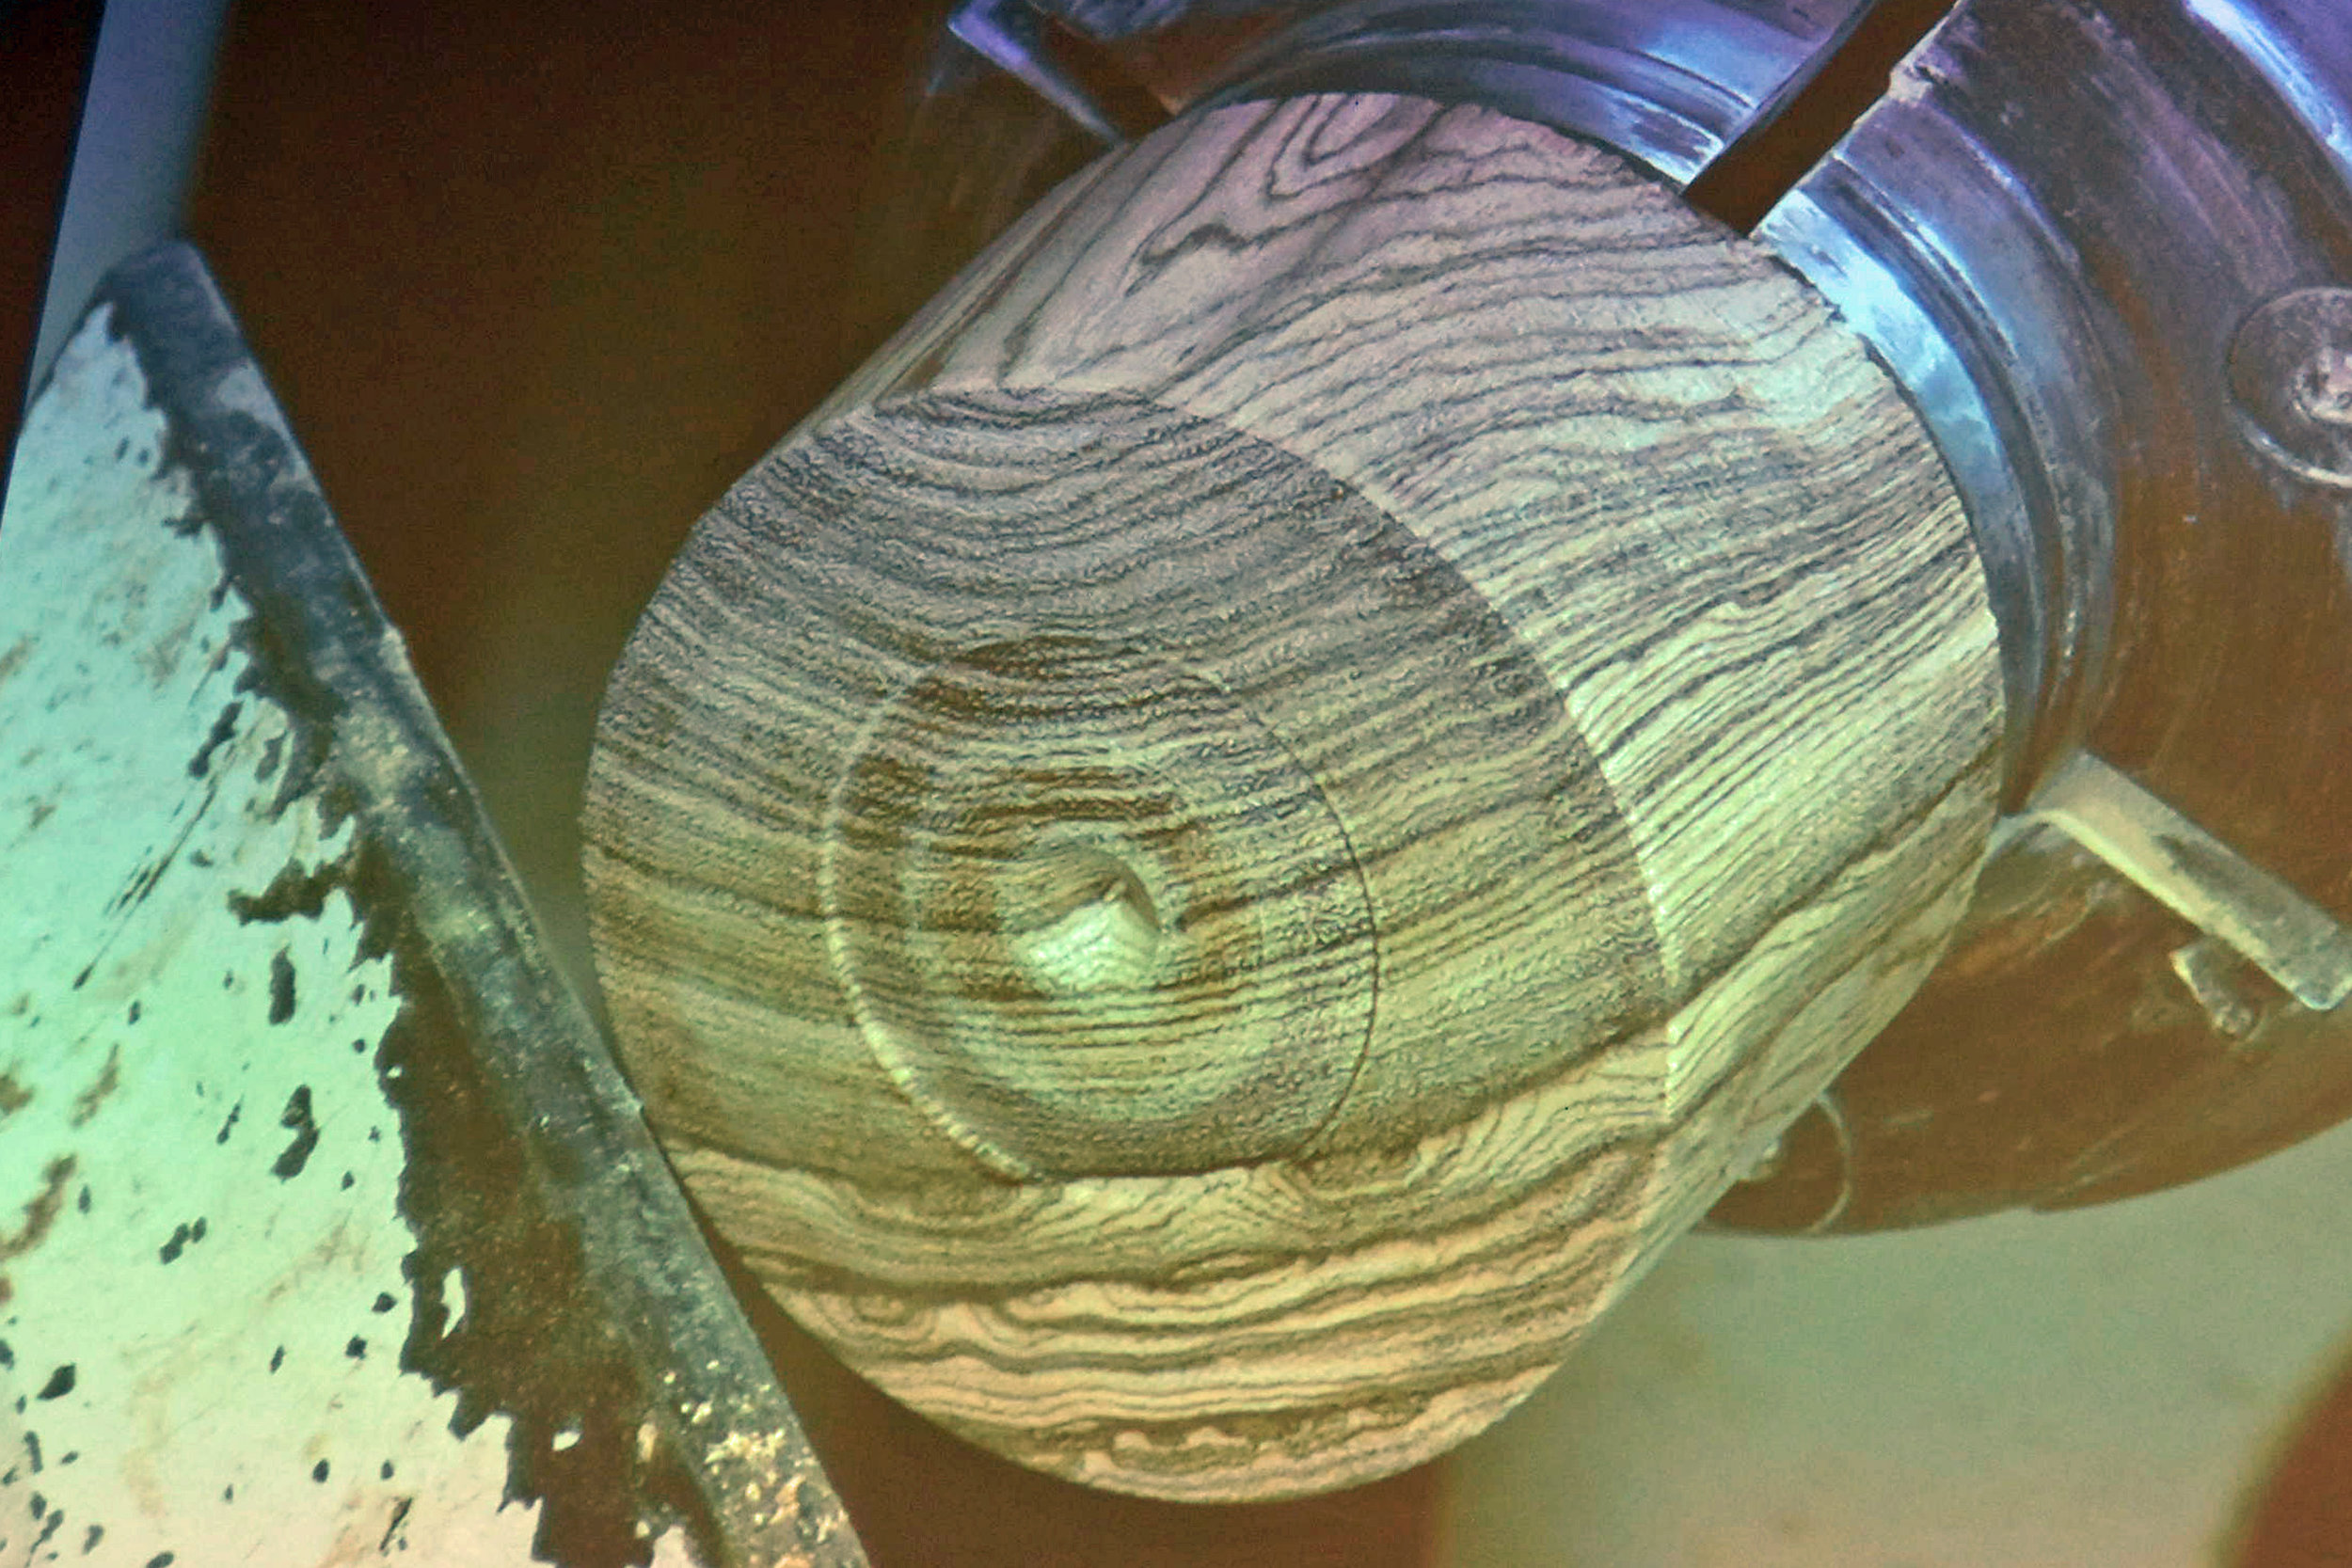
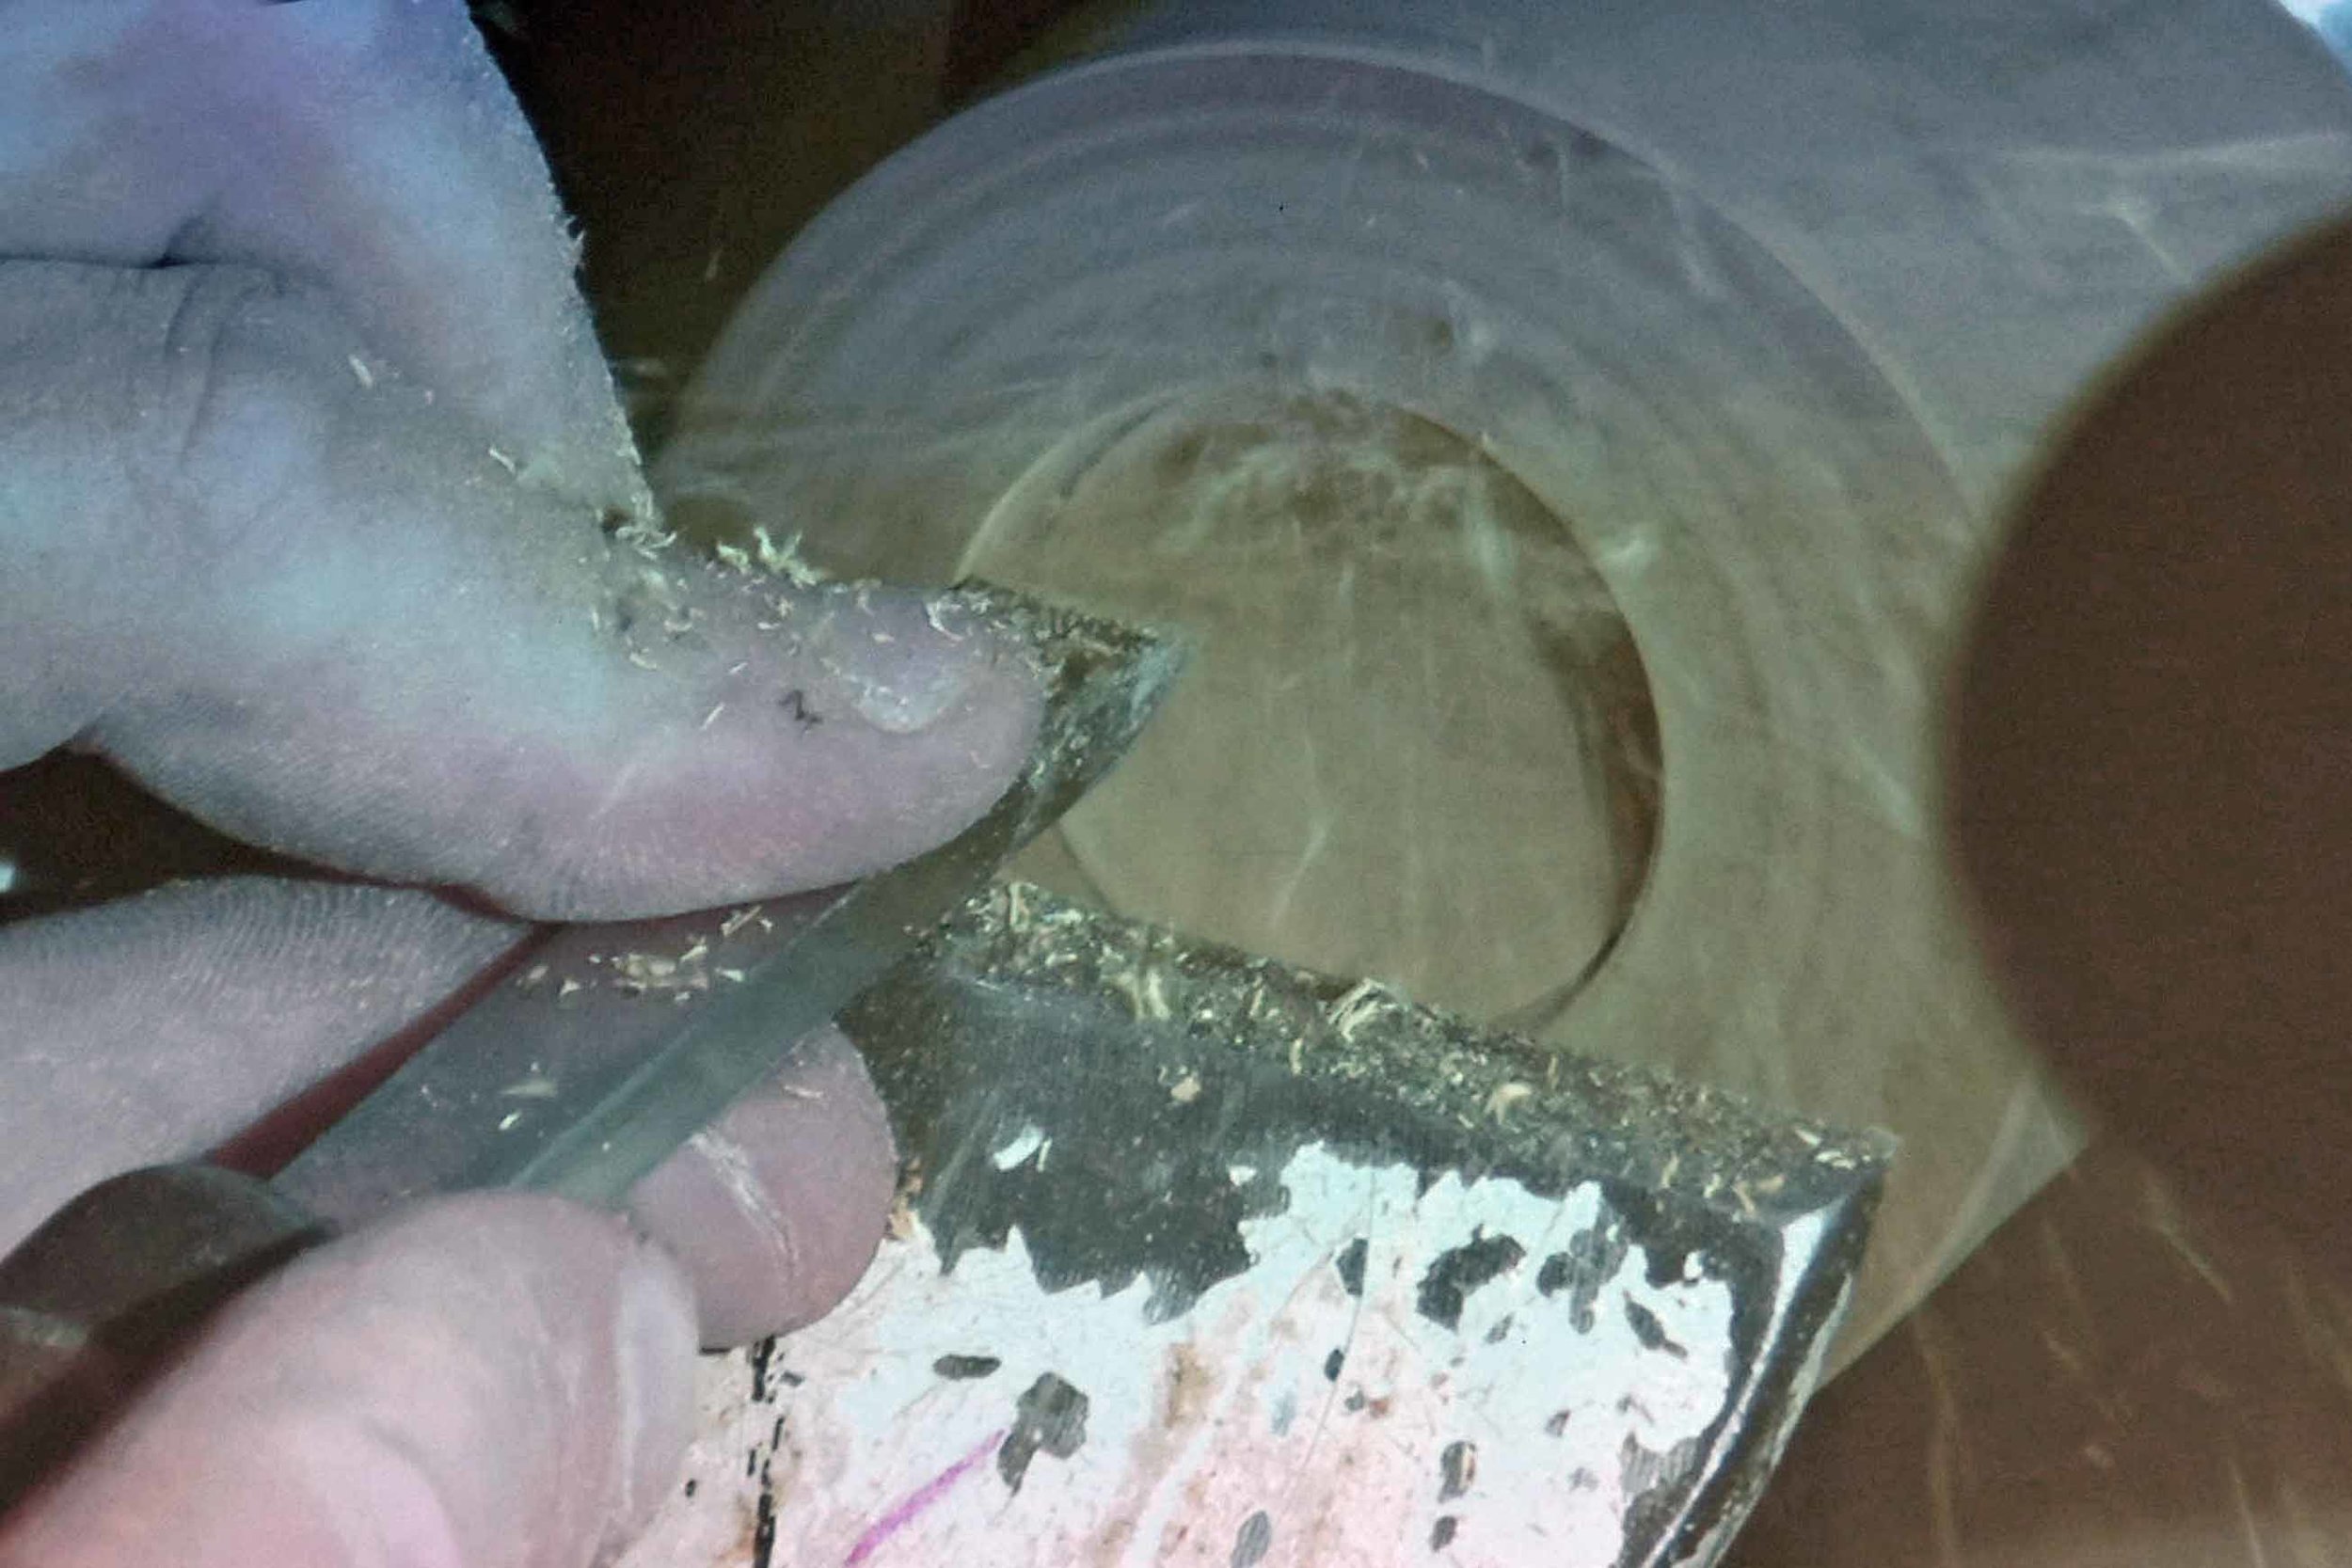
Once the cylinder was defined and met his dimensional specifications, Jakob created a circular mortise on it's inside circumference. To do this, he used an old file from which he'd fashioned a right angle scraper. Remember, it is easier to create the mortise first and fit the tenon after. In this case, you don't have to accurately measure on the inside of the cylinder, and it is easier to fit the tenon to the mortise once the legs have been band sawn from the cylinder. Jakob showed some premade legs that he used later in the demonstration. During the demonstration it was determined that the two legs combined make up a little more than half the diameter of the cylinder- so you only get one set of legs per cylinder with this particular design. In case you are wondering, Jakob can sand the cylindrical ring using a jam chuck- he was trying to spare us from watching too much sanding.

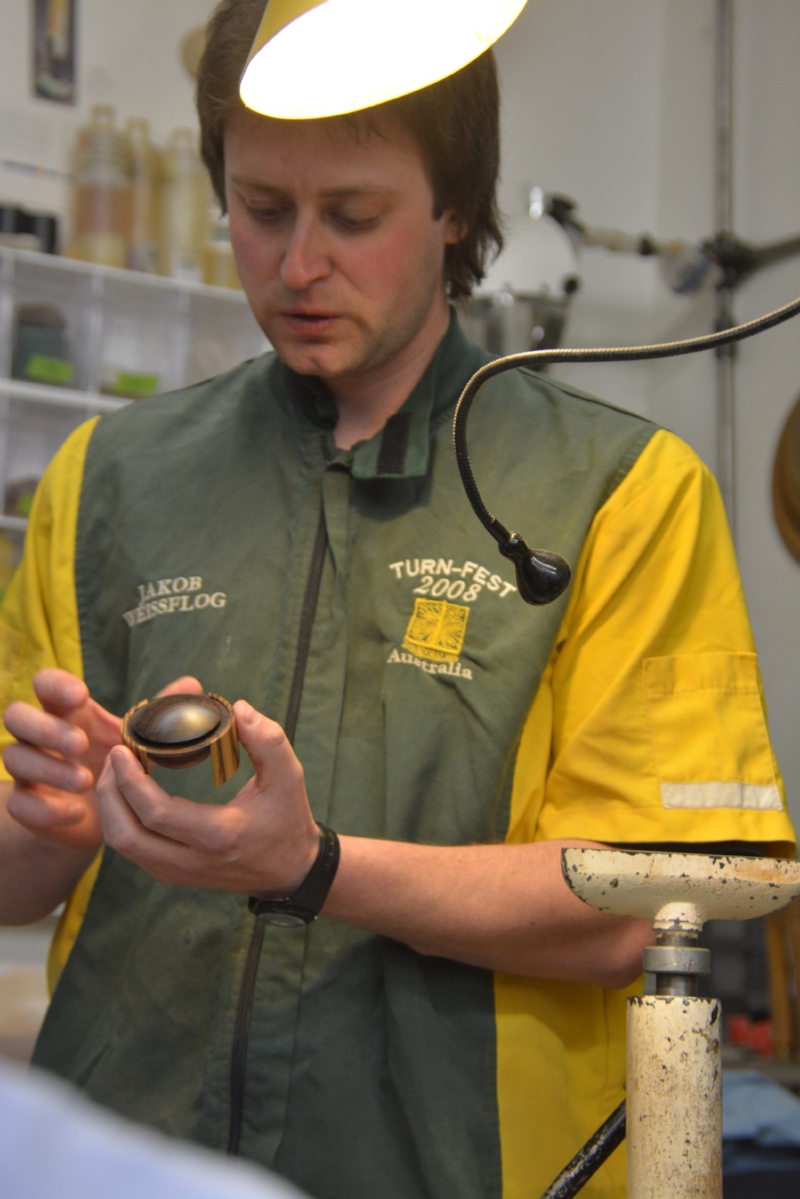
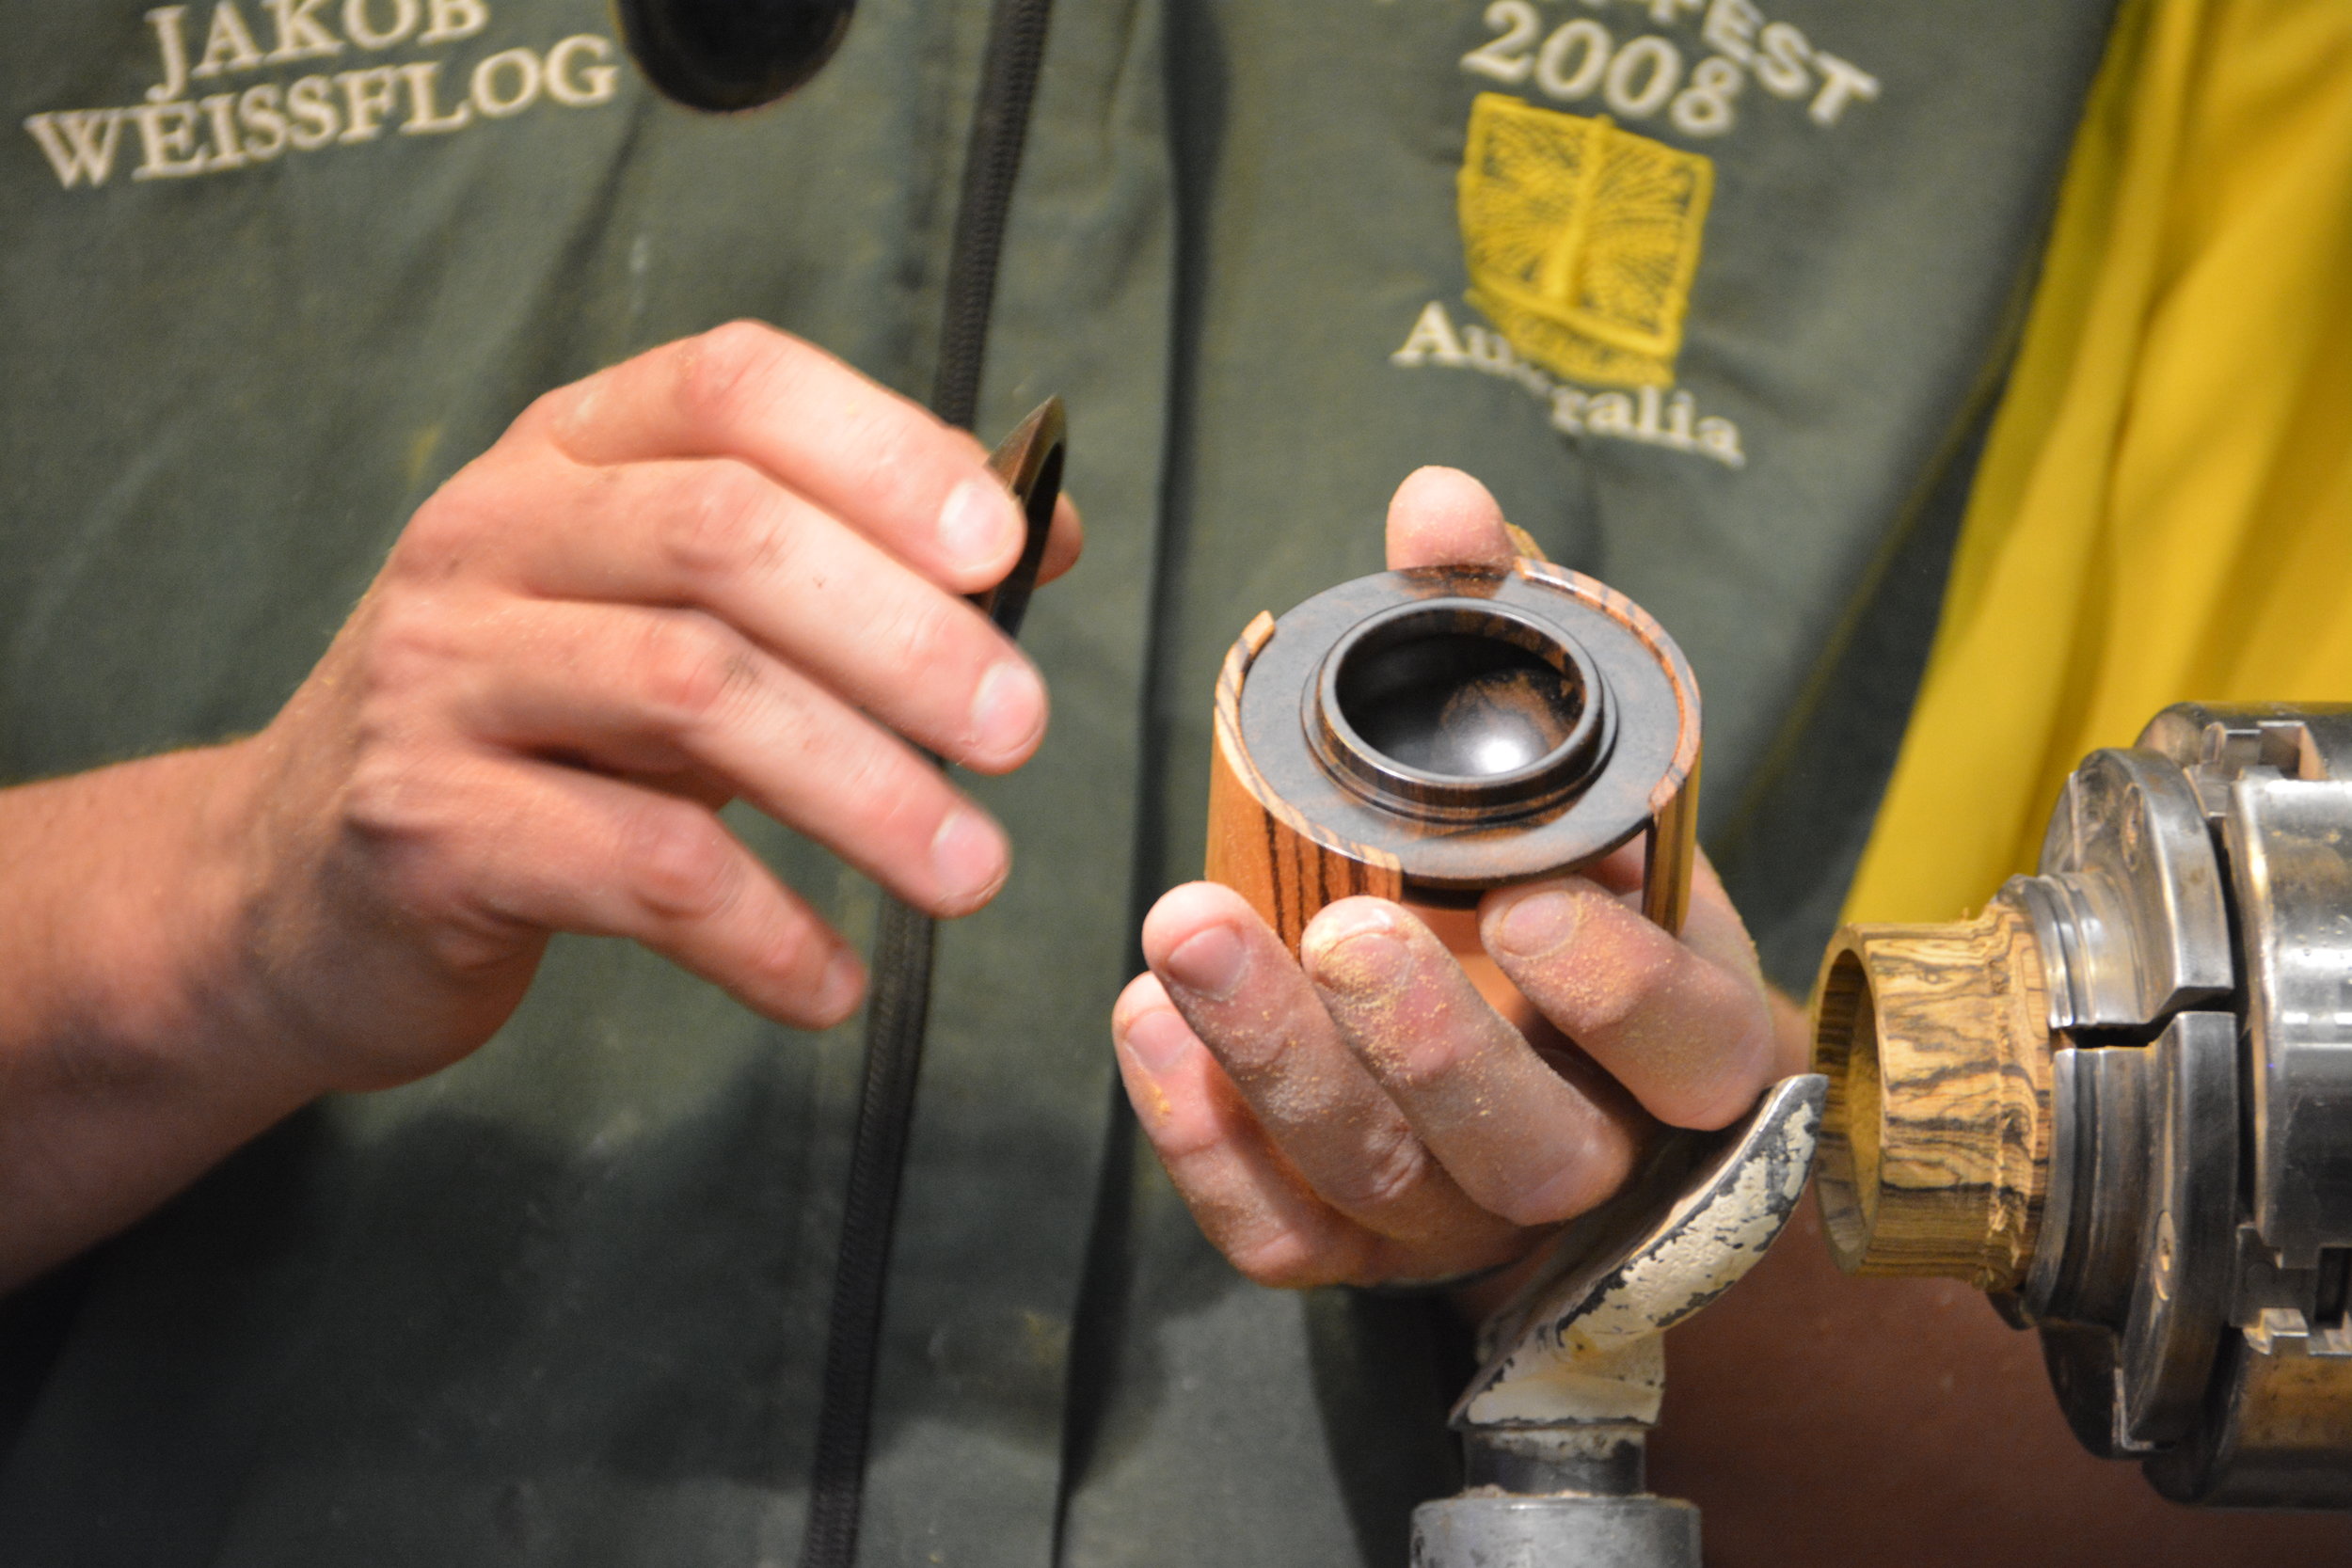
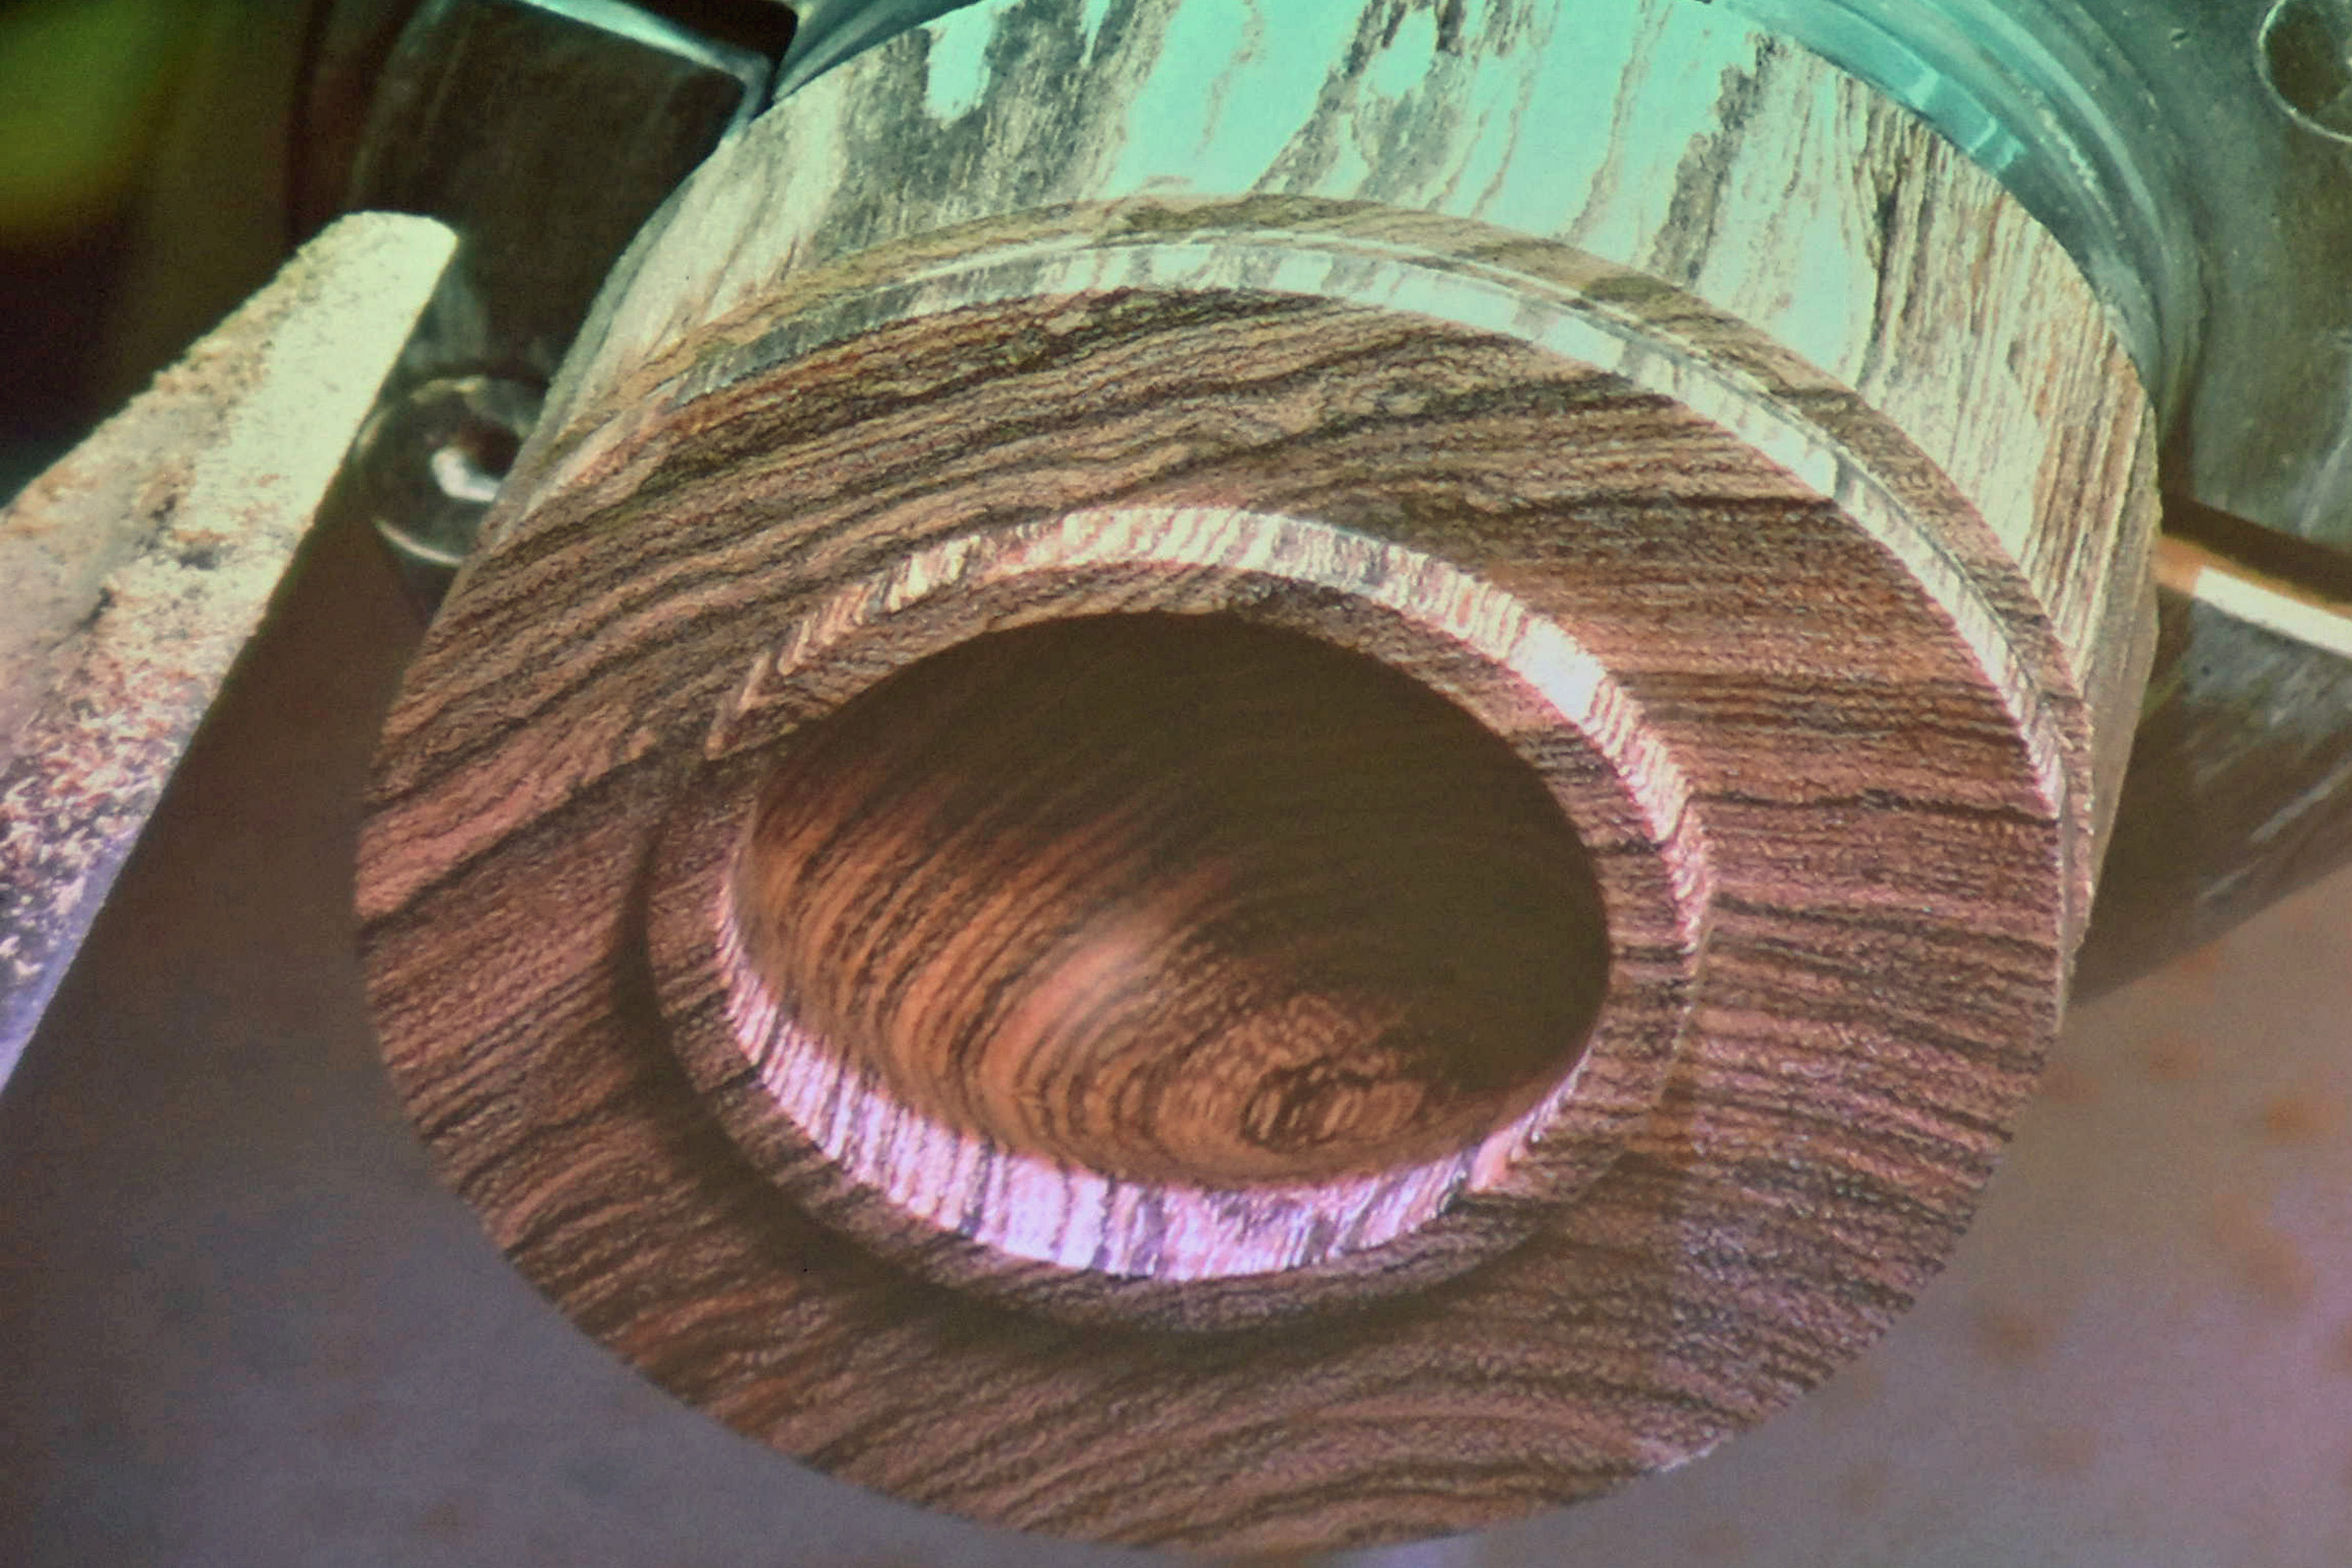
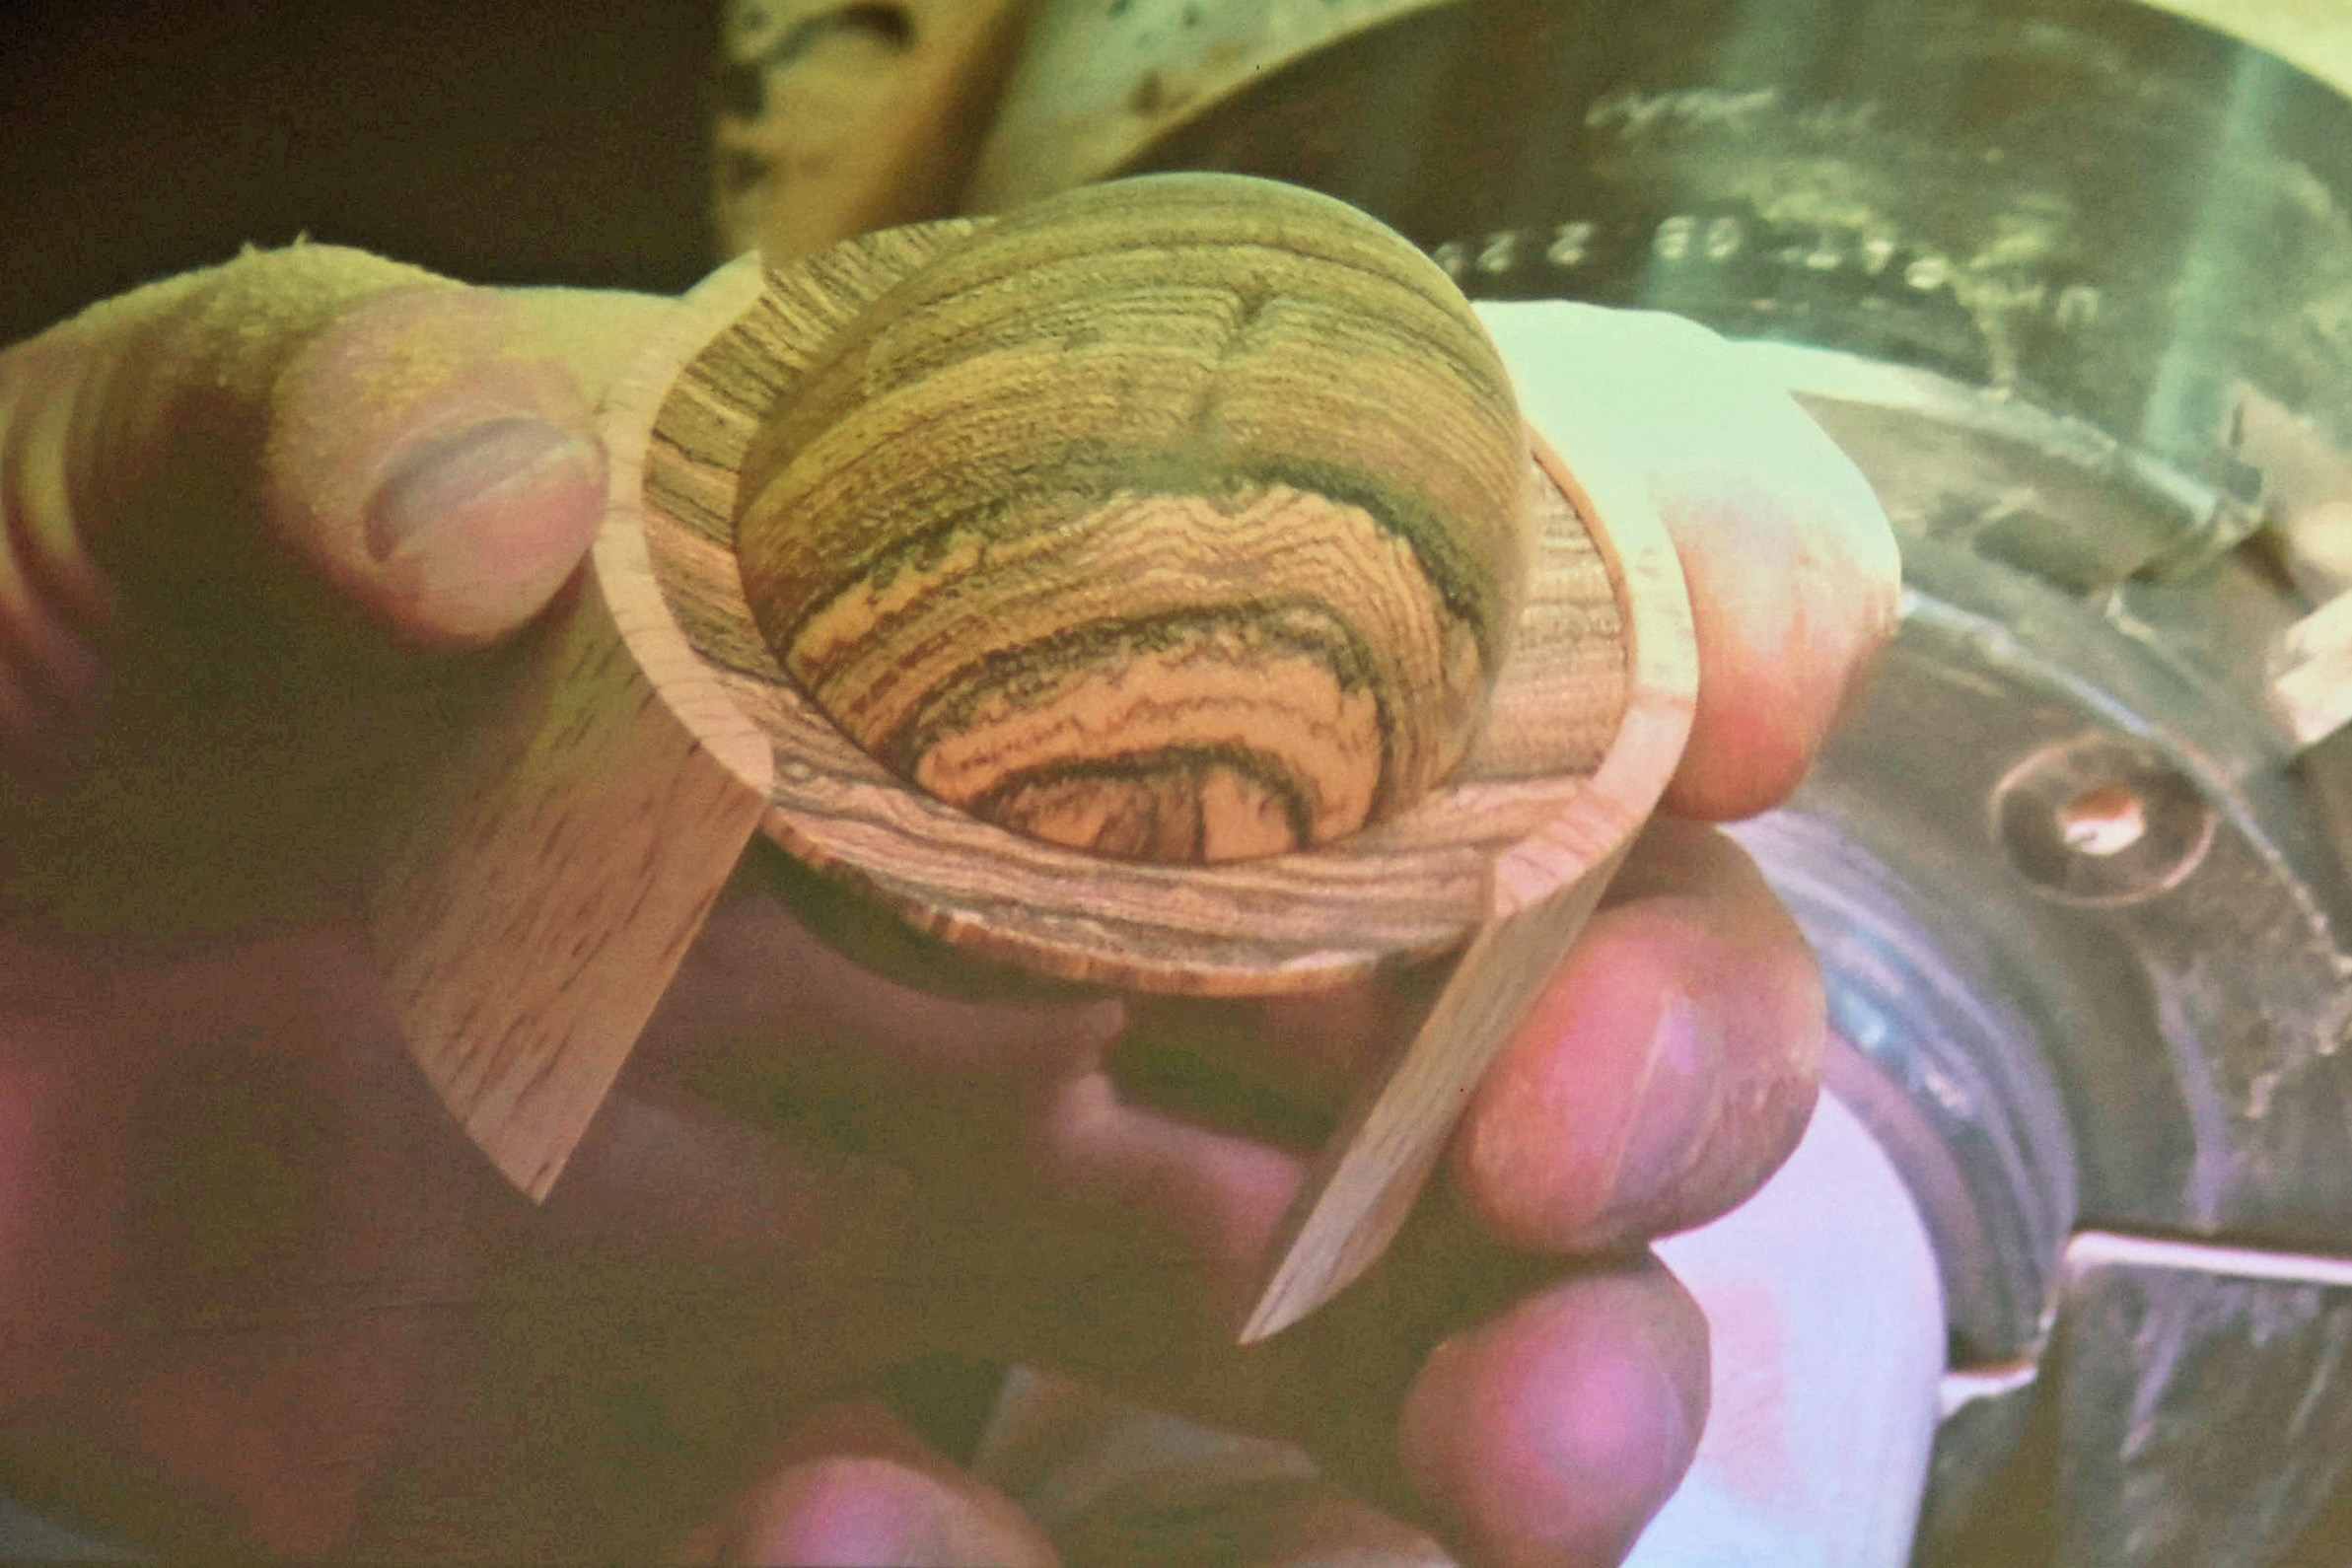
Next it was time to make the lid. He selected a beautiful piece of Bocote, which Jakob said was easier to turn compared to African Blackwood. In short, the steps to make the lid were: hollow the inside, make a step or right angle wall on the inside to accept rim of the base, sand, and then, using a jam chuck, shape the outside and sand this as well. Easy enough...if you are a master like Jakob!
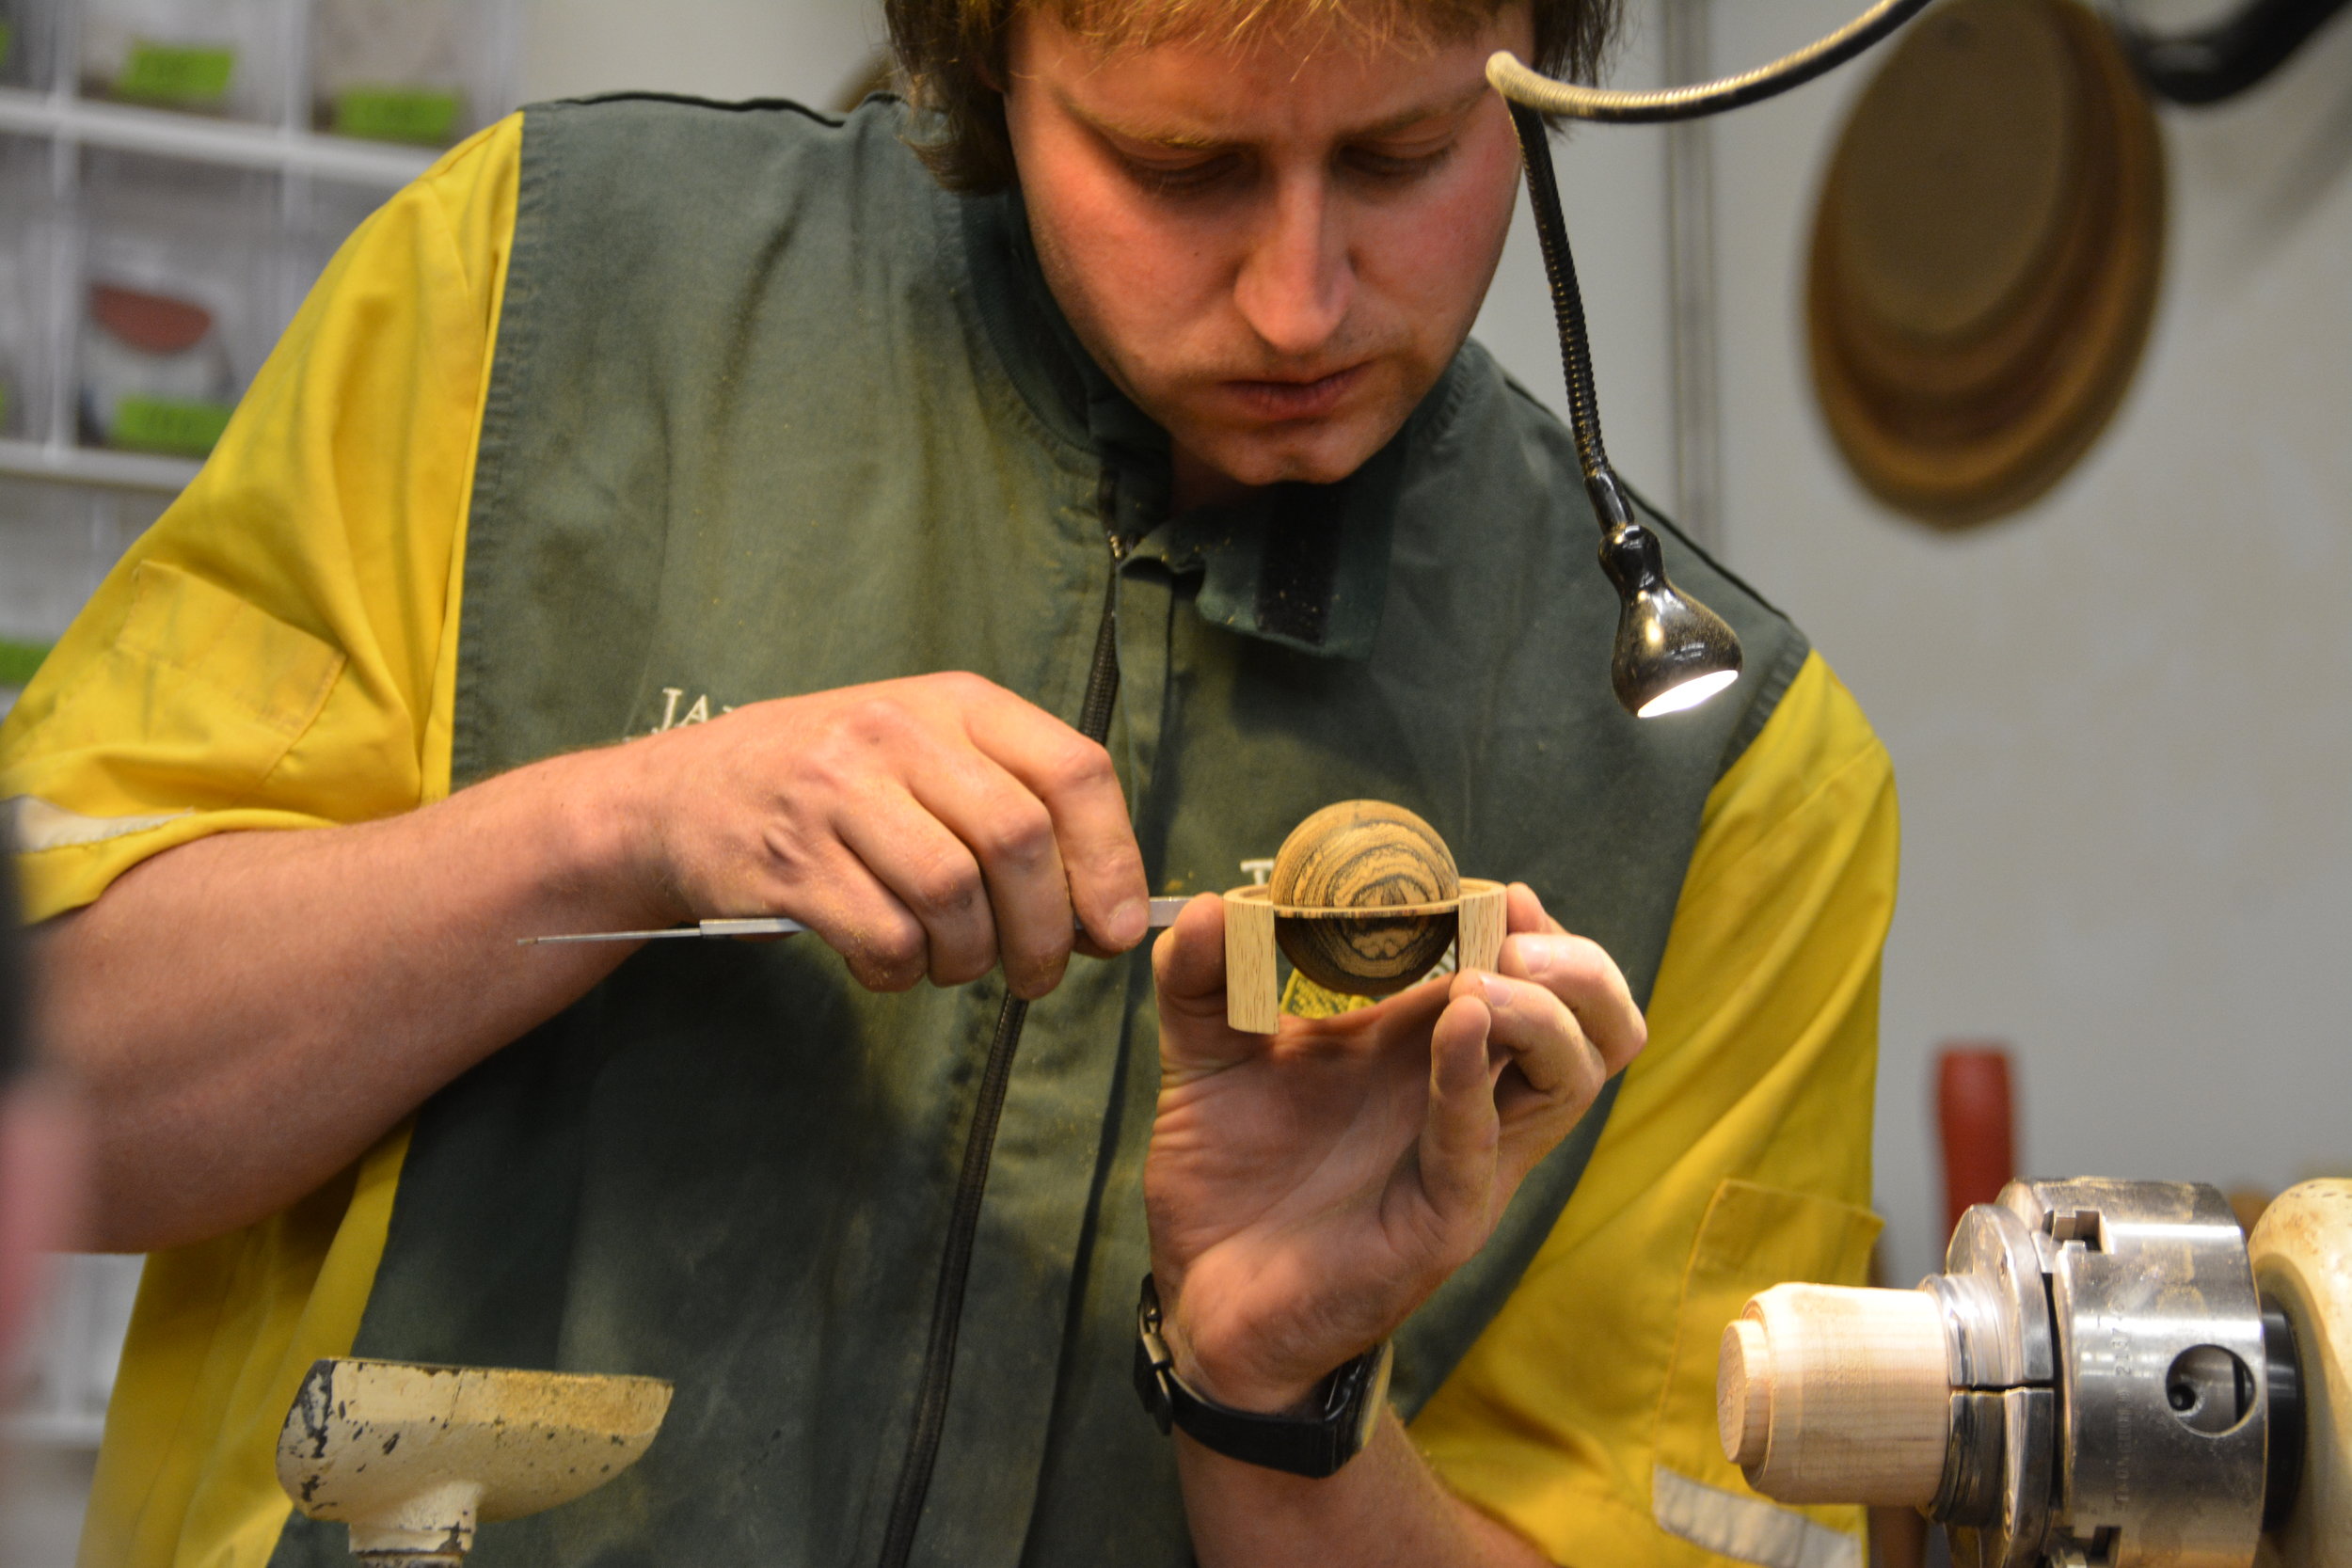
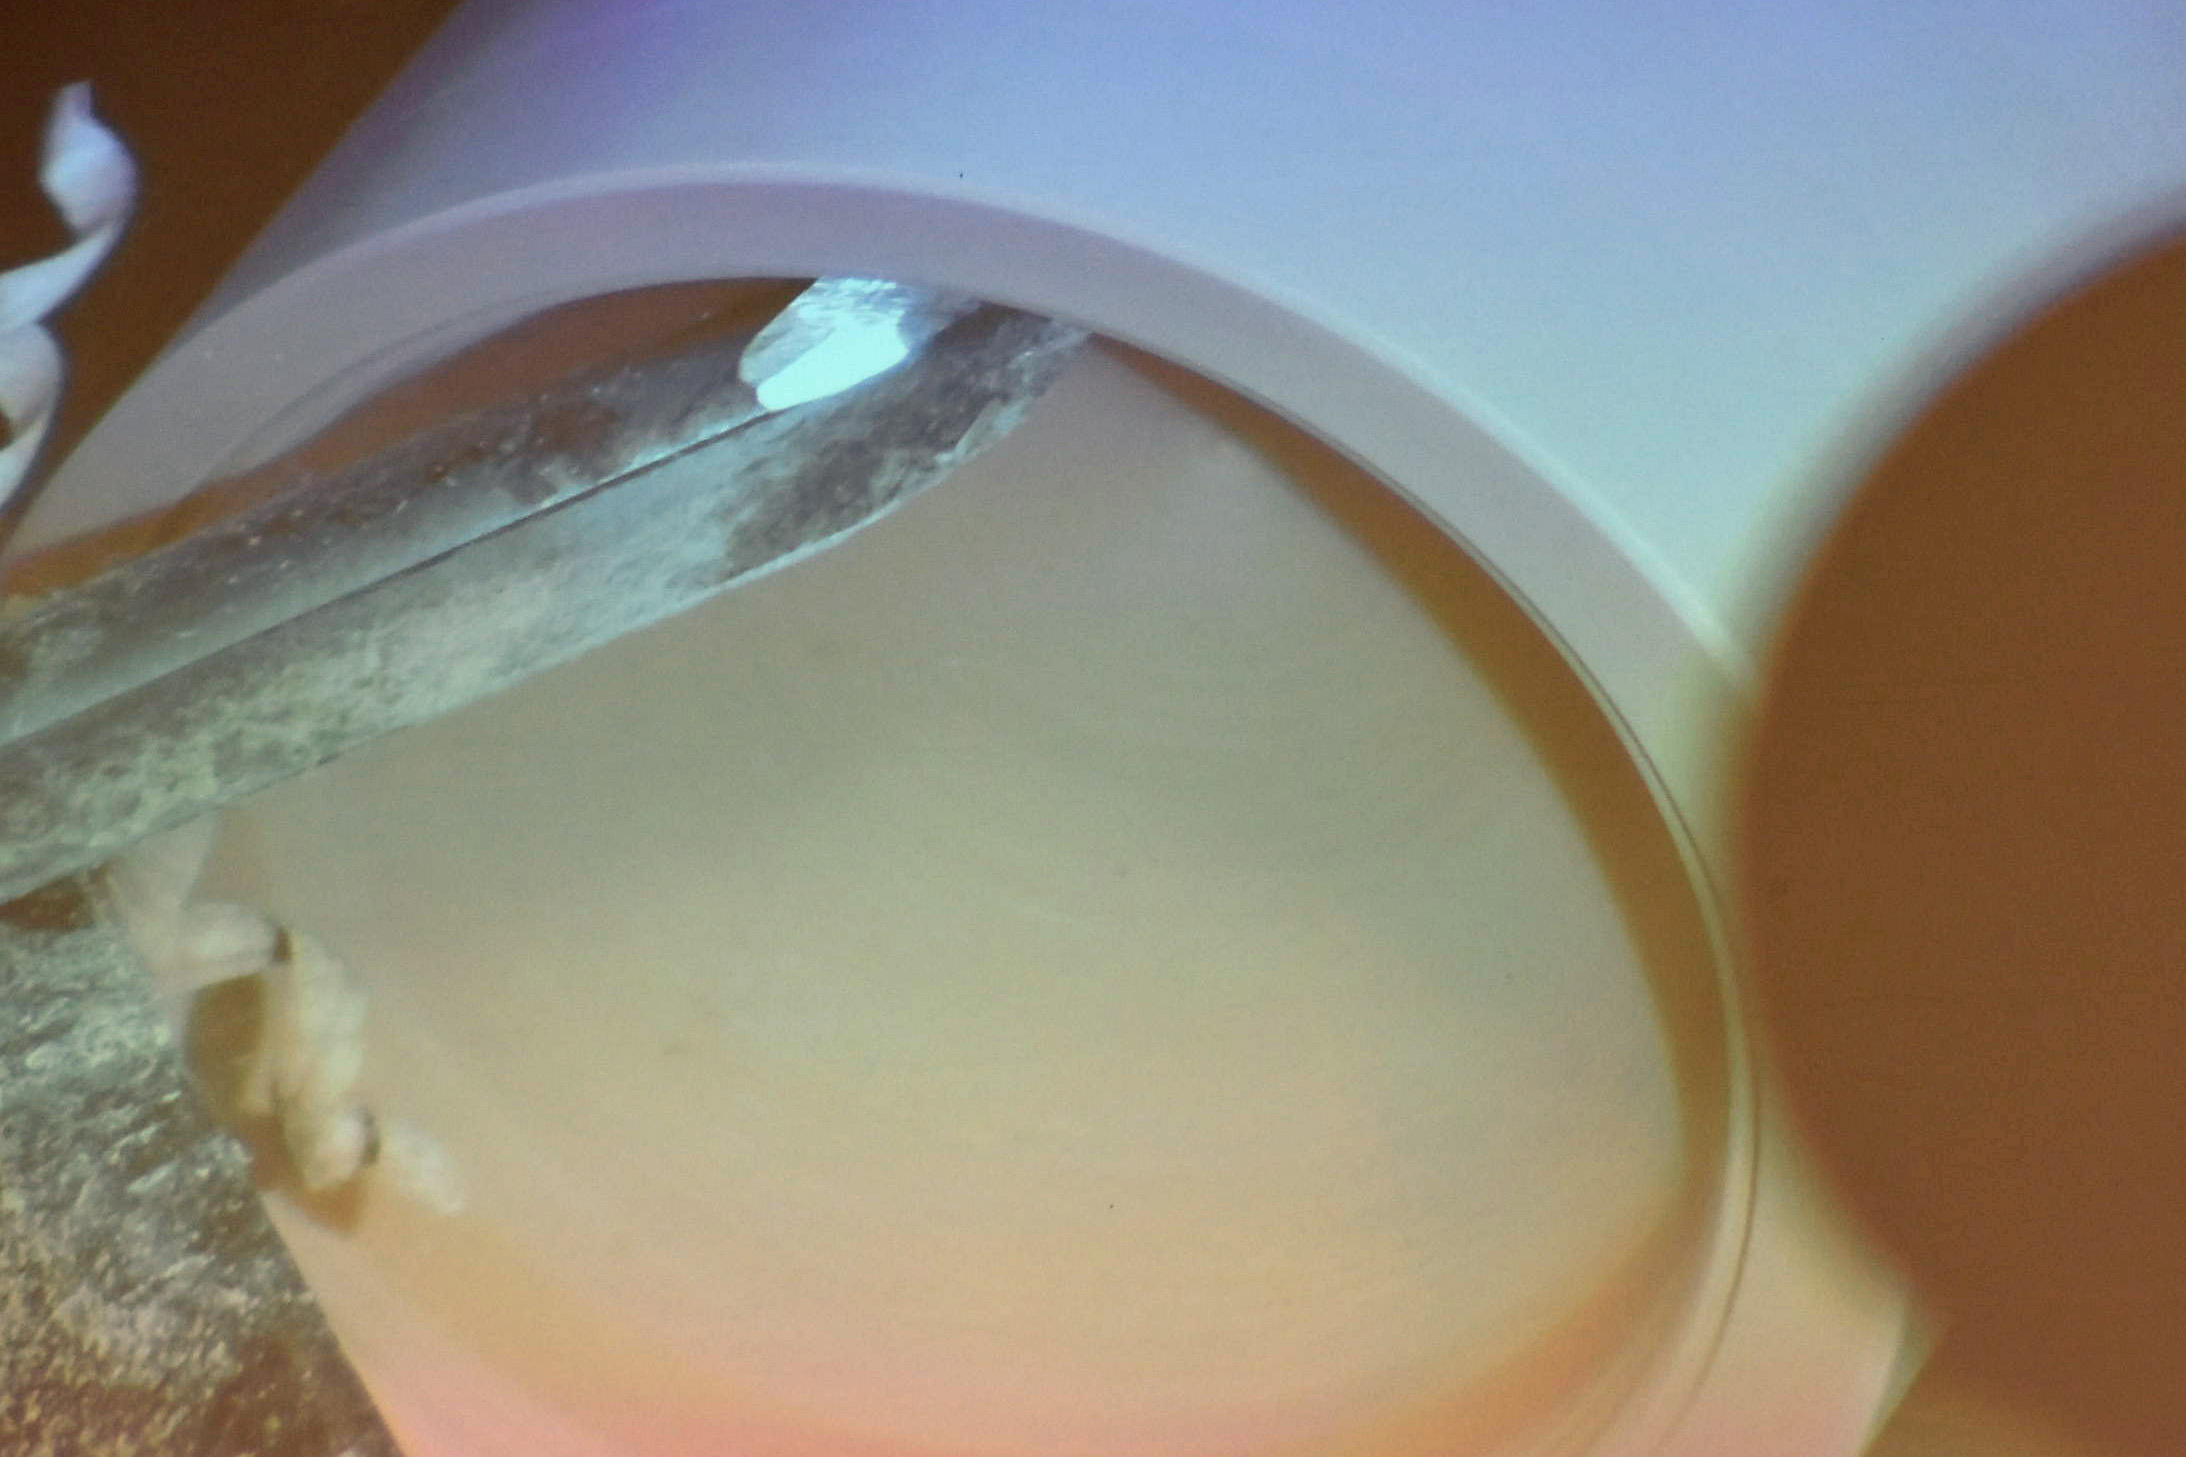
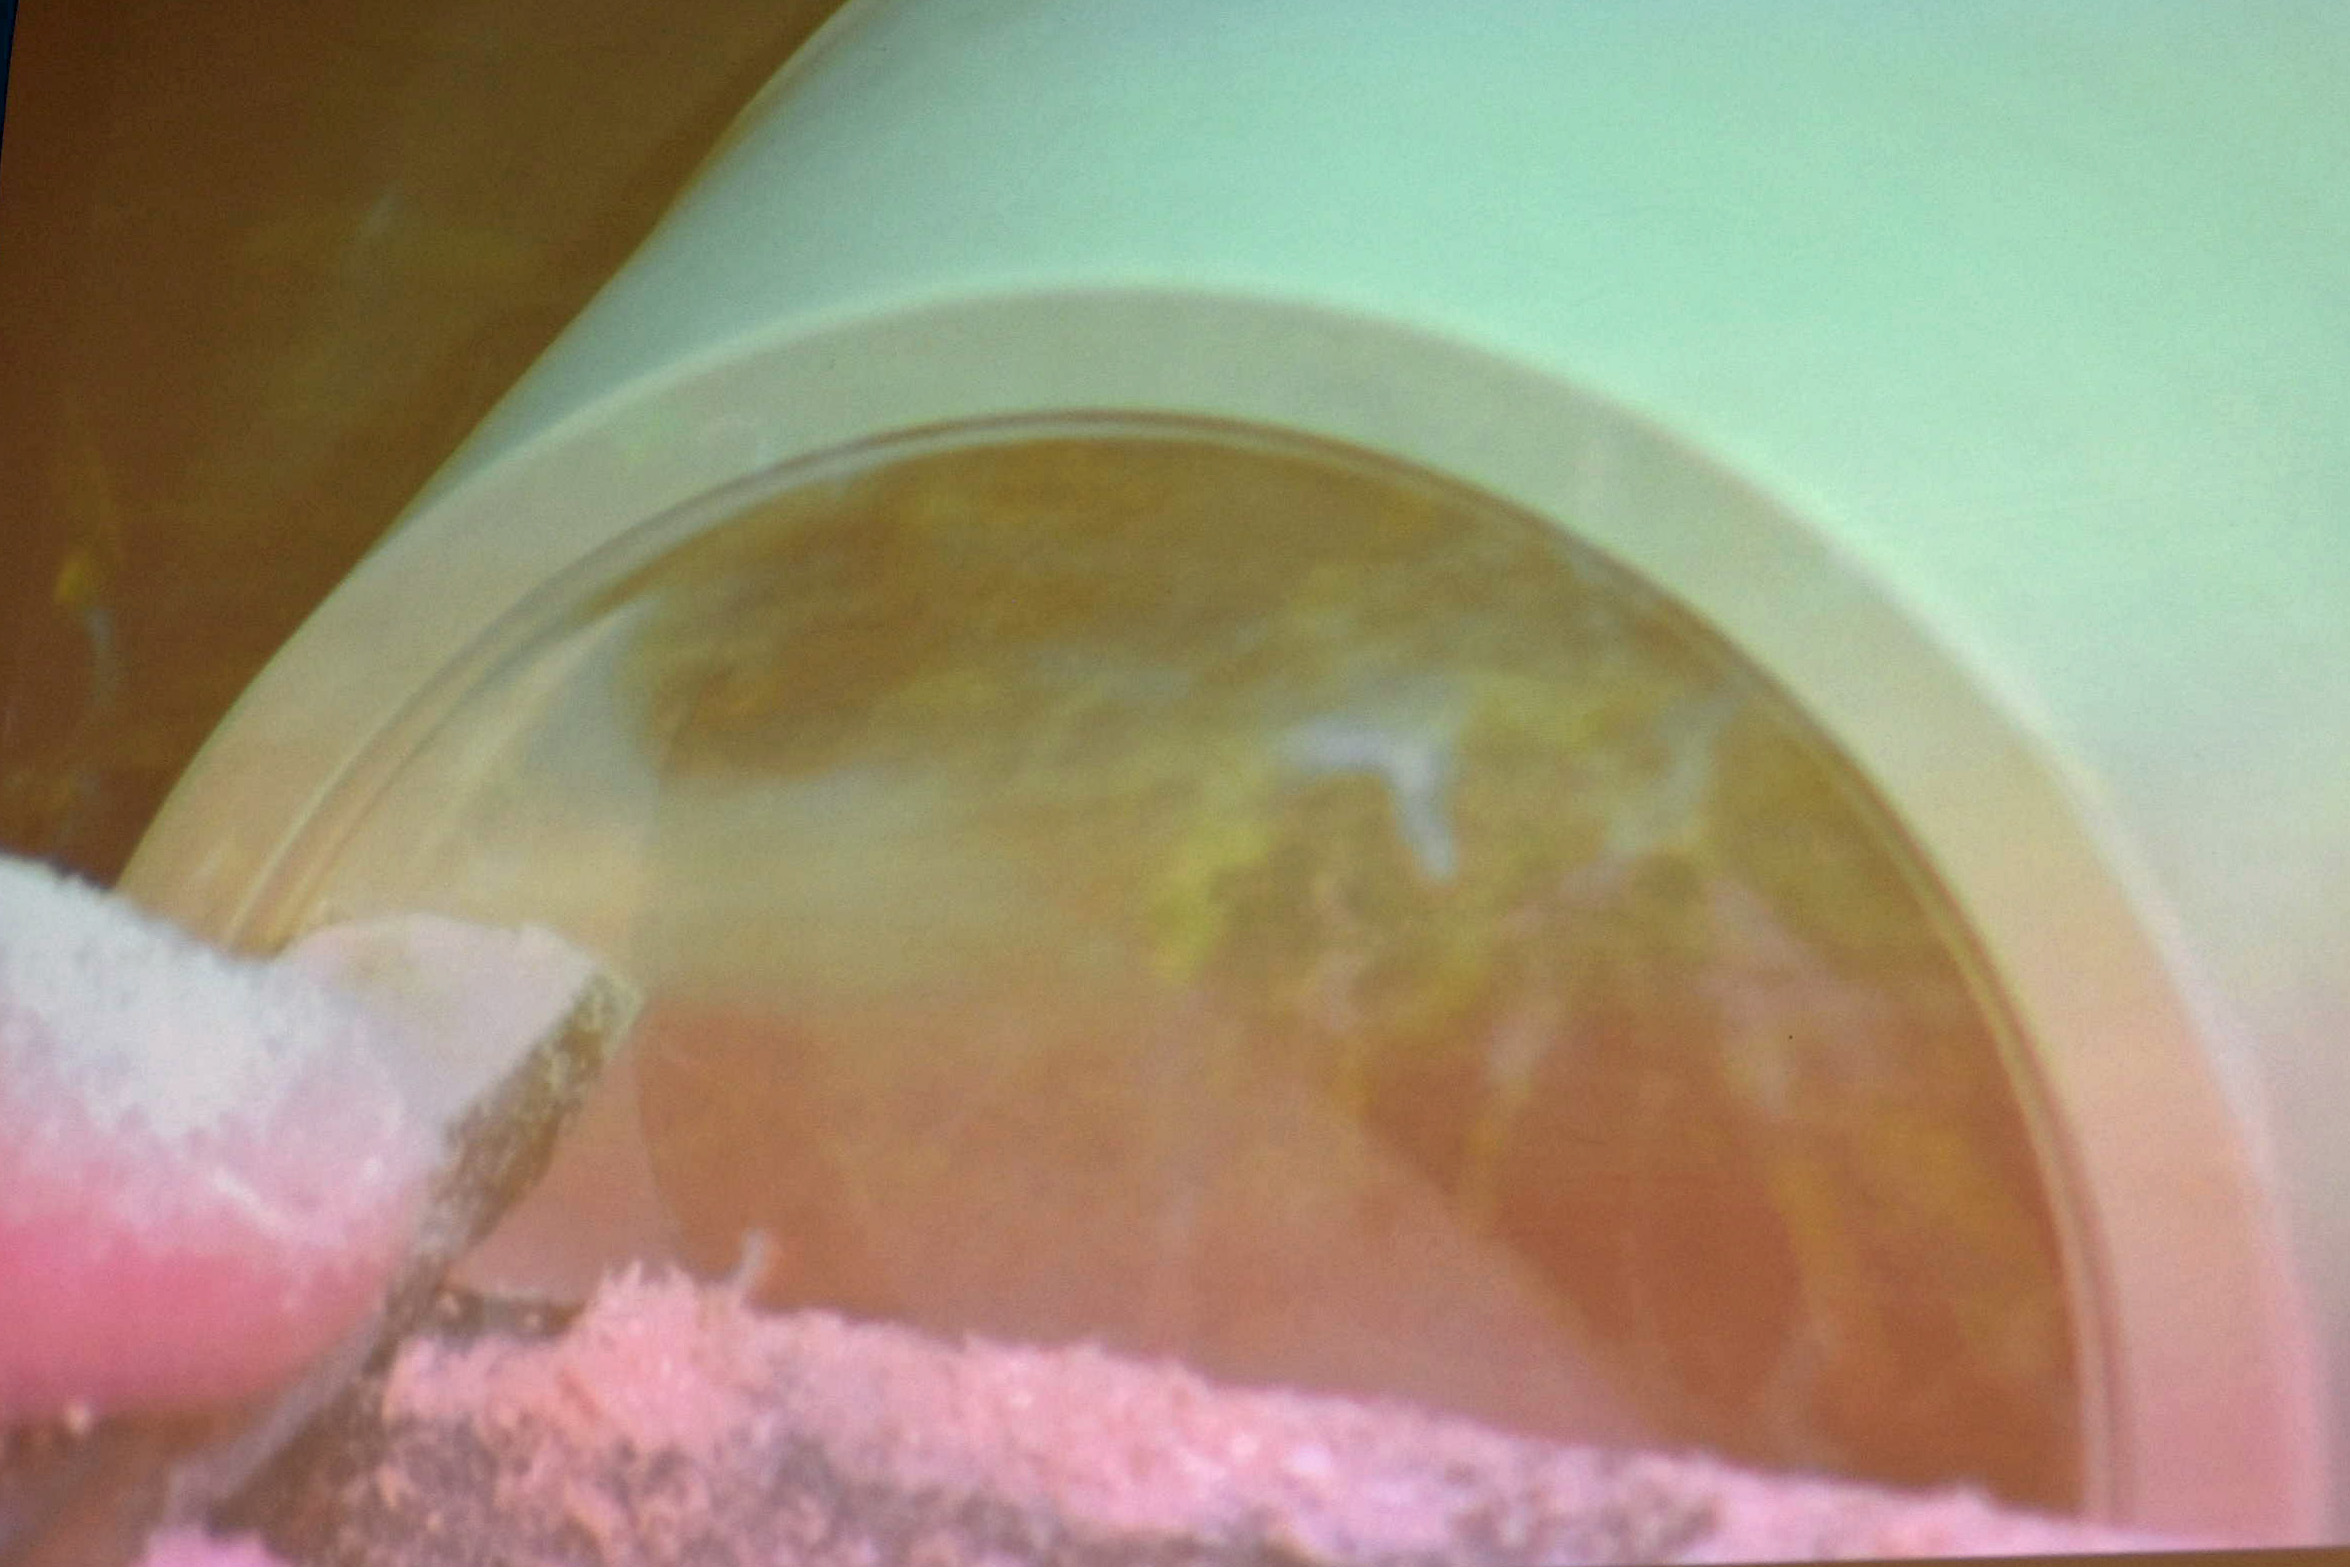
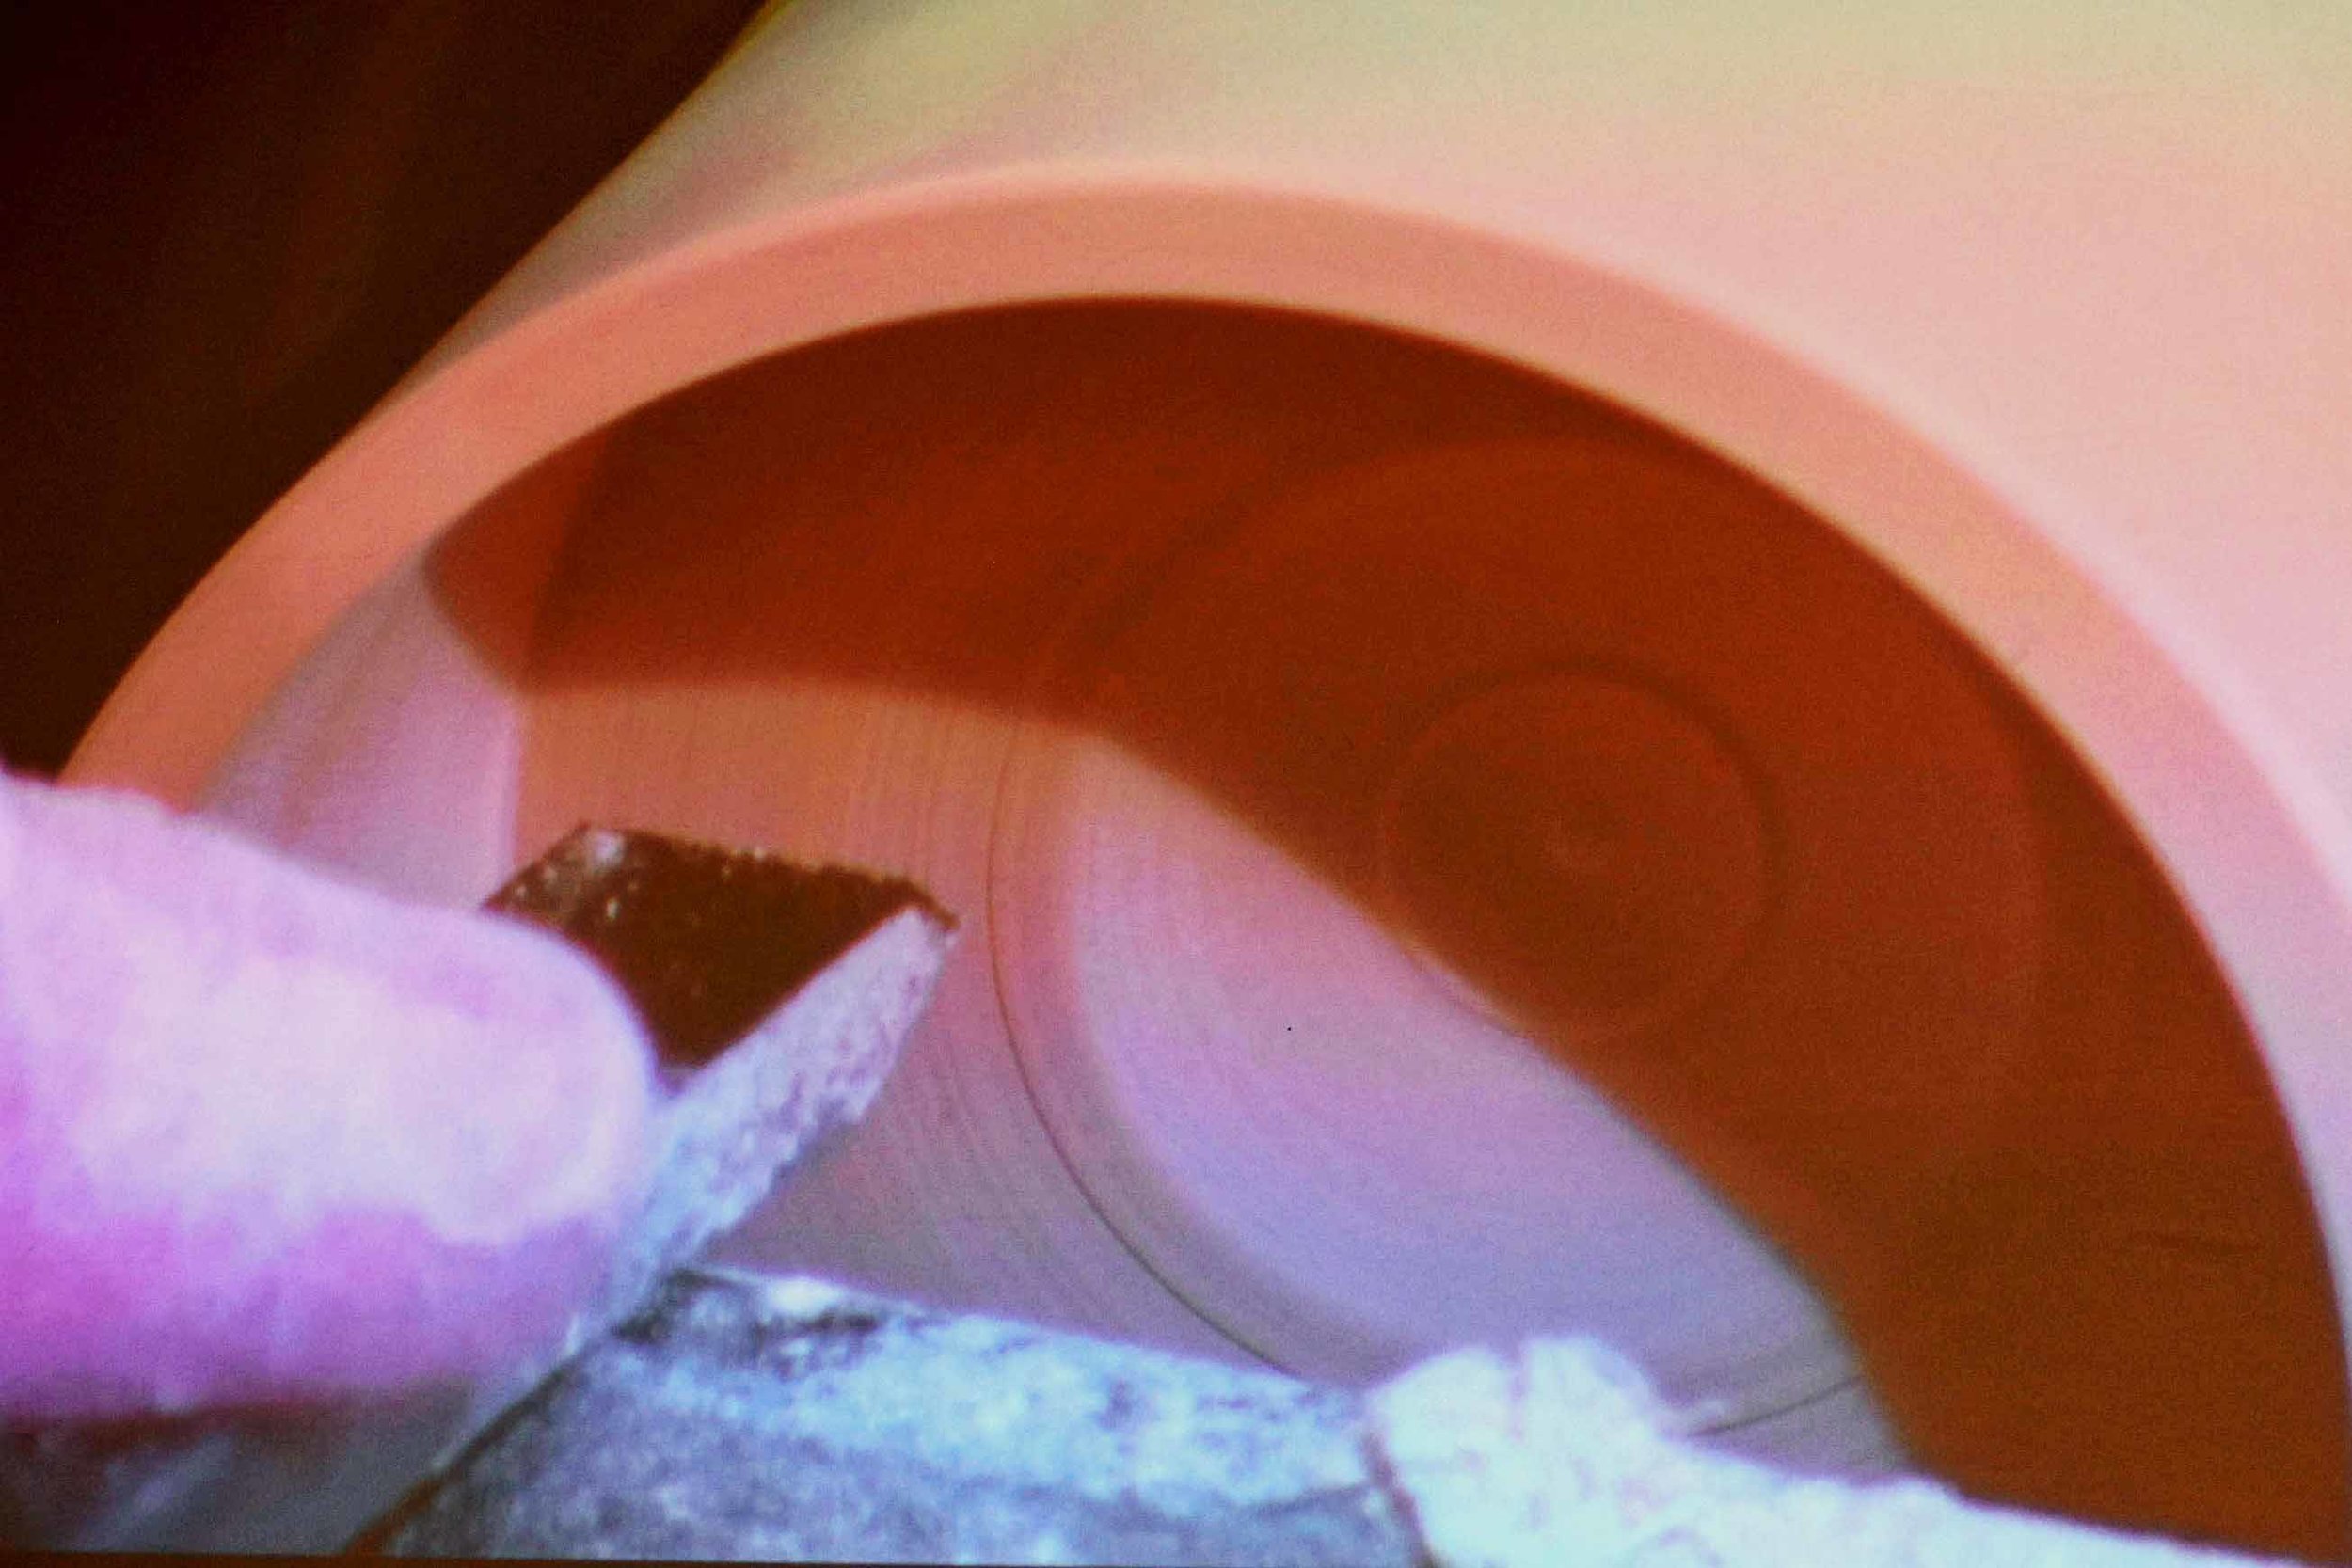
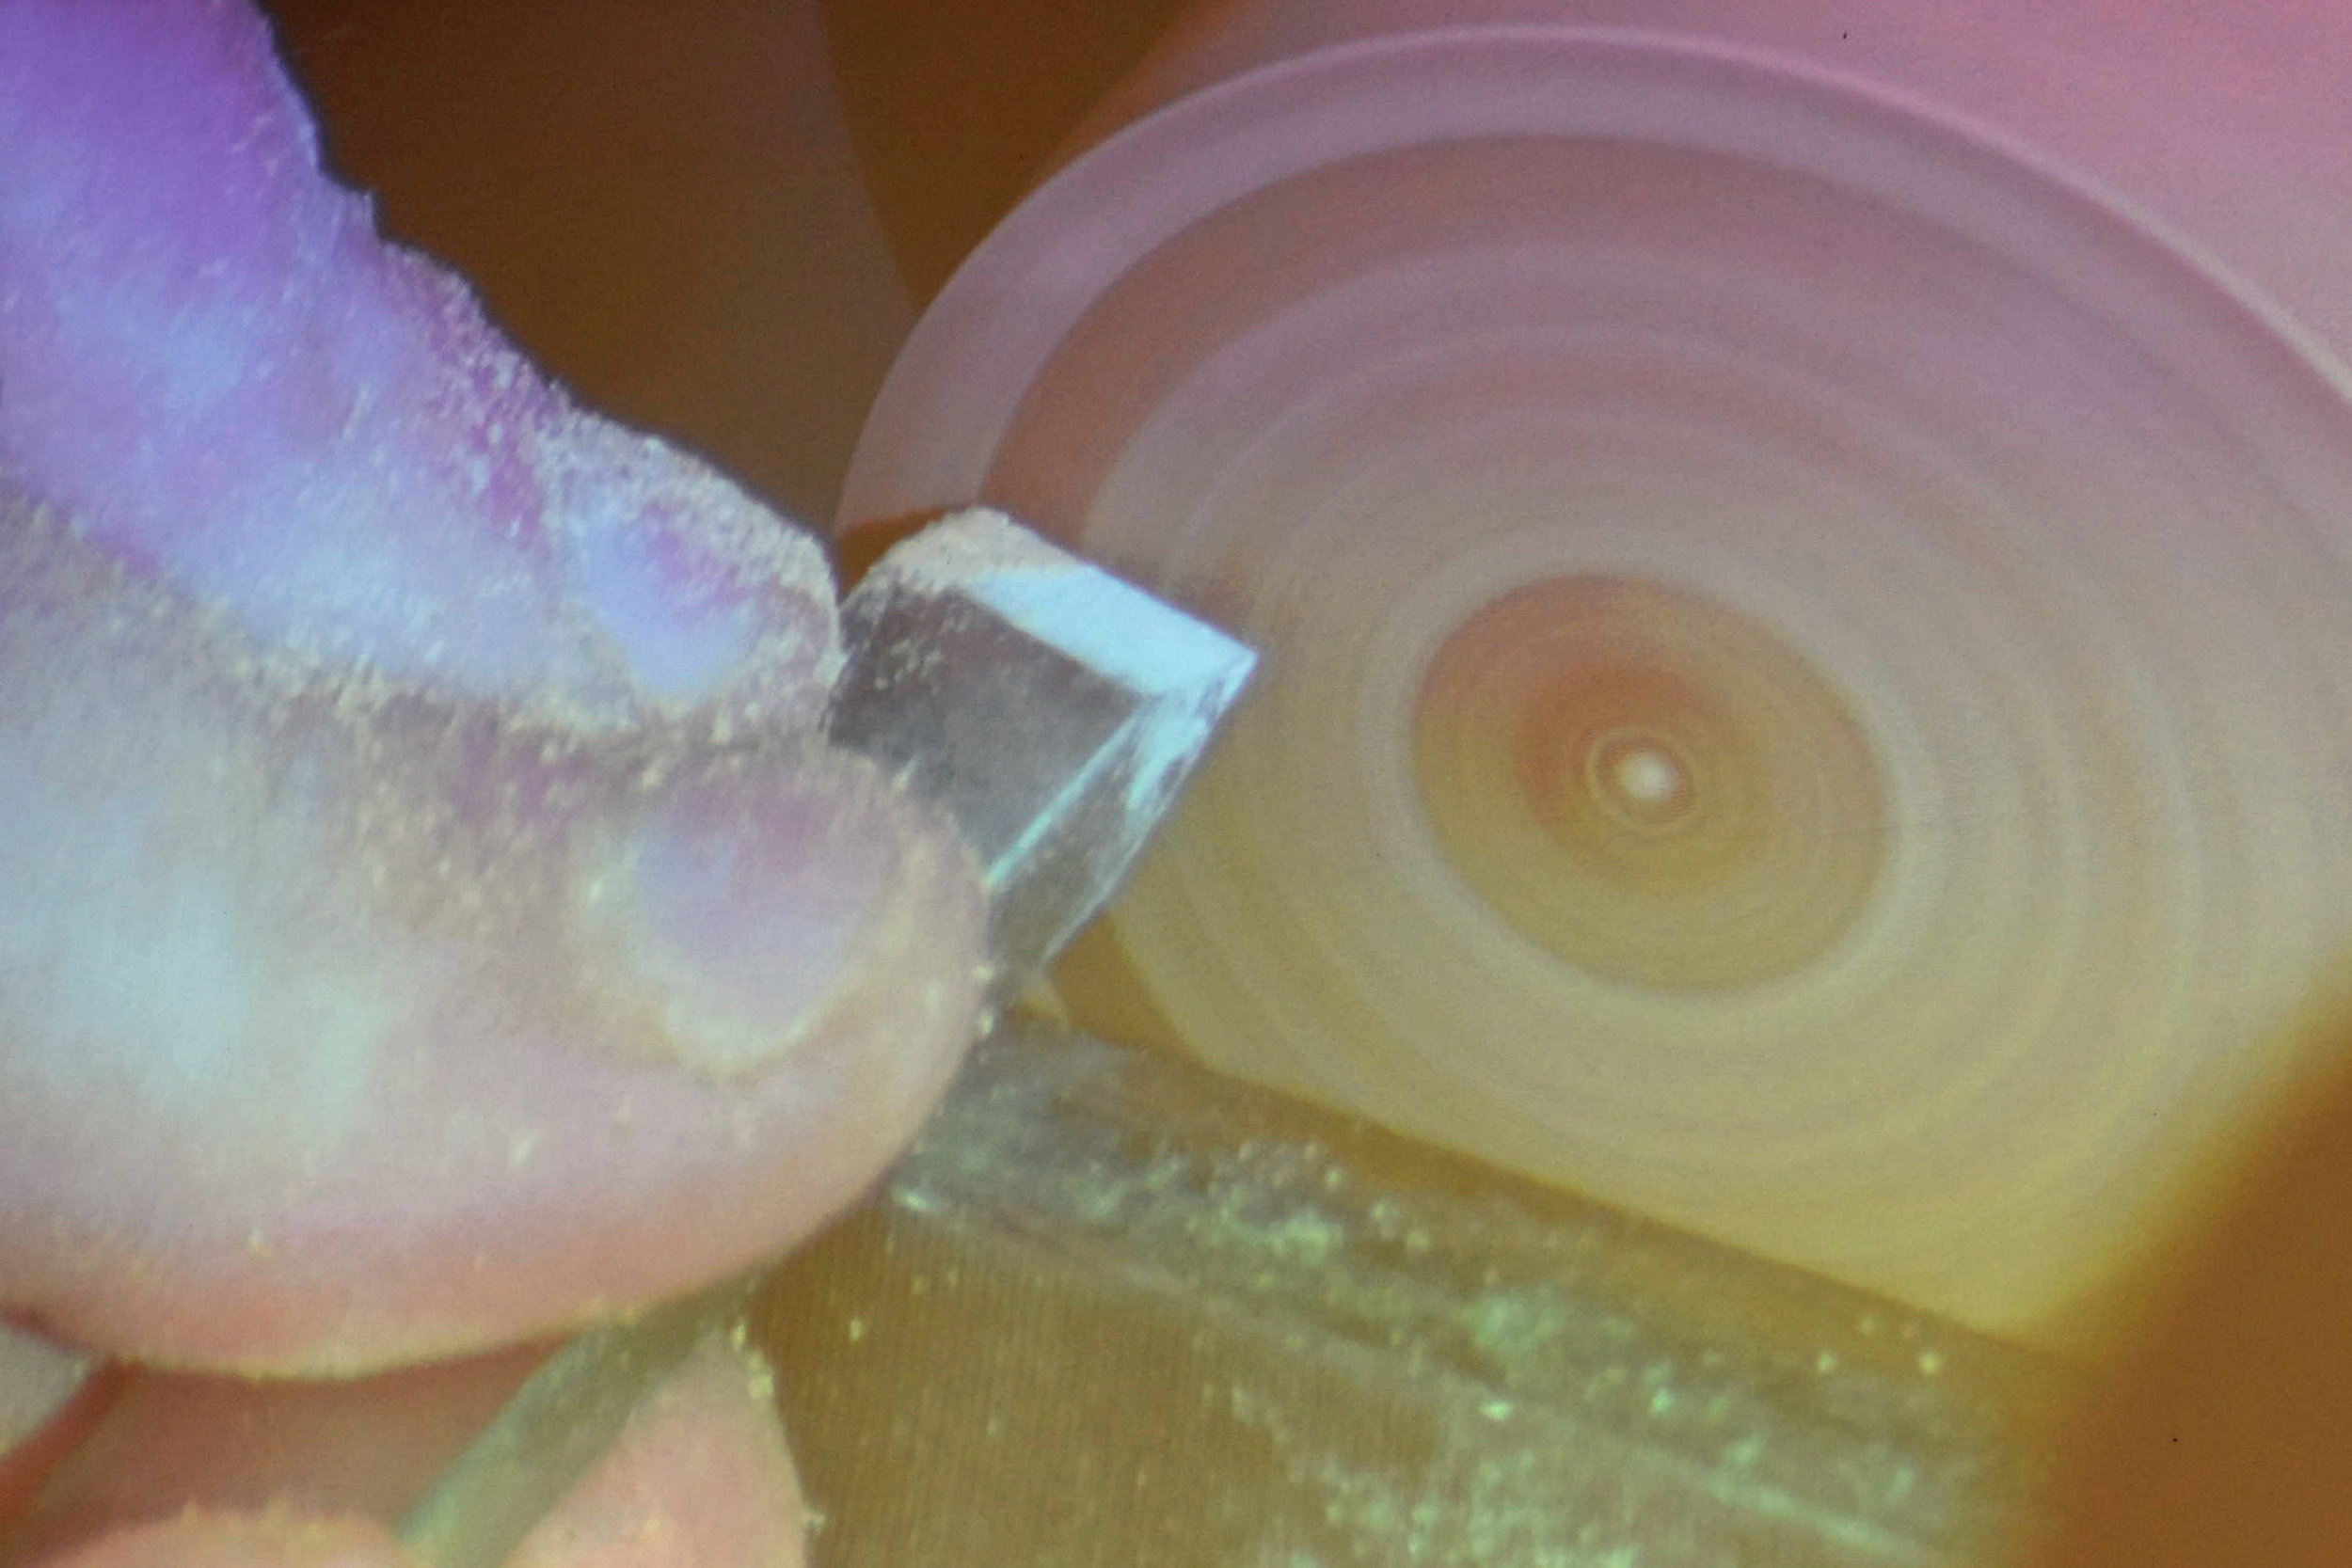
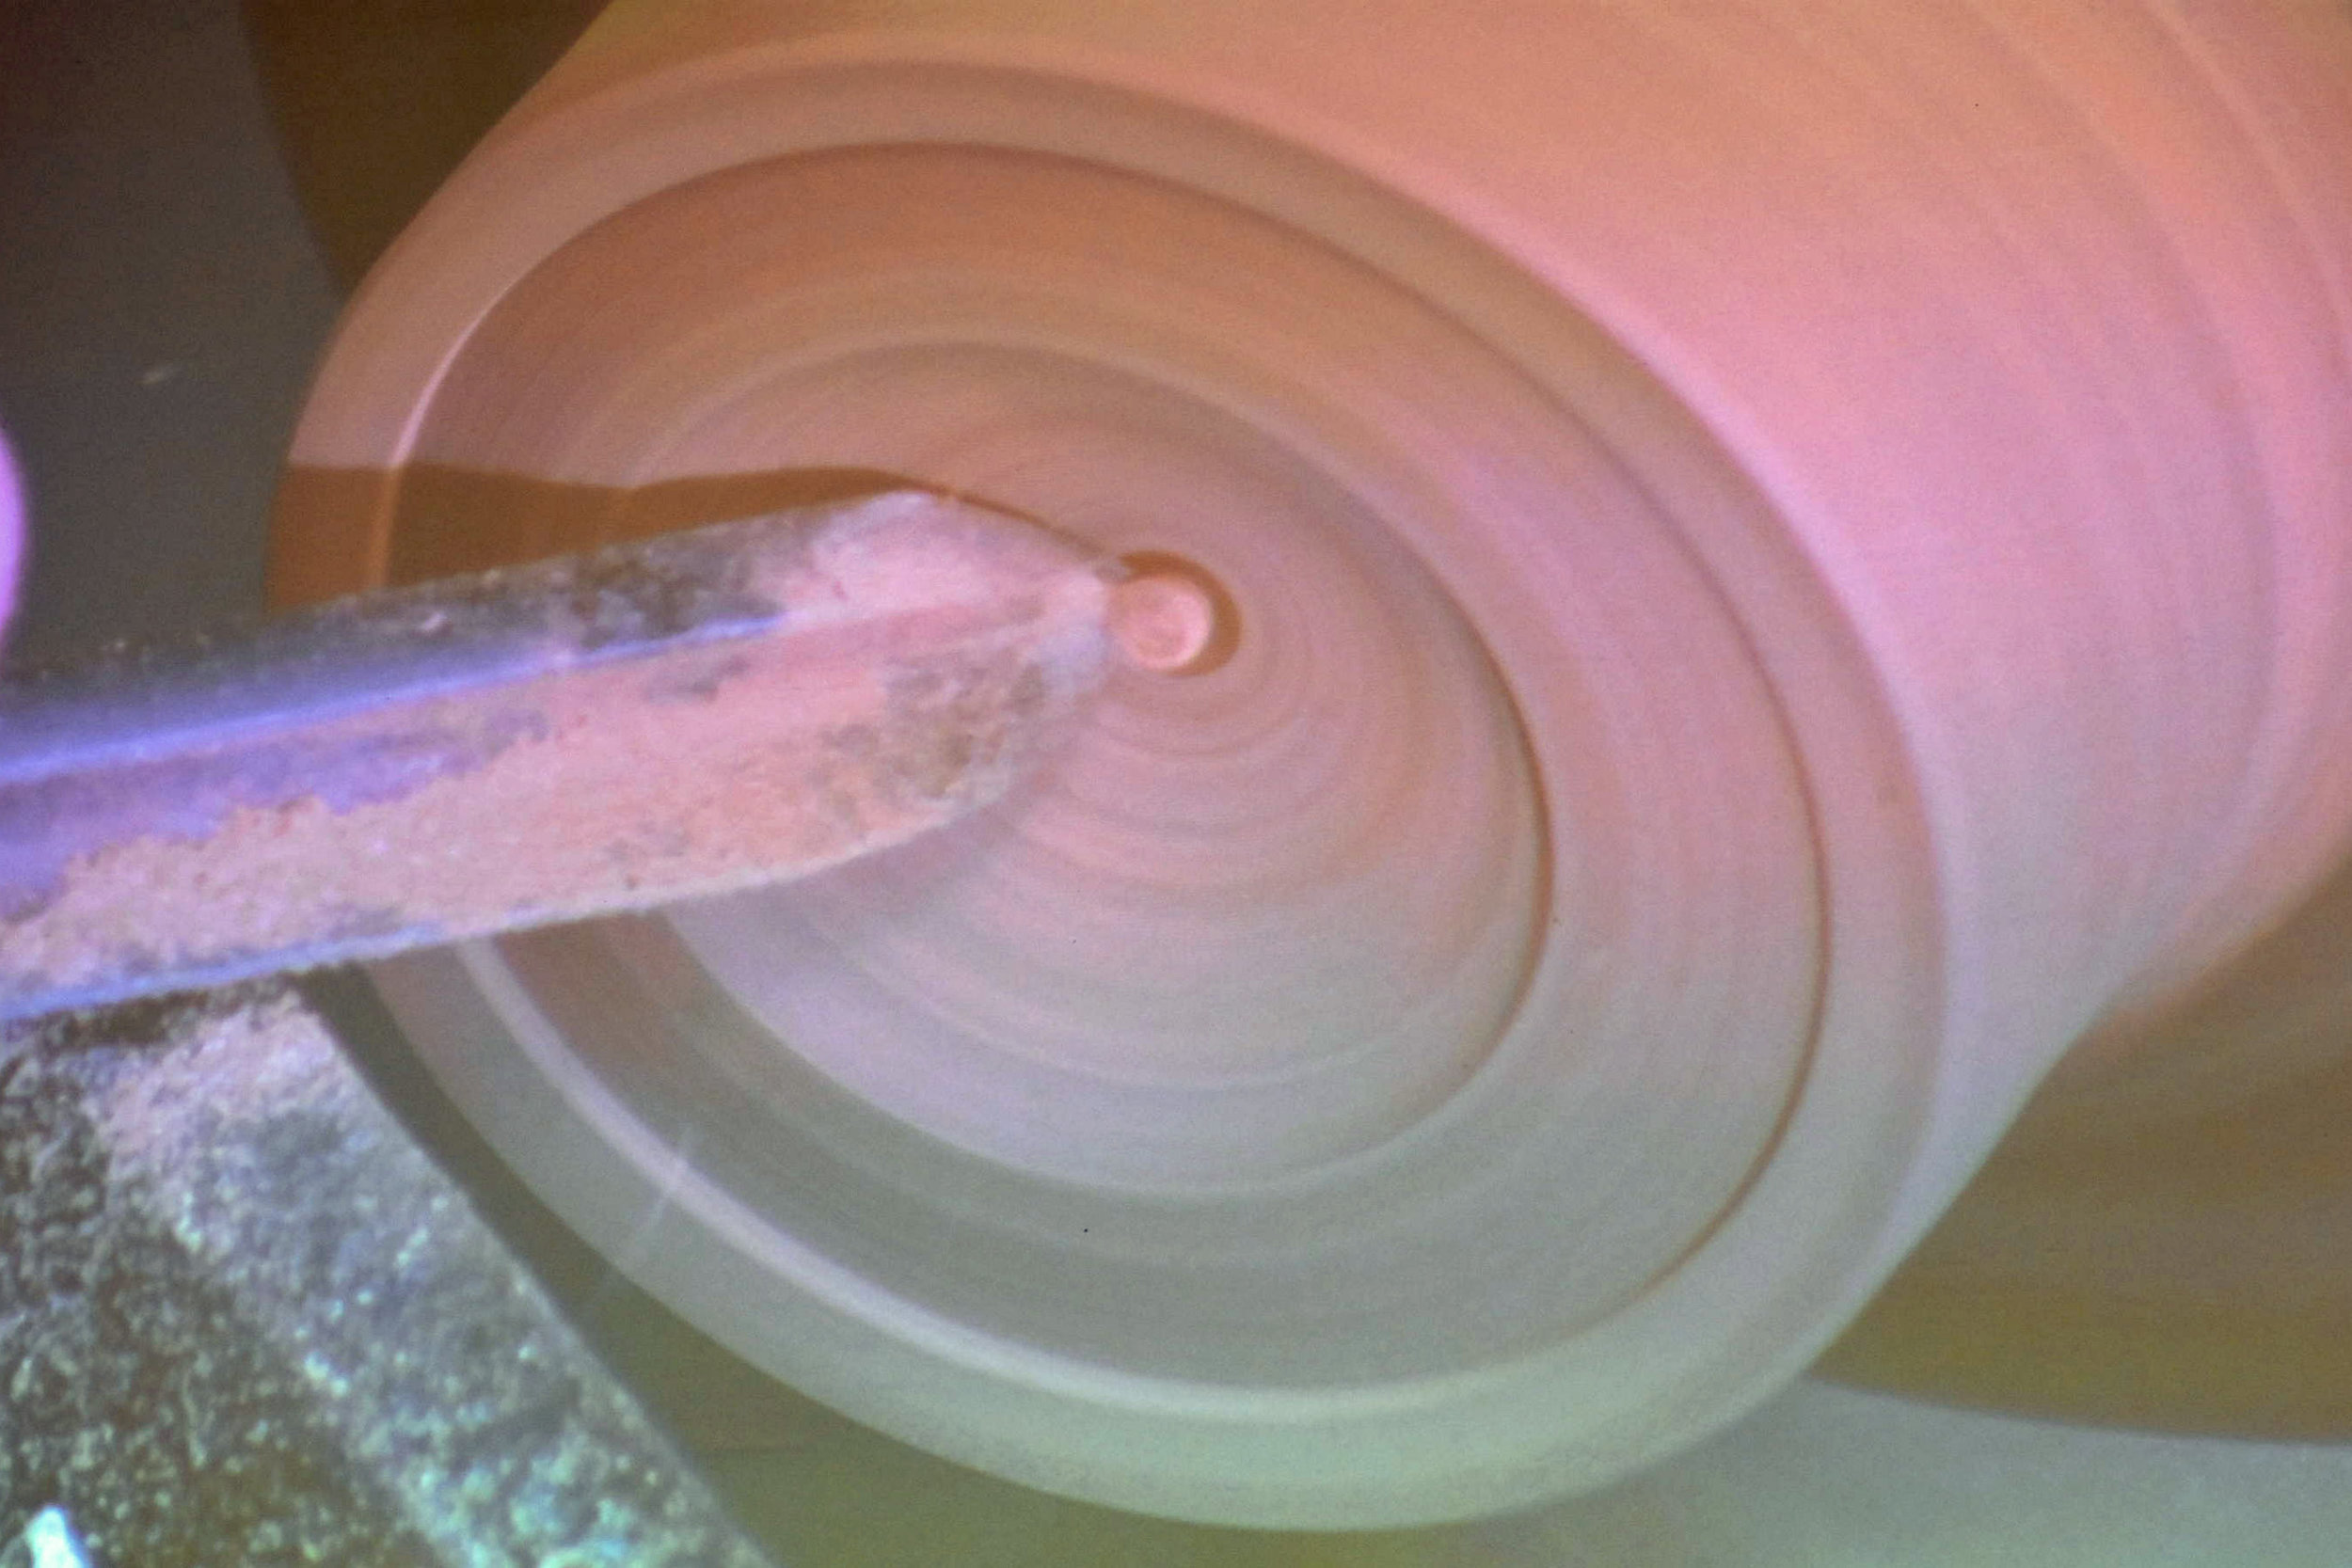
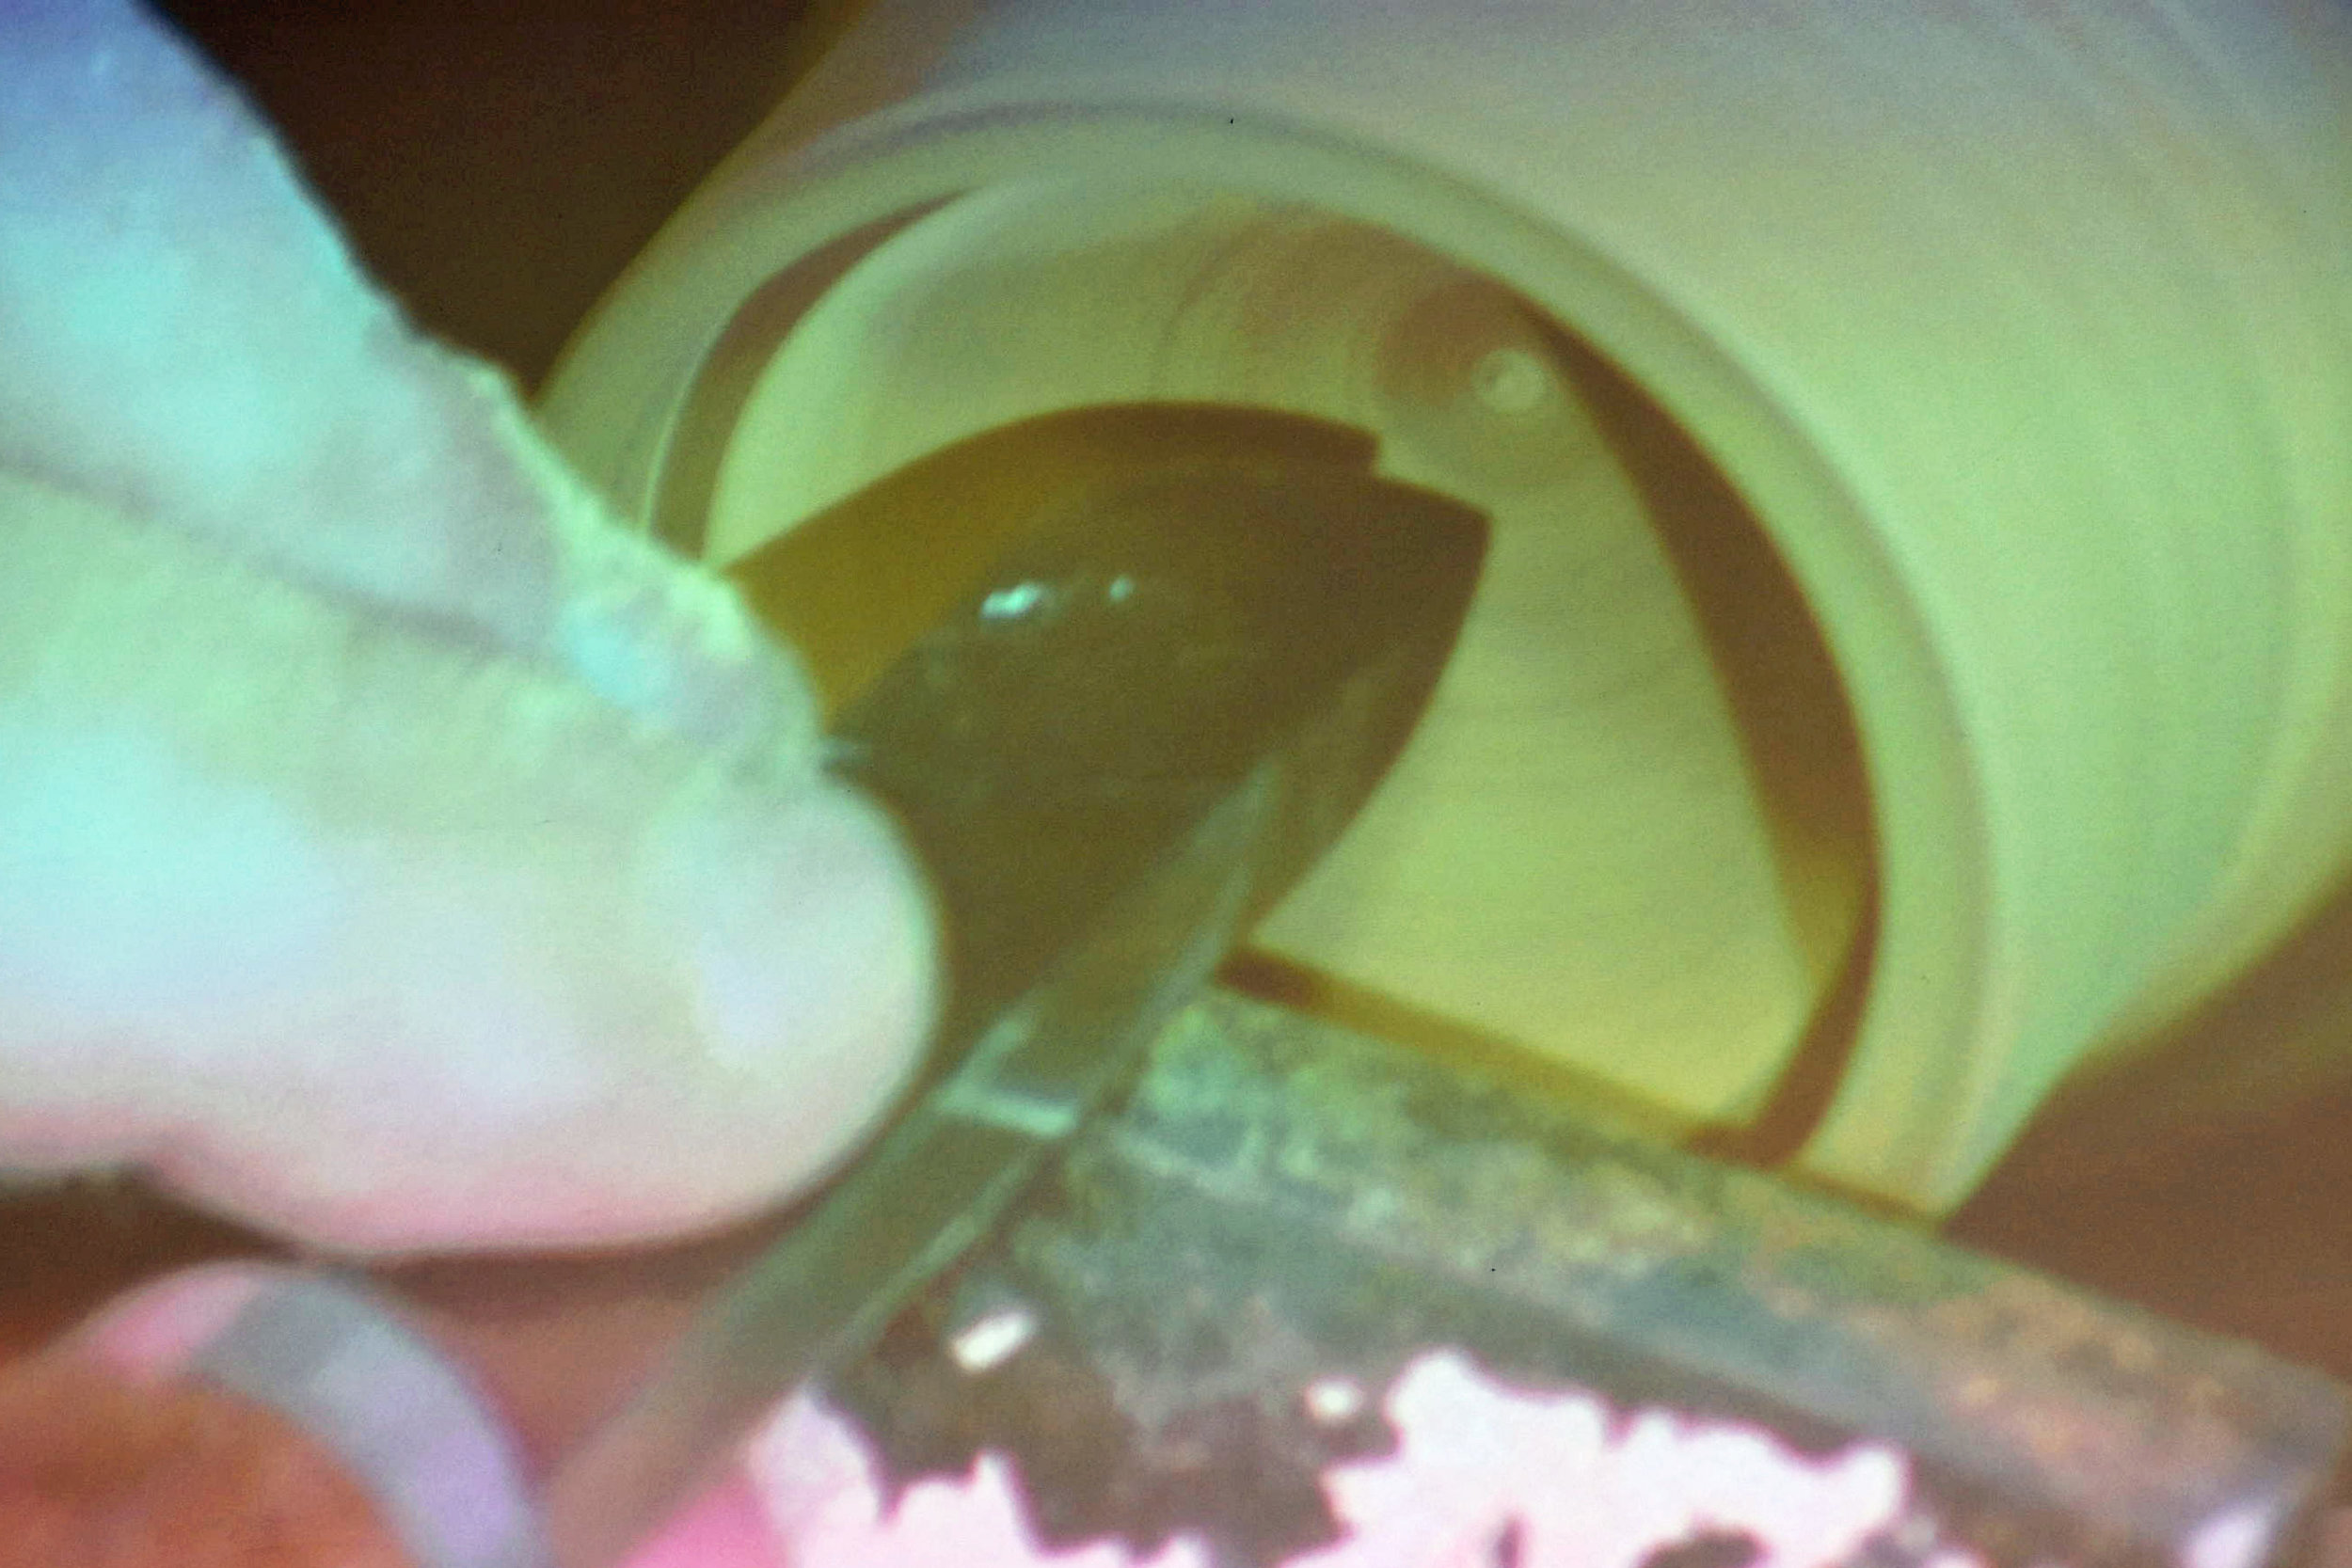
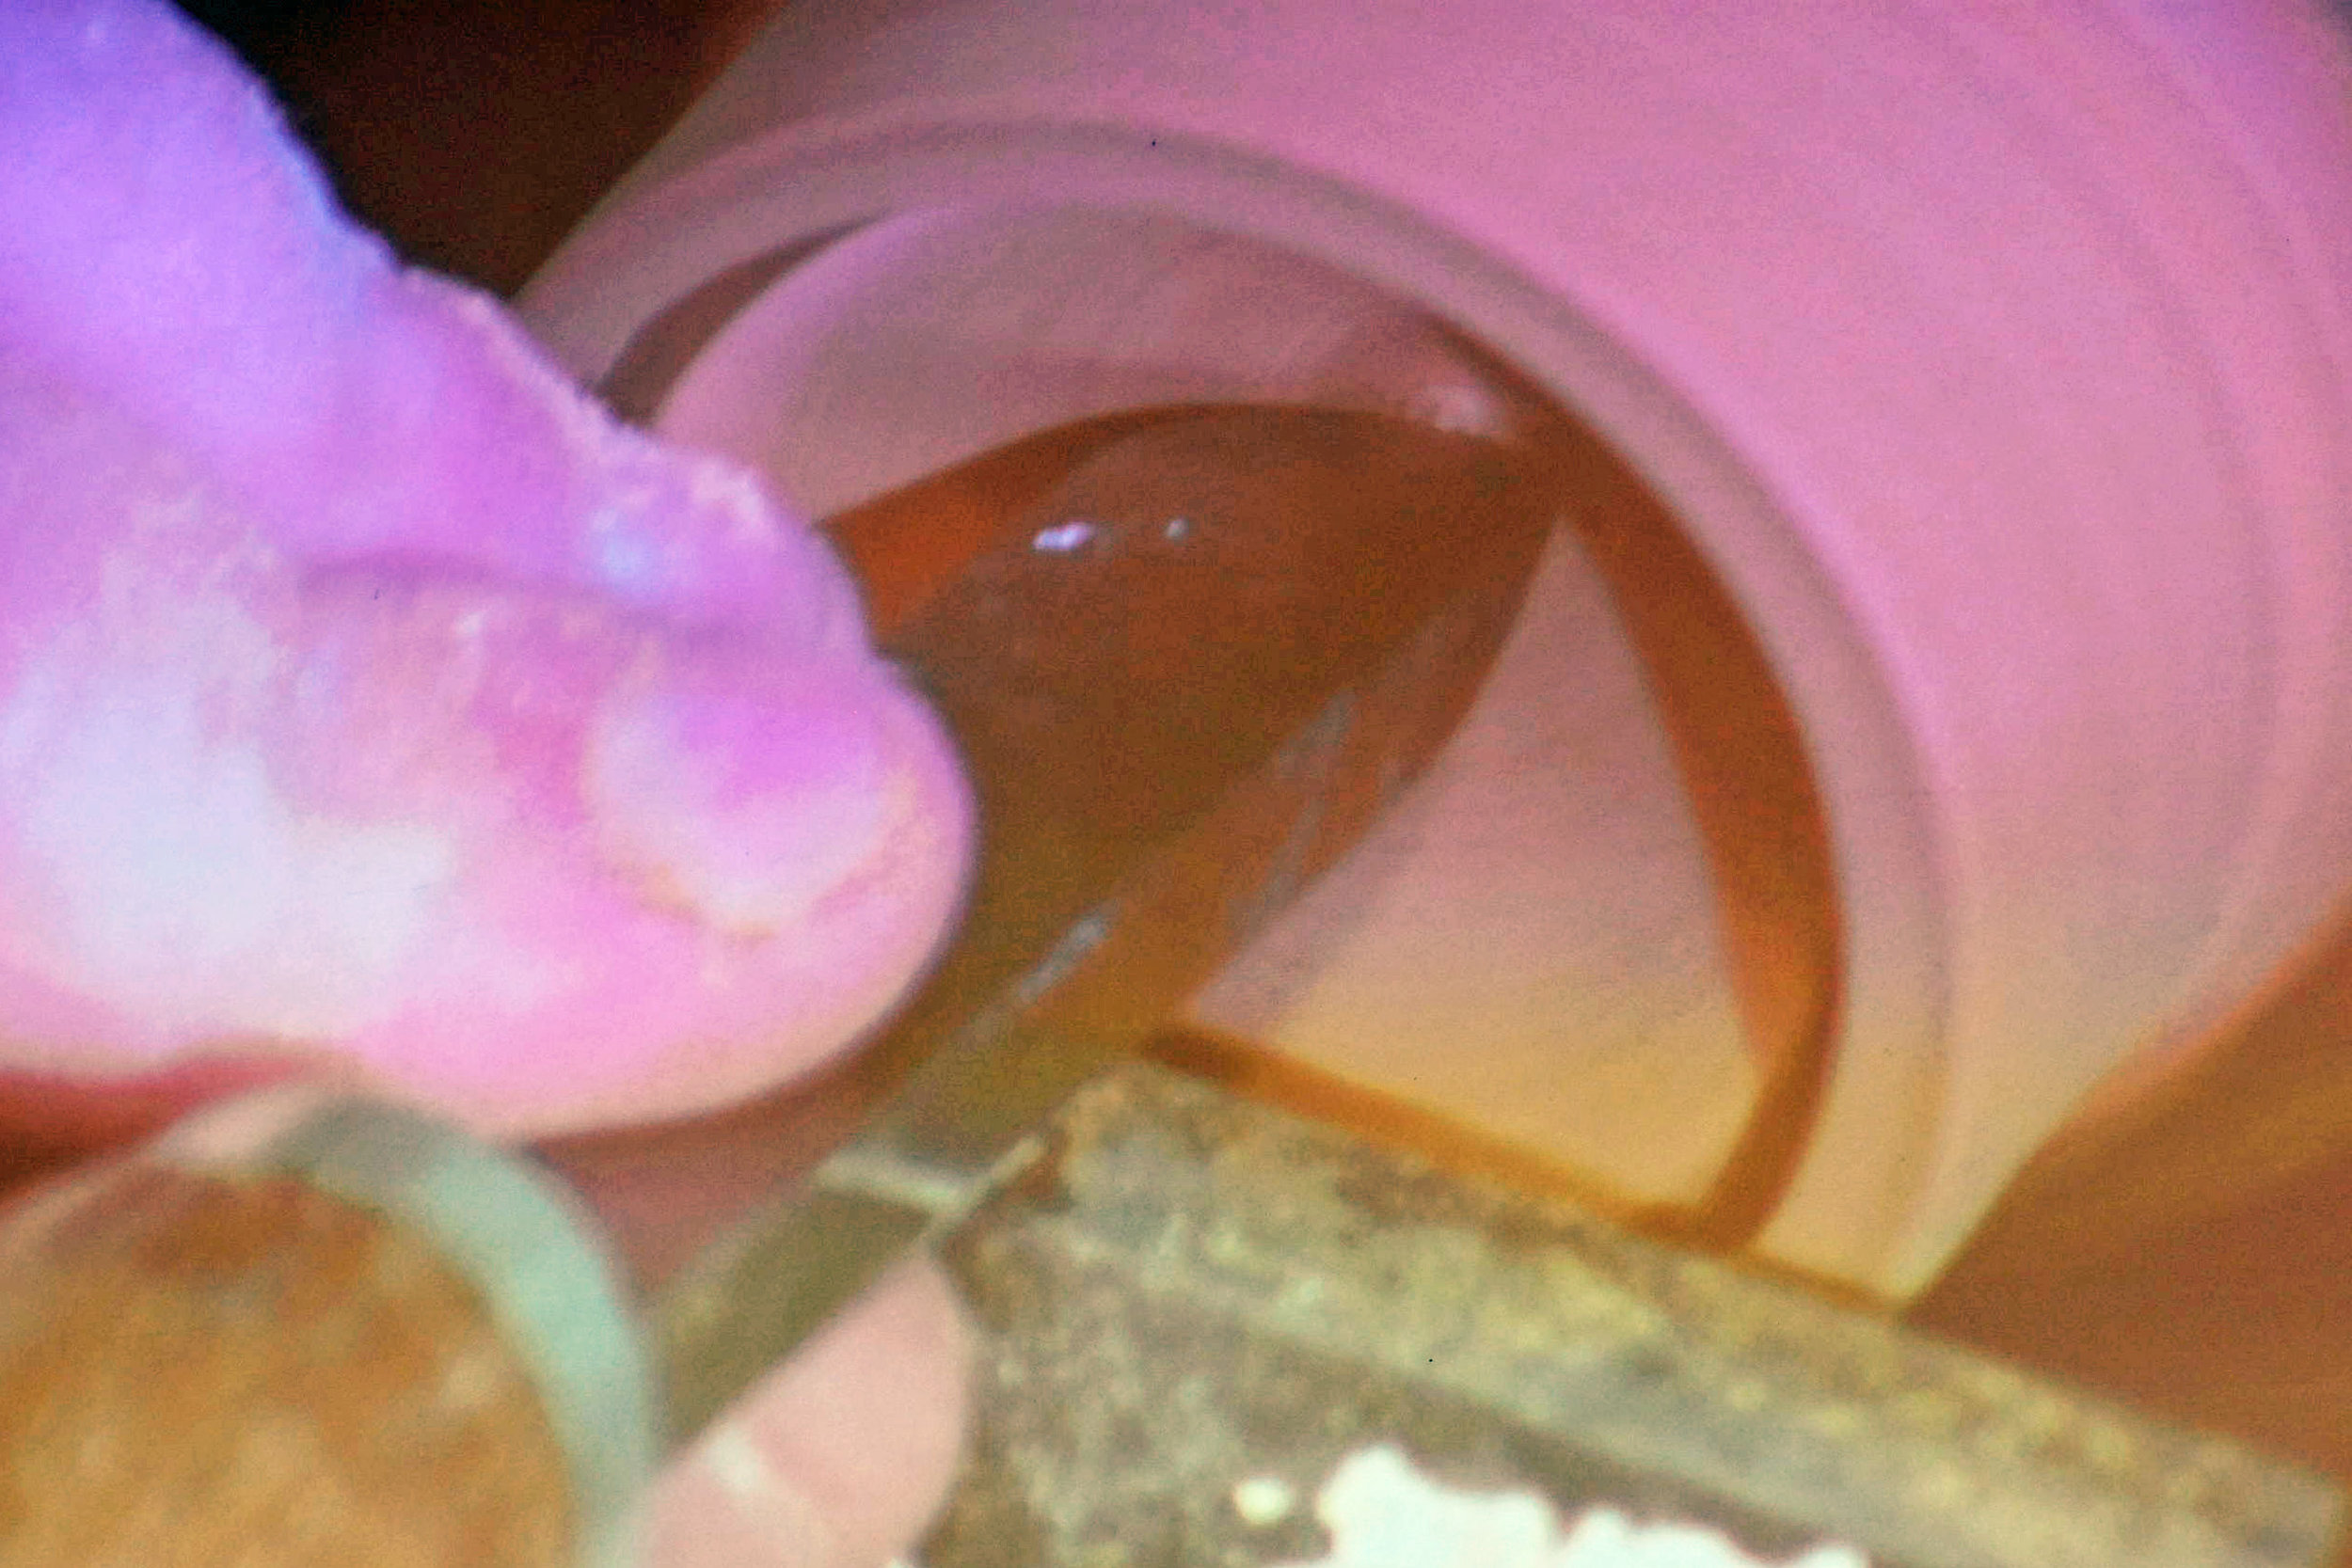
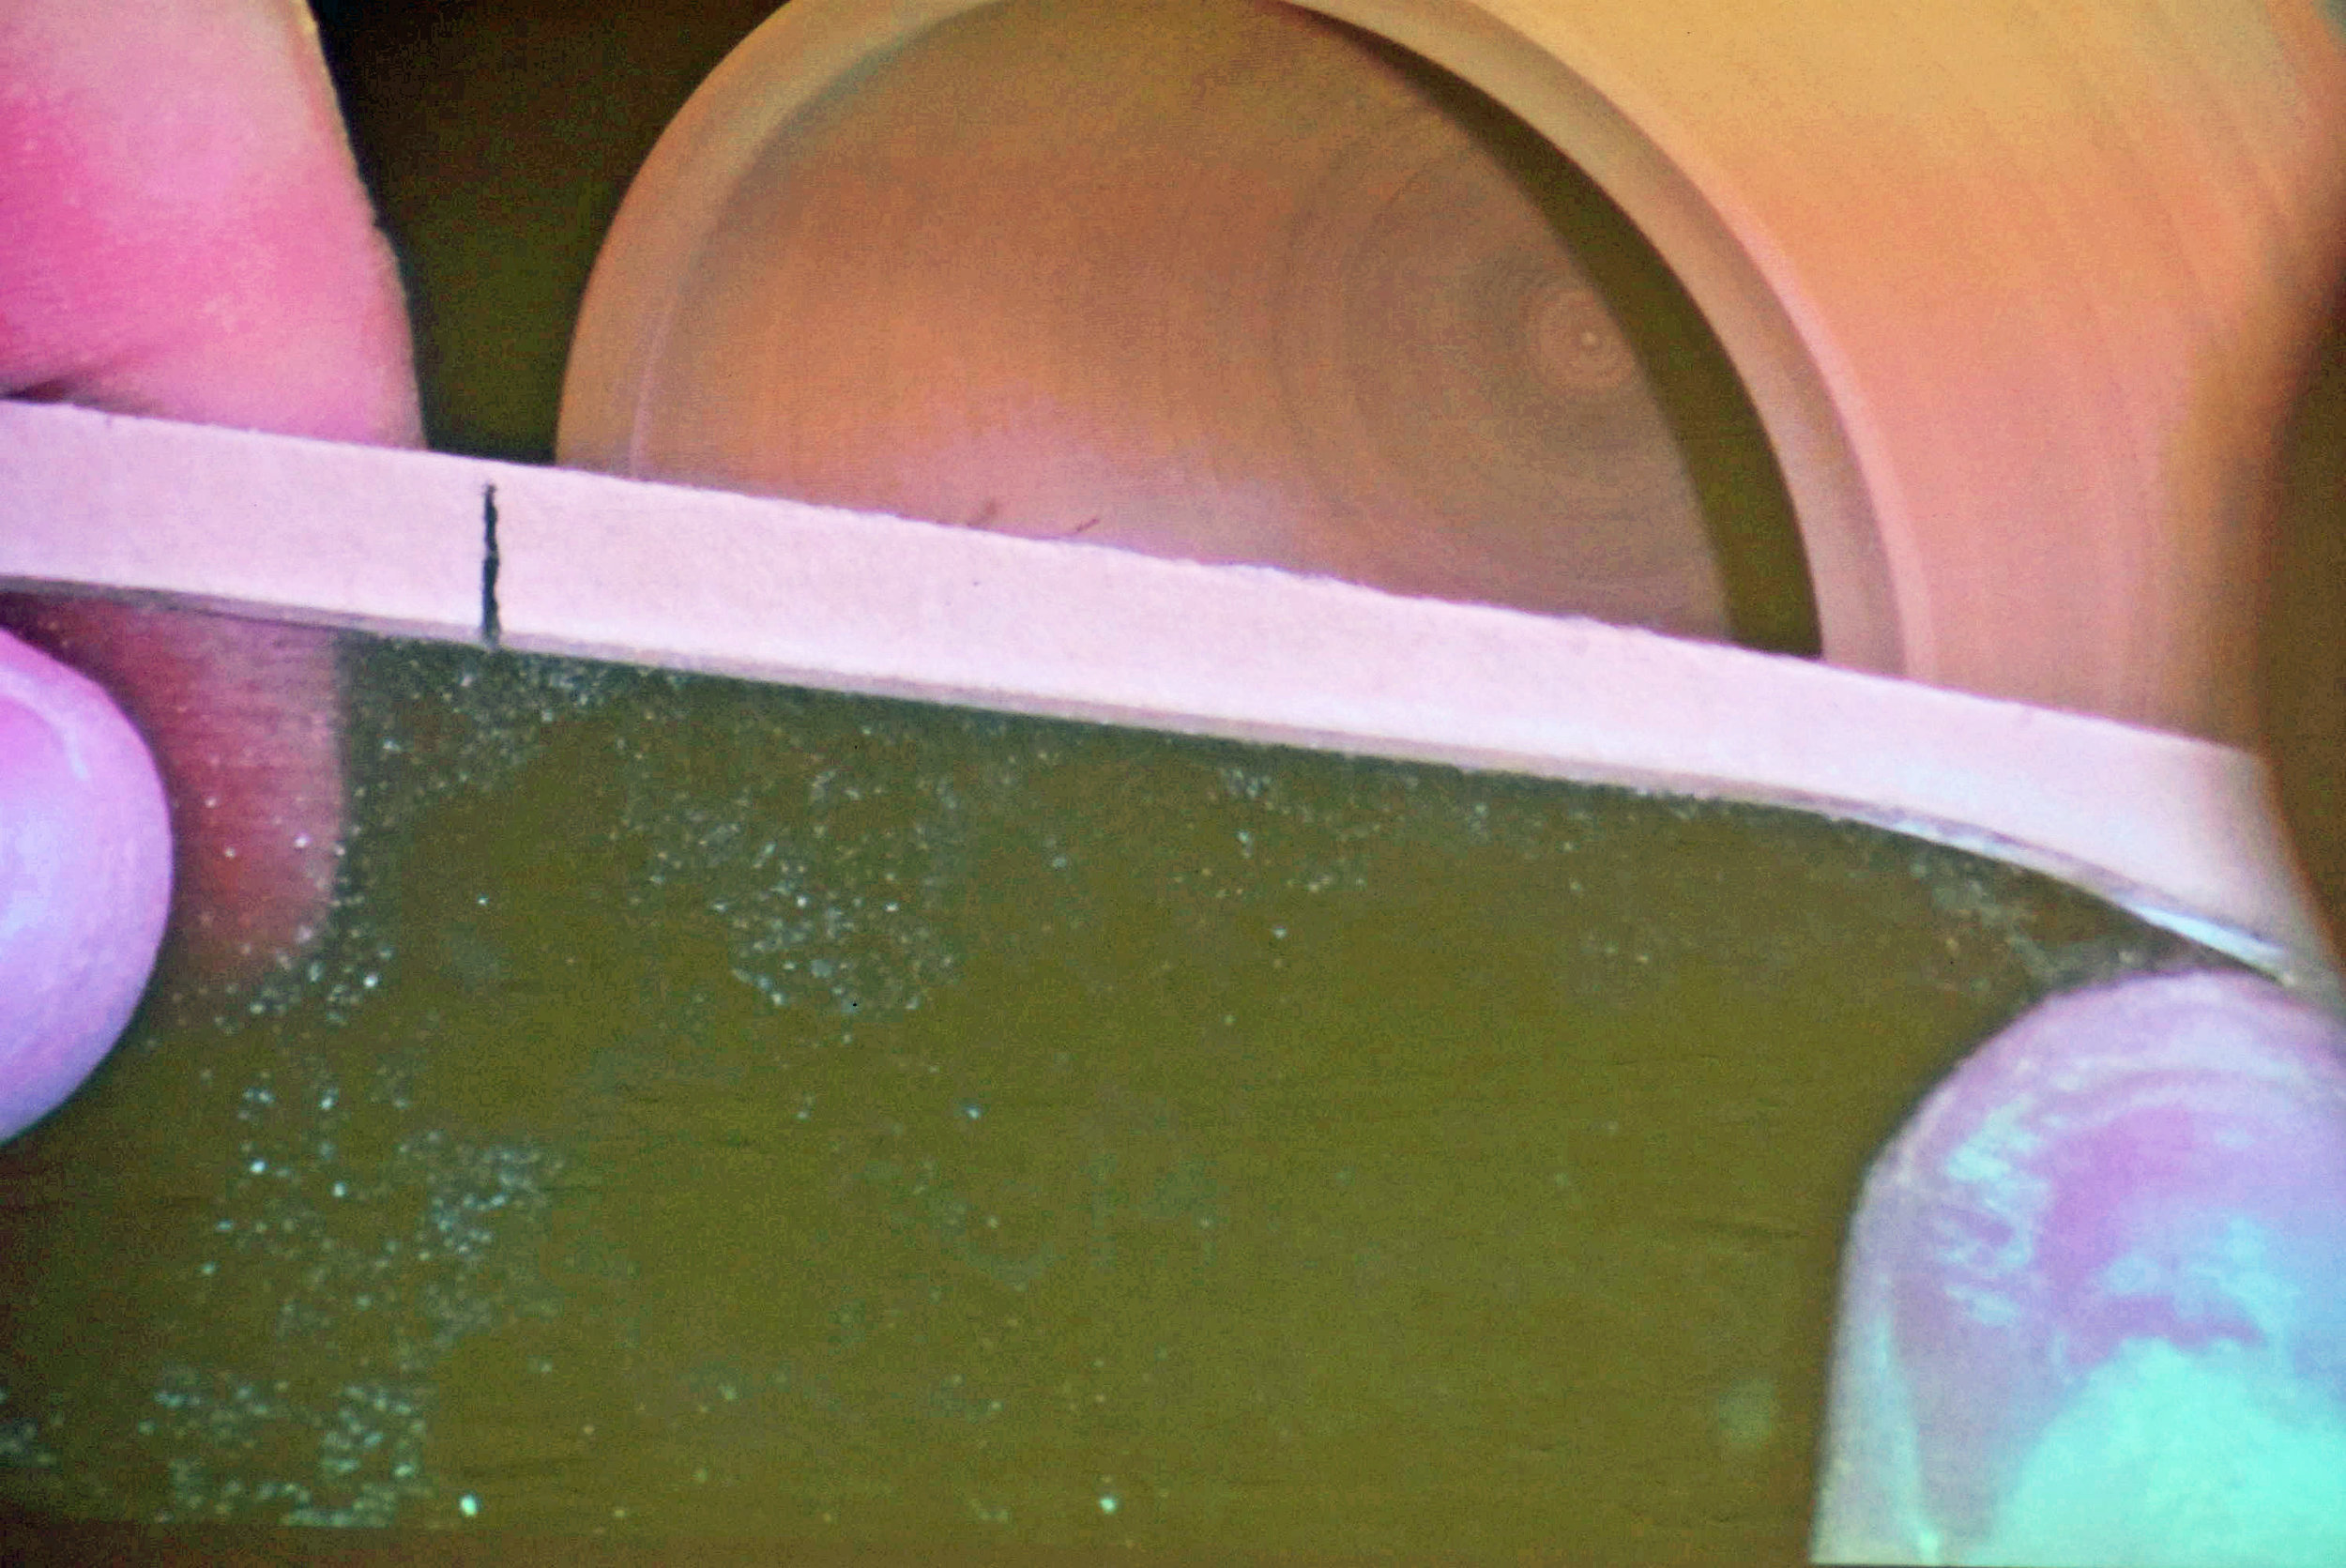
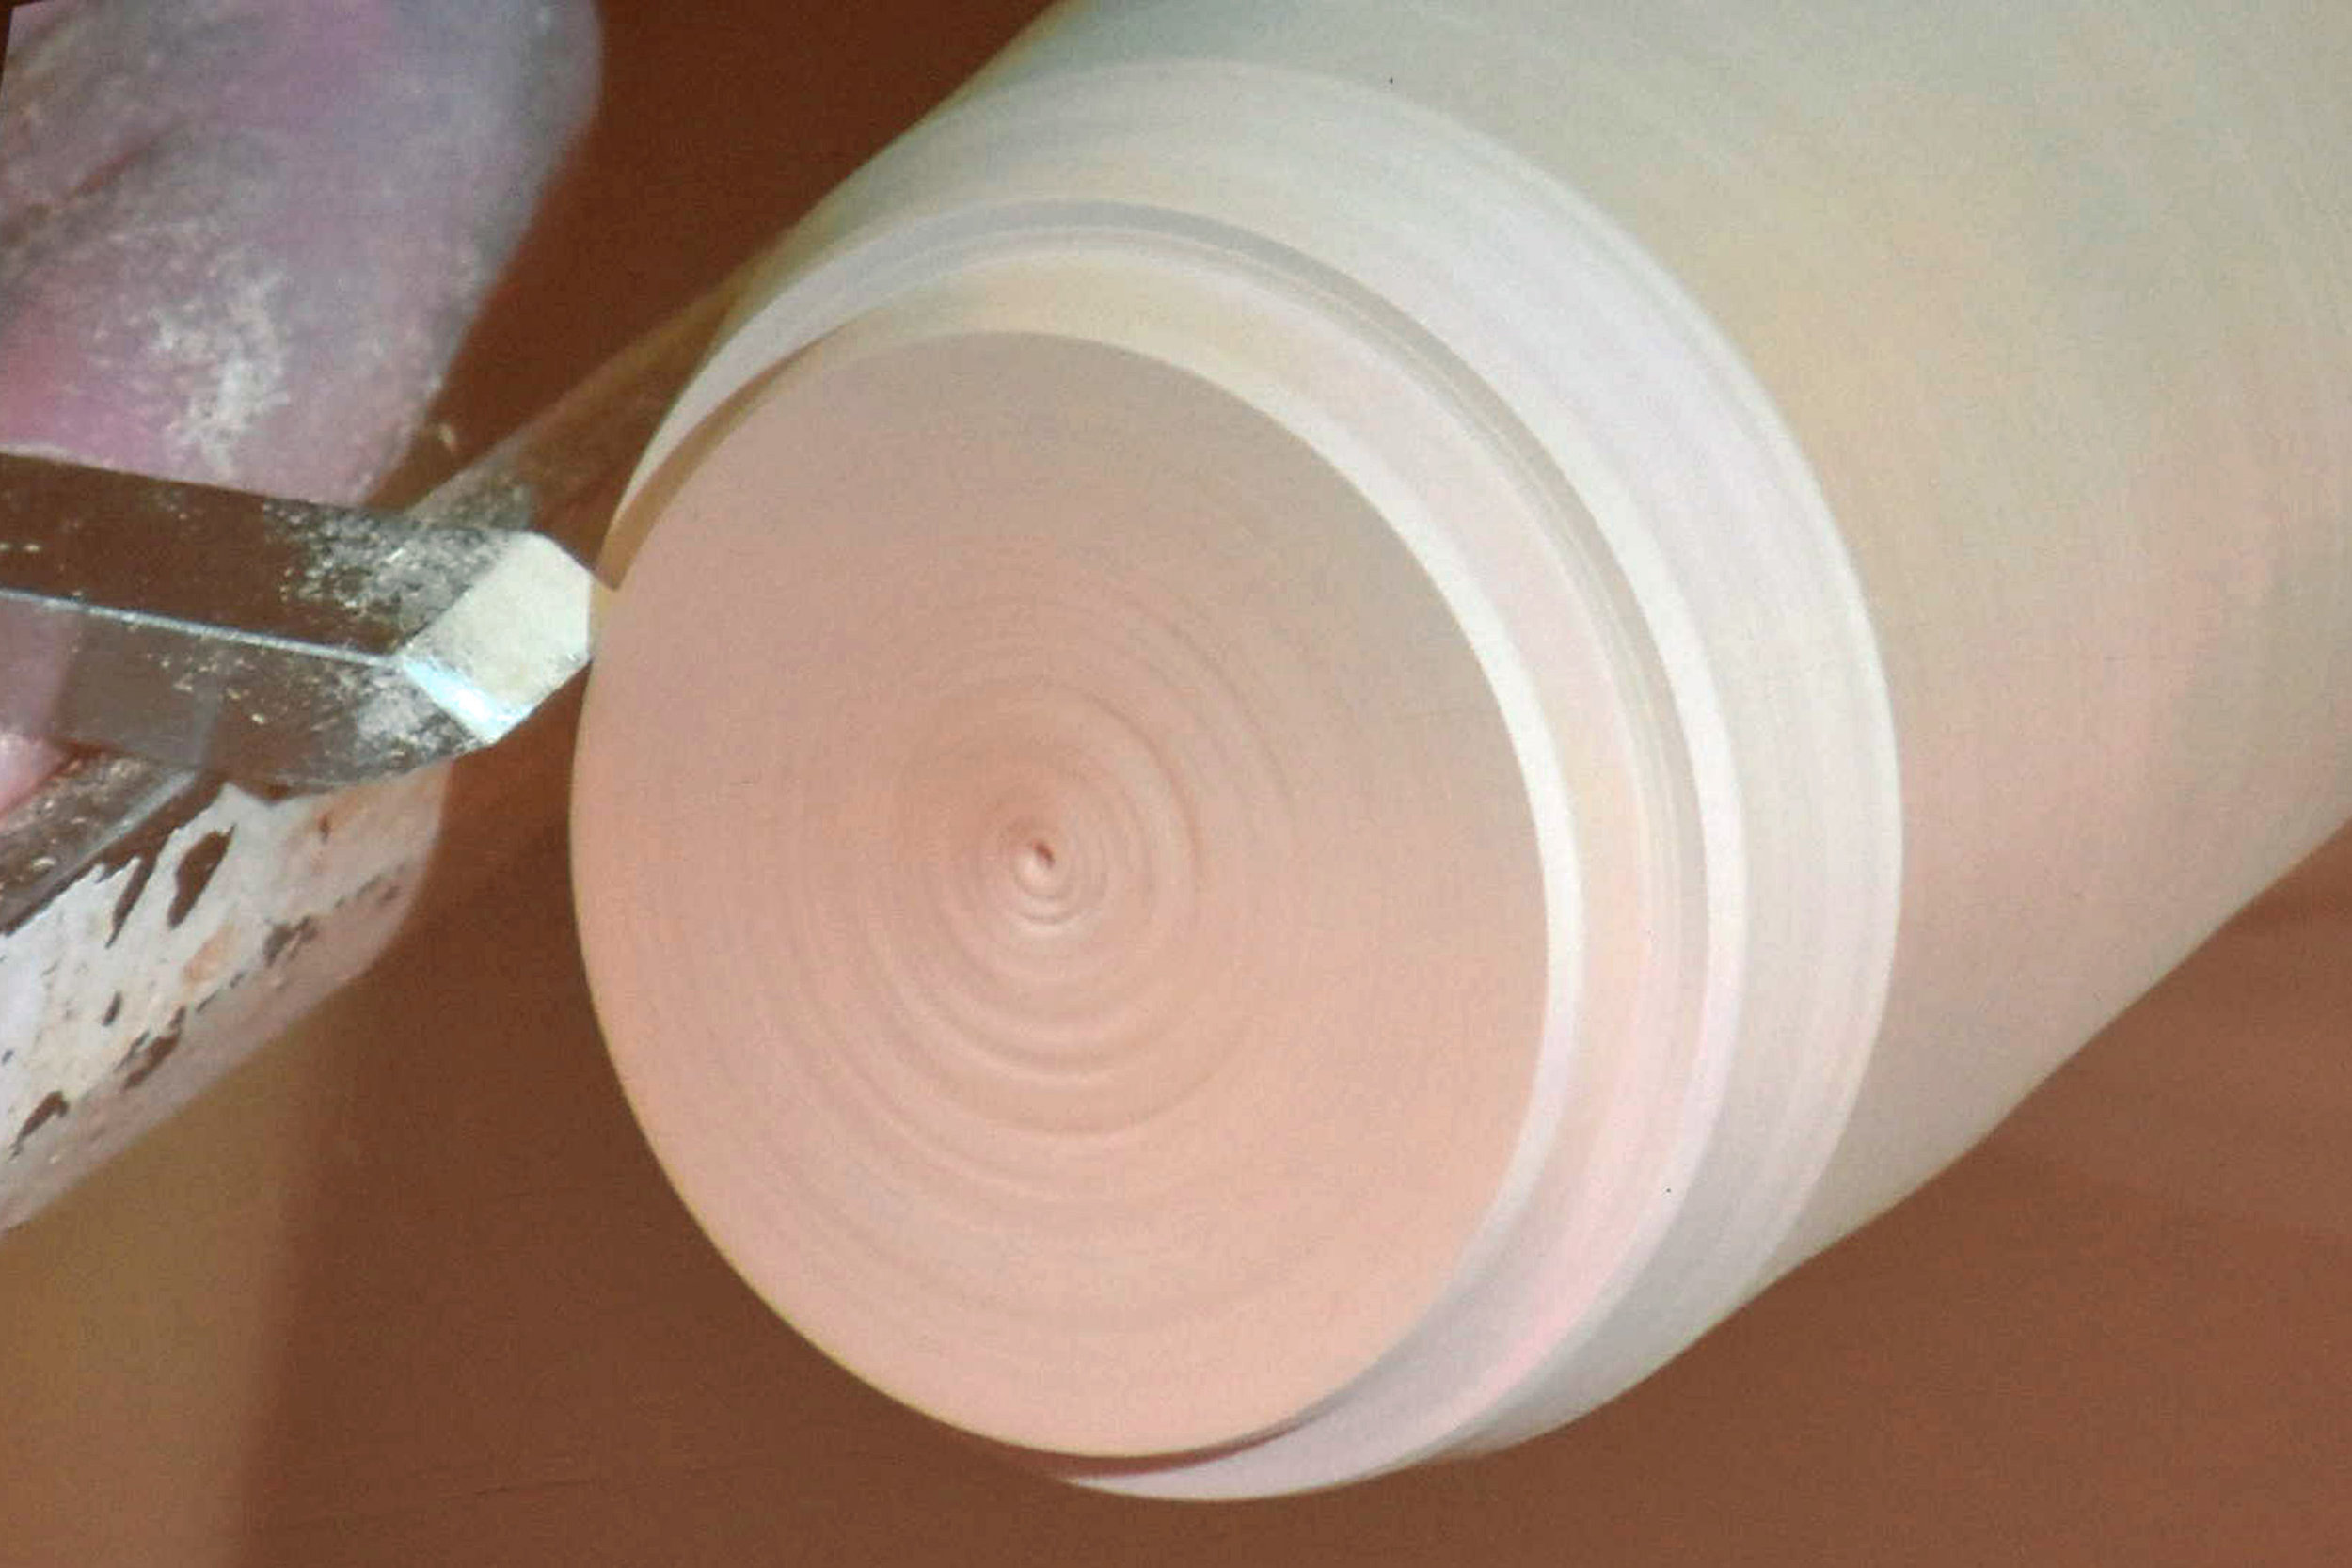
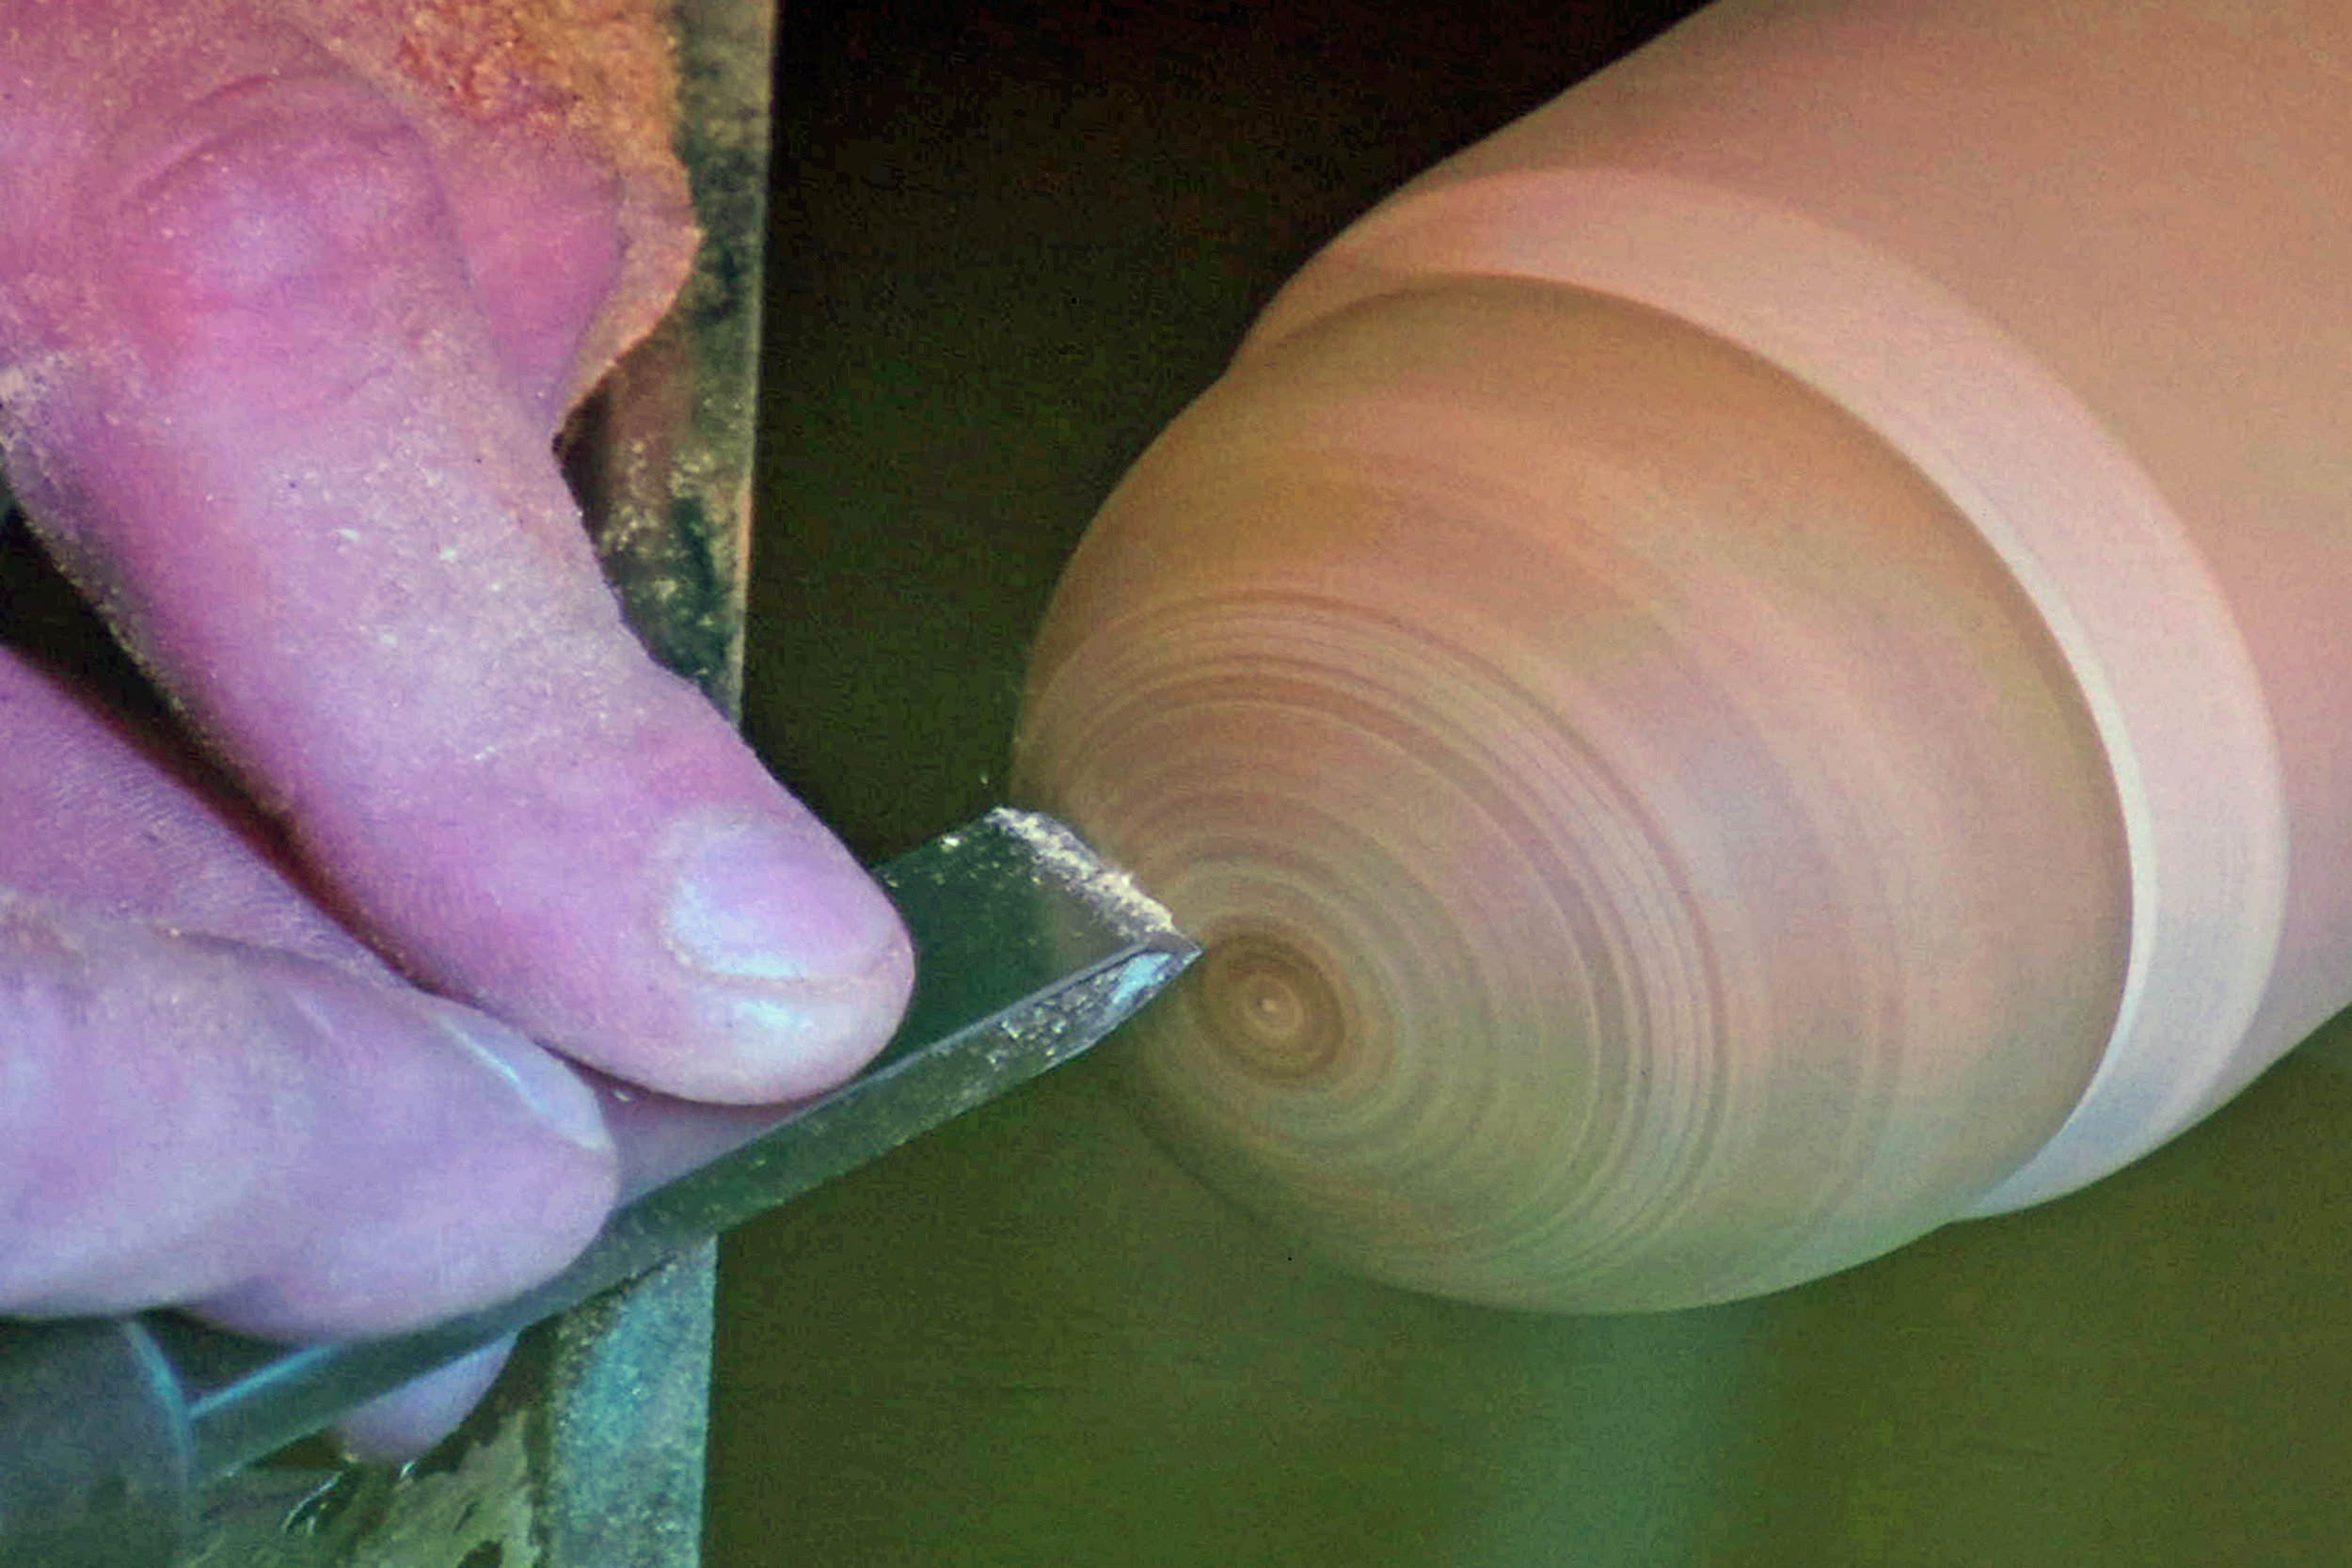
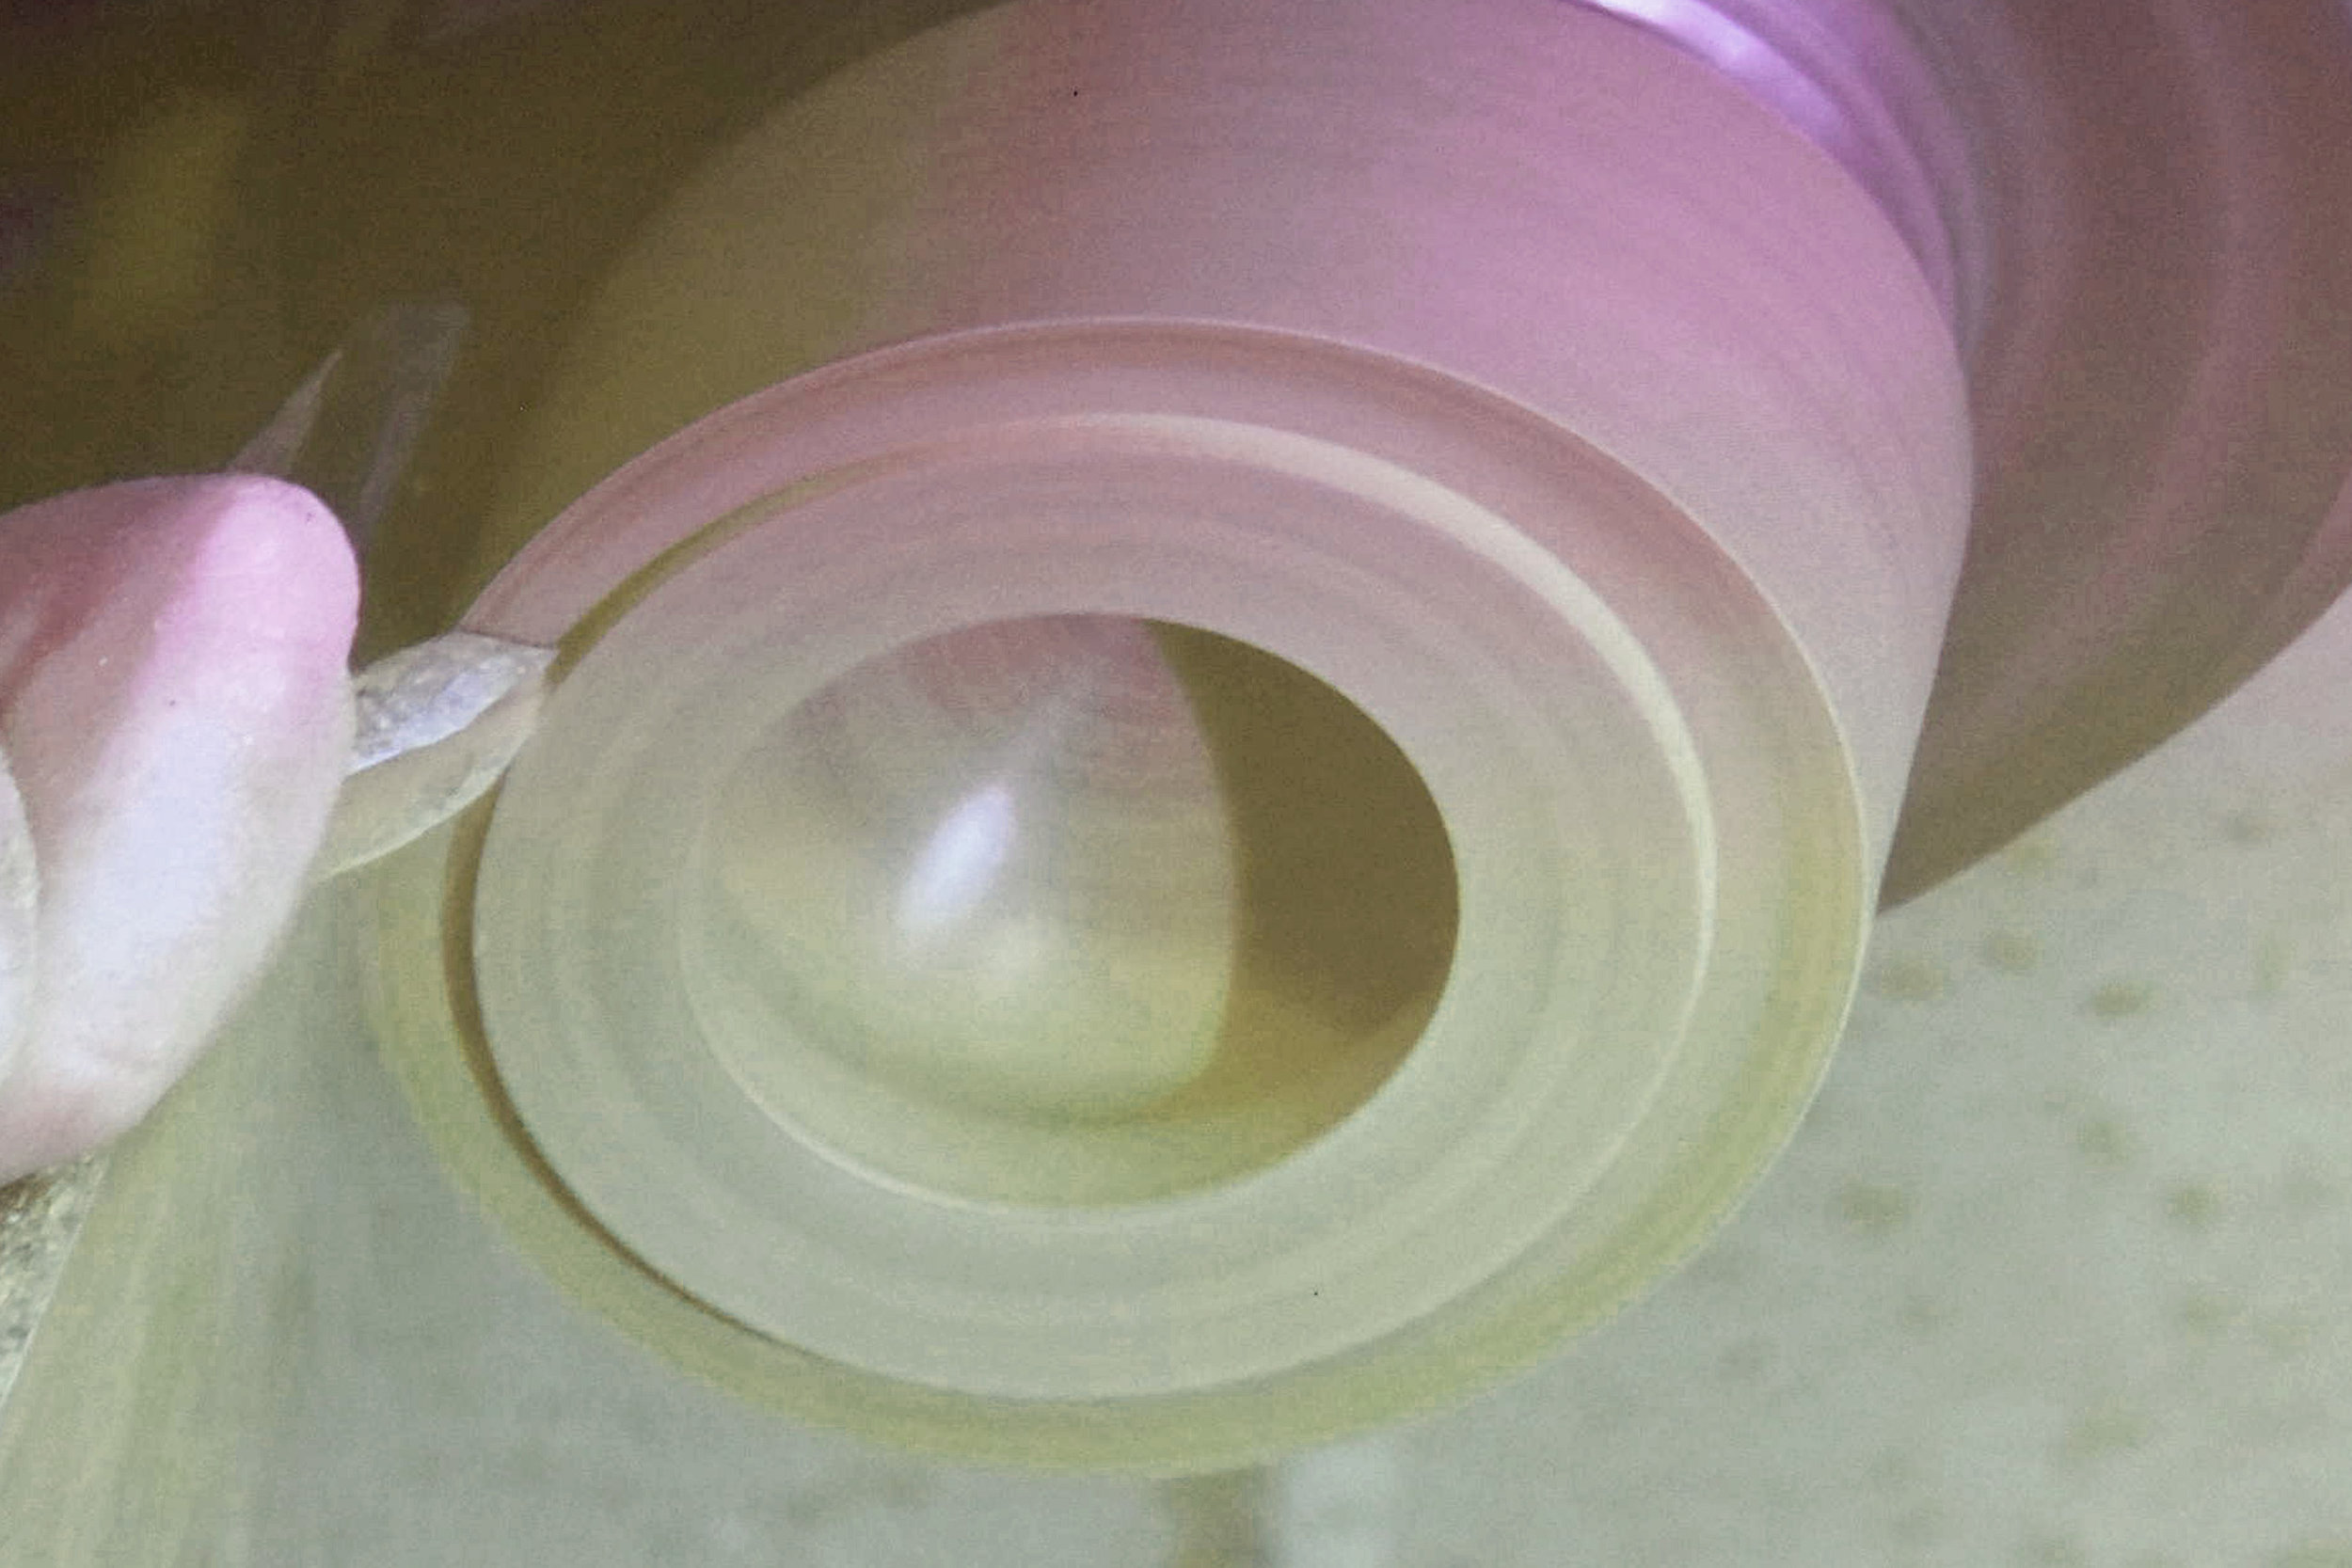
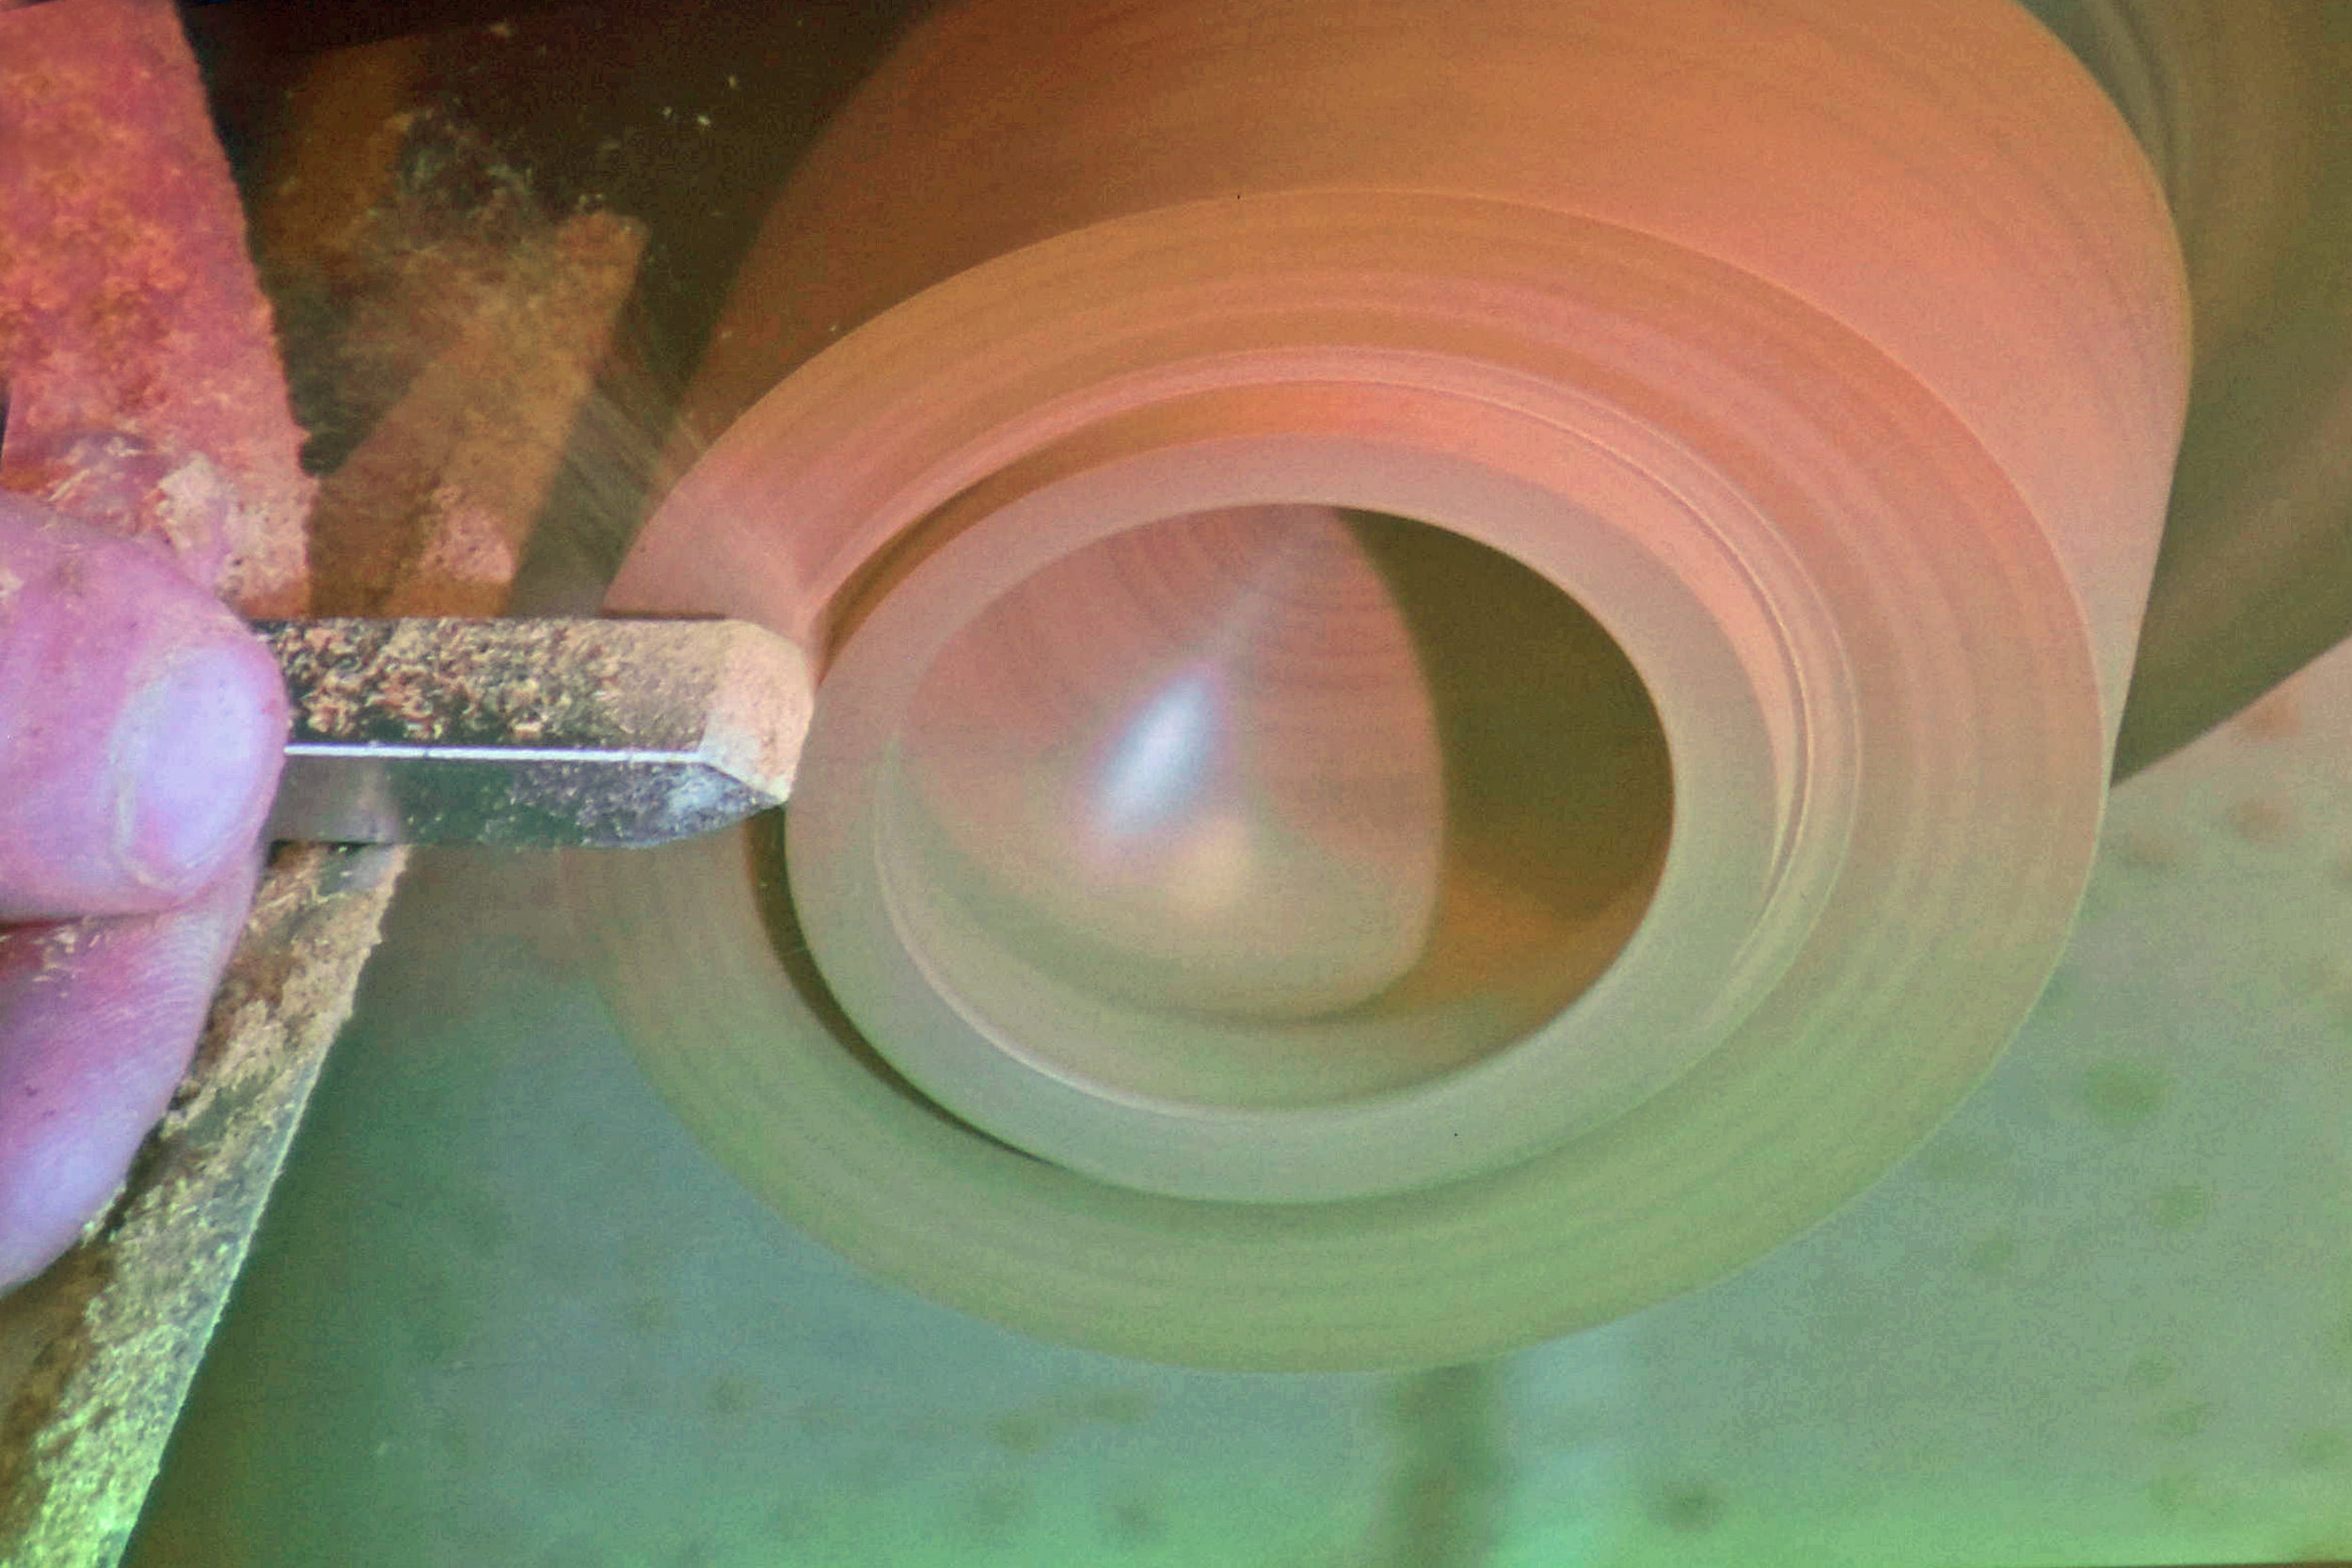
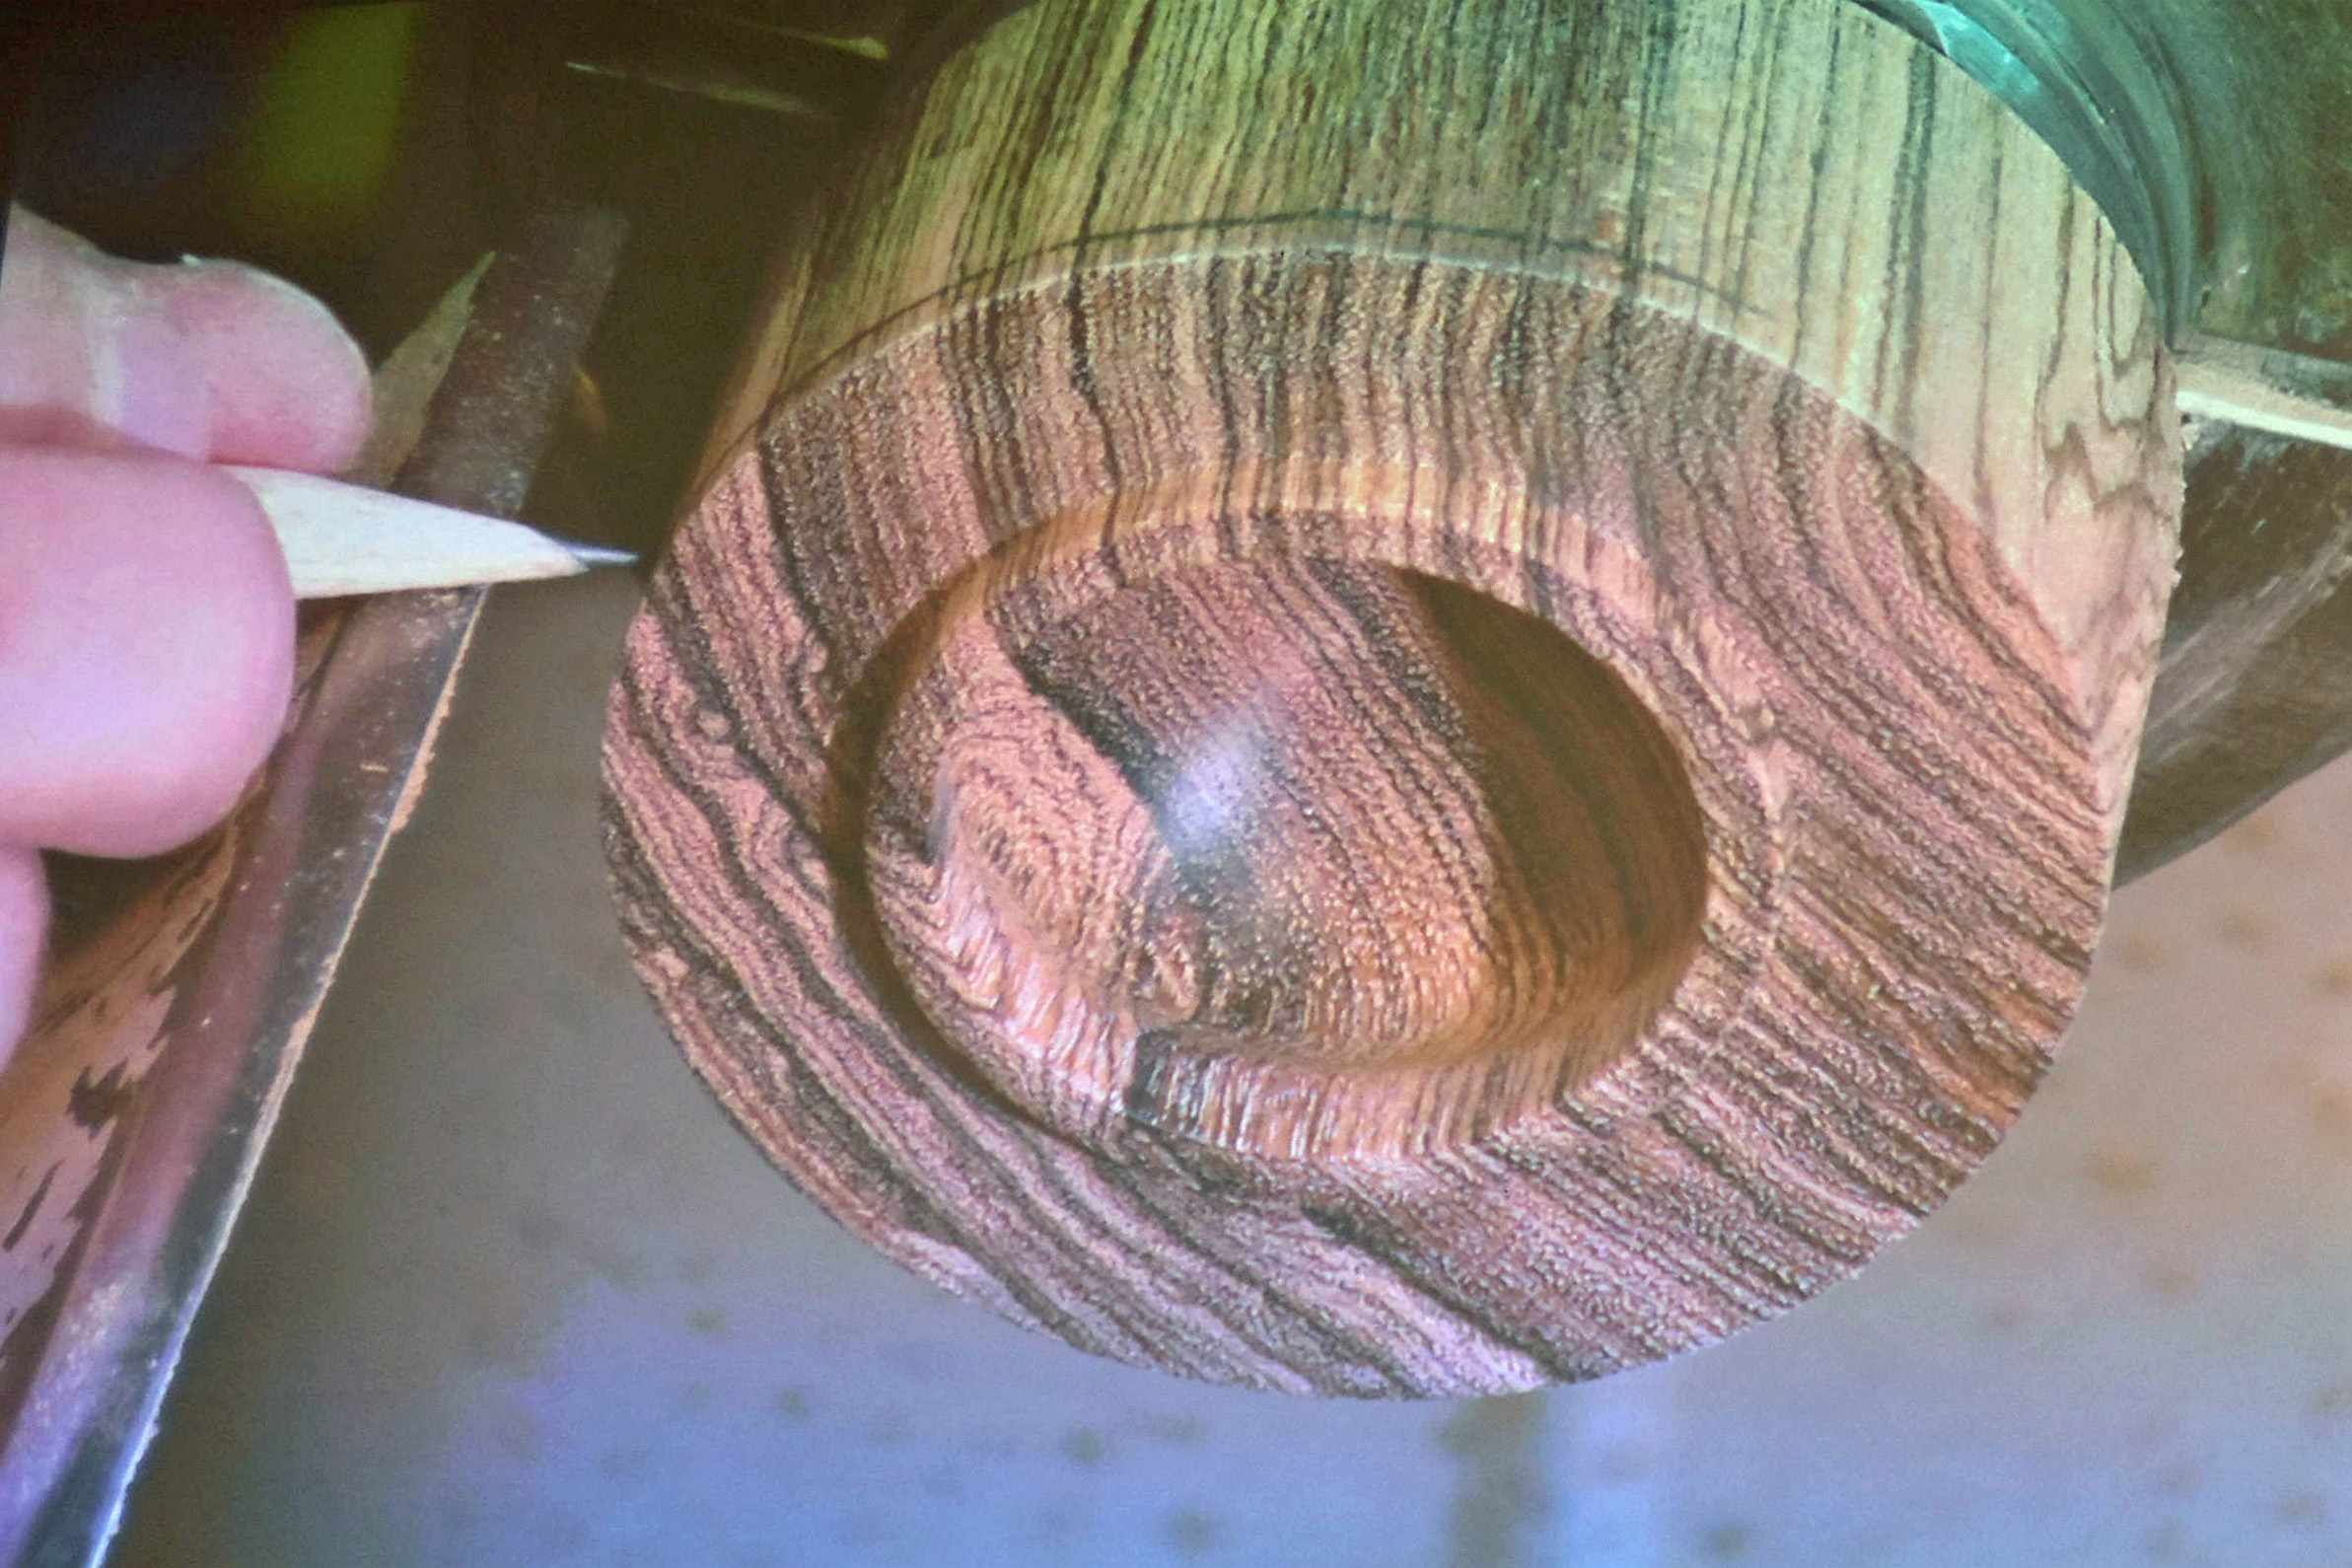
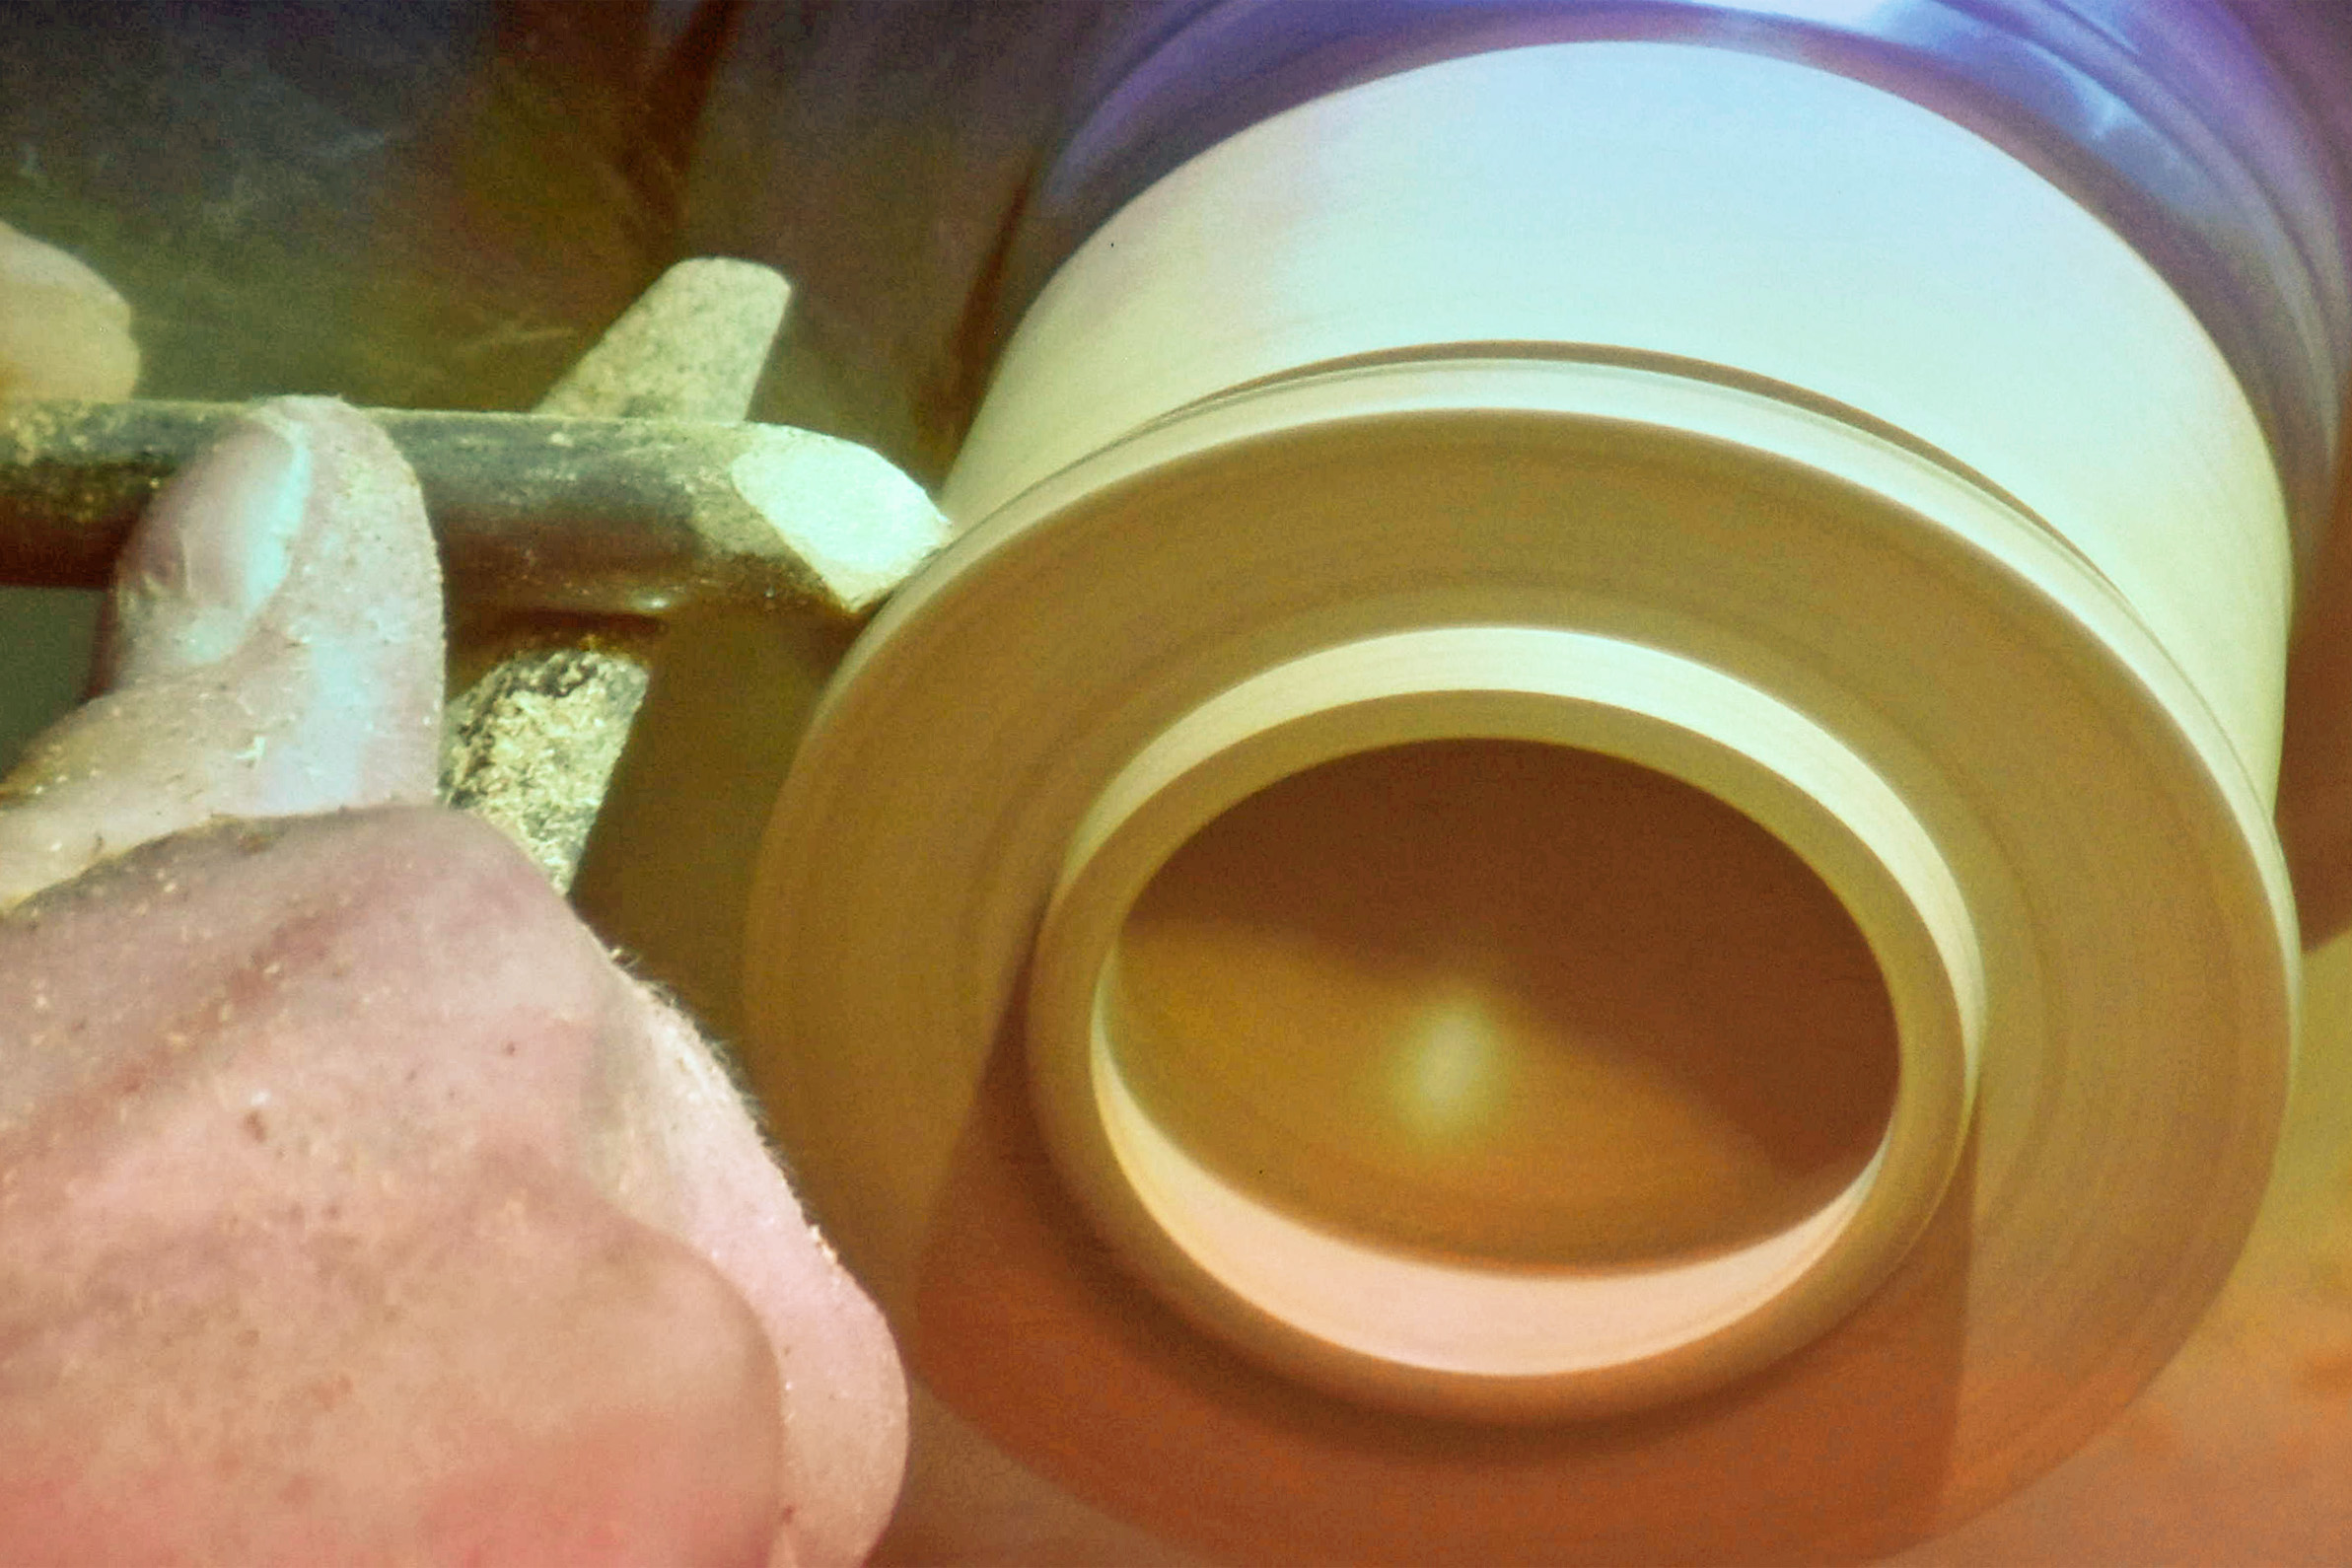
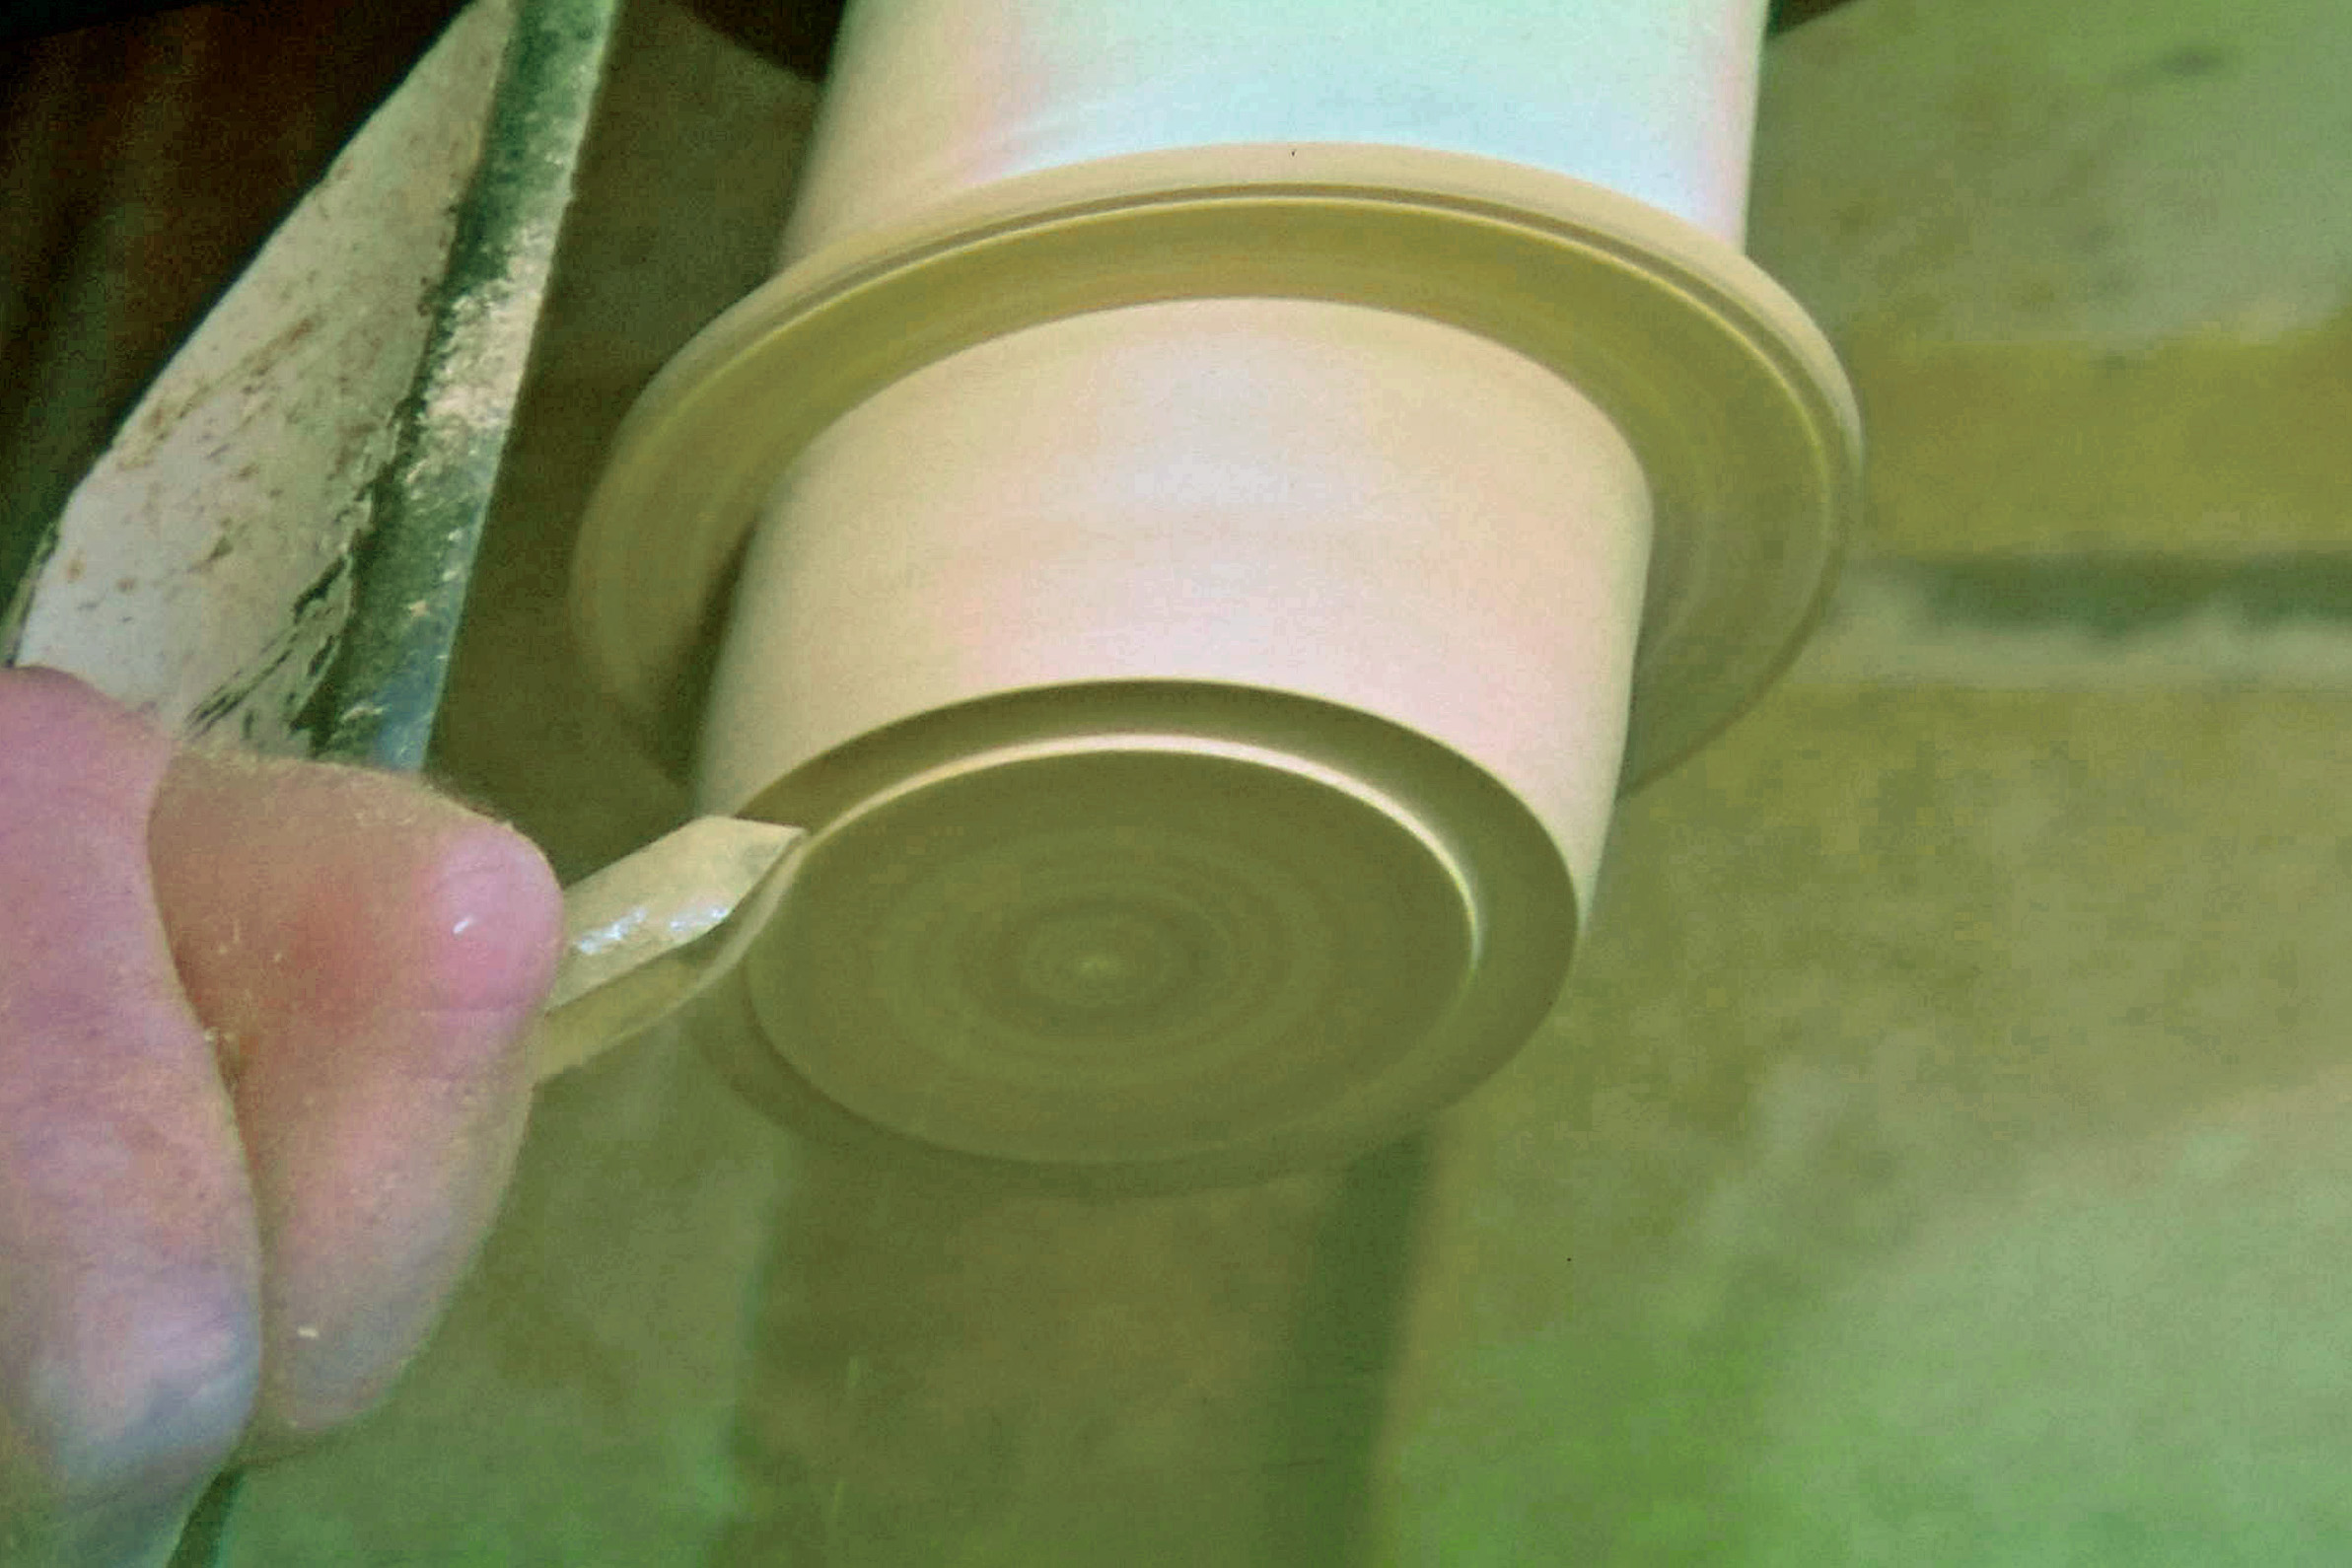
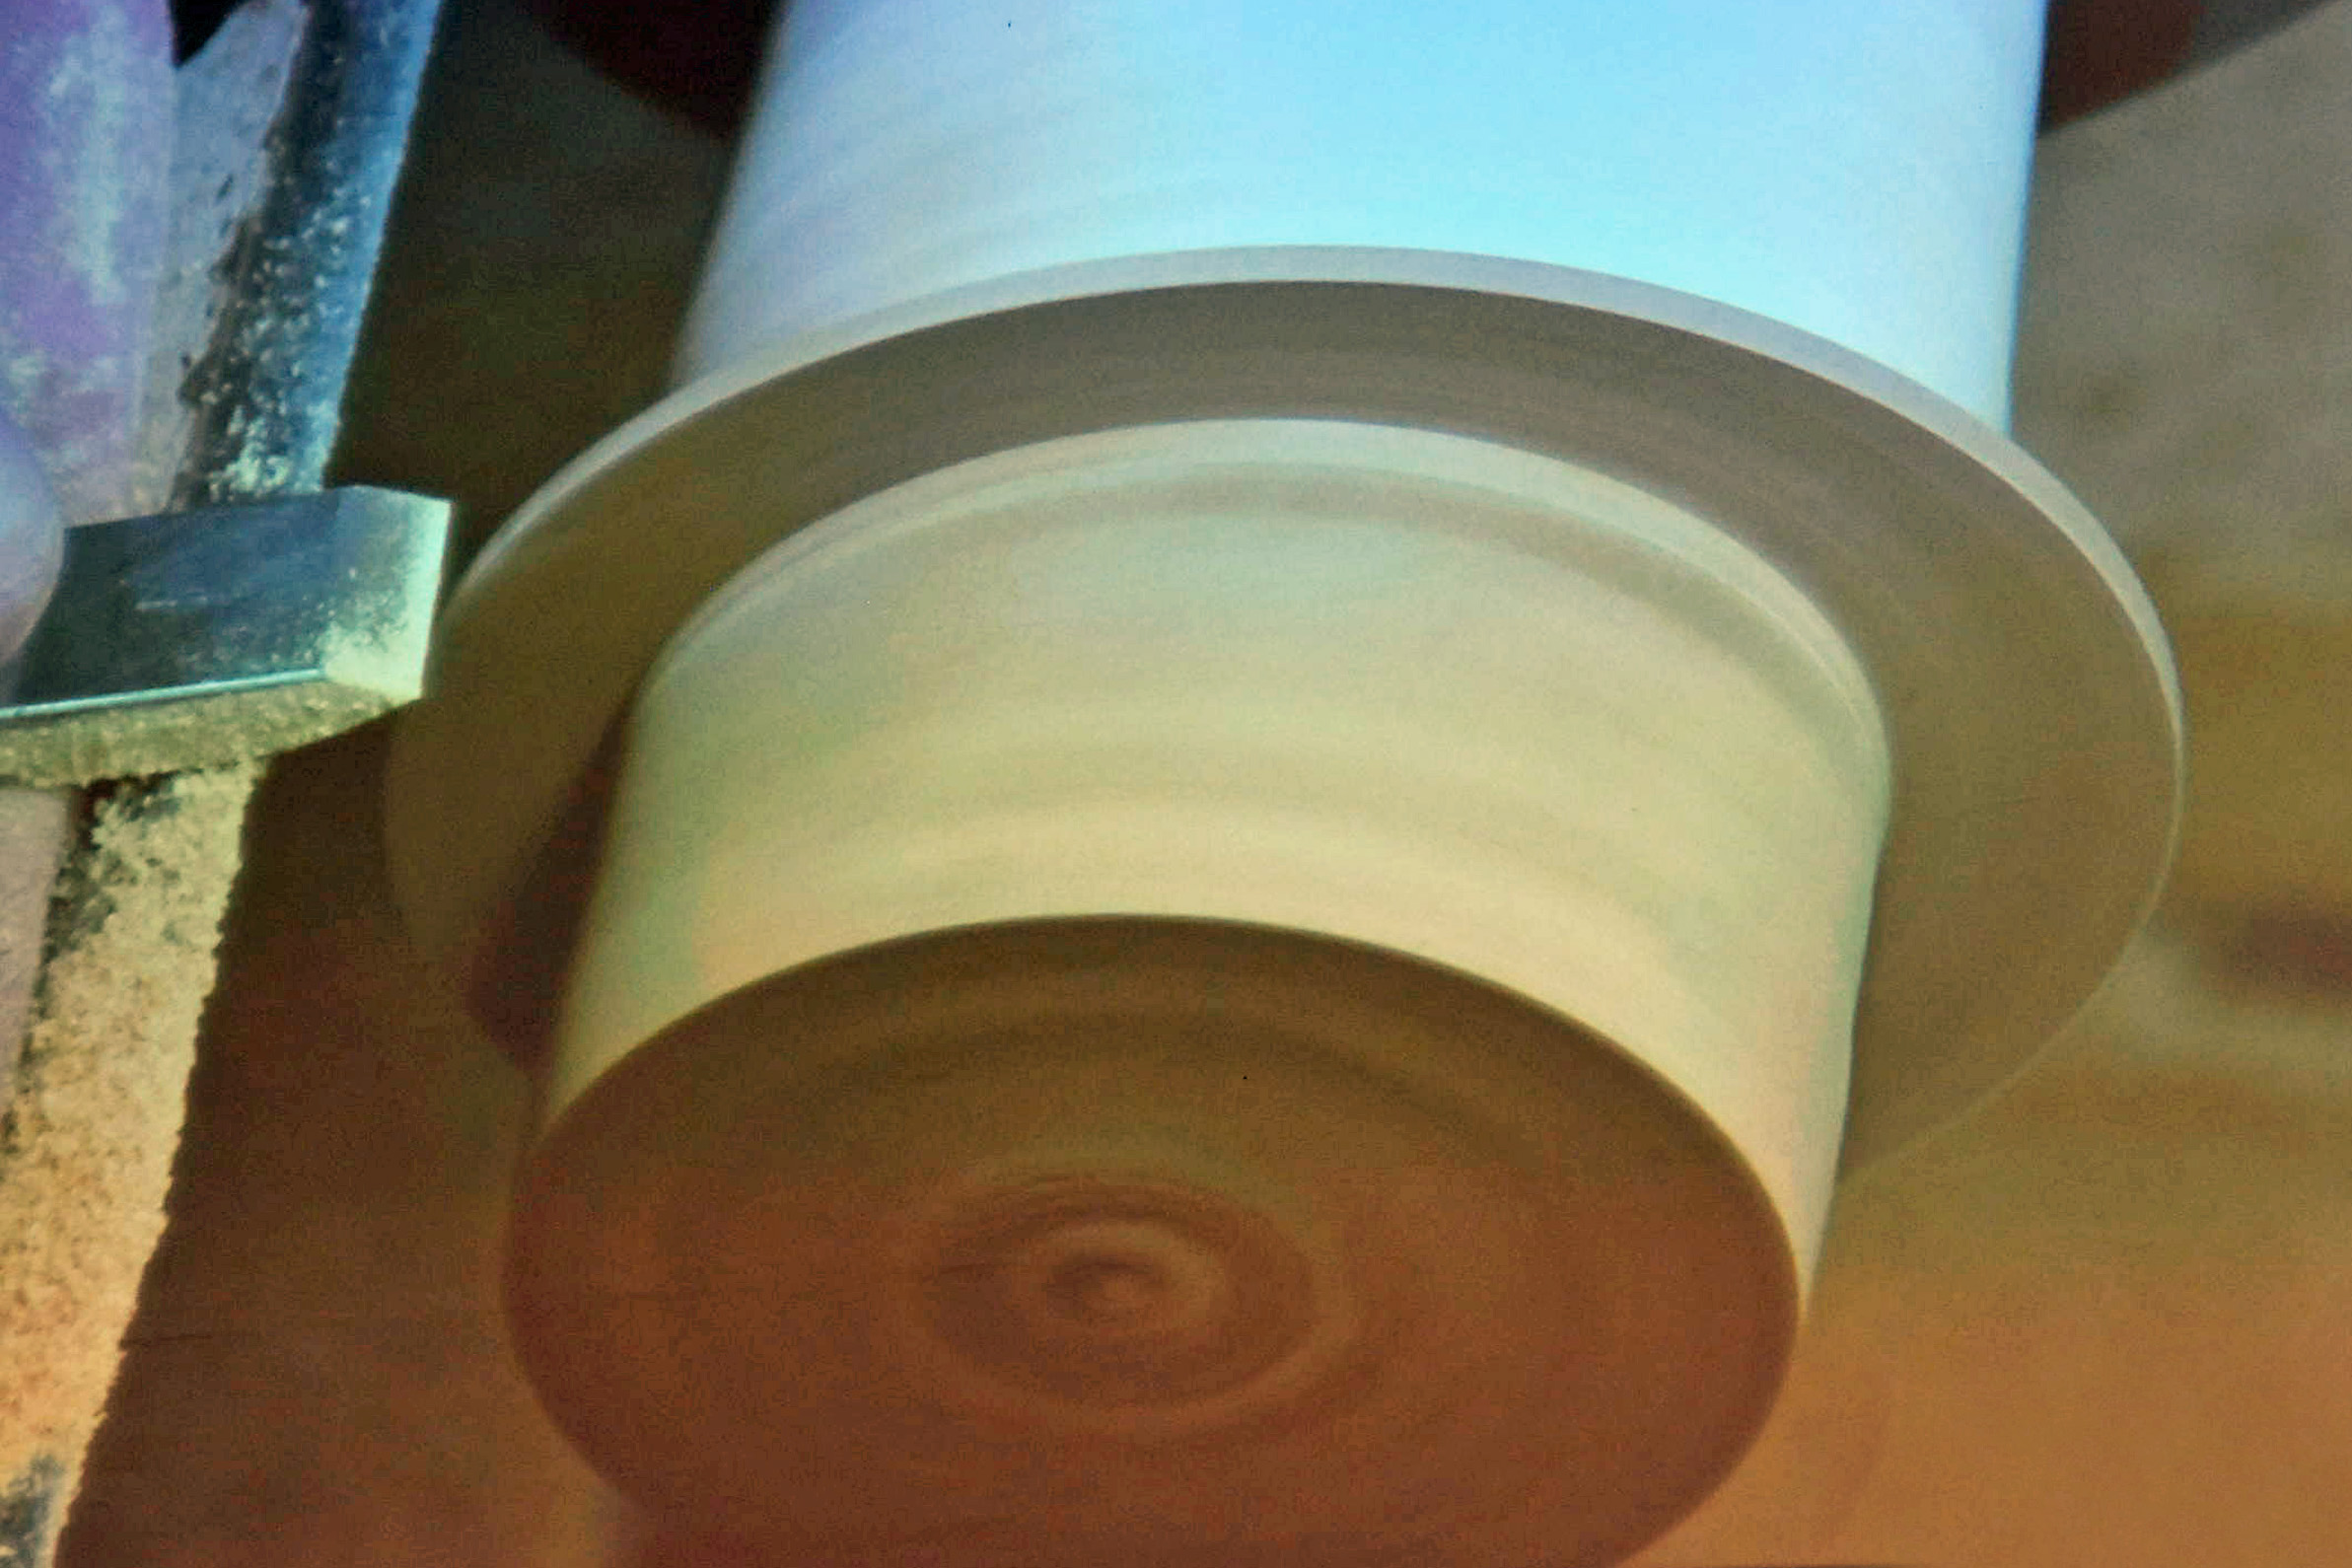
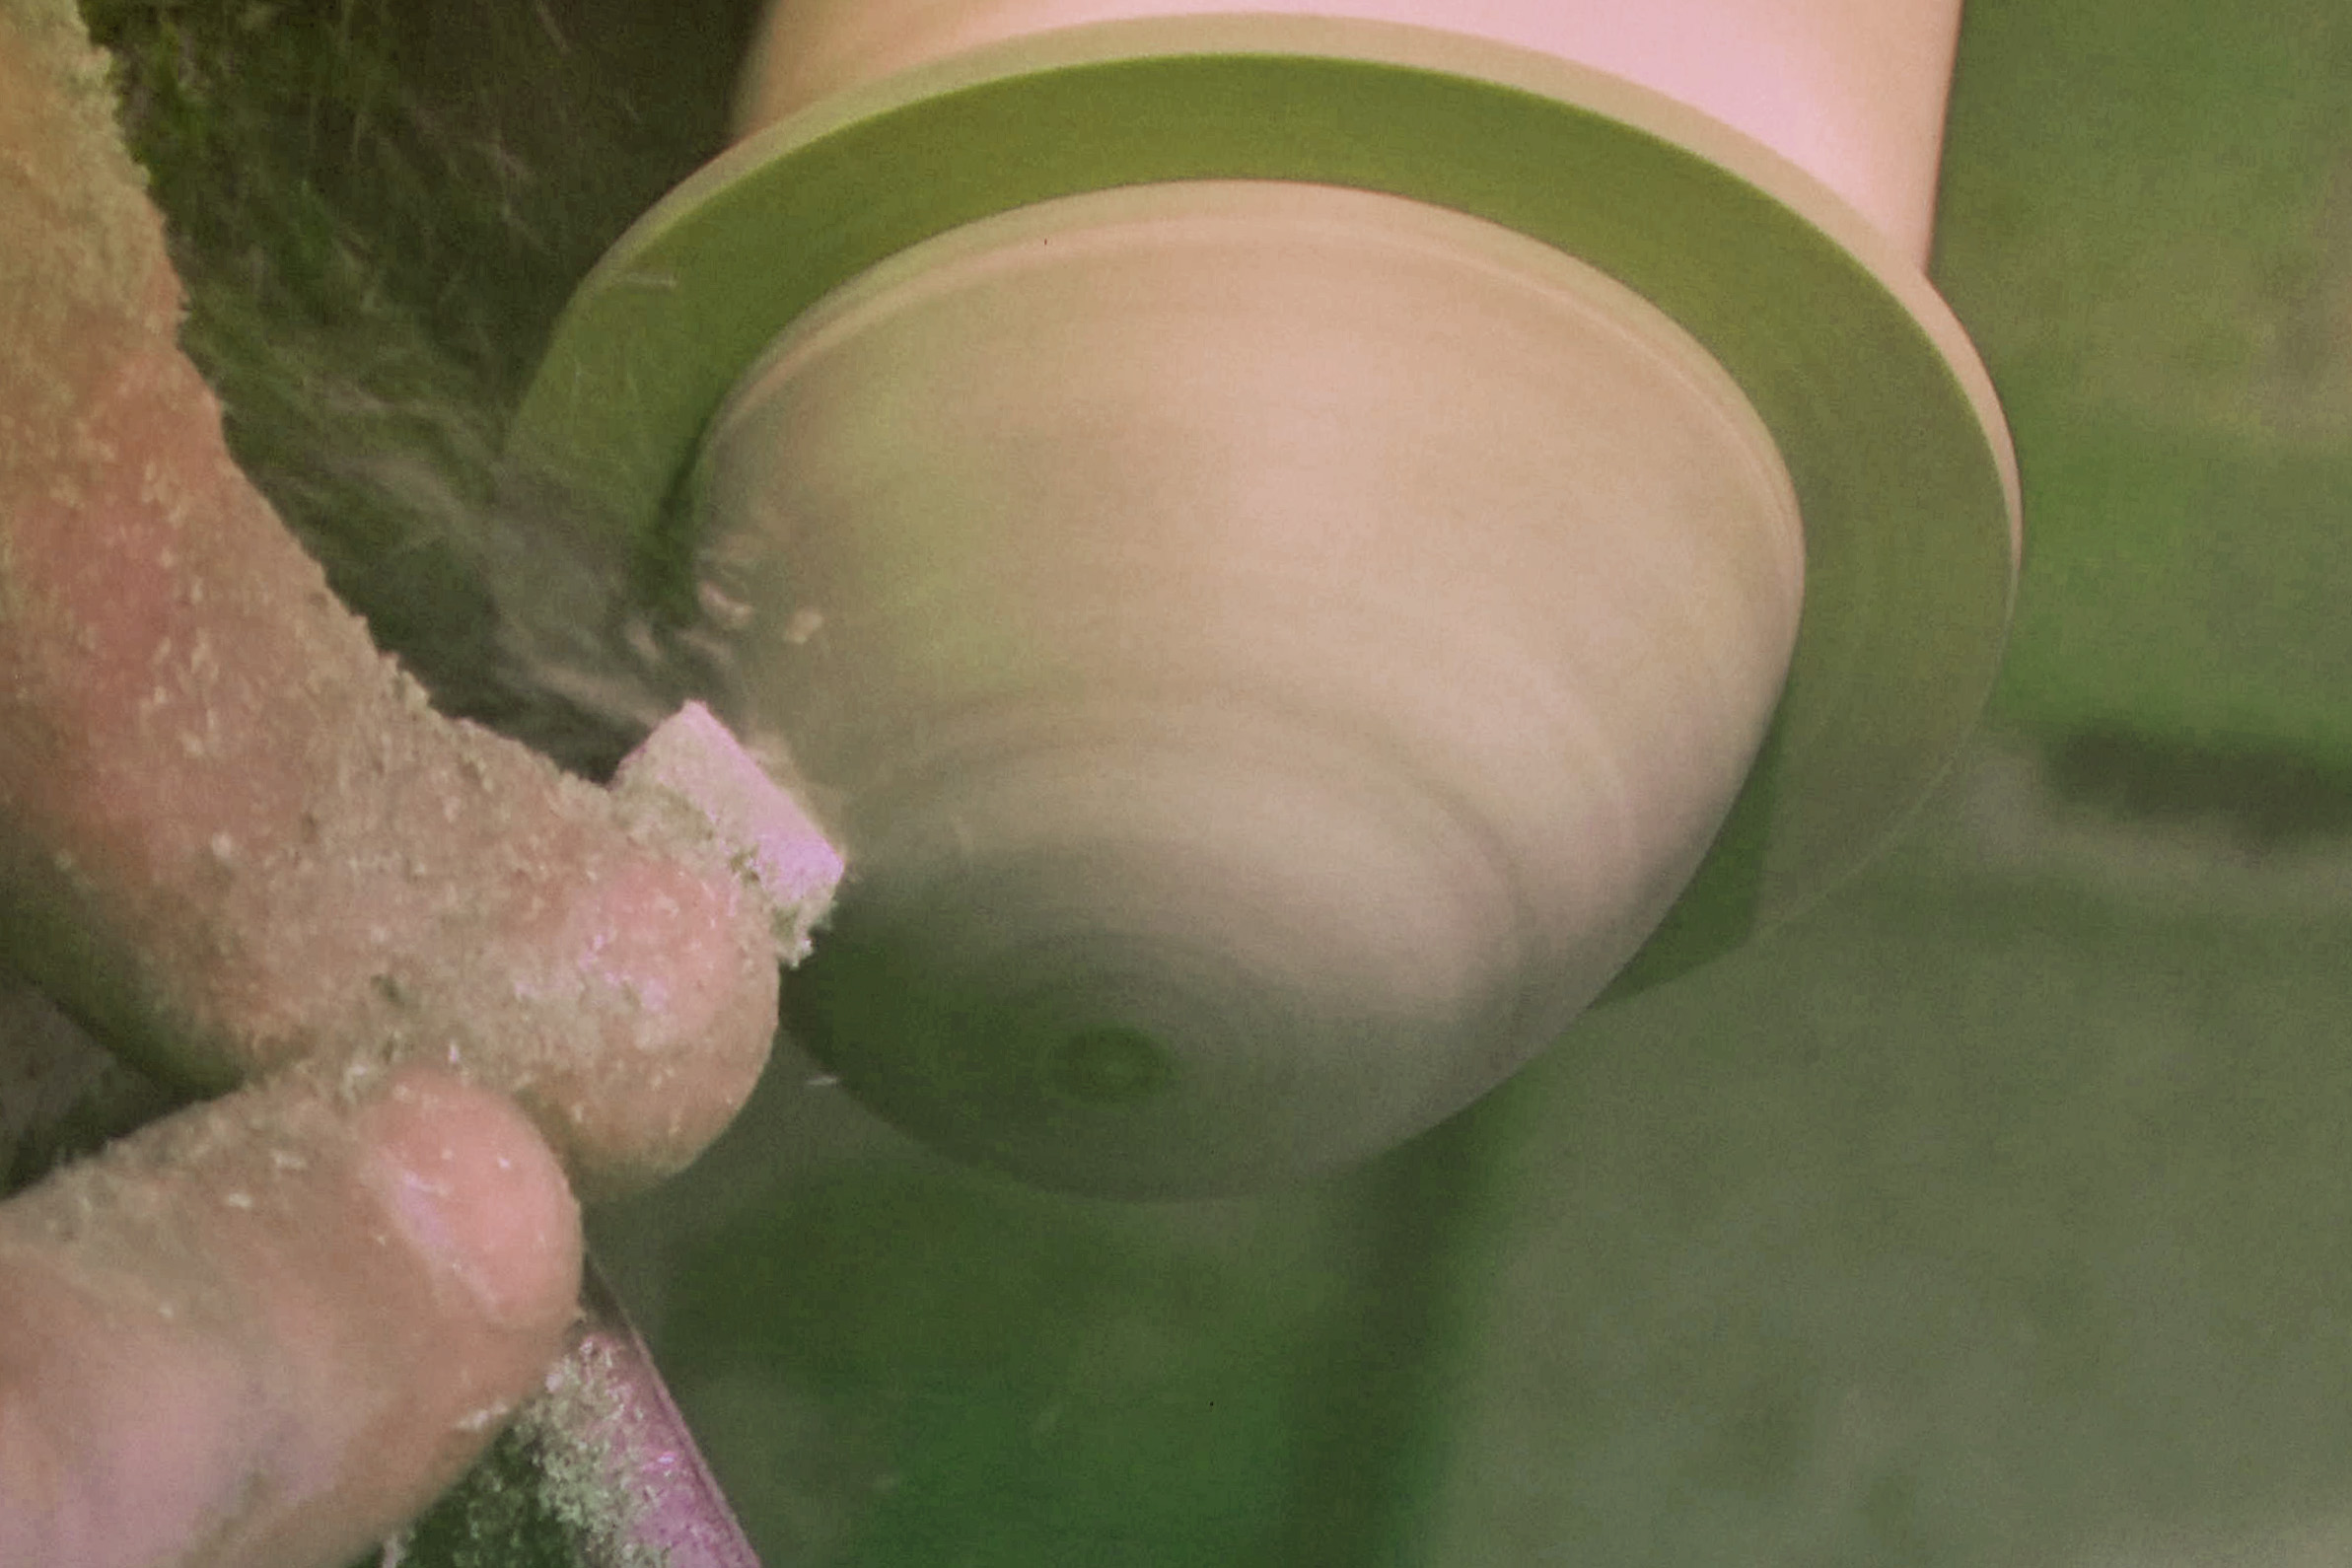
The photos below show the rim on the base onto which the lid will fit; Jakob truing up the cylinder and defining the inside dimensions with a skew; hollowing out the interior, again using back hollowing; refining that spherical shape with a round nose scraper; creating the step with a skew; and sanding through a succession of grits (100, 240, 400, 1000 and pink and gray Mirka scuff pads). To keep the base of the lid flat, Jakob backed up his sand paper with a steel flat.
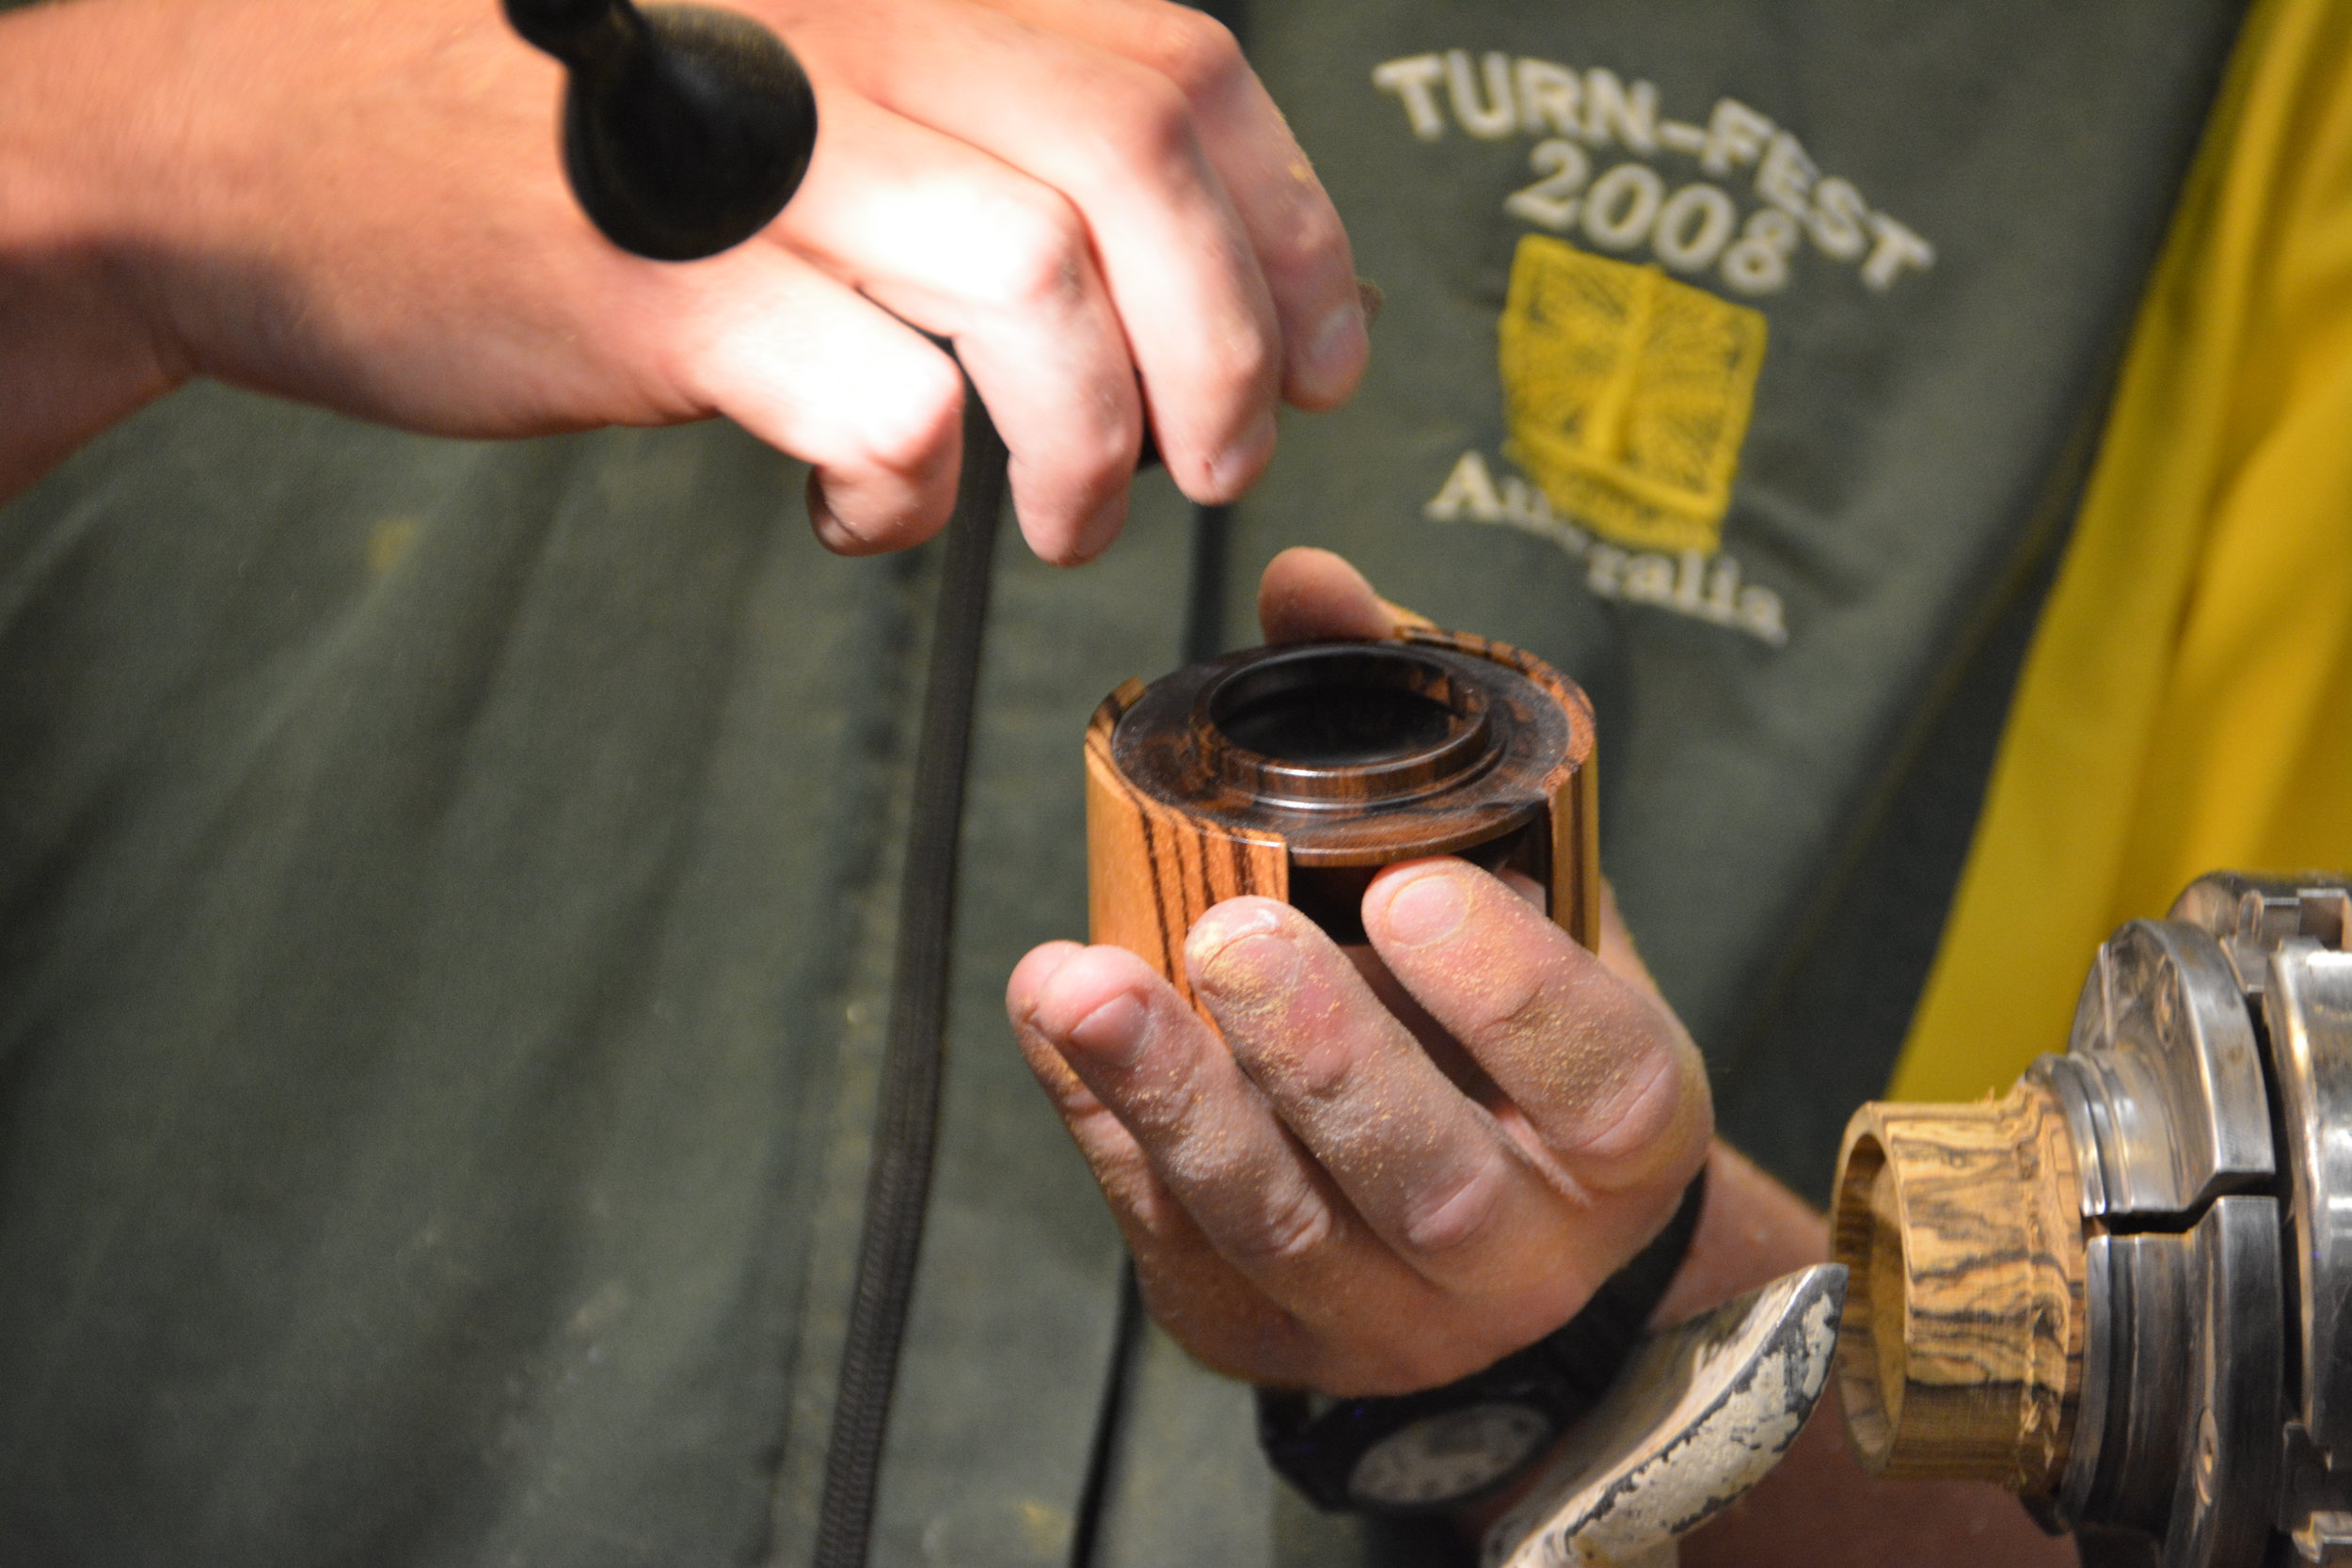


To shape the outside of the lid, he first made a jam chuck to accept the inside of the lid. Fitting was tricky: it must be tight enough to hold the lid, but not so tight that either you can't get if off or it splits. After a little "fine tuning," Jakob got it just right, mounted the lid stock and began shaping to the 50 mm diameter. He used a template for this but one got the idea that it really wasn't necessary. Once again, he made it look so easy: he defined the height and diameter of the hemisphere and then cut the curve with a gouge. He then refined the shape with a couple of passes of his skew, sanded through the grits, and viola, he had a lid.

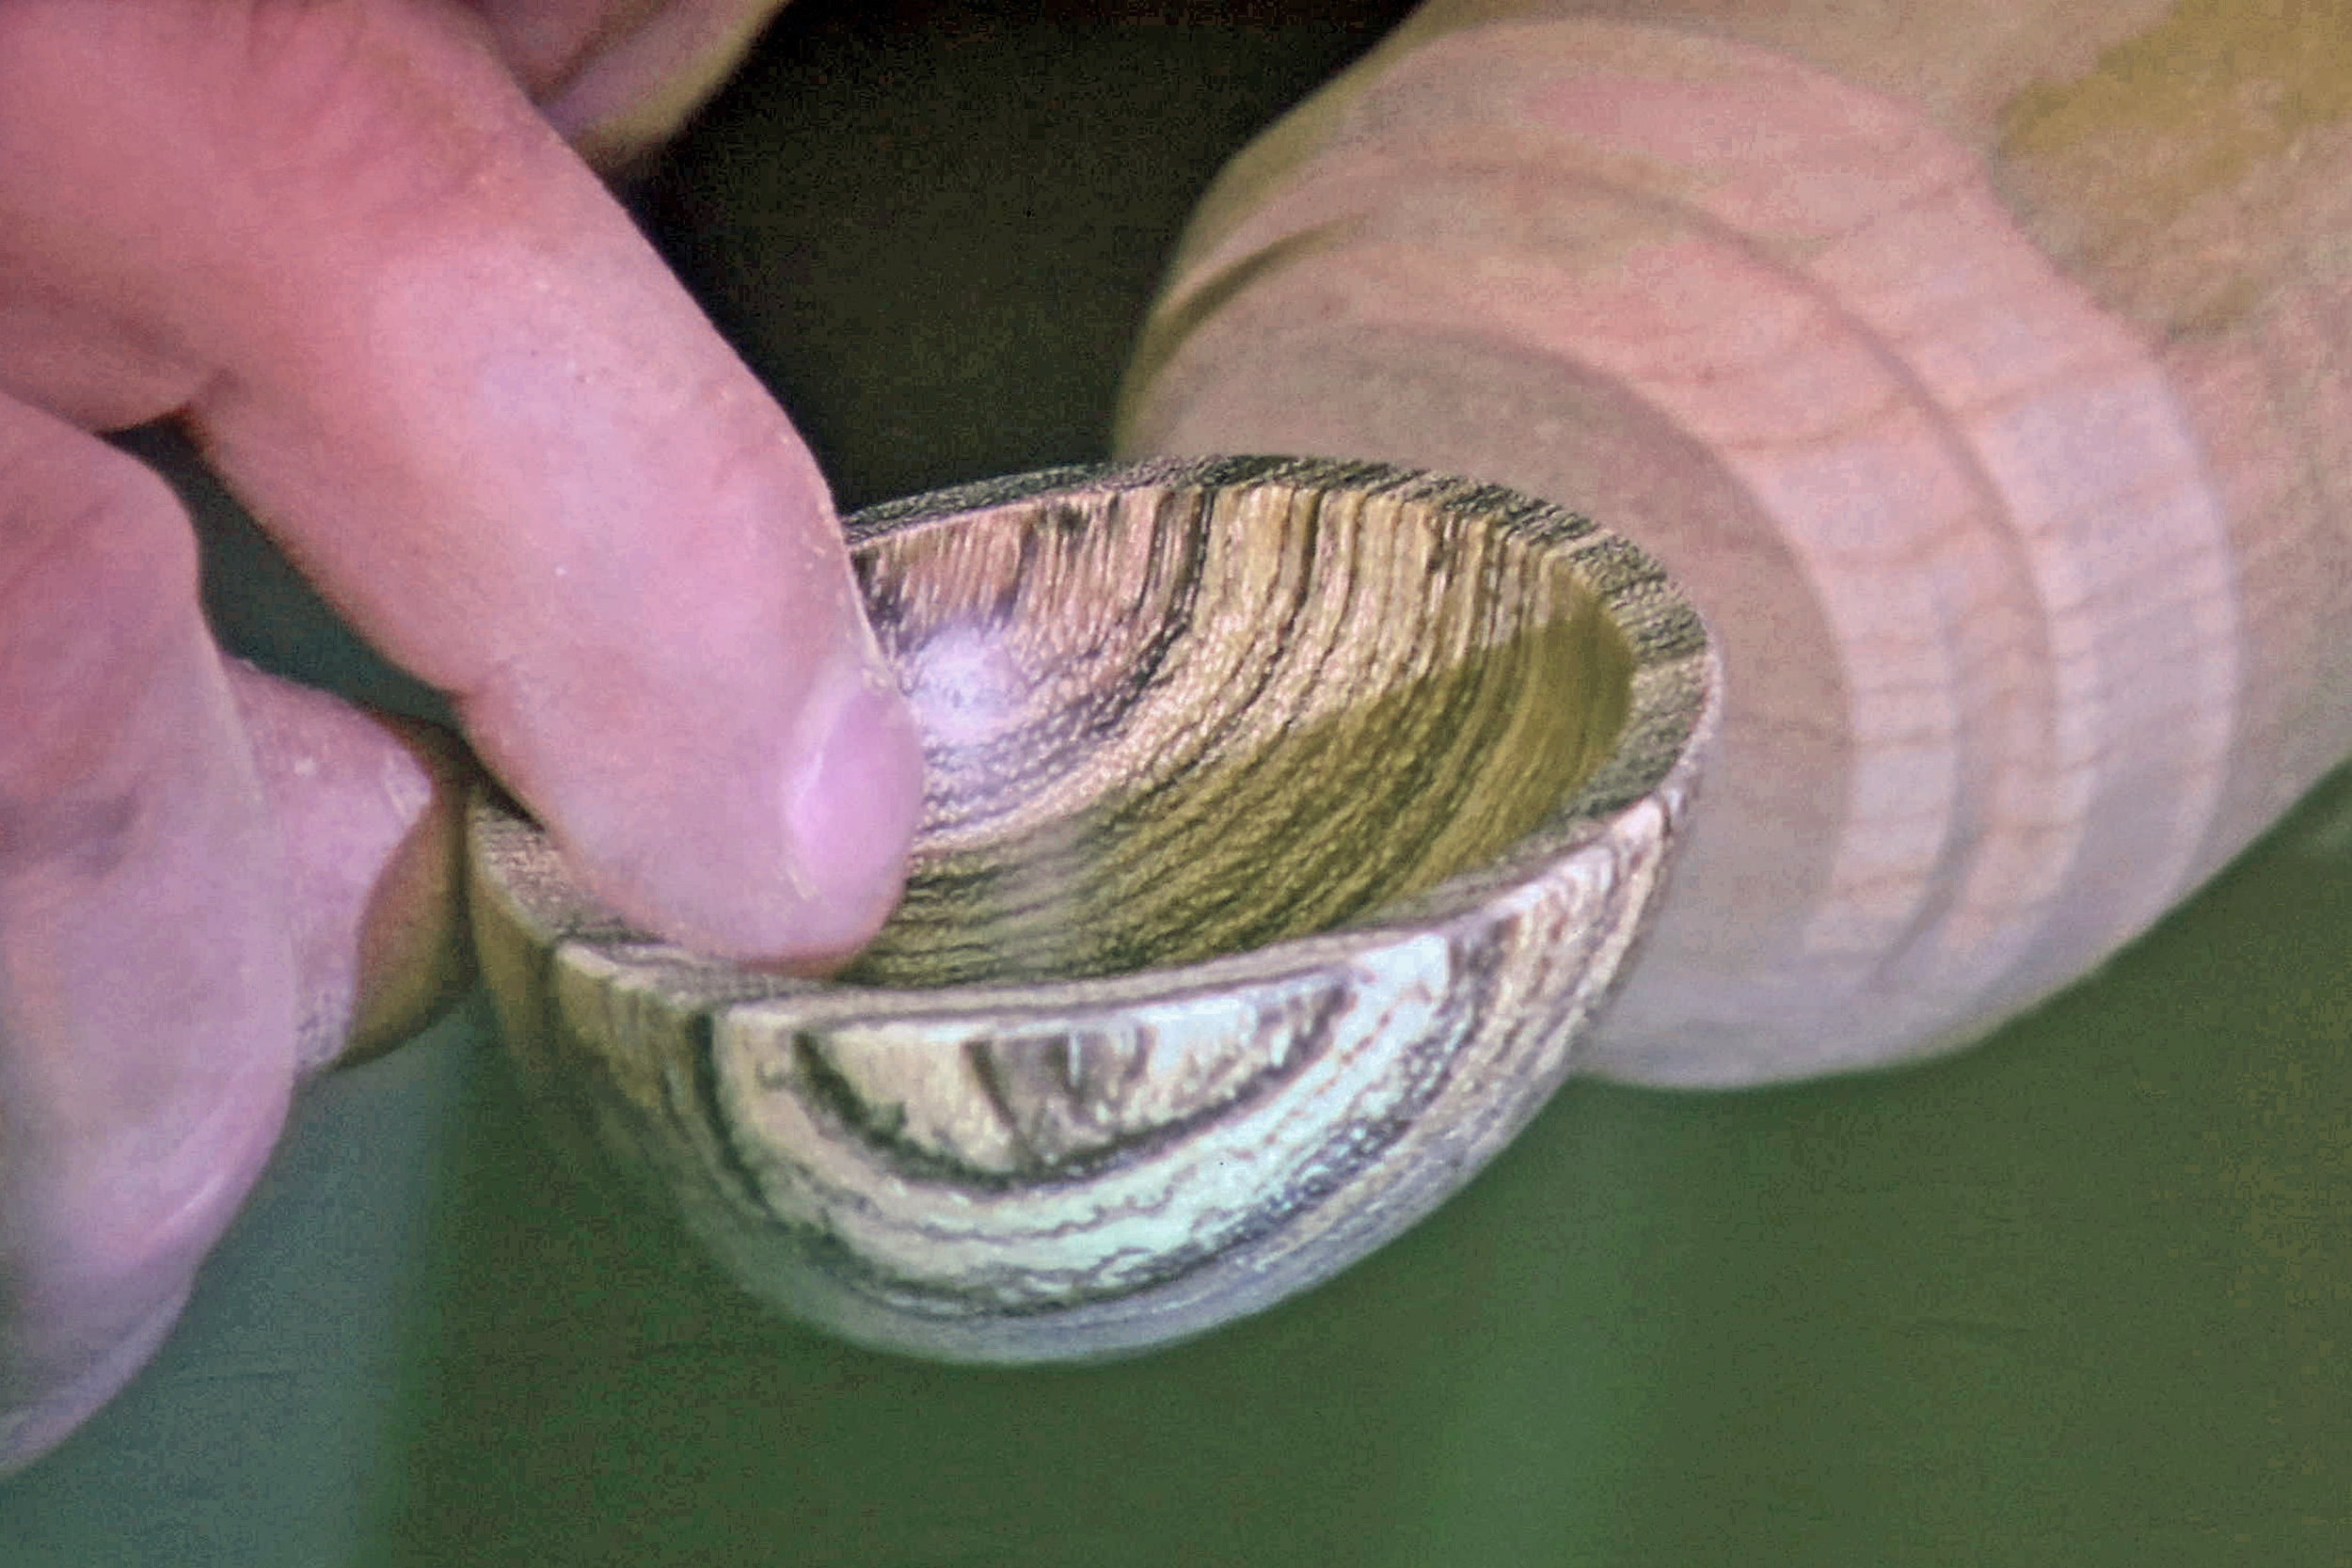
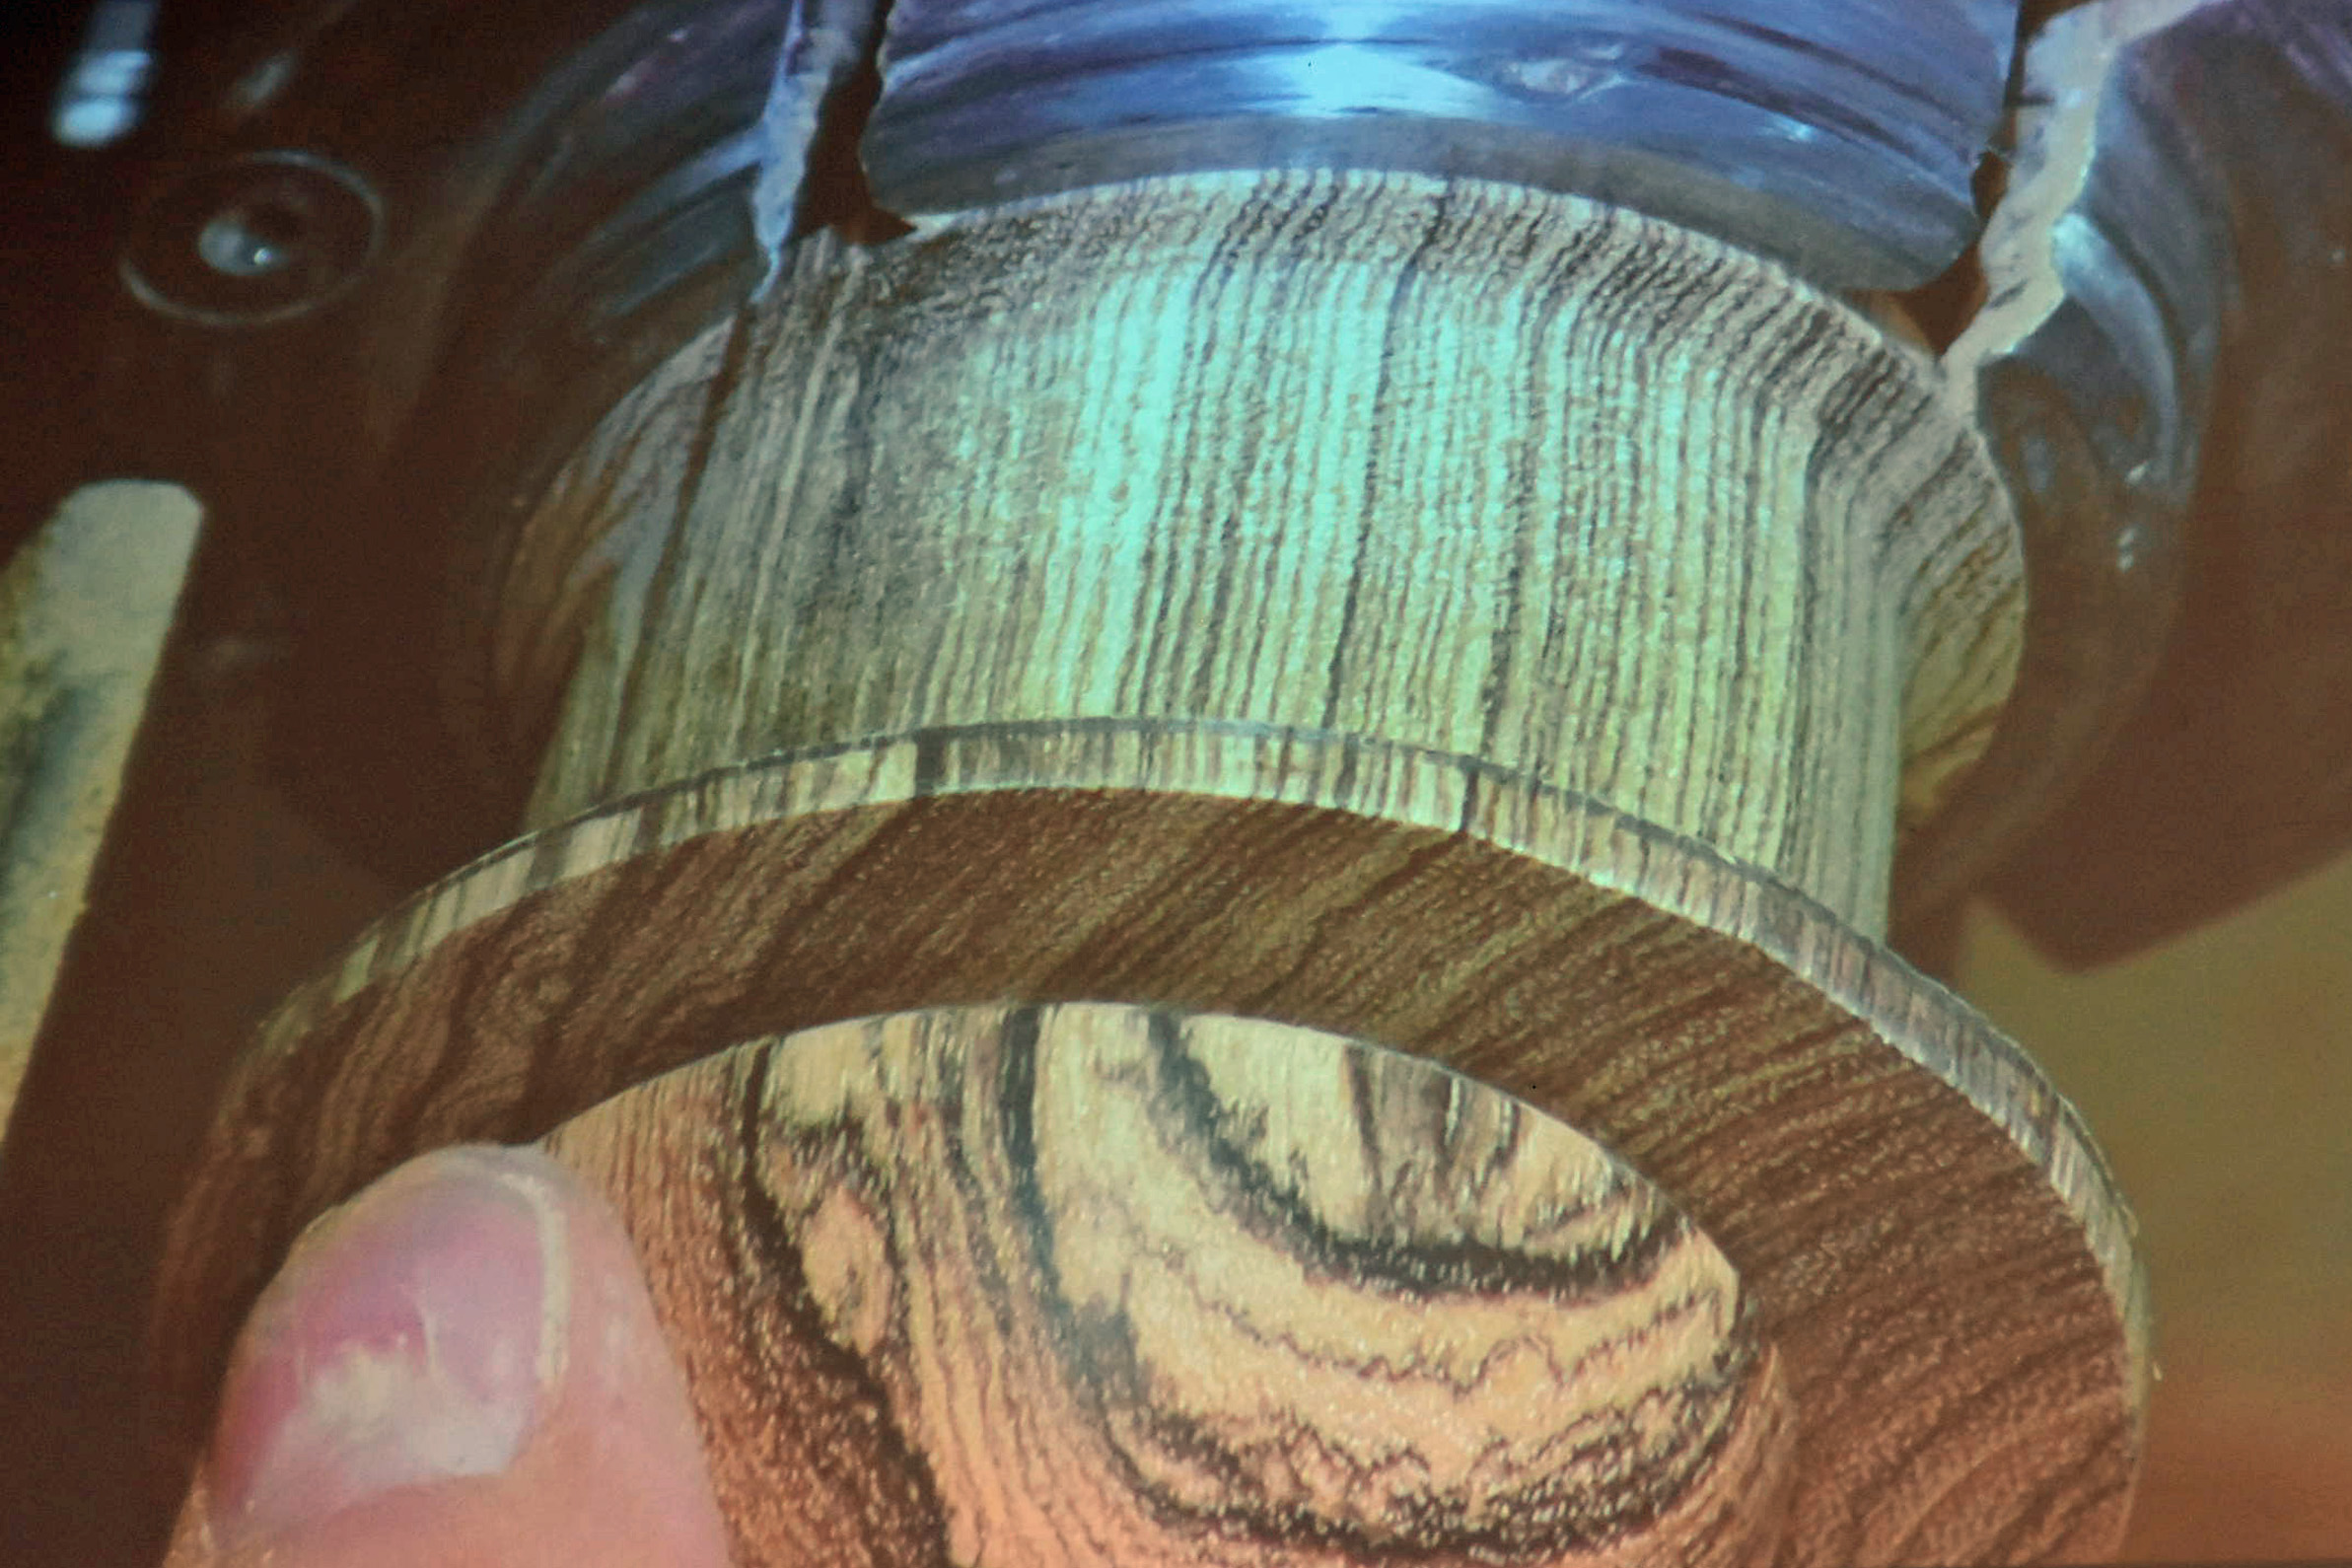
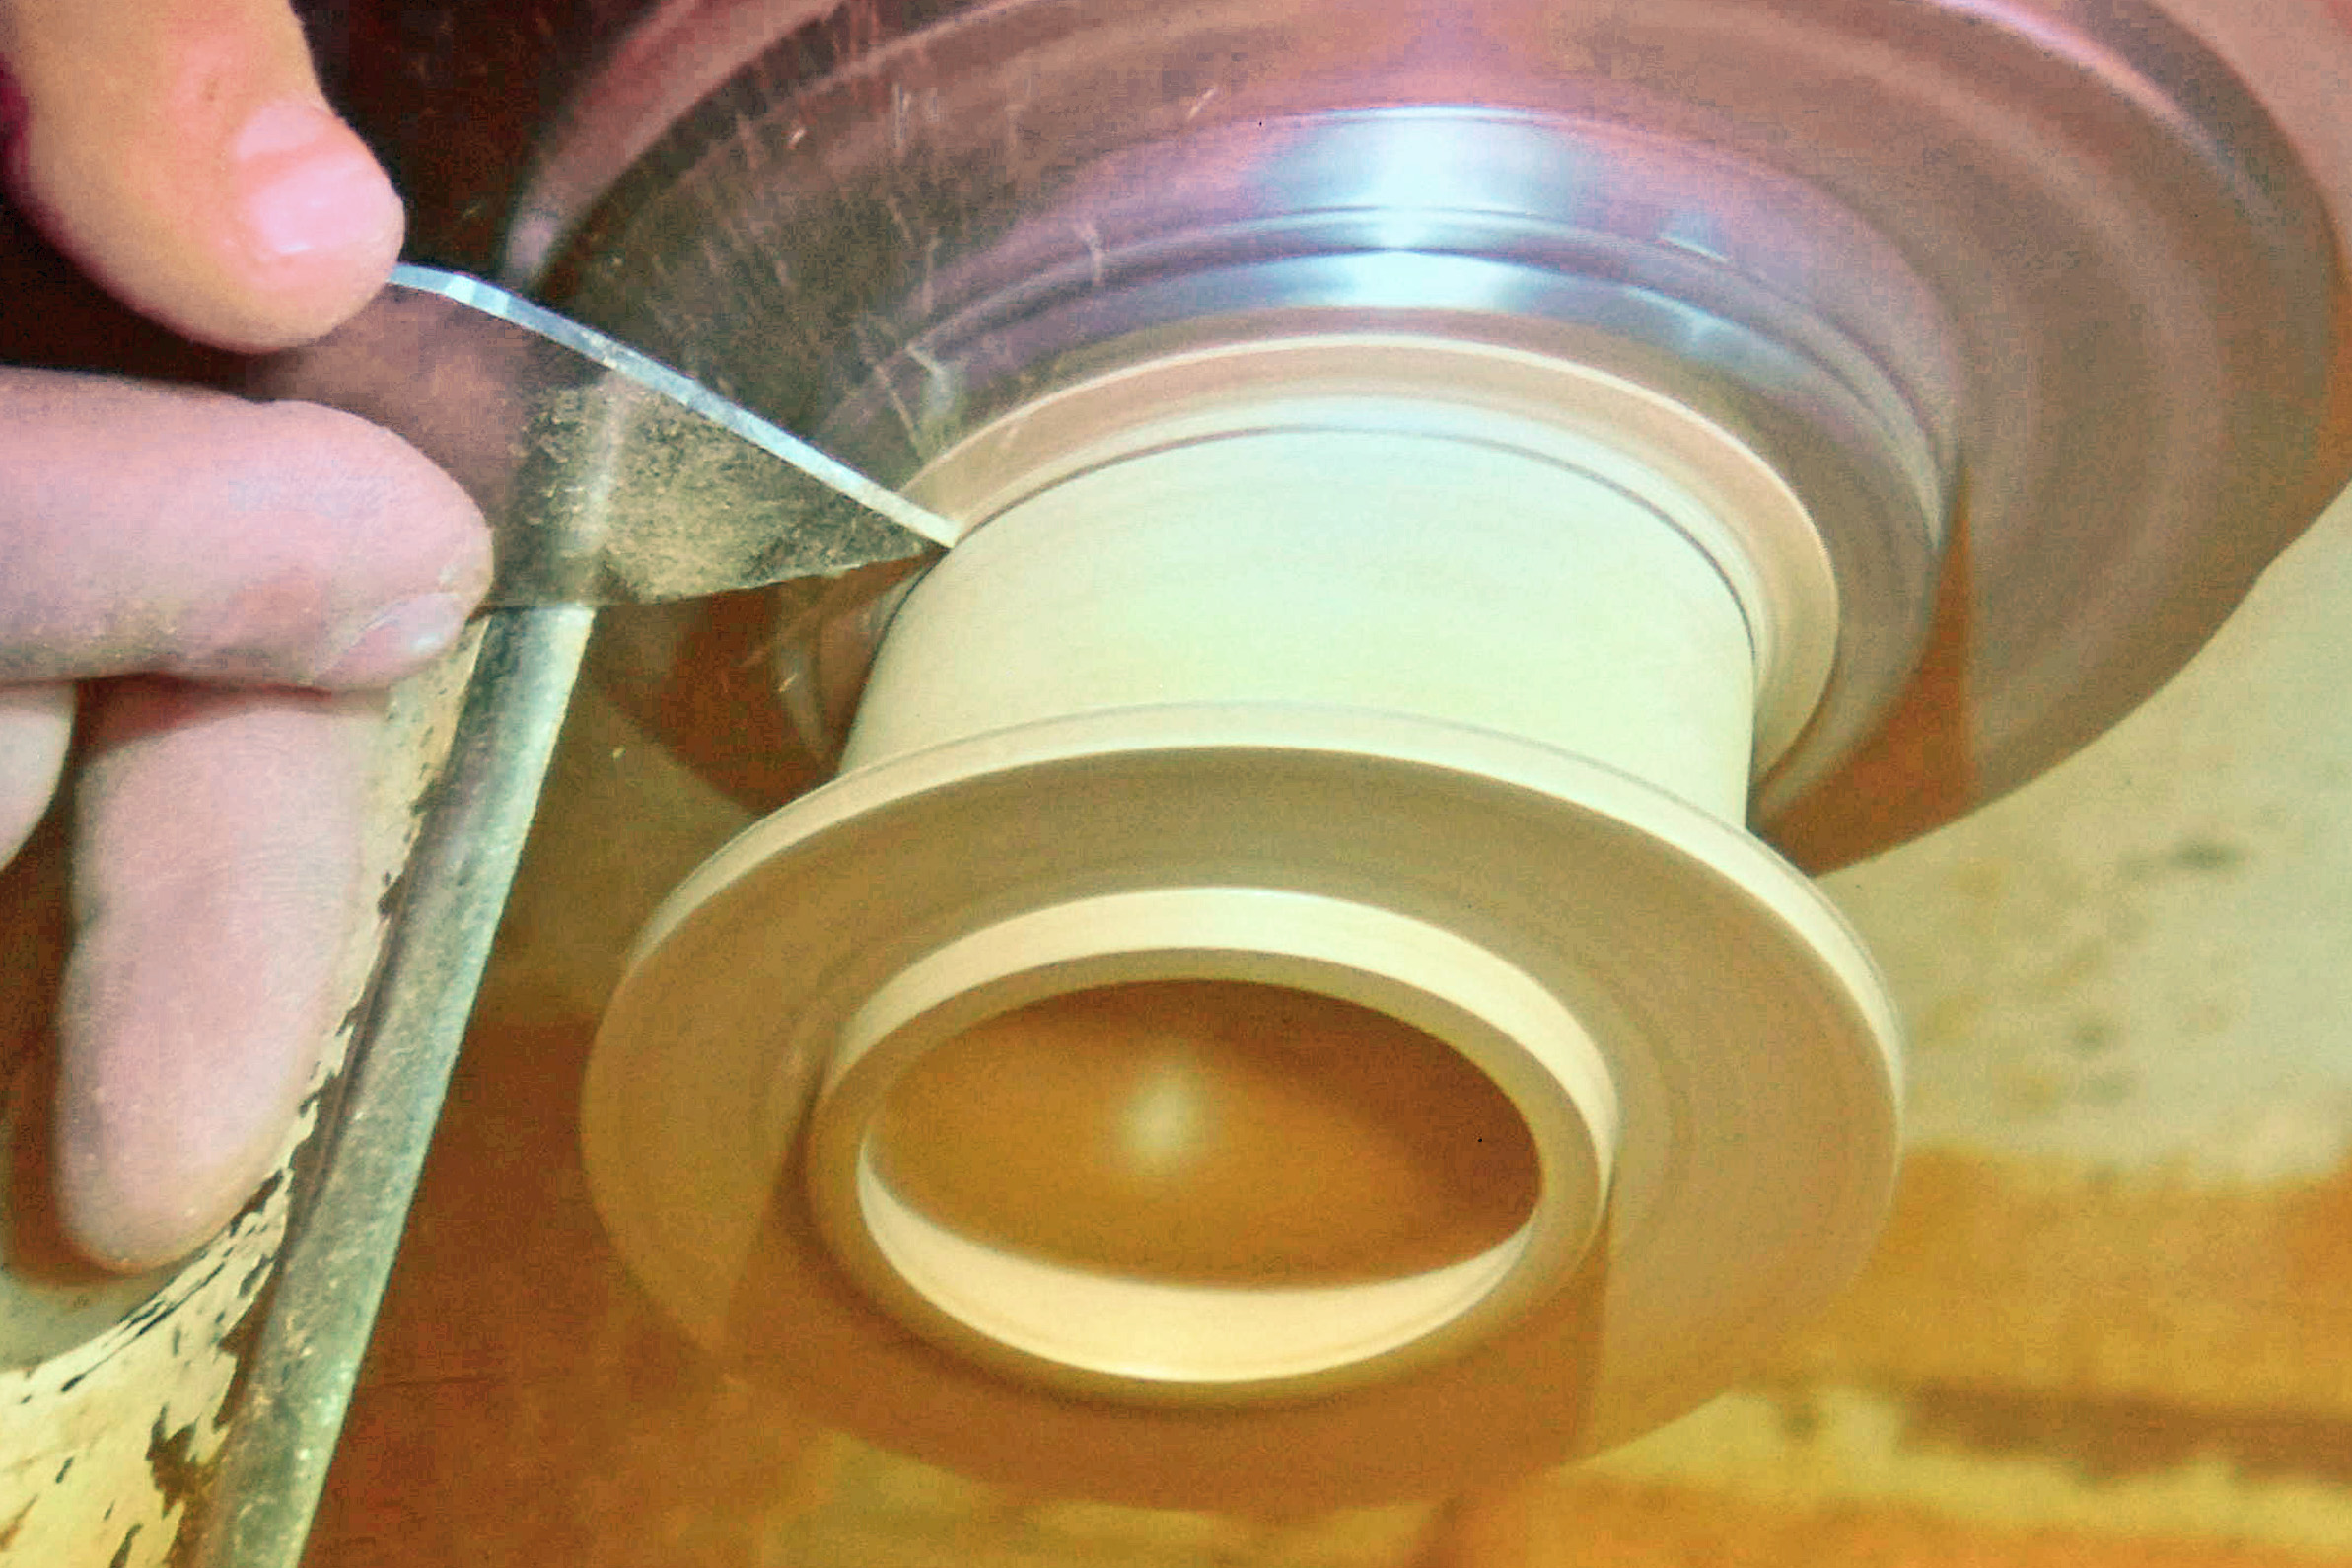
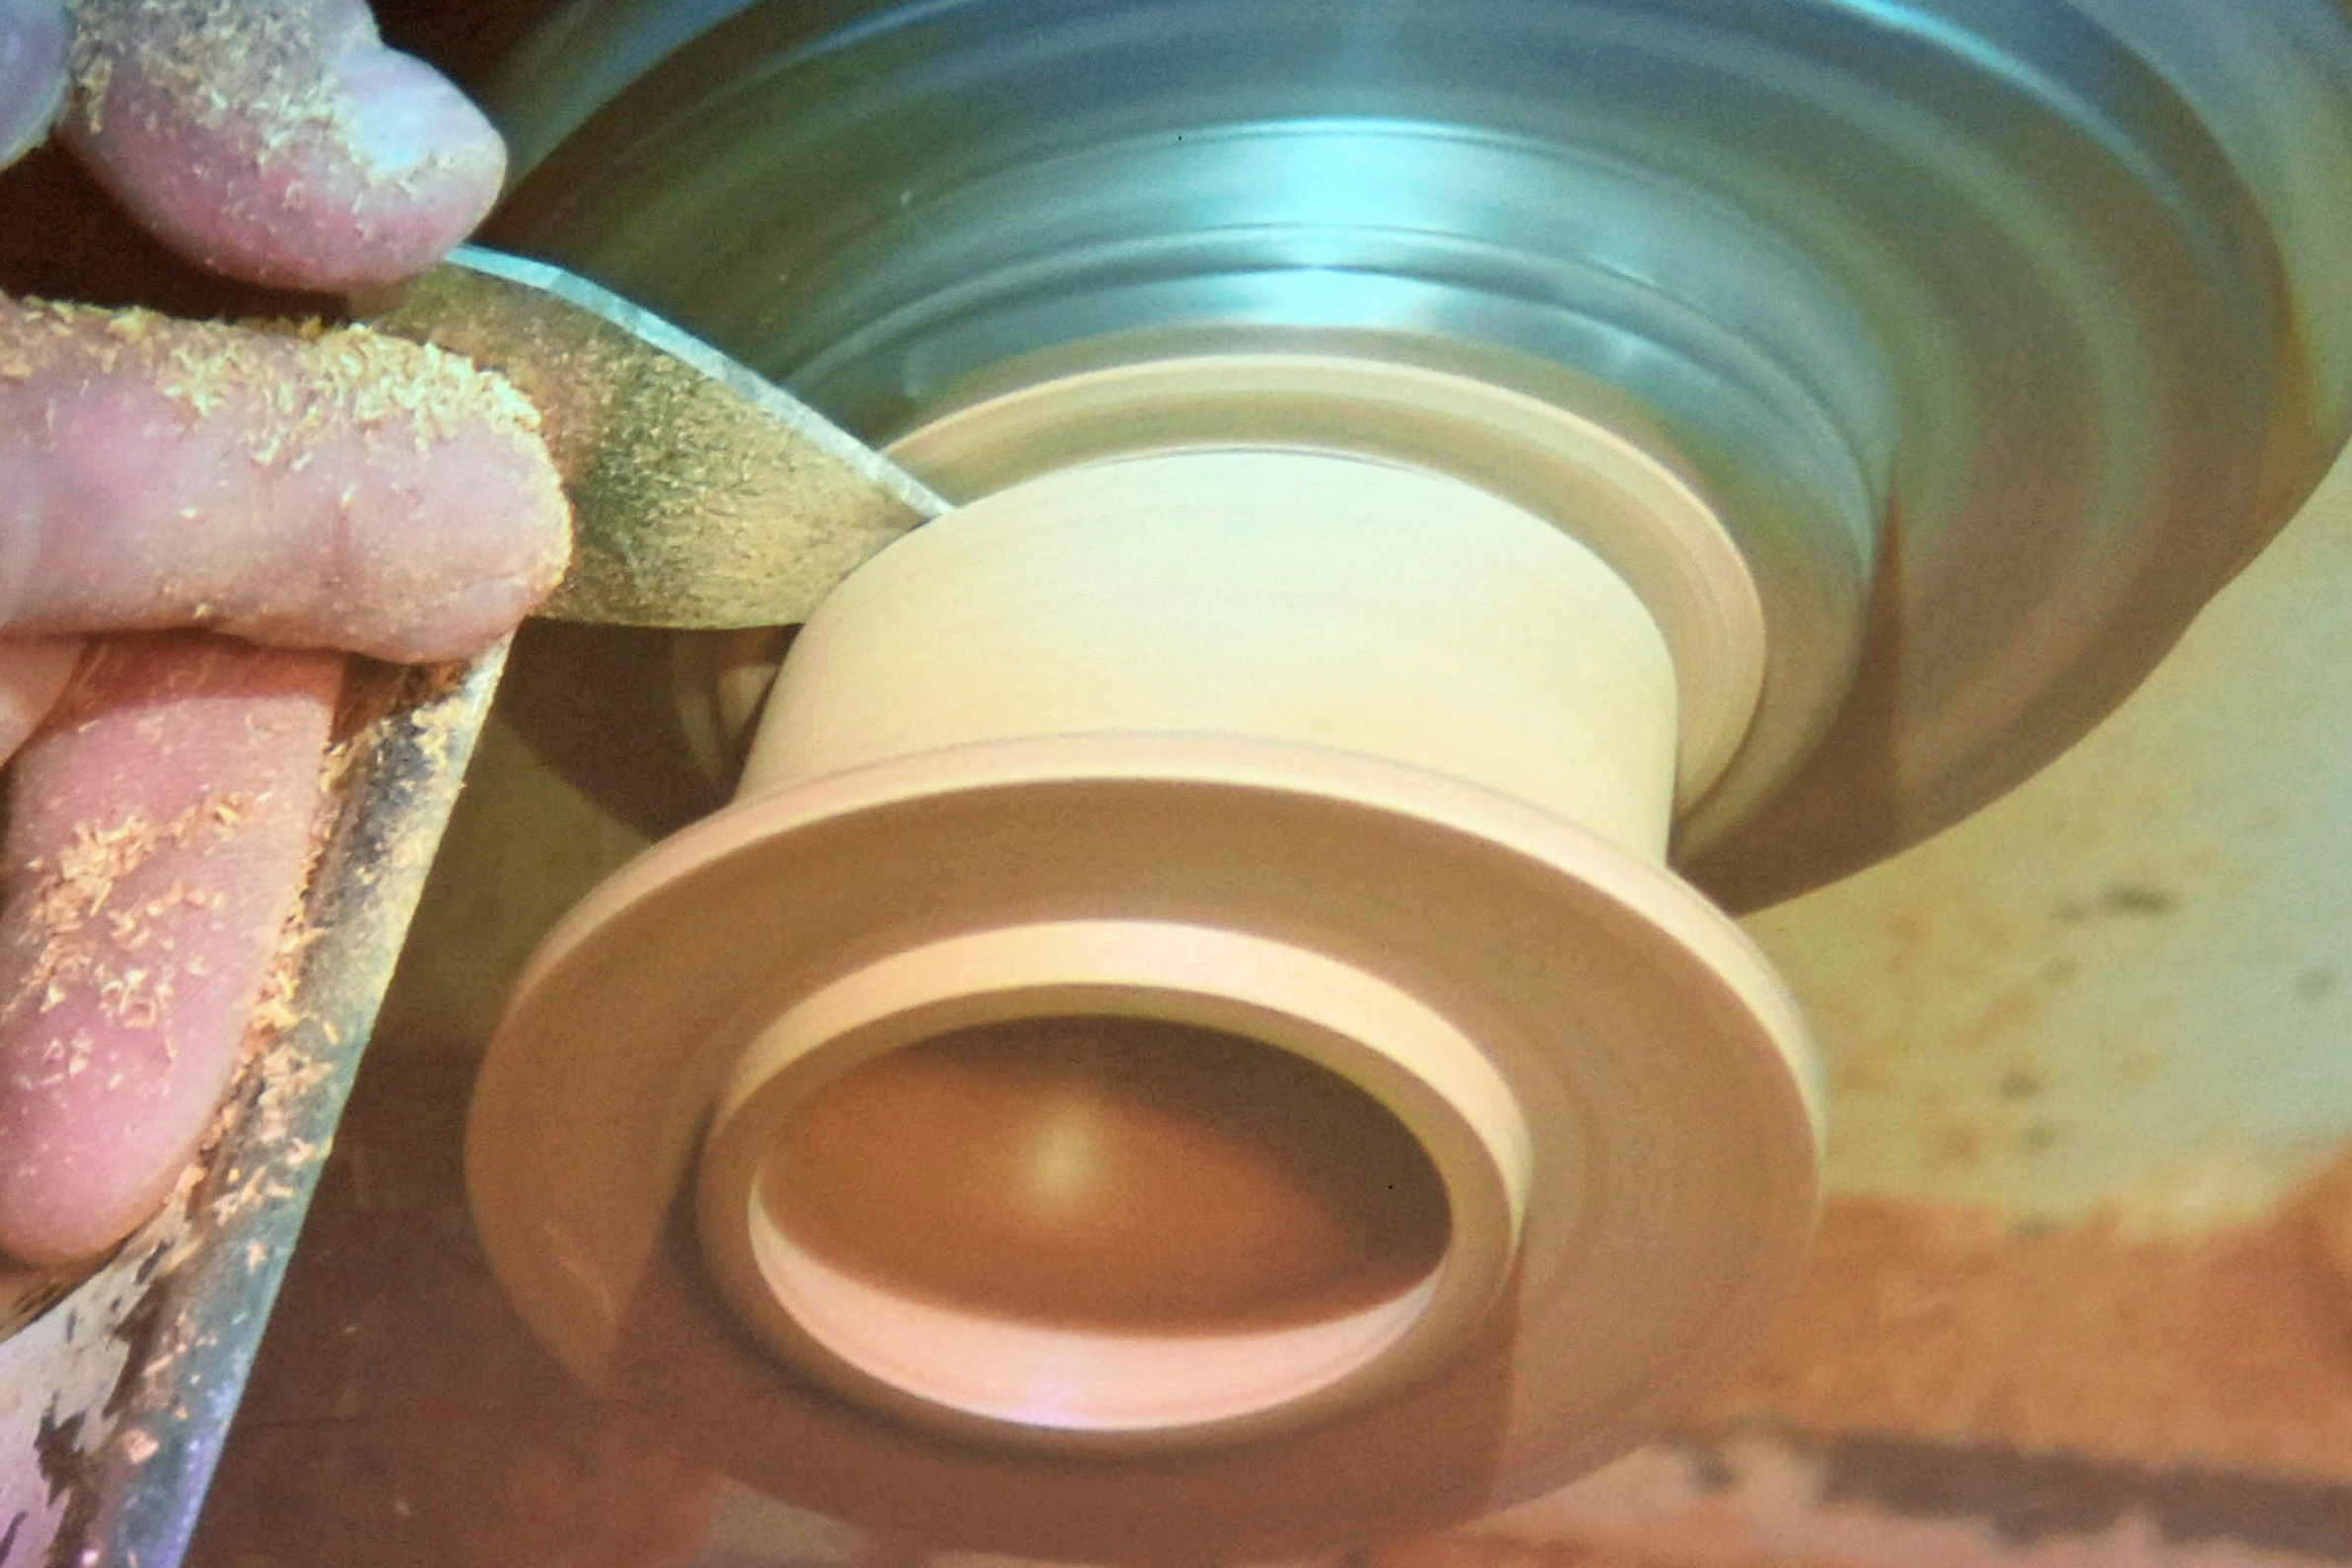
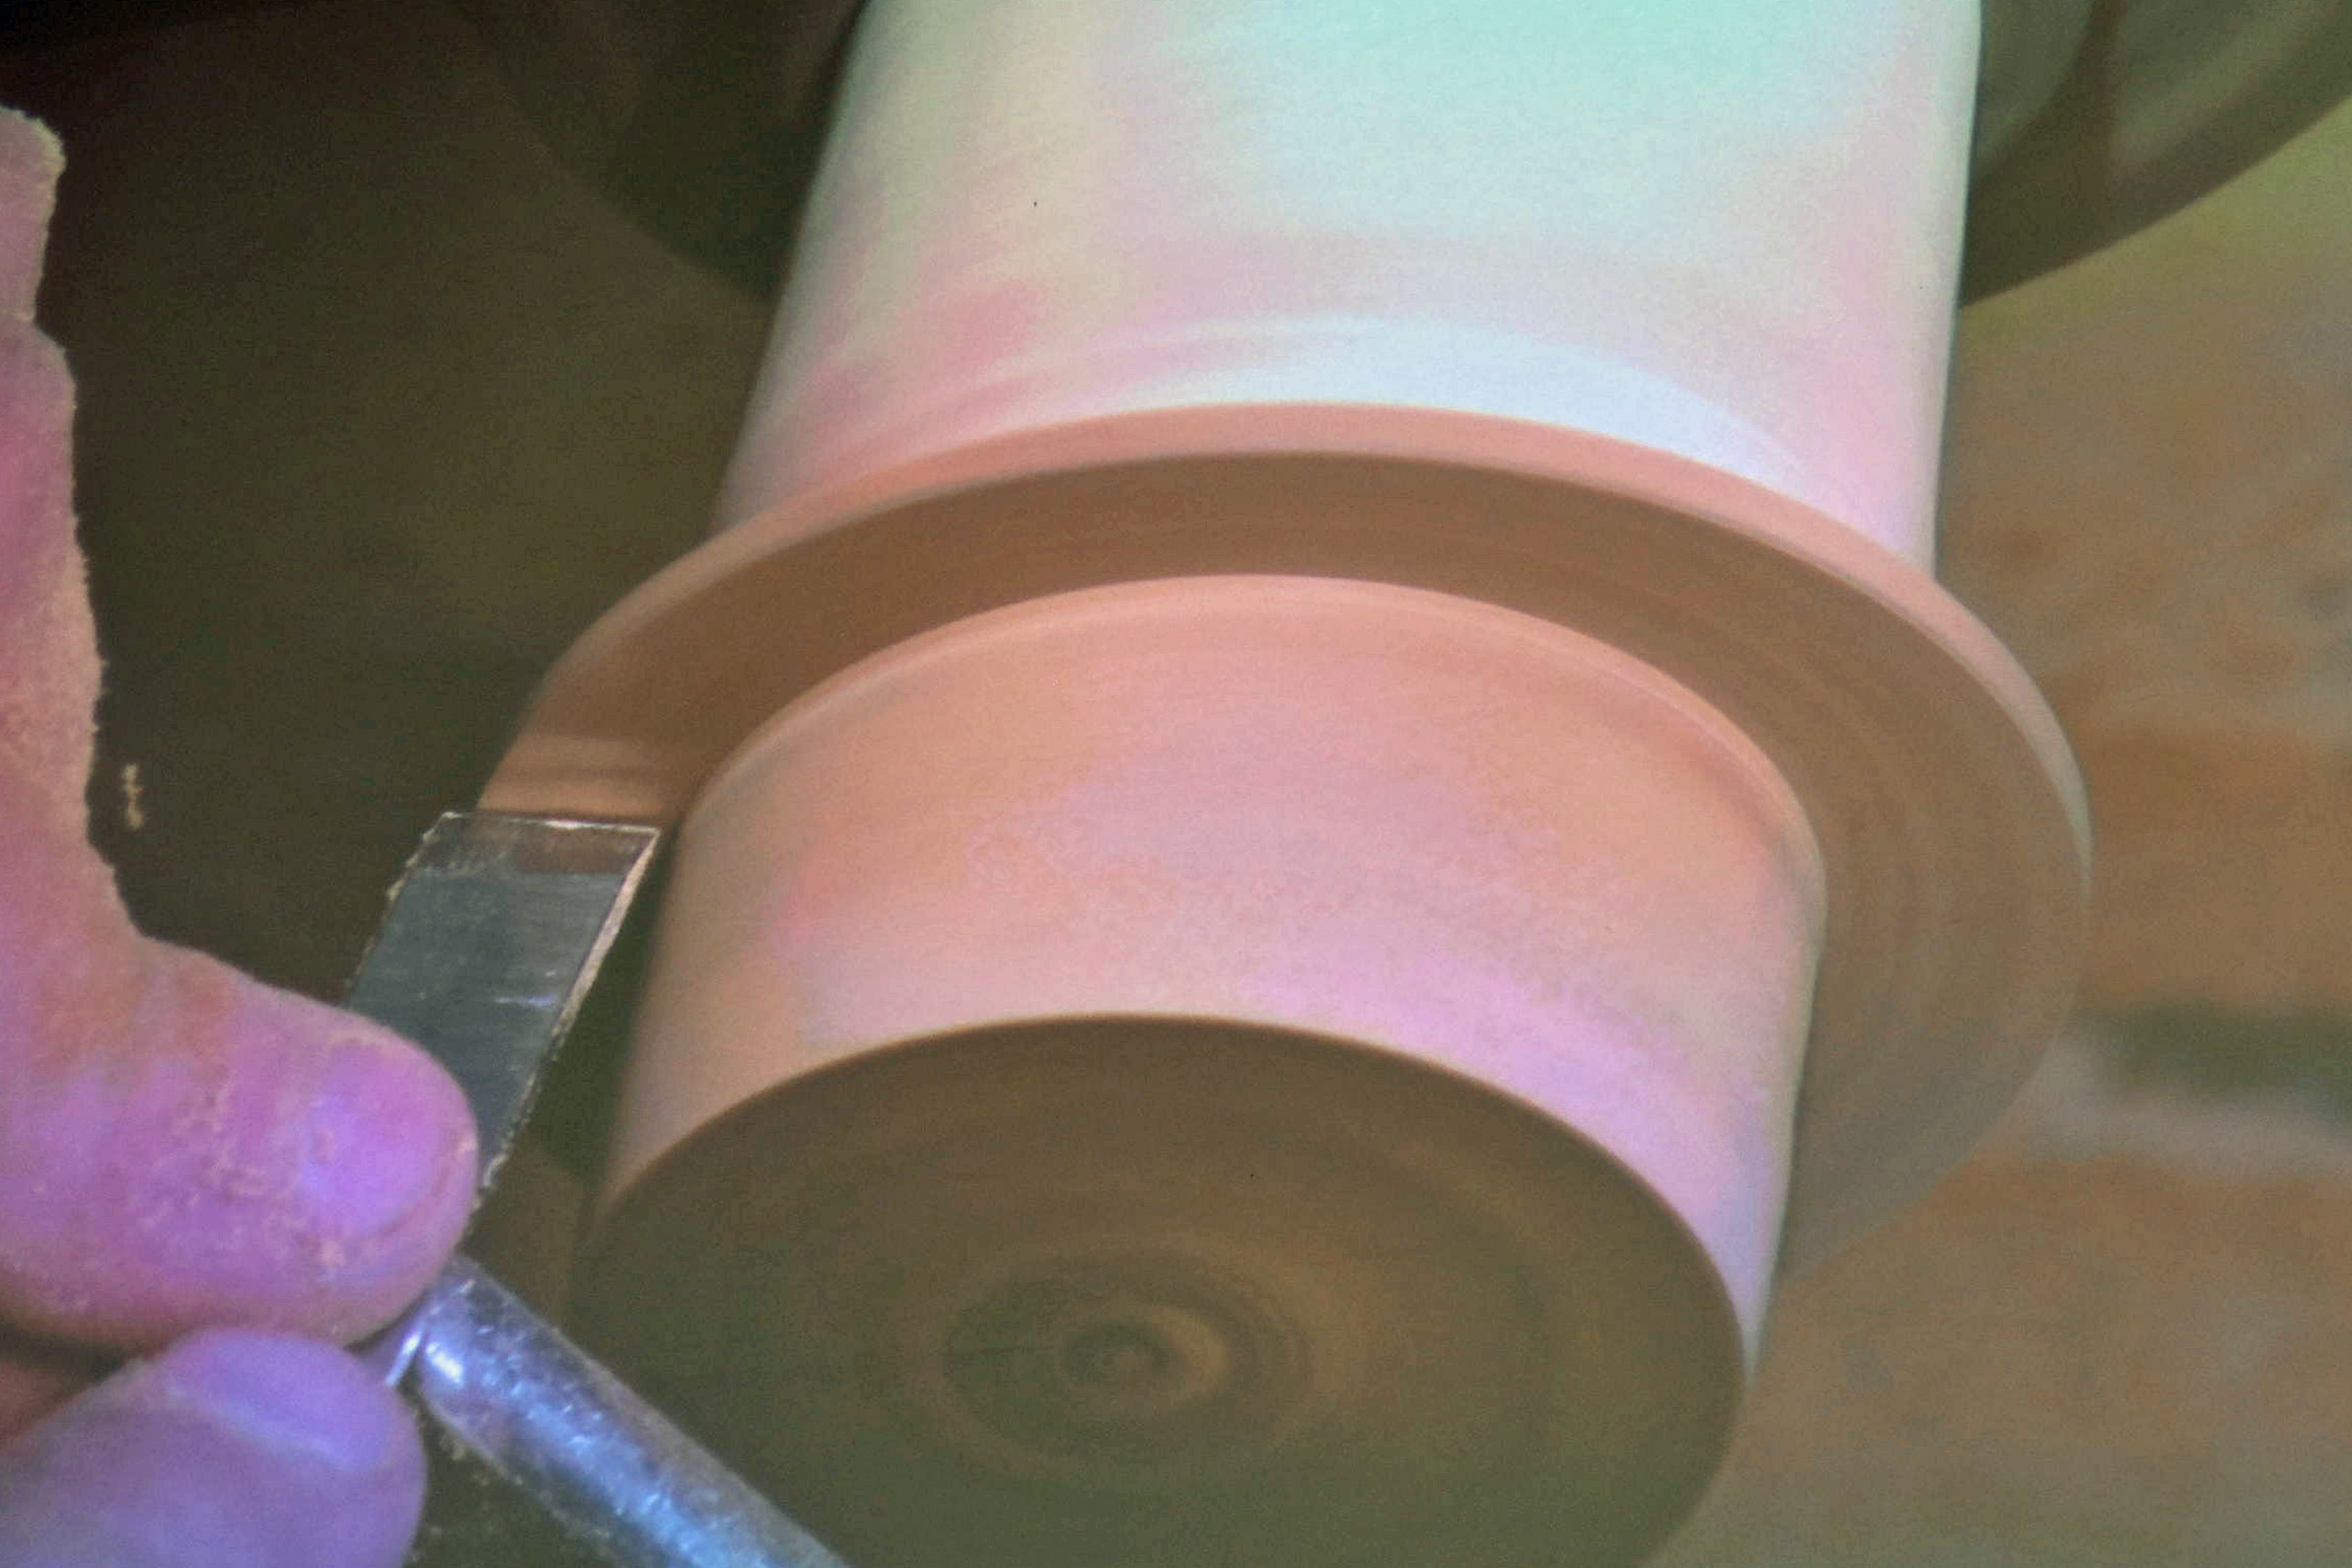
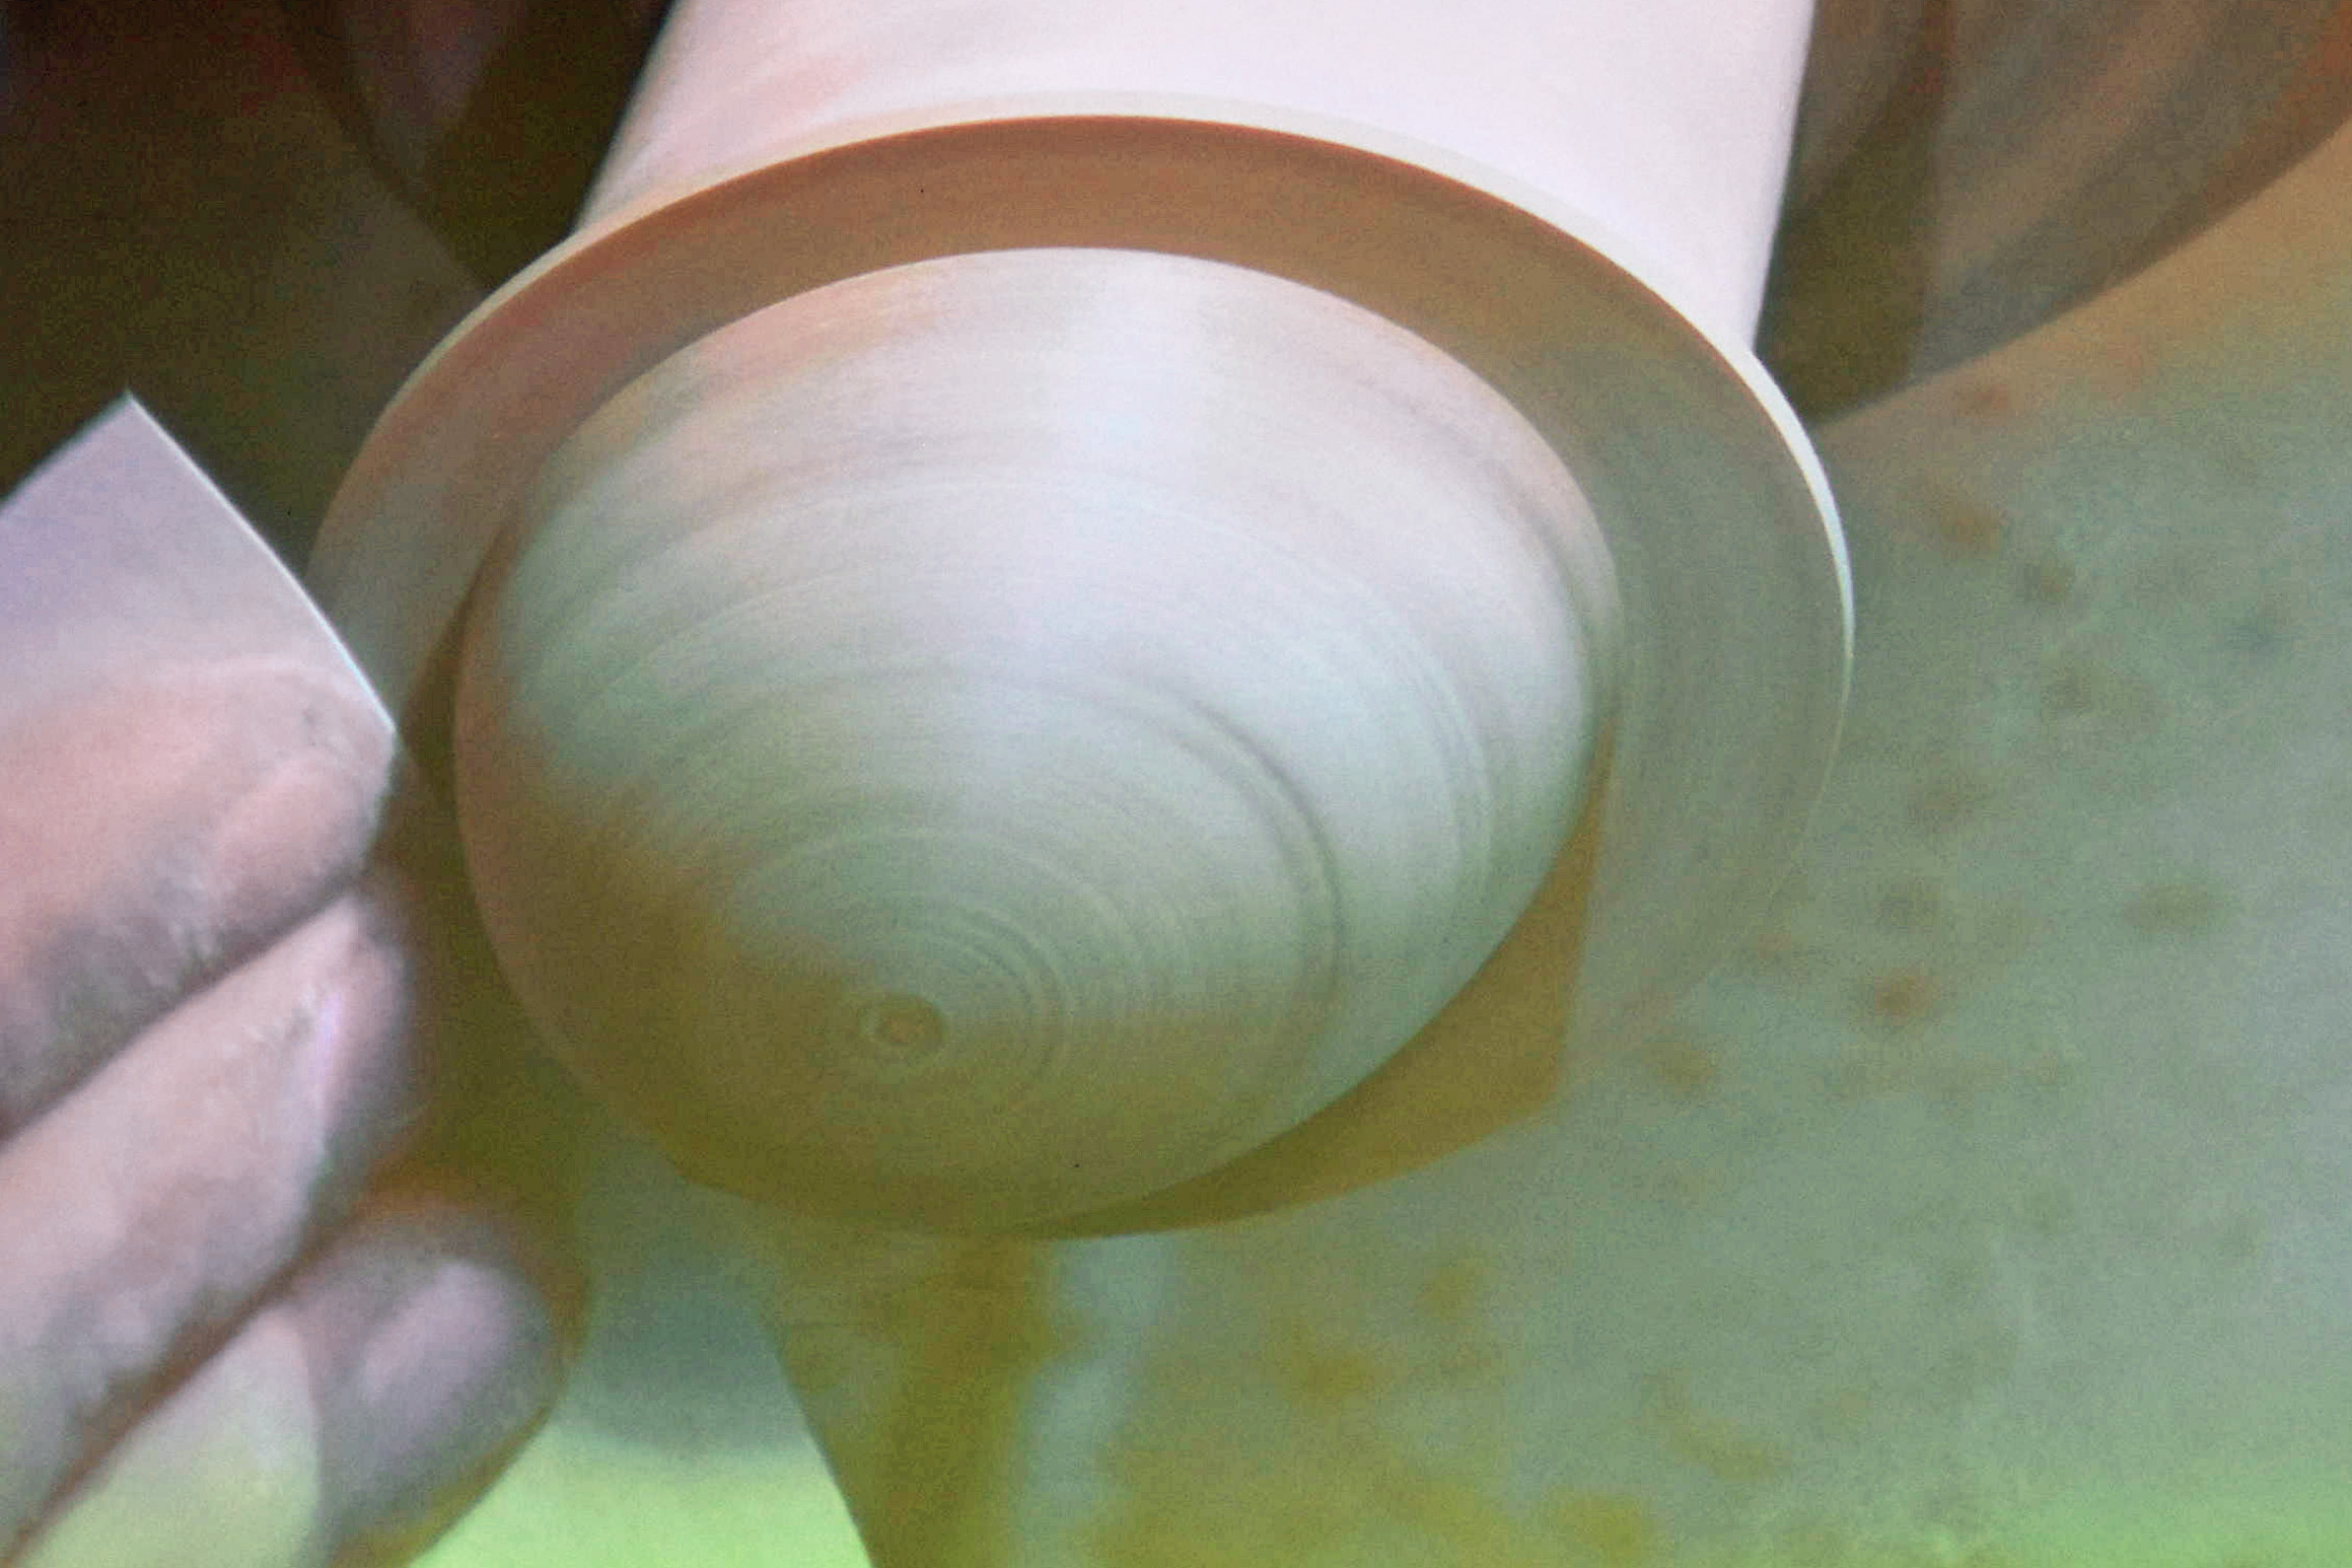
A similar process was used to make the base, but with the added features of a rim, to capture the lid, and a ring tenon, to capture the legs. First, the stock from which the lid was cut was mounted in the chuck to begin work on the base. Jakob then refined the outside diameter and squared up the face. Using his calipers he then defined the inside diameter of the bowl, taking into account that he needed a rim for the lid. Then, using that super fast back hollowing technique, he created the bowl and then used his skew to clean up the inside of the rim. Jakob then focused on the outside of the rim, first removing material with the gouge, then truing up his dimensions with a skew. He took a little off the outside on the rim until he had the fit just right.
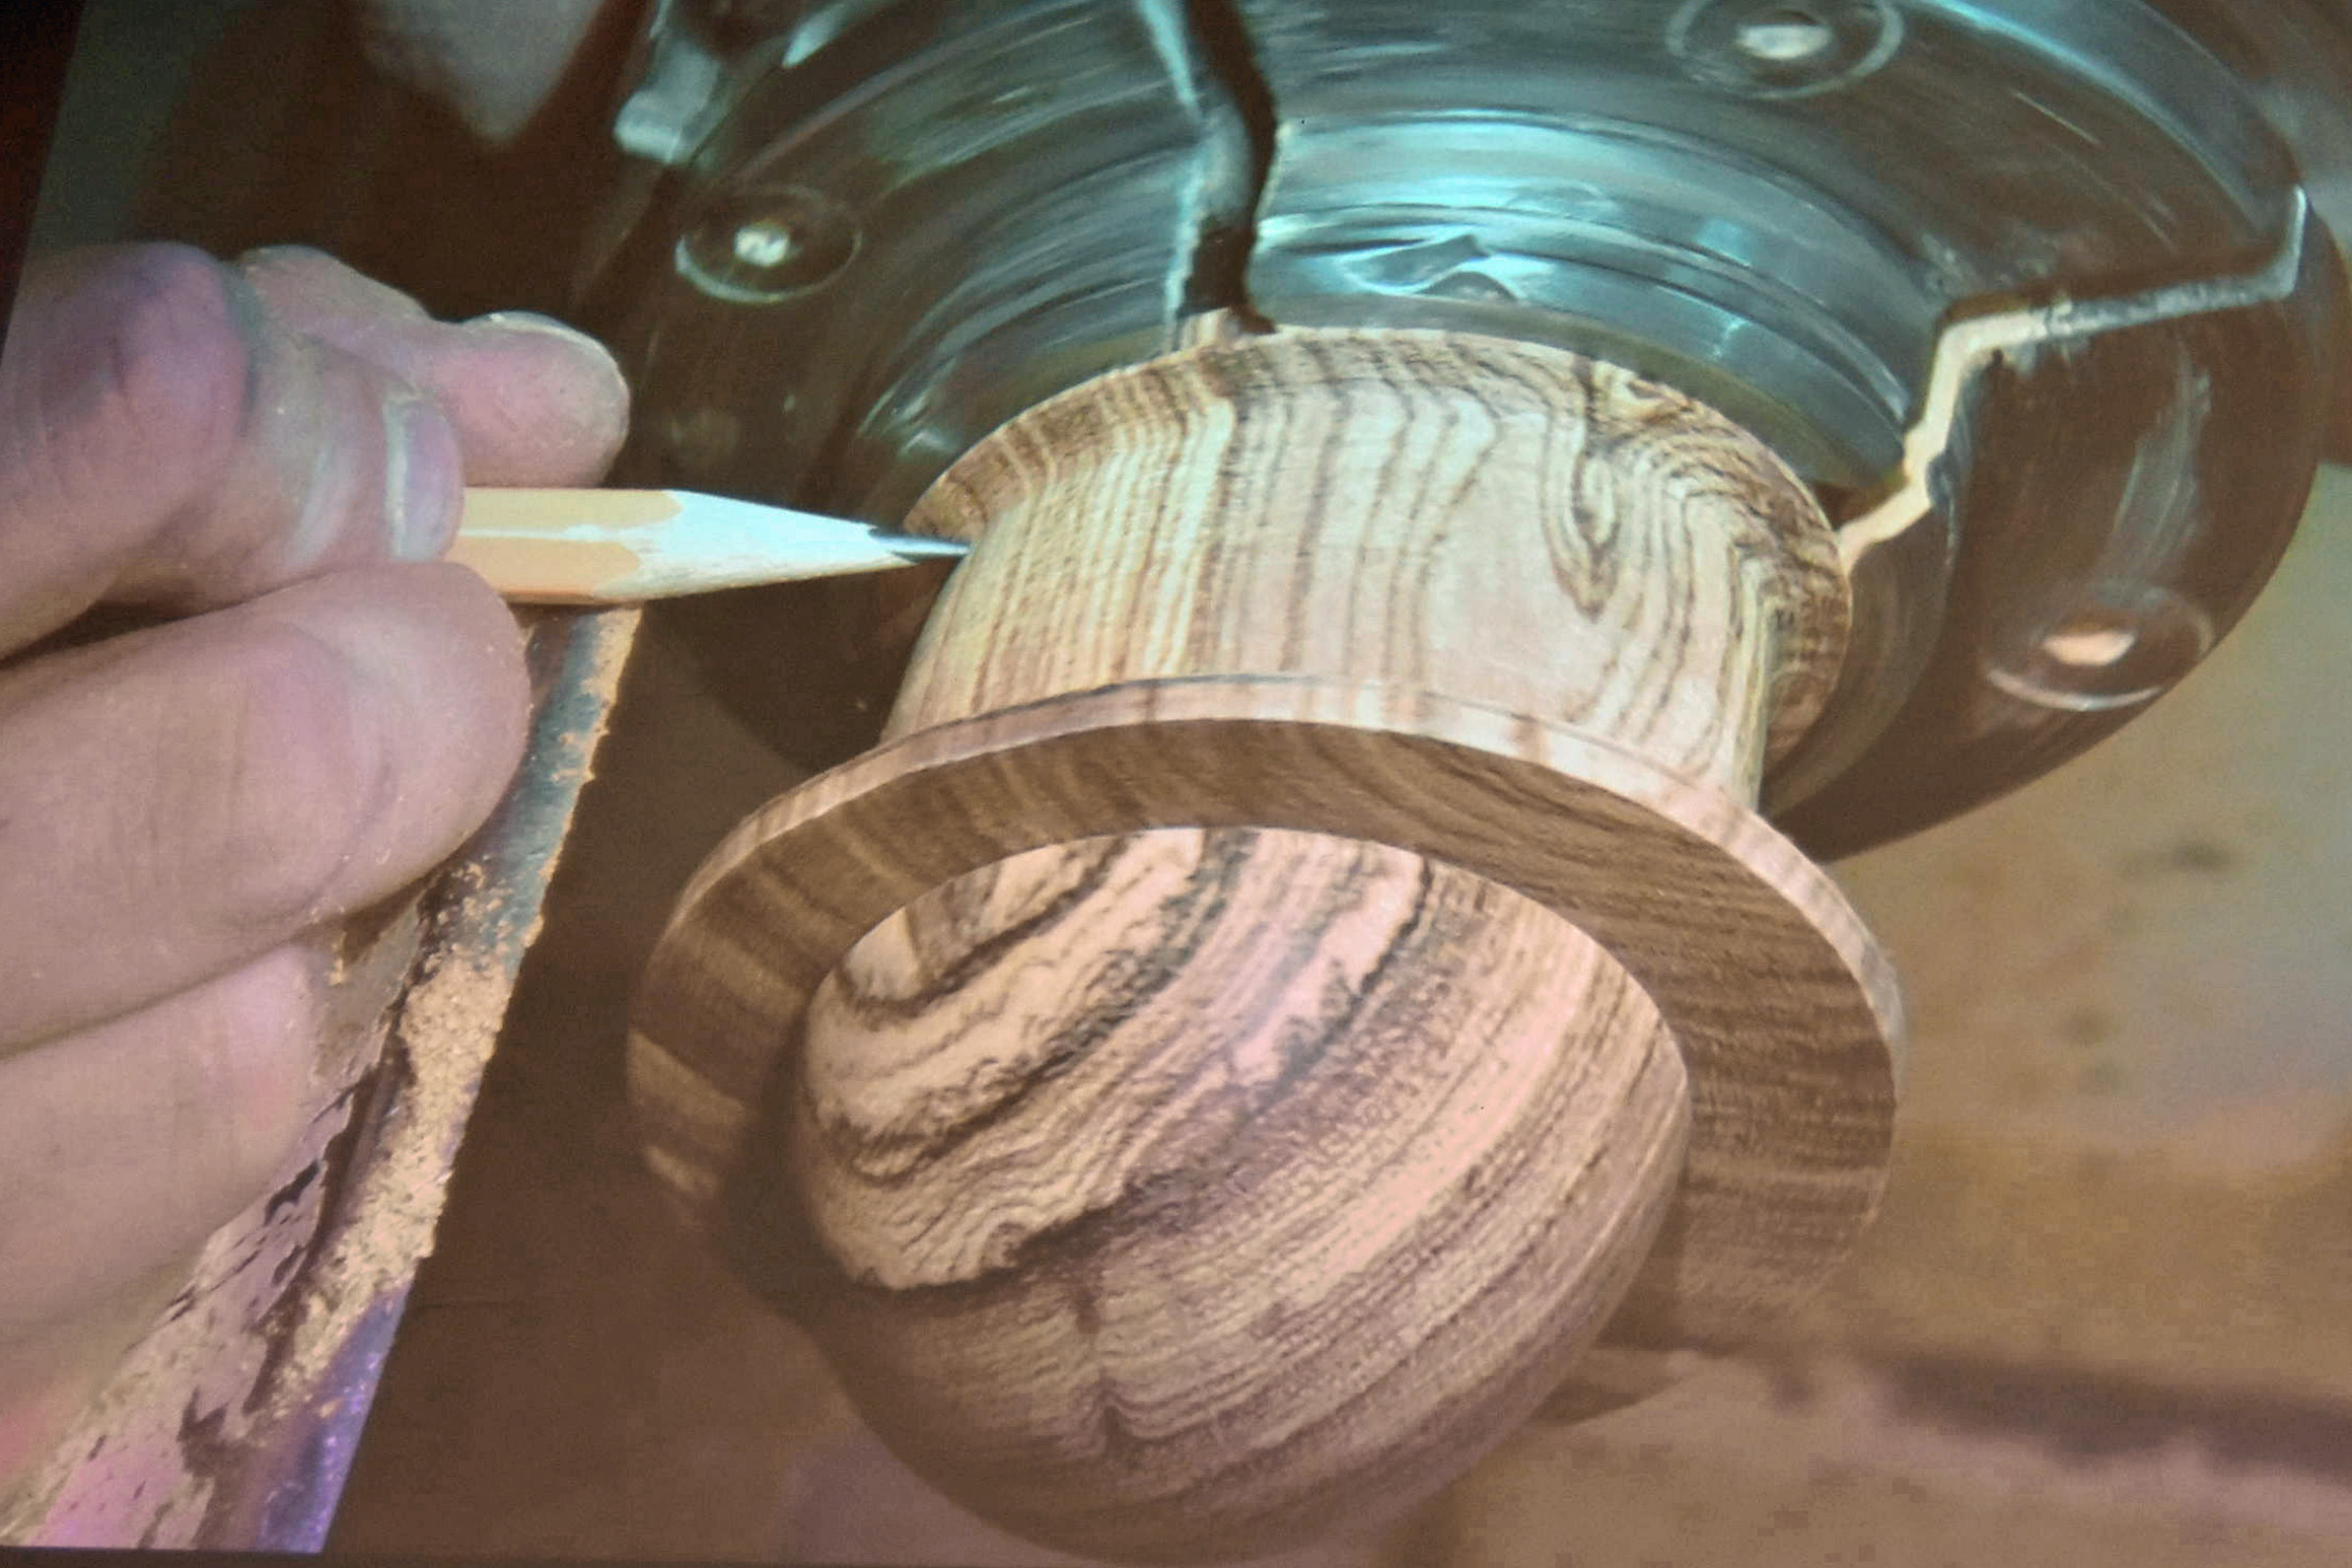
Now it was time to form the ring tenon for the legs. Jakob made a quick pencil mark, picked up his parting tool and defined the tenon. From there, he started removing stock from the outside of his box, readying it for its spherical shape.

A pencil mark identified the place to part the bottom of the box so that he could start work on the outside shape of the box. Once removed, Jakob double checked his measurements, and sure enough he had plenty of wood to make a box without a hole in the bottom. He turned once again to the jam chuck and shaped the outside of the box. He first cleaned up the tenon face with a skew, ensuring it was just the right size for the leg mortise, then he used his gouge and skew to make a perfect hemisphere. A little sanding and he had his box and lid.

A little CA glue was used to attach the legs, and all that was left was spray finish- but that was for another day. Fantastic demonstration and a great box.