
At our February meeting Bob Rosand demonstrated an elegant box that his friend Ed Moore showed him some time ago. Ed was a Professor Emeritus at the United States Naval Academy, a founder of Smith Mountain Lake Turners, and an instructor at John C. Campbell Folk School. Bob also demonstrated an easy but handsome salt and pepper shaker. Here's a few photos of that demonstration.

Bob starts with a square block, rounds it with a roughing gouge and then makes a tenon on one end.

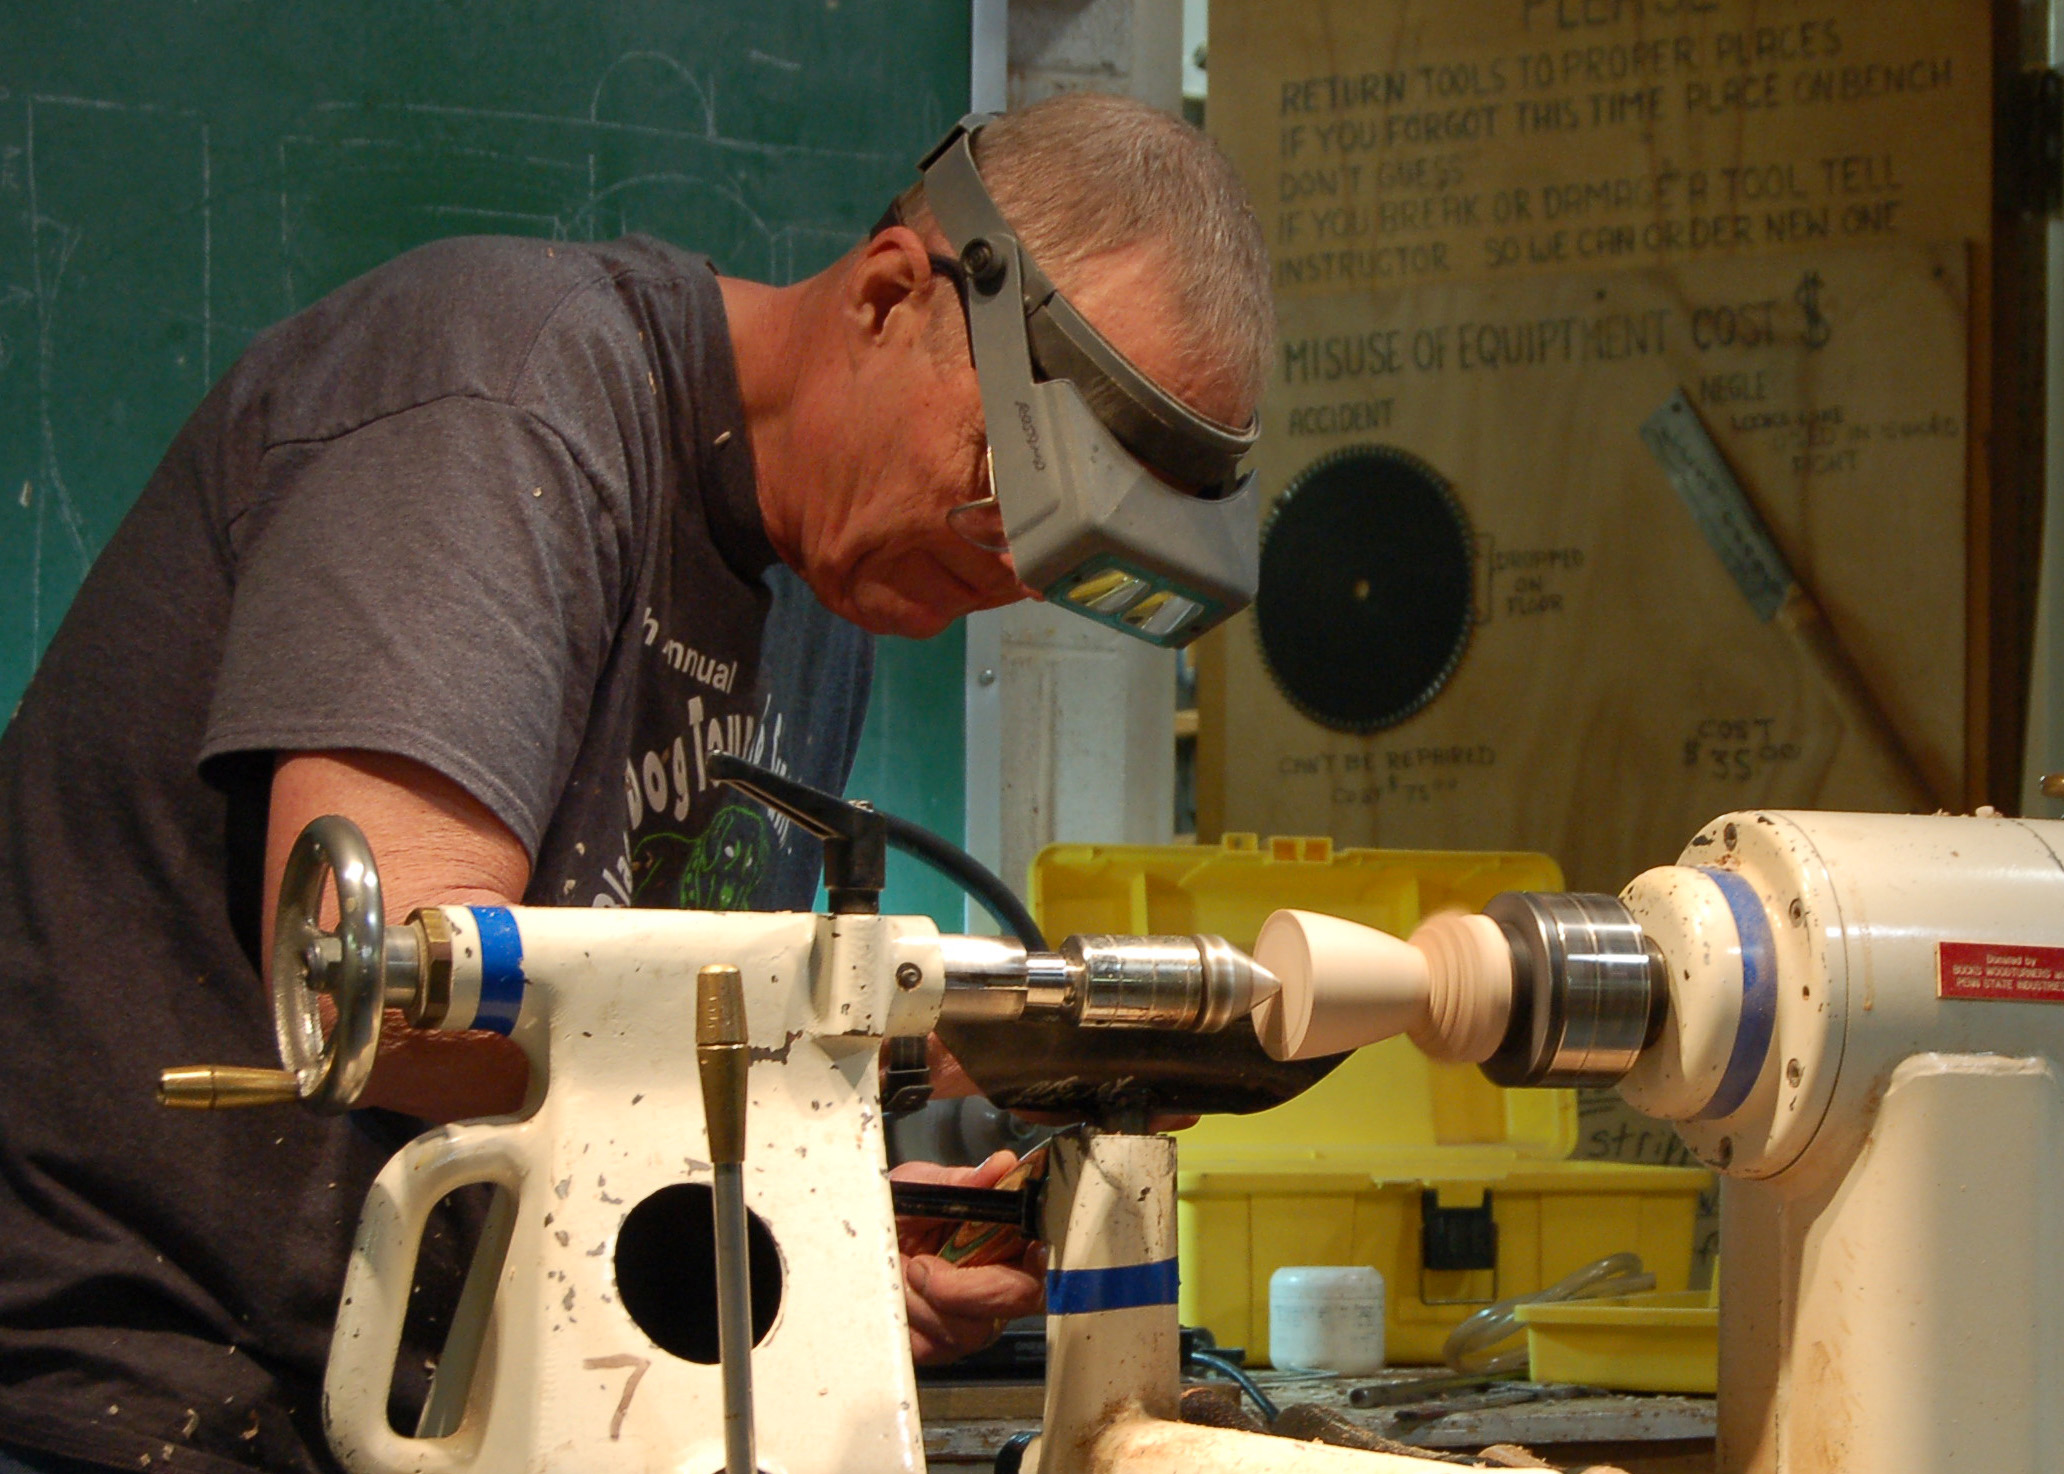
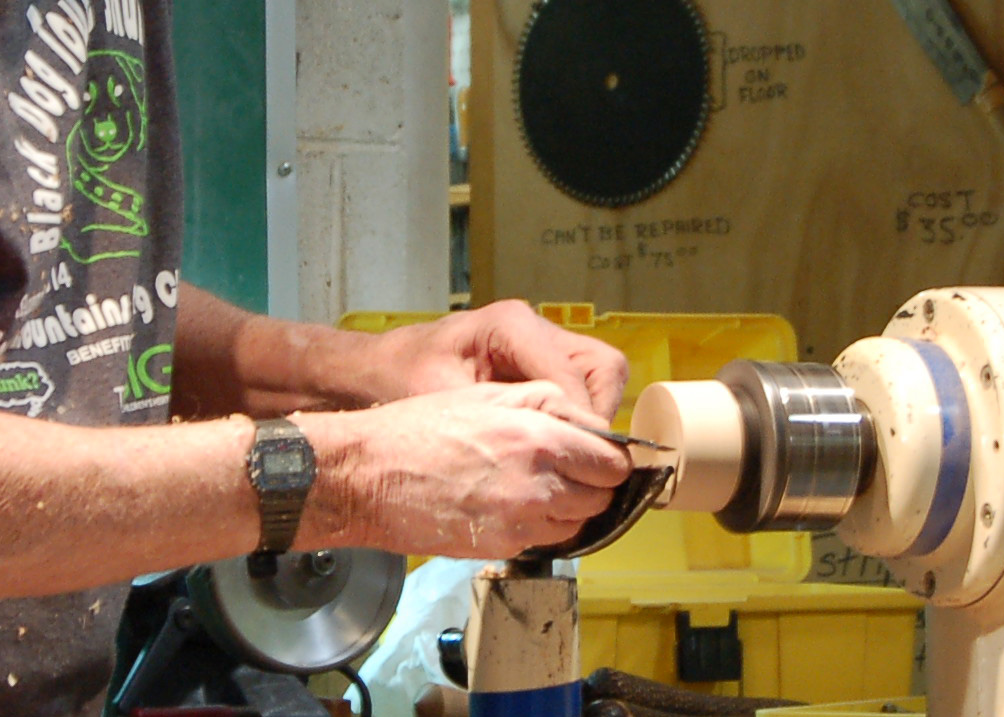
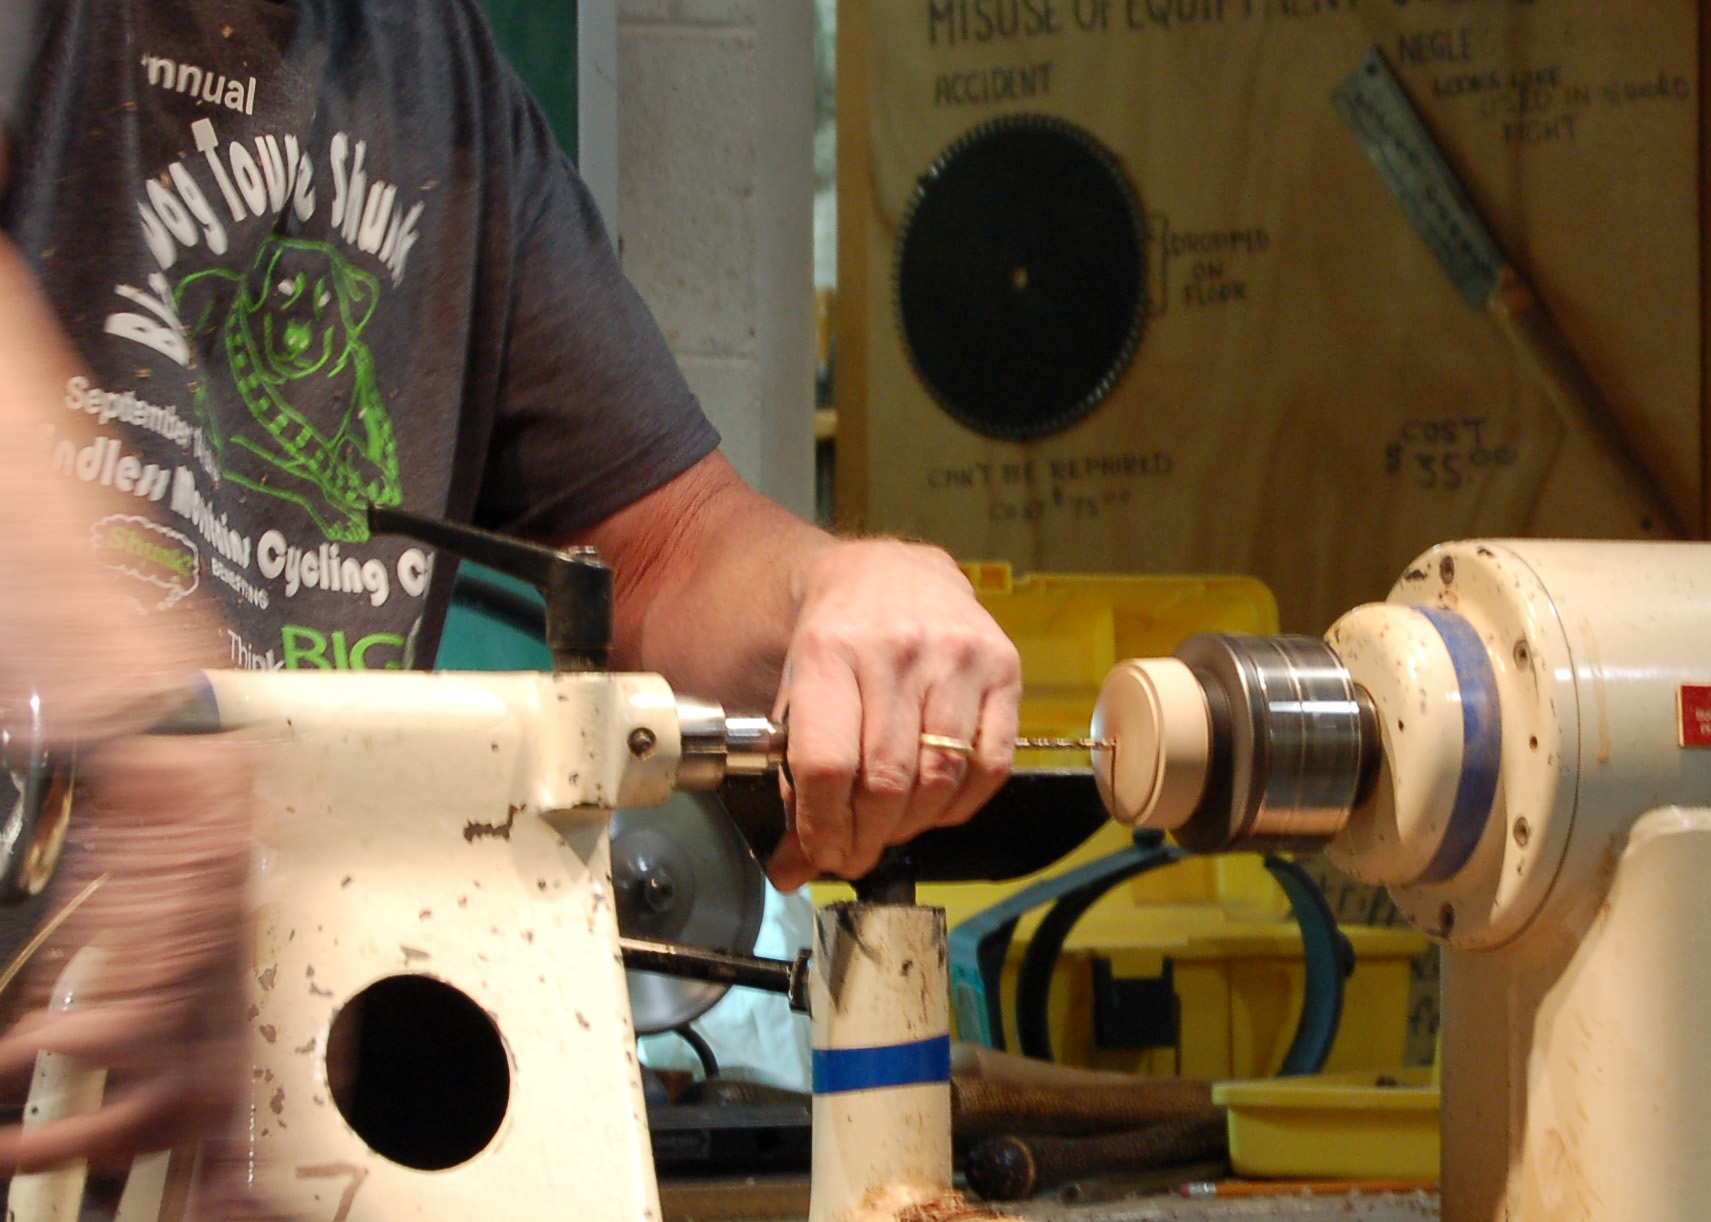
With that tenon captured in a 4 jaw chuck, and the piece stabilized with the tail center, Bob begins shaping the vessel with his spindle gouge.

With the outside pretty well defined, Bob then cleans up the top of the vessel with a skew. After he takes the tail stock away, he makes a little dimple in the center of the top to guide the Forstner bit he'll use to help hollow out the vessel.
Bob sometimes uses a couple of different diameter bits to help remove wood from the inside of his vessel. It saves time!

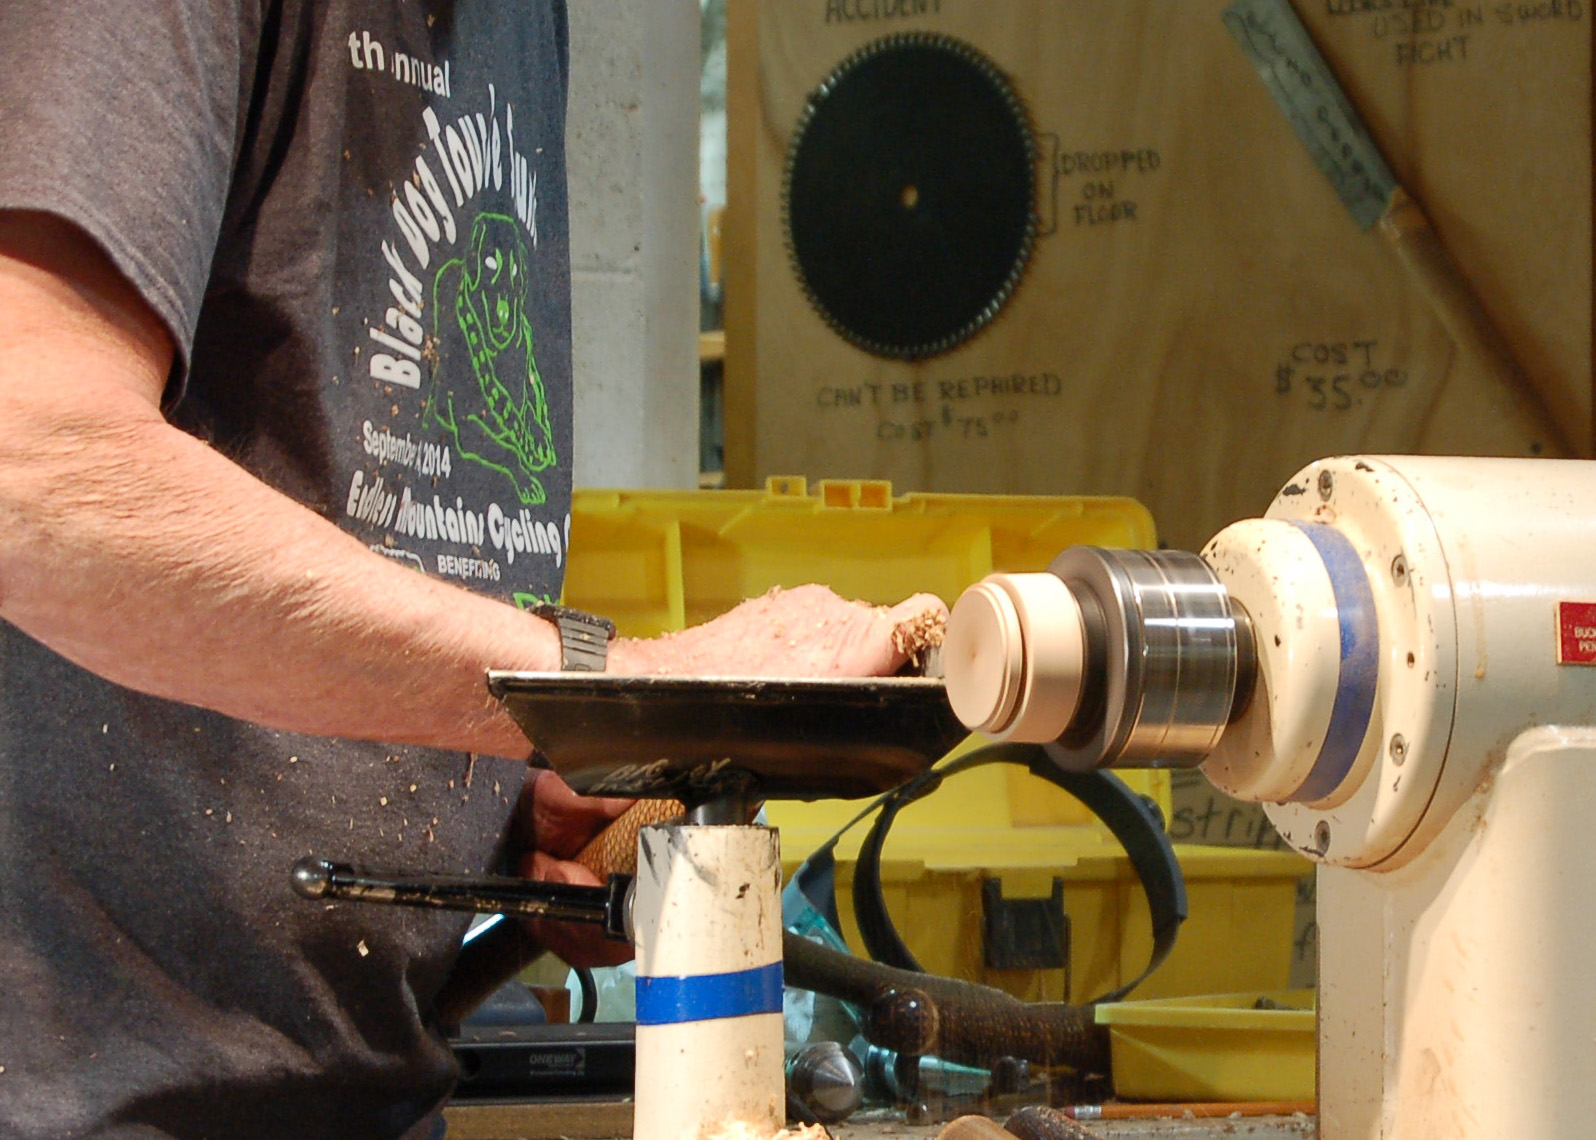
After roughly hollowing out the vessel, Bob then creates a small lip, shown on this finished vessel, using a square nosed scraper.

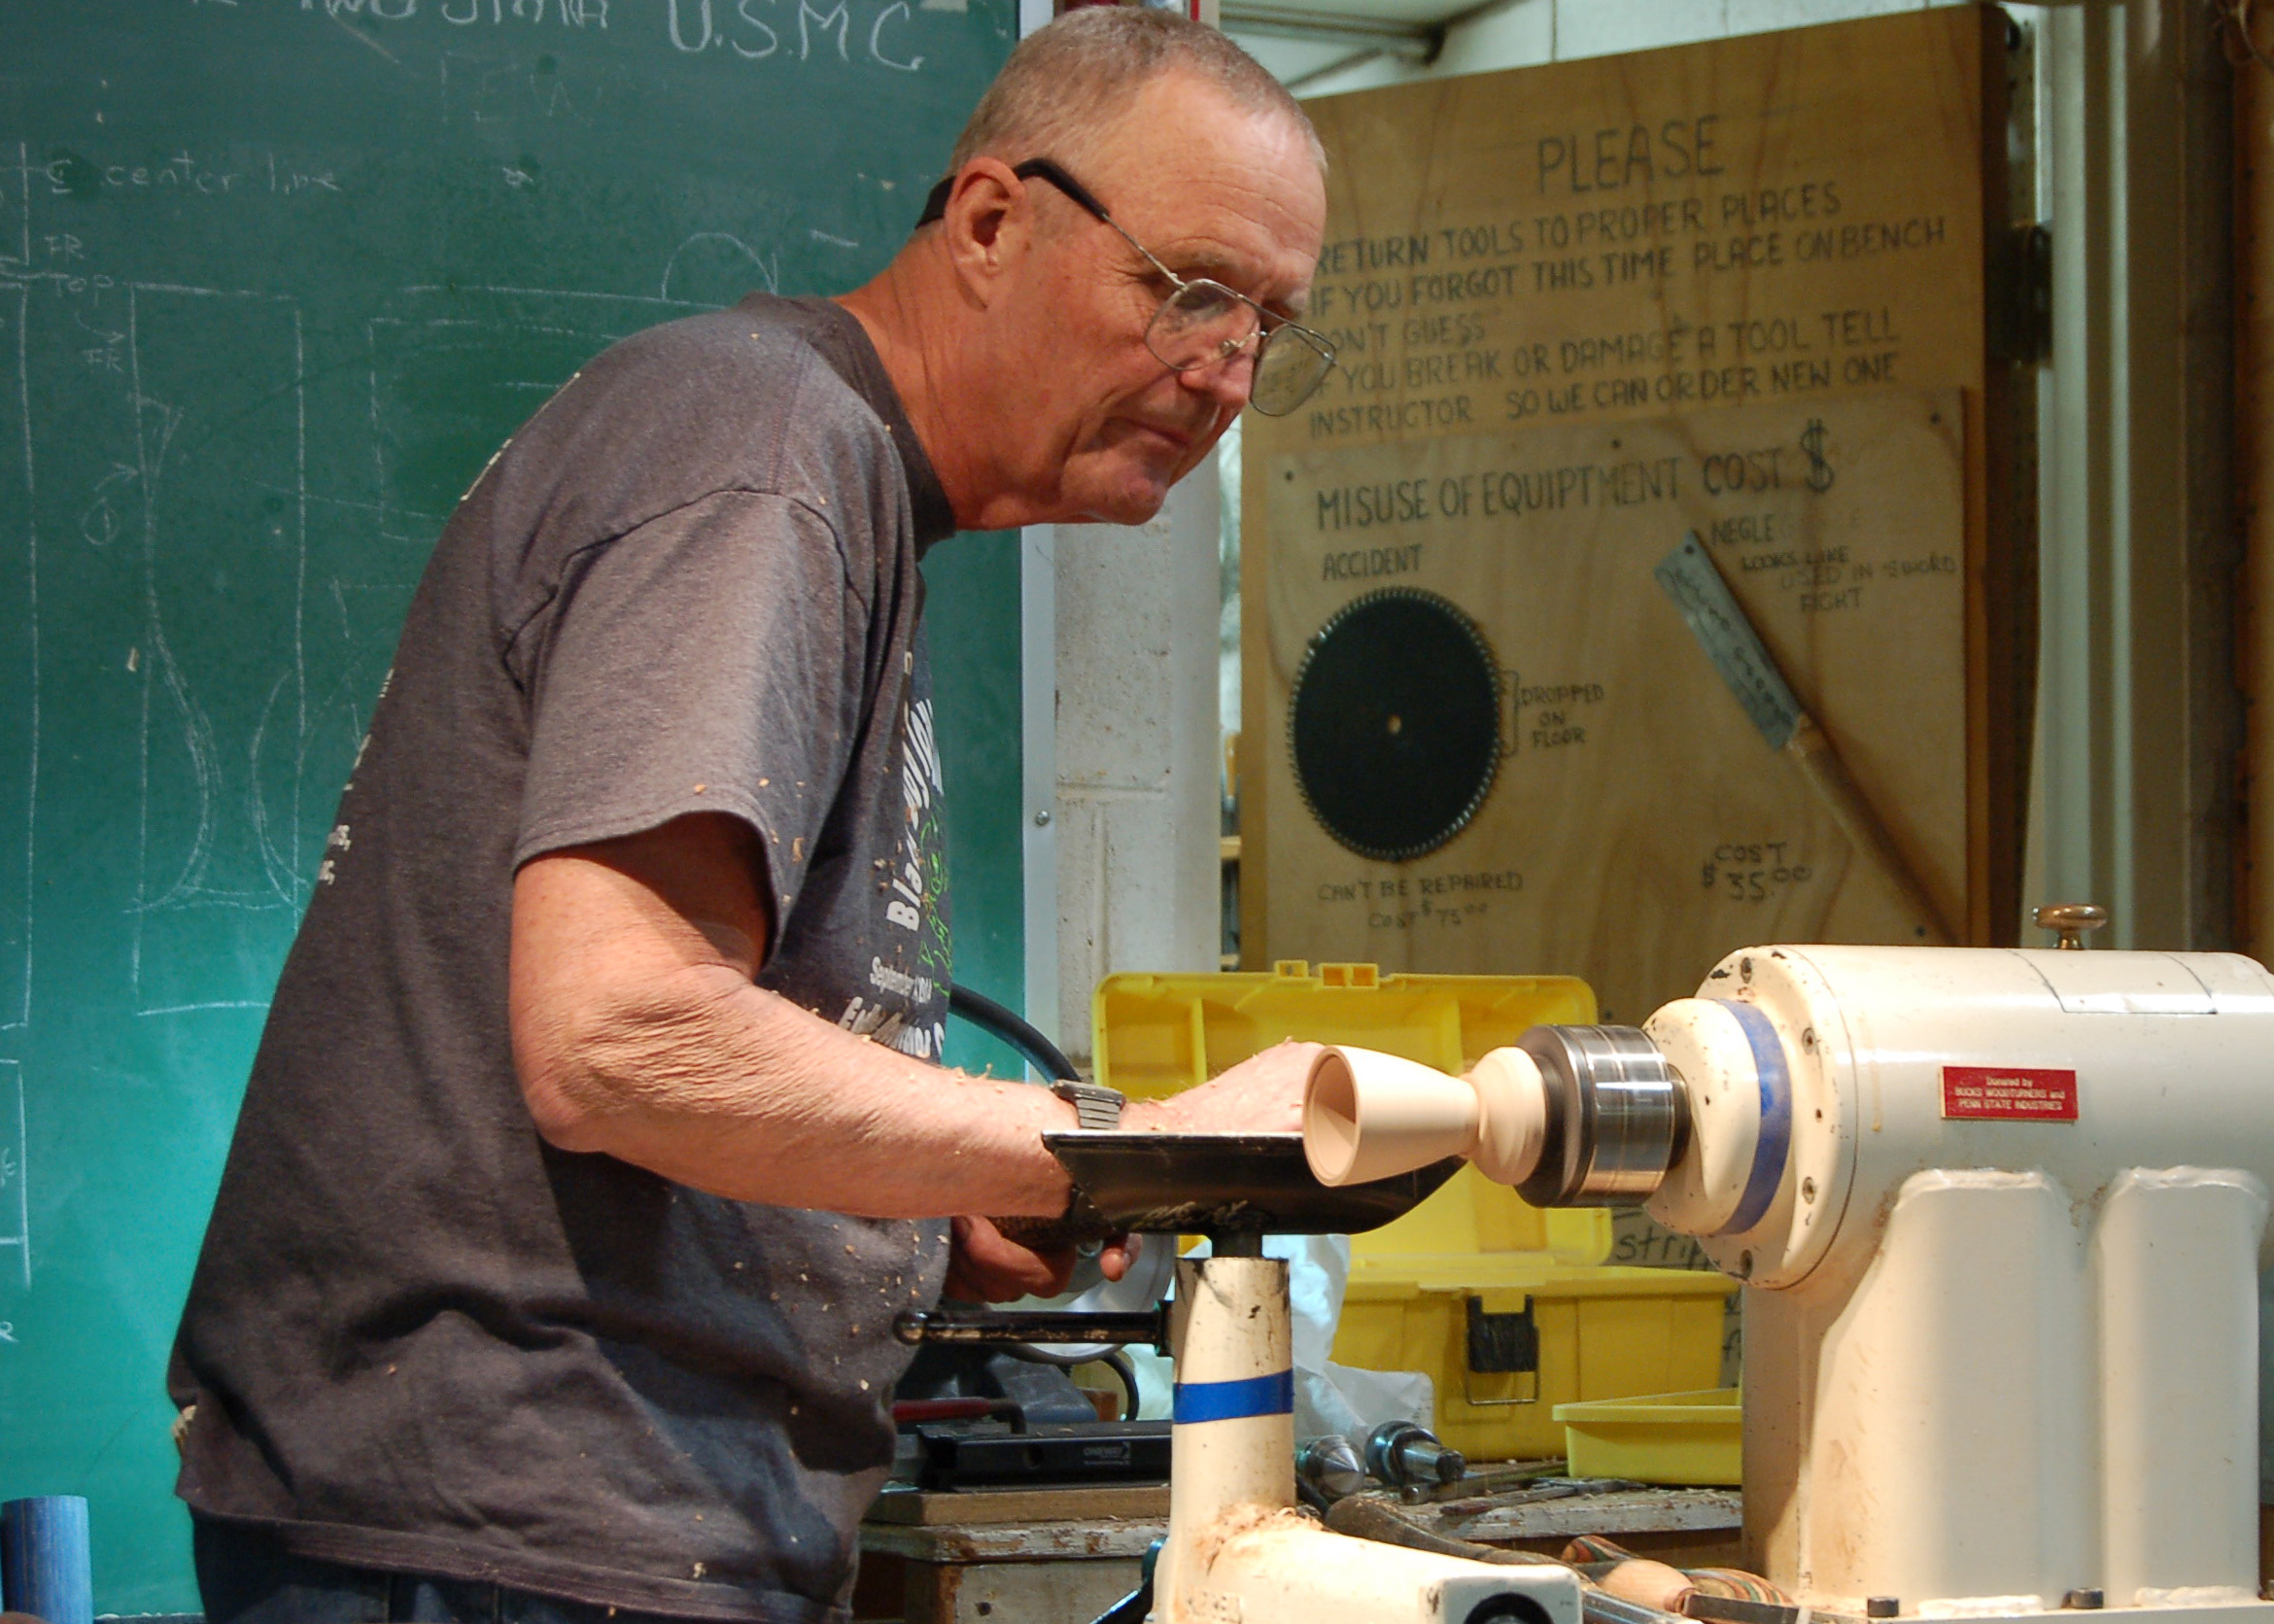
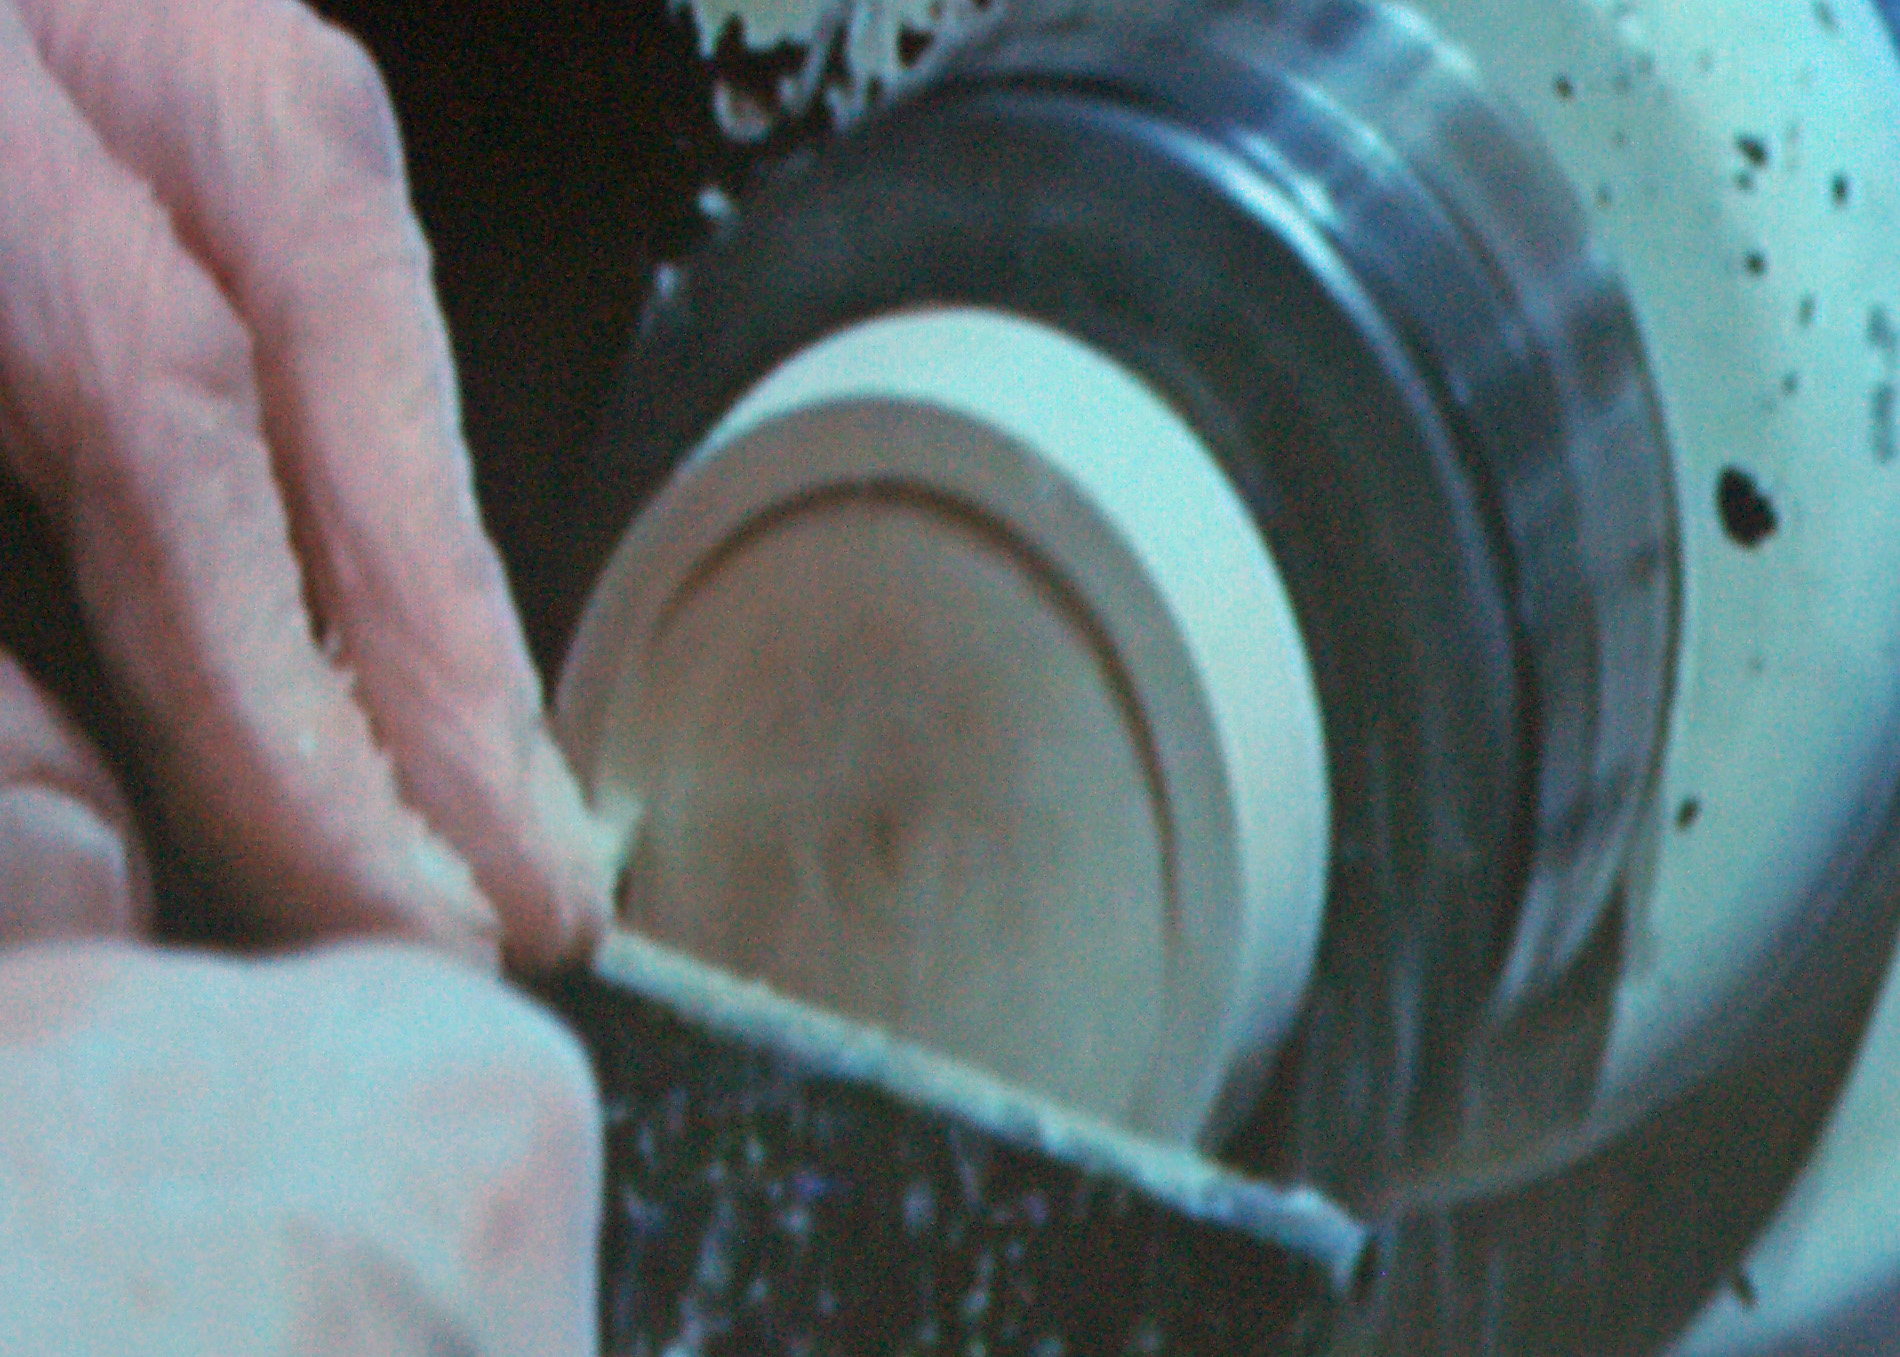
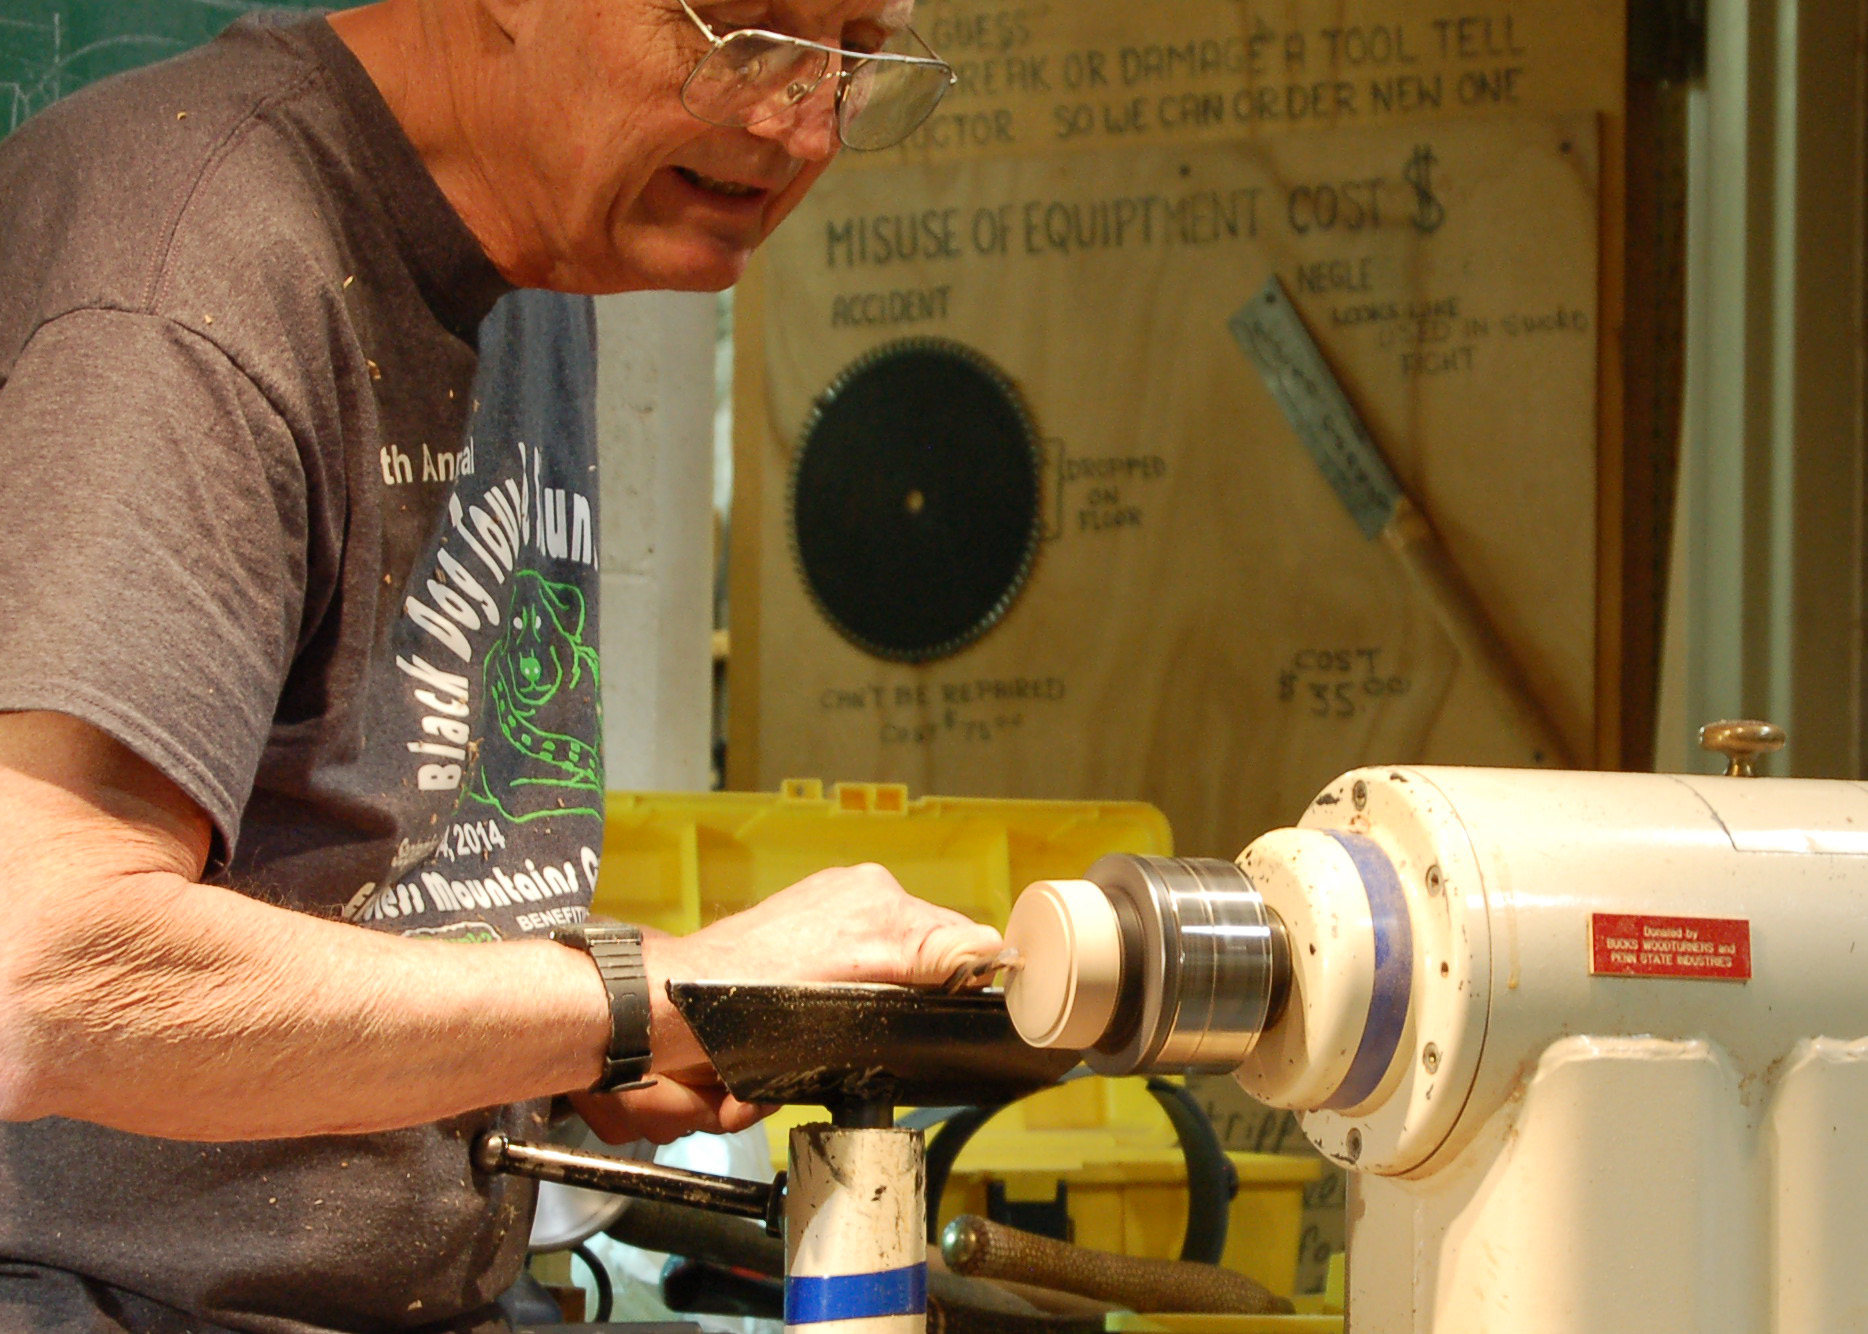
That edge can be seen in his working piece as he refines the inside with a heavy round nose scraper. One trick Bob likes to use to control tear-out is to use spray satin lacquer to wet the fibers followed by a light cut with a sharp scraper. He's not afraid to use a pencil to mark high spots. How many times have you gone after a high spot only to misjudge where it is?

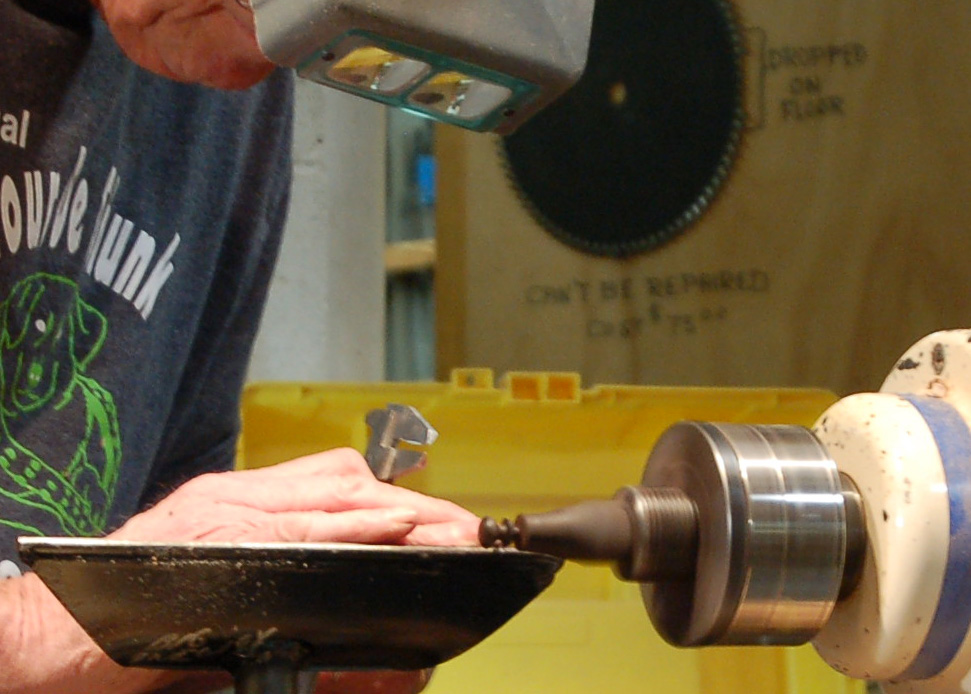
With the lip and inside finished, Bob uses his Nick Cook parting tool to separate the vessel. With his calipers, he measures the mortise inside the vessel and then creates a mating tenon with the stock remaining in the 4 jaw chuck. Once he has a good fit, he uses a little blue tape to secure the vessel so he can clean up the bottom. (Use the side arrows to scroll through the pictures)
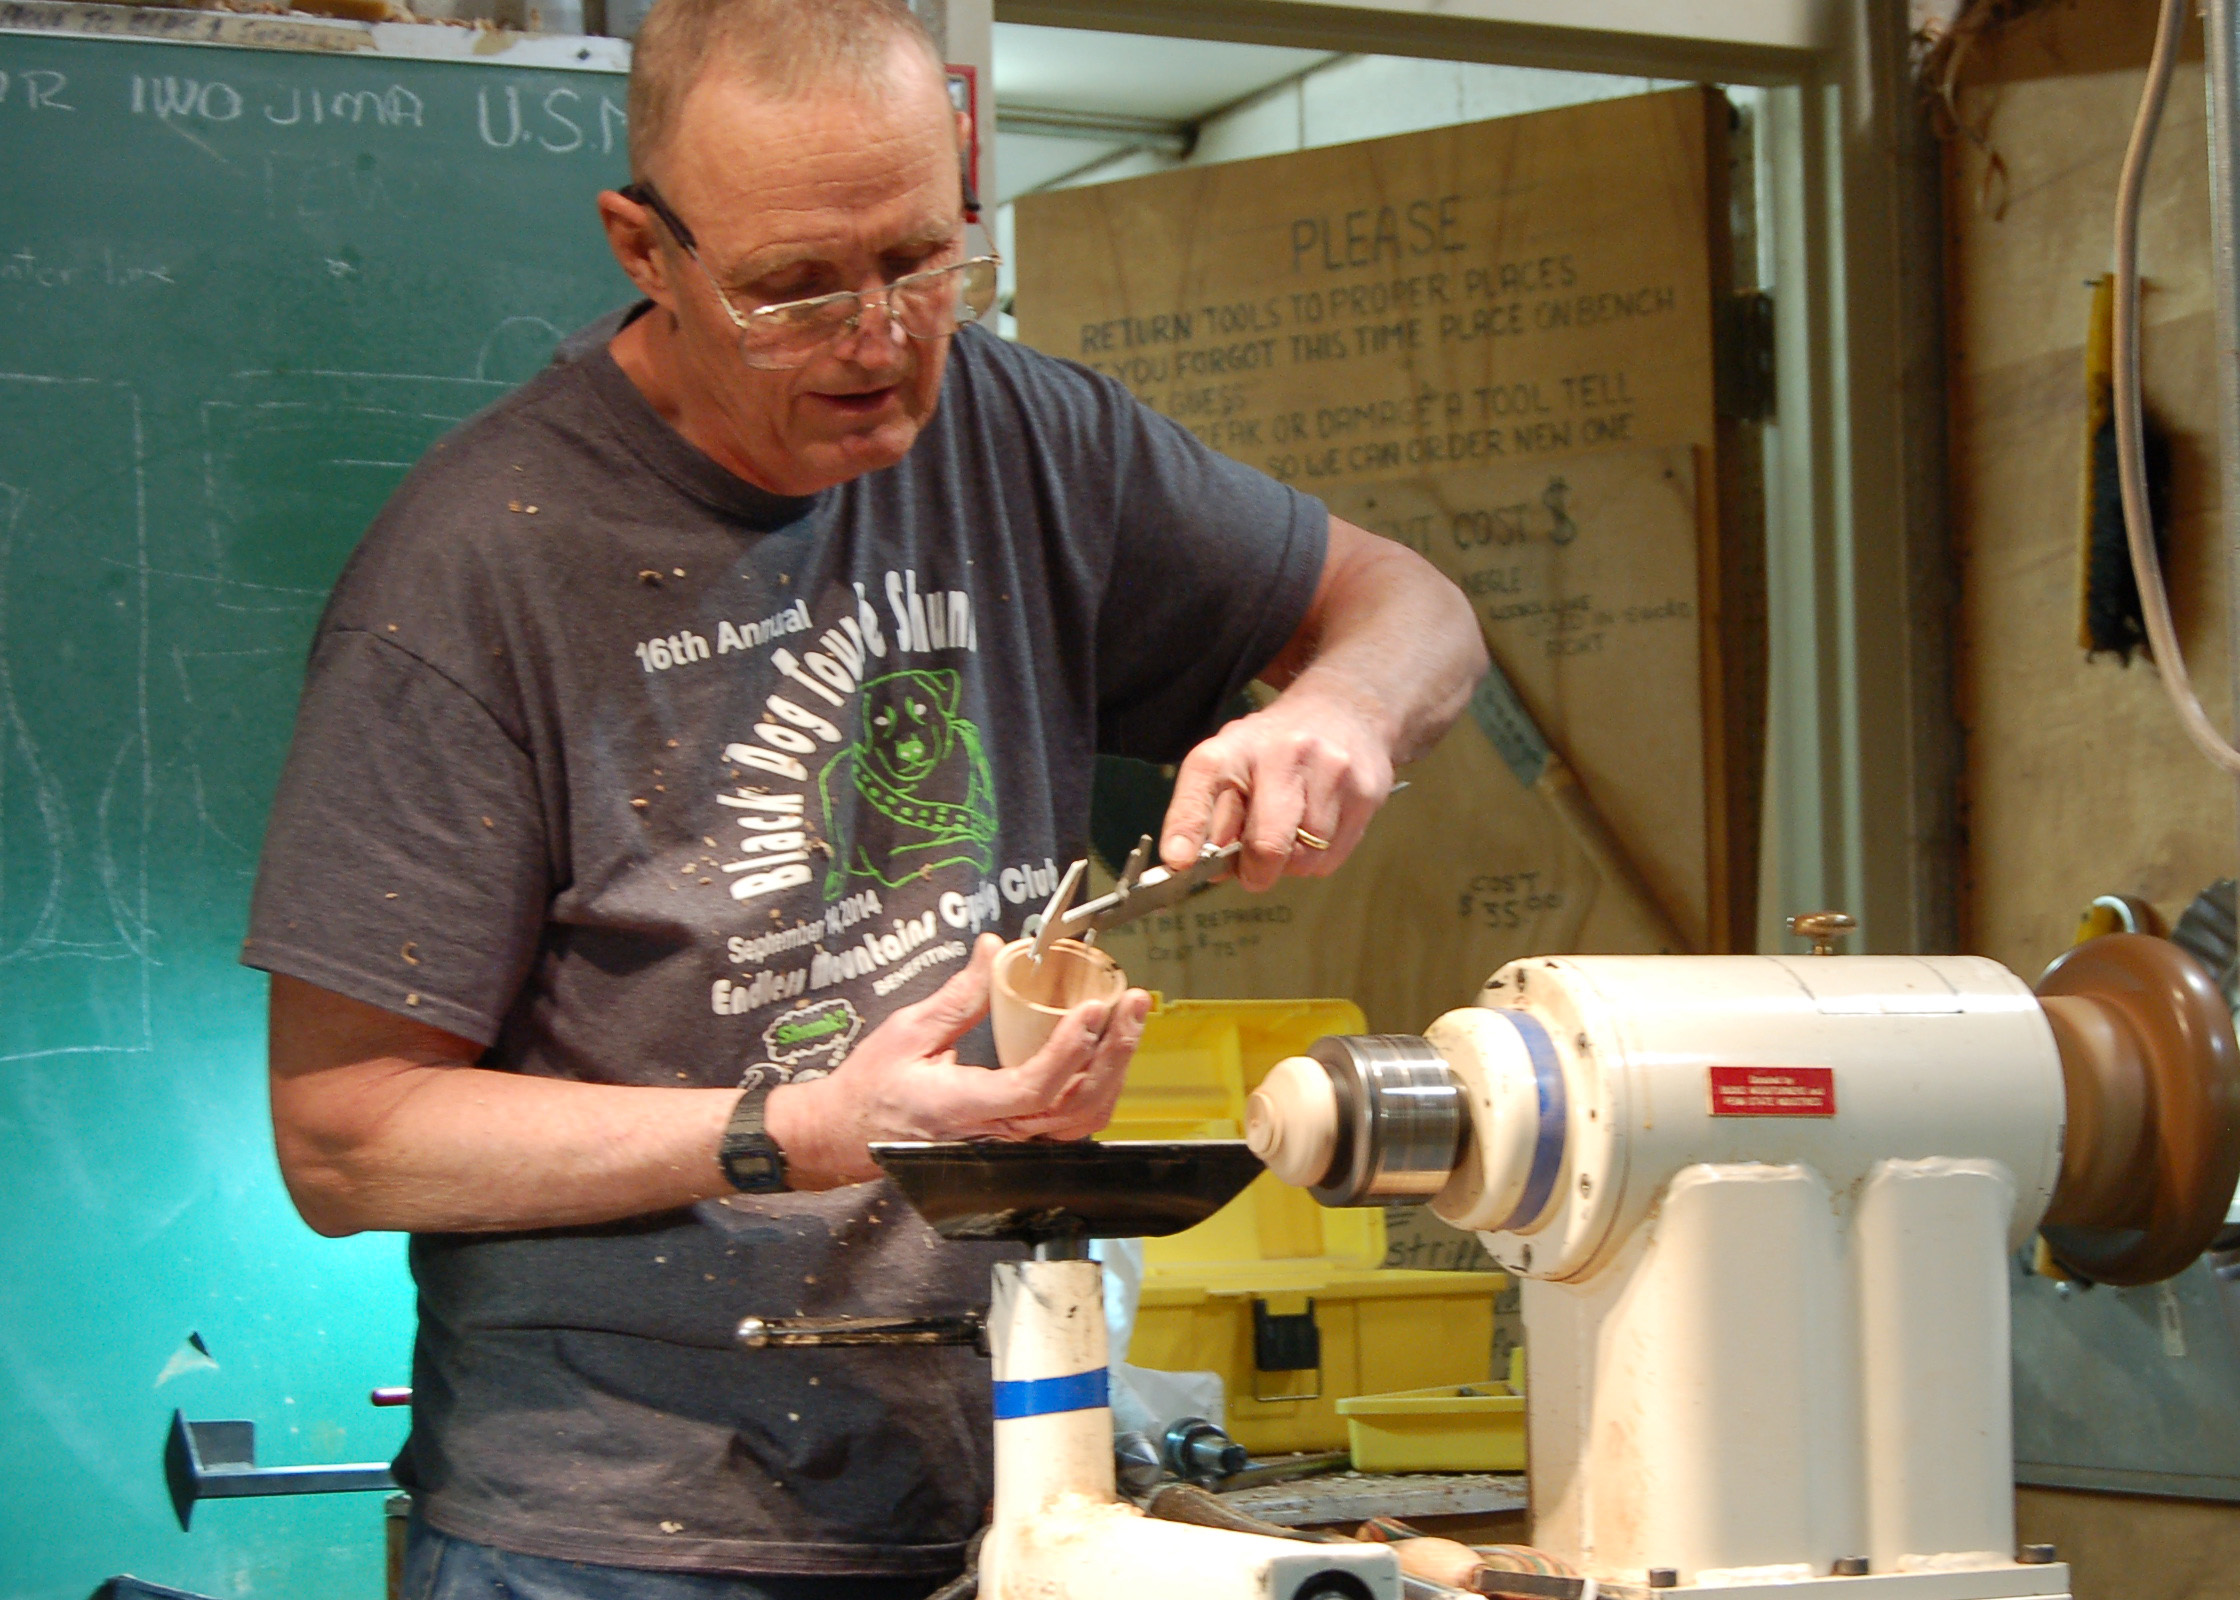

To make the top, Bob measures the top of the vessel, transfers the dimension with his calipers taking care to engage only the caliper jaw on side closest to him, which is supported by the tool rest. (If you are new to turning, a safer way is to use a pencil with the lathe turned off.) You are trying to create a cap that will rest inside the lip shown in the first picture. Bob then shapes the outside and bottom of the cap. Once that is done, he can create a mortise that tightly fits the cap so he can clean up the top. Nice trick! The last step for the cap is to carefully drill the mortise for the finial-not too deep!

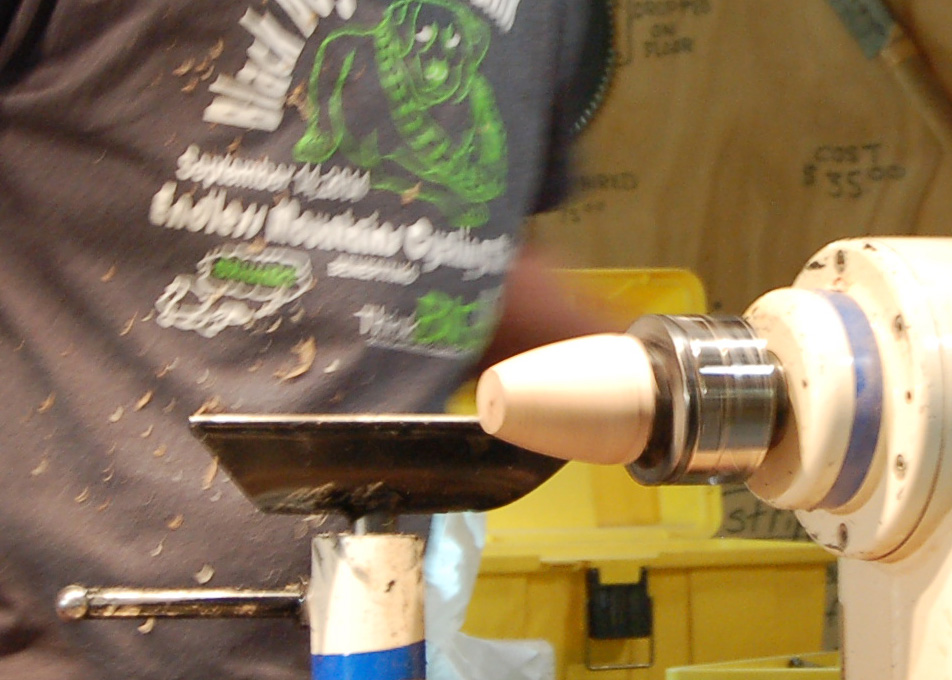
Now all that's left is a finial. Bob uses the spigot jaws to hold a piece of ebony to make the finial using a roughing gouge and a skew chisel.
With the finial in place and a little pyrography to decorate the surface, you've got one good looking box!
